

Taking care of your grooming tools is just as critical as selecting the right hair care products. When you invest in high-quality natural tools, you expect them to last for years while keeping your scalp healthy. However, many people neglect the maintenance aspect, leading to a buildup of oils, dead skin cells, and product residue. If you want to protect your investment and maintain excellent scalp hygiene, knowing exactly how to clean wooden hair brush tools is absolutely essential.
A dirty brush simply redistributes old oils and dirt right back into your freshly washed hair. This defeats the purpose of your entire shower routine. By understanding the proper maintenance techniques, you preserve the structural integrity of the wood and ensure your hair remains vibrant. This guide will walk you through everything you need to know to keep your grooming tools in pristine condition. You will learn the best practices, the common mistakes to avoid, and the exact steps required for regular upkeep.
Why Maintaining Your Wooden Brush Matters
Wooden tools offer incredible benefits for your hair, ranging from reduced static to improved scalp stimulation. Natural bristles help distribute your natural sebum evenly along the hair shaft, resulting in a healthy and glossy appearance. However, these benefits quickly diminish if the tool itself is coated in grime, dust, and leftover styling products.
Wood is a porous, natural material that reacts to moisture and environmental factors differently than plastic. If you ignore its specific cleaning requirements, the handle can crack, warp, or even develop mold in the bristle cushion. Regular maintenance prevents these structural issues and extends the lifespan of your grooming tool significantly. You save money in the long run by avoiding frequent replacements.
Step-By-Step Guide To Washing Your Brush
Step 1: Remove Hair Safely
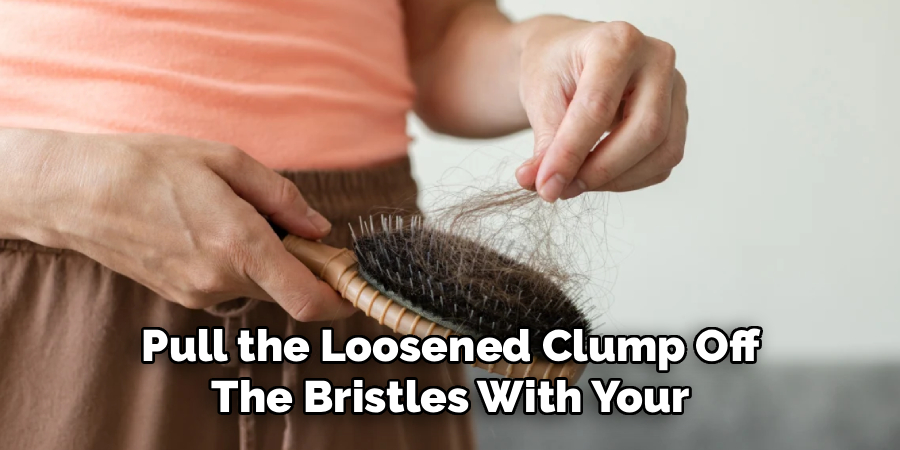
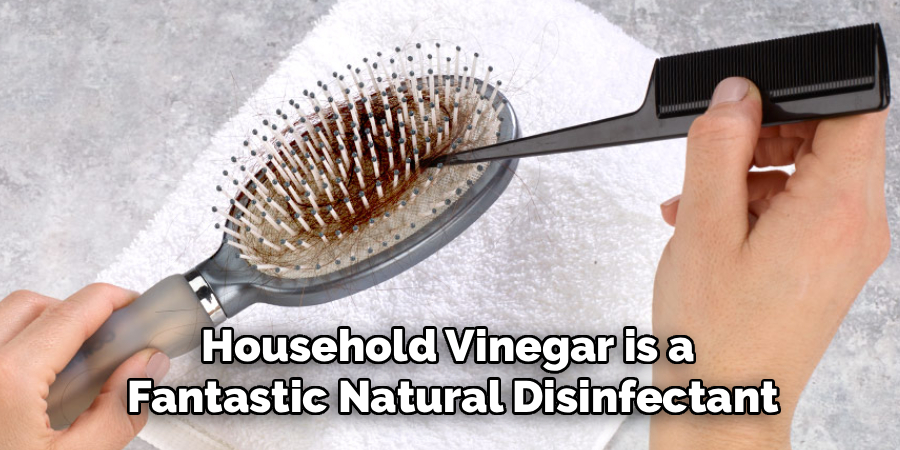
Before washing your hairbrush, remove any excess hair that has accumulated in the bristles. Gently pull out the strands with your fingers or use a comb to loosen them. This step is important as it prevents clogging of water drainage and allows for better cleaning.
Maintaining the cleanliness of your hairbrush is an essential yet often overlooked part of your personal care routine. Over time, hairbrushes can accumulate hair, product residue, oils, and even dust, which can transfer back to your hair and scalp if not cleaned regularly. A clean hairbrush not only keeps your hair healthier but also extends the life of the tool itself.
Step 2: Prepare Cleaning Solution
To create an effective cleaning solution, mix warm water with a mild shampoo or a gentle liquid soap. Avoid harsh chemicals that could damage the brush bristles or base. Once combined, ensure the solution is well mixed to evenly distribute the cleaning agent throughout the water. This will help in loosening any buildup on the brush, making it easier to clean thoroughly.
Submerge the brush head in the cleaning solution, taking care to avoid soaking the handle, especially if it is made of wood or contains electronic components. Use a soft toothbrush or your fingers to gently scrub between the bristles, removing any debris, residue, or hair buildup. Rinse the brush thoroughly with clean water to wash away the soap and loosened grime.
Step 3:Clean the Bristles
After rinsing off the soap, take a closer look at the bristles of your brush. Wood will instantly ruin If there are still areas with residue or buildup, you can use a small amount of shampoo or dish soap to spot clean them. Gently massage the soap into the bristles and rinse thoroughly with water. Avoid using hot water as it can damage the bristles.
For brushes with natural hair bristles, you can also use a few drops of conditioner to help keep them soft and prevent tangling. Simply apply the conditioner to damp bristles and gently comb through with your fingers. Rinse well and reshape the brush if necessary.
Step 4: Rinse Carefully
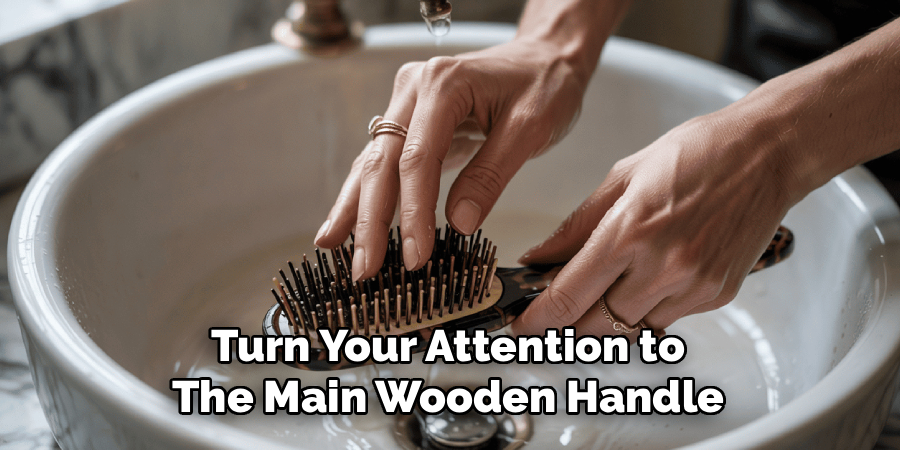
After cleaning with soap or conditioner, make sure to rinse your brushes thoroughly with lukewarm water. It’s important to remove all traces of soap or product buildup from the bristles.
To dry your brushes, gently squeeze out any excess water using a clean towel. Avoid twisting or pulling on the bristles, as this can loosen them over time. Lay the brushes flat on a towel with the bristles hanging off the edge to allow air circulation. This helps maintain their shape and prevents moisture from collecting at the base, which could damage the handle or bristle attachment.
Step 5: Dry Properly
It’s important to properly dry your makeup brushes after cleaning them. This helps prevent any potential damage and keeps them in good condition for future use.
After gently squeezing out any excess water, lay the brushes flat on a clean towel with the bristles hanging off the edge. This allows for air circulation and prevents moisture from collecting at the base of the brush, which could cause damage to the handle or bristle attachment.

You can also consider investing in a specialized brush drying rack or mat, which provides a designated space for each brush to dry without touching other surfaces. This not only helps maintain their shape, but also prevents cross-contamination between products if you use different brushes for different types of makeup.
Step 6: Optional Conditioning
To prevent this, hold the wooden handle firmly in your dominant hand with the bristles facing directly downward toward the floor. A simple way to do this is by using a gentle hair conditioner or a specialized brush conditioner.
To condition your brushes, mix a small amount of the product with warm water and swirl the bristles around in the mixture for a few minutes. Rinse thoroughly and gently squeeze out excess water. Then reshape the bristles and lay flat to dry on a towel or drying rack.
While not necessary, conditioning can help extend the lifespan of your brushes and make them feel extra soft against your skin during application.
Step 7: Maintenance Tips
Taking proper care of your makeup brushes is important not only for hygiene, but also to ensure their longevity. Here are some maintenance tips to keep your brushes in top condition:
- Clean them regularly: It’s recommended to clean your brushes at least once a week if you use them frequently. This will prevent product buildup and bacteria growth.
- Use gentle soap or brush cleaner: Avoid using harsh detergents or soaps as they can damage the bristles. Look for gentle cleansers specifically made for cleaning makeup brushes.
- Be gentle: When washing your brushes, be sure to handle them delicately and avoid pulling on the bristles too hard. This can cause them to shed or become missh
Frequently Asked Questions
Can I Soak My Wooden Brush In Water?
You should never soak your wooden grooming tools in water under any circumstances. Submerging wood causes the natural fibers to swell, which leads to immediate warping and severe cracking as it dries. Furthermore, soaking can dissolve the adhesive holding the bristle pad in place. Always use the gentle dipping and toothbrush scrubbing method to limit water exposure. Keep the handle and the back of the tool completely dry during the process.
What Kind Of Soap Should I Use?
The best cleaning agents are mild, sulfate-free shampoos or pure castile soaps. These formulas are gentle enough to break down human sebum and hair products without stripping the protective finish from the wood. Avoid using dish soap, heavy household detergents, or anything containing bleach. Harsh chemicals will dry out the wood grain rapidly, making it brittle and highly susceptible to snapping or splintering during your daily styling routine.
How Often Do I Need To Wash My Brush?

You should aim to perform a deep wash roughly once a month depending on your personal hair care routine. If you use heavy styling products like gels, hairsprays, or dry shampoos daily, you might need to wash it every two weeks. However, you must manually remove trapped loose hair after every single use. Keeping the bristles free of loose hair daily makes the monthly deep cleaning process significantly easier and much faster.
Will Baking Soda Damage The Wood?
Baking soda is highly abrasive and generally not recommended for wooden grooming tools. While it excels at removing heavy product buildup, the gritty texture can easily scratch the protective coating right off the wooden handle. Once that coating is compromised, water can easily penetrate the grain. Stick to liquid castile soap or gentle shampoos, which easily dissolve grime without relying on physical friction that damages delicate natural surfaces.
How Do I Prevent Mold On The Cushion?
Mold prevention entirely comes down to your drying technique and storage environment. Always dry the tool face down on a towel so gravity pulls moisture out of the rubber cushion. Store your tools in a dry, well-ventilated bedroom or vanity area rather than leaving them in a steamy bathroom. The constant humidity from daily hot showers creates the perfect environment for mold to thrive inside the damp, dark spaces of the bristle pad.
Conclusion
Taking excellent care of your grooming tools is the hidden secret to achieving consistently great hair days. Proper maintenance eliminates old product buildup, removes trapped bacteria, and prevents scalp irritation from dirty bristles. By following these careful steps, you ensure your natural tools remain beautiful and highly functional for many years to come. Remember that wood is delicate, so a gentle approach using mild soap and minimal water is always your best strategy.
Do not wait until your tools are visibly coated in dust and oil to take action. Make this cleaning routine a regular part of your monthly self-care schedule. If you want to maximize your hair health, mastering how to clean wooden hair brush effectively is the perfect place to start. Grab your mild soap, a small bowl, and a clean towel today to give your styling tools the attention and care they truly deserve.

About
Mike May is a distinguished figure in the world of woodworking and timber design, with a decade of expertise creating innovative and sustainable indoor solutions. His professional focus lies in merging traditional craftsmanship with modern manufacturing techniques, fostering designs that are both practical and environmentally conscious. As the author of Woodimber, Mike delves into the art and science of timber-craft, inspiring artisans and industry professionals alike.
Education
RMIT University (Melbourne, Australia)
-
Associate Degree in Design (Timber): Focus on sustainable design, industry-driven projects, and practical craftsmanship.
-
Gained hands-on experience with traditional and digital manufacturing tools, such as CAD and CNC software.
Nottingham Trent University (United Kingdom)
-
Bachelor’s in Woodworking and Product Design (Honors): Specialized in product design with a focus on blending creativity with production techniques.
-
Participated in industry projects, working with companies like John Lewis and Vitsoe to gain real-world insights.
Publications and Impact
In Woodimber, May shares his insights on timber design processes, materials, and strategies for efficient production. His writing bridges the gap between artisan knowledge and modern industry needs, making it a must-read for both budding designers and seasoned professionals.