

Building a new planter box or restoring an old garden bench is incredibly rewarding. As a home gardener, you likely spend hours ensuring your wooden outdoor features look beautiful and withstand the harsh elements. However, once the protective coating is applied, the cleanup process often feels overwhelming. Leaving a good brush to harden ruins the tool and wastes your hard-earned money.
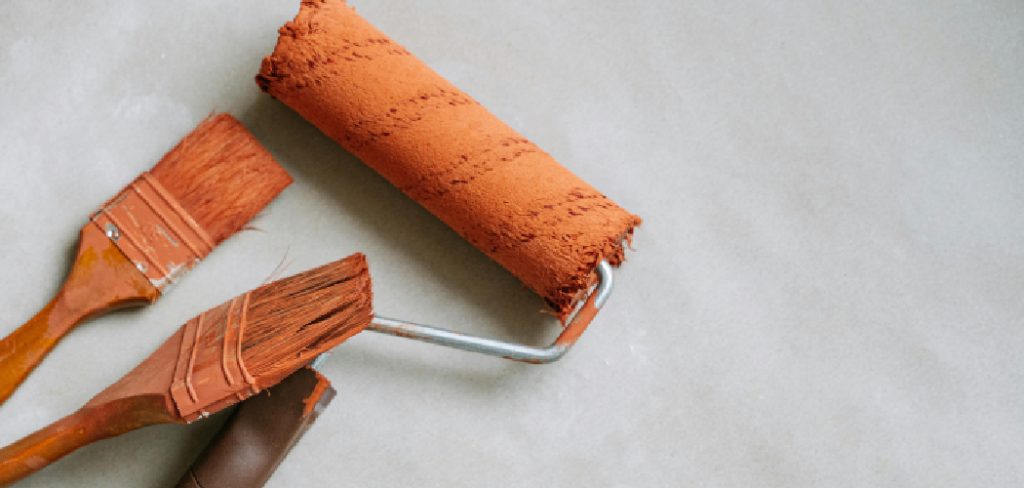
If you want to keep your painting tools in perfect condition for next season’s raised vegetable beds, learning how to clean wood stain brushes is an essential DIY skill. This beginner-friendly guide will walk you through the entire process from start to finish. You will learn the best methods for handling different types of finishes, ensuring your bristles stay soft, flexible, and ready for your next backyard project. Grab your dirty tools, set up a safe washing station, and let’s get started on saving your favorite brush.
Why Learning to Clean Your Brushes Matters
Wood projects are the backbone of a beautifully structured garden. From sturdy trellises for your climbing roses to heavy-duty raised beds for your vegetable harvest, wood needs proper sealing to survive sun and rain. Applying finishes protects these outdoor structures, but it takes a serious toll on your applicators. High-quality bristle tools are an investment, and throwing them away after a single coat of sealant is neither cost-effective nor environmentally friendly.
By properly maintaining your tools, you guarantee a smooth, streak-free application every time you build a new garden feature. Hardened, crusty bristles will leave unsightly grooves on your newly built patio furniture or birdhouse. Taking a few minutes to wash away the protective finish ensures your tool remains pliable and highly effective. Furthermore, responsible cleanup prevents harmful chemical solvents from damaging your delicate garden soil or contaminating the local water supply.
Step-by-Step Guide on How to Clean Wood Stain Brushes
Step 1: Identify Your Specific Stain Type
Before applying any liquid remover, you must determine exactly what kind of protective coating you used on your garden planter. Wood finishes generally fall into two distinct categories: oil-based and water-based. You can easily find this information by reading the back of the metal or plastic tin you just used. Water-based products are much easier to handle and only require basic household soap. Oil-based finishes demand a stronger chemical solvent like mineral spirits or paint thinner to break down the sticky resins. Mixing up the cleaning method will create a gooey mess that permanently ruins your applicator, so always double-check the label first.

Step 2: Wipe Away the Excess Liquid
Your immediate goal is to remove as much leftover product from the tool as physically possible before introducing any specialized cleaners. Grab a clean, dry rag, a thick paper towel, or some old newspaper. Gently press the bristles against the cloth, squeezing from the metal ferrule down toward the tips. Do not pull or yank the hairs roughly, as this will cause shedding during your next garden project. Squeezing out the leftover liquid significantly reduces the amount of solvent you will need to use later. It also prevents heavy clumps of color from dropping into your workspace or nearby garden beds.
Step 3: Prepare Your Cleaning Workspace
Setting up a proper washing station keeps your garden soil and patio stones safe from accidental chemical spills. Never wash your tools directly over your grass or vegetable patches, as the harsh liquids will destroy your plants. Find a well-ventilated area, preferably over a concrete driveway or a utility sink in your garage. Pour your chosen liquid cleaner into a small, disposable plastic container or an old glass jar. You only need enough liquid to submerge the bottom half of the bristles. Wearing a sturdy pair of rubber gloves is highly recommended to protect your skin from drying chemicals.
Step 4: Submerge and Swirl the Bristles
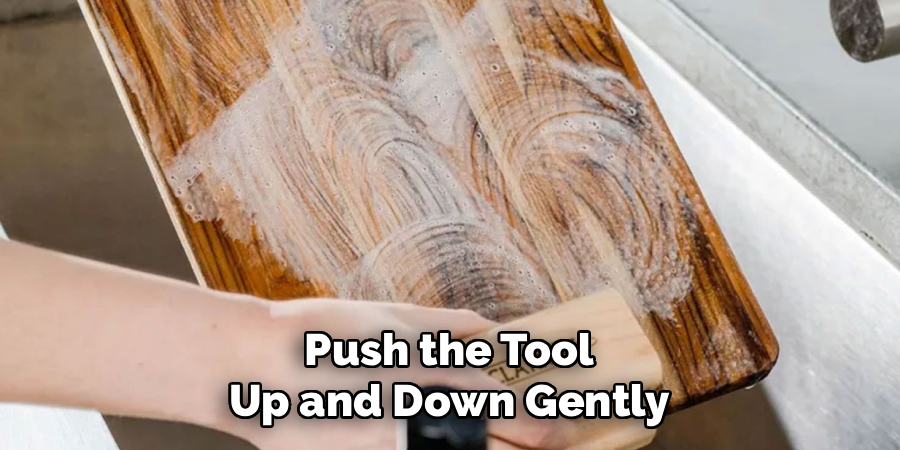
Dip the dirty bristles directly into your prepared container of solvent or warm soapy water. Push the tool up and down gently against the bottom of the jar to force the liquid deep into the center of the brush. You want the cleaner to penetrate all the way up to the metal base where the finish tends to hide and harden. Swirl the tool in a steady, circular motion for about a minute. You will quickly see the clear liquid change color as the heavy pigment releases from the synthetic or natural hairs into the surrounding bath.
Step 5: Work the Solvent Through the Hairs
After a good initial soak, lift the tool out of the bath and use your gloved fingers to massage the bristles. Carefully pinch the base of the hairs near the metal band and work your fingers downward to the tips. This massaging action loosens any stubborn, sticky pockets of color that the swirling motion missed. If you are cleaning a particularly thick oil-based product used on a large garden pergola, you might need a specialized wire comb. Gently drag the comb through the hairs to separate them and pull out heavy clumps without ripping the bristles out entirely.
Step 6: Repeat the Submersion Process
The first bath will likely become saturated with dark color very quickly, making it less effective for a thorough wash. Dispose of this dirty liquid according to your local waste regulations and pour a fresh batch of solvent or soapy water into the jar. Dip your tool back into the clean liquid and repeat the swirling motion. You must continue this cycle of soaking, swirling, and changing the bath until the liquid remains completely clear. Achieving a clear bath guarantees that no hidden pigment remains trapped inside to harden your tool before your next backyard building session.
Step 7: Brushes With a Final Rinse
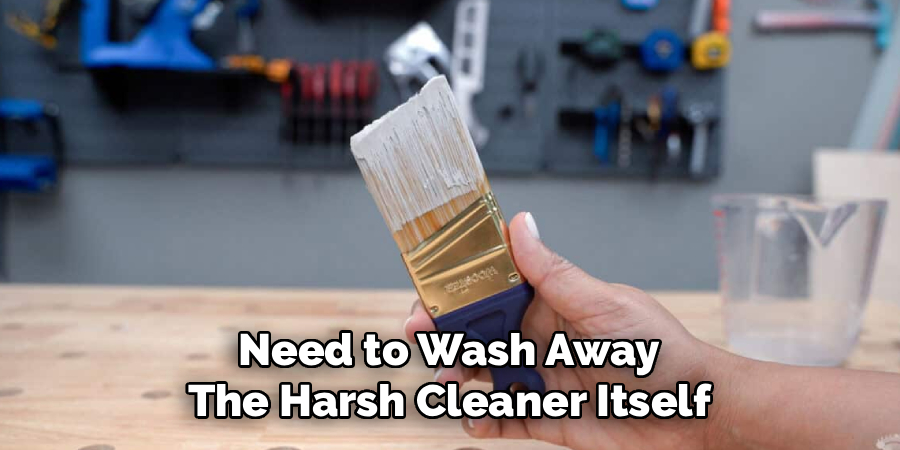
Once the chemical solvent has done its job removing the heavy oil-based finish, you need to wash away the harsh cleaner itself. Take your tool to a utility sink and run it under warm water. Add a few drops of standard dish detergent to the bristles and lather it up into a thick foam. This final soapy wash breaks down any lingering mineral spirits that might degrade the glue holding the hairs together. Rinse the tool thoroughly under the running tap until the water runs completely clear and all slippery soap bubbles have disappeared from the applicator.
Step 8: Shape and Dry the Tool Properly
The final stage is preparing your equipment for long-term storage in your potting shed. Gently shake the tool to remove excess dripping water, or press it lightly against a dry cotton towel. Use your fingers to mold the wet hairs back into their original smooth, tapered shape. If you let the tool dry with bent or splayed hairs, it will remain permanently deformed and useless for cutting sharp edges on garden planters. Hang the tool upside down by the handle or lay it completely flat on a clean surface so air can circulate freely around the bristles.
Frequently Asked Question
Can I Use Vinegar To Wash My Painting Tools?
Yes, warm white vinegar is an excellent, eco-friendly alternative for breaking down dried water-based finishes, though it struggles with heavy oils.
- Heat a cup of plain white vinegar in the microwave.
- Submerge the hardened bristles and let them soak for thirty minutes.
- Wash with hot, soapy water afterward.
This method is particularly safe for home gardeners who want to avoid pouring harsh chemical solvents near their flower beds or lawn areas.
What Should I Do With Dirty Mineral Spirits?
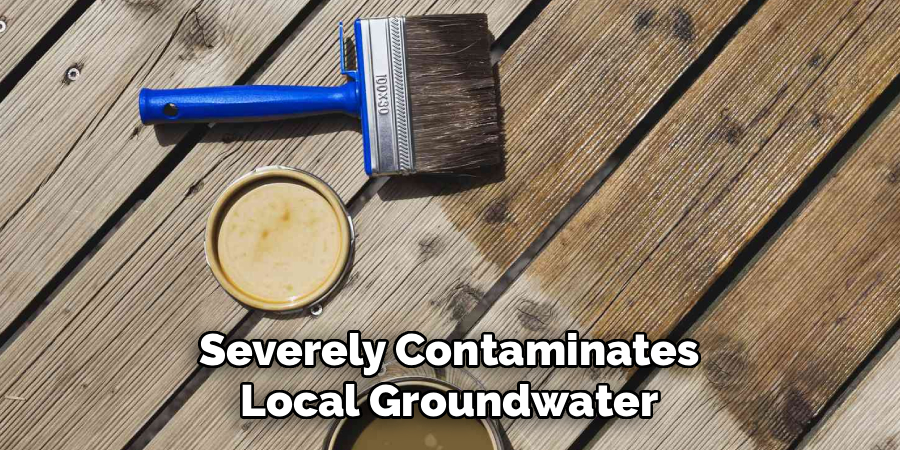
You must never pour dirty mineral spirits down a household drain, storm sewer, or into your backyard soil, as this severely contaminates local groundwater.
- Pour the dirty solvent into a sealed glass jar.
- Let the heavy color pigments settle to the bottom over a few days.
- Carefully pour the clear top liquid into a fresh container to reuse later.
Take the remaining thick sludge to your local hazardous waste disposal facility.
How Long Can I Leave My Tool Before Washing It?
You should wash your tool immediately after finishing your backyard project. Allowing the protective coating to sit for even an hour can cause the synthetic or natural hairs to harden permanently.
- If you need a short break, wrap the wet bristles tightly in plastic wrap.
- Place the wrapped tool in a cool, shaded spot.
This trick prevents air exposure and keeps the liquid wet for a few hours until you are ready to resume painting.
Can I Use The Same Applicator For Paint And Clear Coats?
While it is technically possible, professional builders and seasoned gardeners generally avoid mixing applications with the exact same tool.
- Even after rigorous washing, microscopic pigments can remain trapped near the metal ferrule.
- These hidden pigments can bleed out into a clear protective topcoat, ruining the natural wood grain.
For the best possible results, dedicate one specific tool exclusively for dark colors and a separate one for clear protective sealants.
Why Are My Bristles Stiff After Drying?
Stiff or crunchy hairs usually indicate that microscopic amounts of the finishing product were left behind deep near the base of the applicator.
- You may not have swirled the tool long enough in the cleaning bath.
- You might have skipped the final warm, soapy water rinse.
To fix this, simply soak the hardened tool in a high-quality restorer or warm vinegar for a few hours, then use a wire comb to brush out the softened residue.
Conclusion
Maintaining your gardening infrastructure requires dedication, and taking care of the tools you use to build it is just as important. Knowing the difference between water-based and oil-based products ensures you choose the right solvent every time. By taking a few extra minutes to squeeze out excess liquid, swirl the bristles in a dedicated bath, and finish with a warm soapy rinse, you preserve the lifespan of your favorite applicators.
Do not let the fear of a messy cleanup stop you from restoring that weathered backyard bench or building a brand-new set of raised vegetable beds. Armed with these simple maintenance techniques, you can tackle any outdoor woodworking project with absolute confidence. Now that you know exactly how to clean wood stain brushes, you are fully prepared to protect your wooden garden features and keep your tools in pristine condition for many growing seasons to come.

About
Mike May is a distinguished figure in the world of woodworking and timber design, with a decade of expertise creating innovative and sustainable indoor solutions. His professional focus lies in merging traditional craftsmanship with modern manufacturing techniques, fostering designs that are both practical and environmentally conscious. As the author of Woodimber, Mike delves into the art and science of timber-craft, inspiring artisans and industry professionals alike.
Education
RMIT University (Melbourne, Australia)
-
Associate Degree in Design (Timber): Focus on sustainable design, industry-driven projects, and practical craftsmanship.
-
Gained hands-on experience with traditional and digital manufacturing tools, such as CAD and CNC software.
Nottingham Trent University (United Kingdom)
-
Bachelor’s in Woodworking and Product Design (Honors): Specialized in product design with a focus on blending creativity with production techniques.
-
Participated in industry projects, working with companies like John Lewis and Vitsoe to gain real-world insights.
Publications and Impact
In Woodimber, May shares his insights on timber design processes, materials, and strategies for efficient production. His writing bridges the gap between artisan knowledge and modern industry needs, making it a must-read for both budding designers and seasoned professionals.