

As a home gardener, you are no stranger to tracking soil, water, and plant debris into your home. Finding a flooring material that can withstand the rigors of a garden-centric lifestyle is essential. Wood-look tile offers the perfect solution, combining the rustic, natural beauty of hardwood with the incredible durability of porcelain or ceramic. This means you can have a floor that looks like a charming potting shed but cleans up with the ease of a tile surface. However, to keep it looking its best, you need the right cleaning method. This guide will walk you through exactly how to clean wood look tile, ensuring your floors remain beautiful and ready for whatever your gardening hobby throws their way.
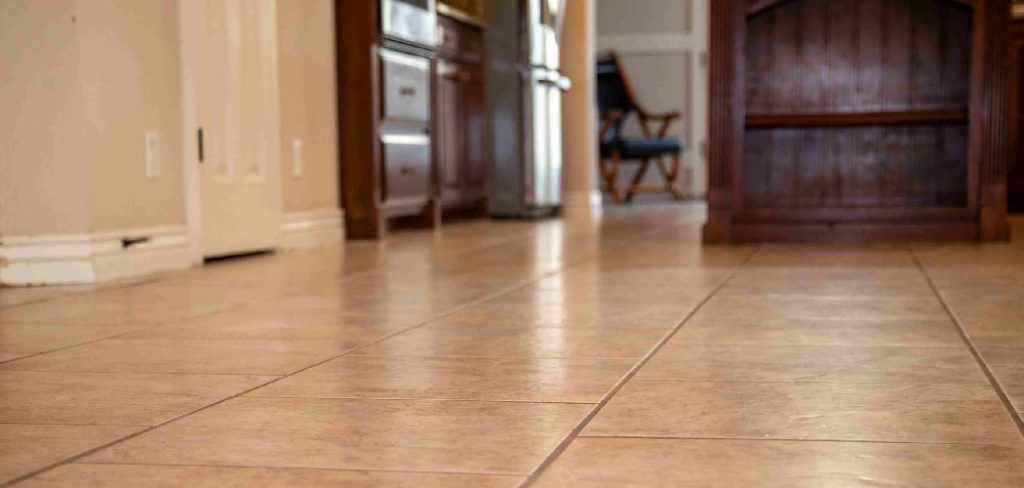
When it comes to cleaning wood look tile, it’s important to strike the right balance between maintaining its unique appearance and ensuring its longevity. Unlike traditional wood floors, wood look tile is resistant to water damage and easier to maintain, but it still requires specific care to preserve its finish and texture. With the right approach, you can keep your floors looking as stunning and fresh as the day they were installed.
Why This Flooring is a Gardener’s Top Choice
For those with a green thumb, flooring in high-traffic areas like mudrooms, sunrooms, or kitchens needs to be exceptionally resilient. This is where wood-look tile truly shines and has become a favorite among plant lovers. Unlike real hardwood, which can warp, scratch, and stain when exposed to water, mud, and dropped pots, porcelain tile is virtually indestructible. It resists scratches from gardening tools, is impervious to water from overflowing saucers, and will not stain from spilled soil or fertilizer. The textured surface provides excellent grip, even when wet, making it a safer choice. Best of all, cleanup is incredibly simple, allowing you to quickly wipe away dirt and get back to your plants without worrying about damaging your beautiful floors.
7 Step-by-Step Guide on How to Clean Wood Look Tile
Step 1: Sweep or Vacuum All Loose Debris
Your first step is to remove all the loose dirt, dust, and garden debris from the floor. Use a soft-bristled broom or a vacuum cleaner with a hard floor attachment. Pay special attention to the grout lines, as this is where fine particles of soil and dust tend to accumulate. The textured surface of wood-look tile, which gives it its realistic appearance, can trap more dirt than a smooth tile. A thorough initial sweep is crucial because mopping a floor covered in grit will only turn the dirt into mud and push it deeper into the texture and grout lines, making your job harder.
Step 2: Prepare Your Gentle Cleaning Solution
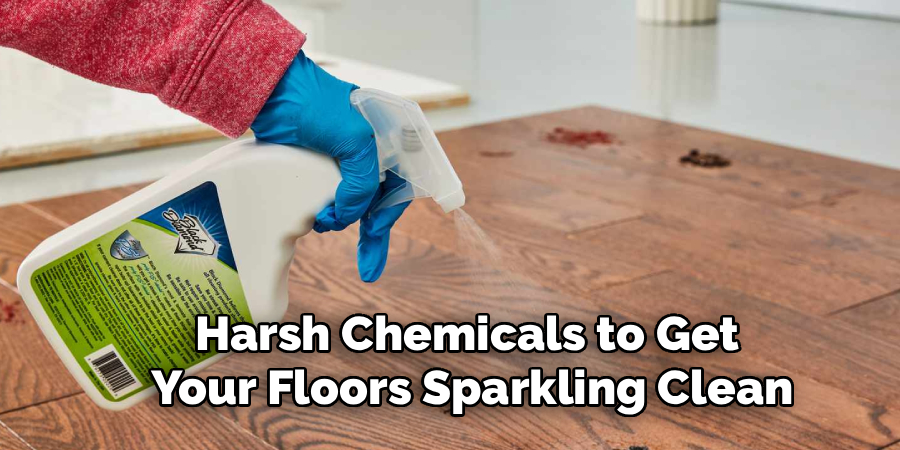
You do not need harsh chemicals to get your floors sparkling clean. In fact, aggressive cleaners can damage the grout or leave a dulling residue on the tile. The best solution is often the simplest. Fill a bucket with one gallon of warm water and add about a quarter-cup of a mild, pH-neutral cleaner. A gentle dish soap or a specialized tile cleaner works perfectly. For a more natural approach, you can use a half-cup of white vinegar instead of soap. This simple mixture is powerful enough to cut through dirt and grime without harming your flooring.
Step 3: Mop the Floor with a Microfiber Mop
Now it is time to mop. Submerge a microfiber flat mop head into your cleaning solution and wring it out thoroughly. You want the mop to be damp, not sopping wet. Mopping with too much water can lead to streaks and push dirty water into the grout lines, where it can settle and cause discoloration. Mop the floor in sections, working your way from the farthest corner of the room toward the exit. The microfiber material is excellent at grabbing and lifting dirt from the tile’s textured surface, rather than just pushing it around like a traditional string mop might.
Step 4: Pay Attention to the Direction of the “Grain”
One of the best techniques for how to clean wood look tile effectively is to follow the direction of the faux wood grain. Just as you would with real hardwood, mop in long, linear strokes that run parallel to the length of the tiles. This method helps the mop head get into the subtle grooves and textures of the tile, lifting out any trapped dirt. Mopping against the grain can sometimes push dirt deeper into these textures. This small adjustment in your technique makes a significant difference in achieving a truly deep clean and enhancing the floor’s natural-looking appearance.
Step 5: Tackle the Grout Lines if Necessary
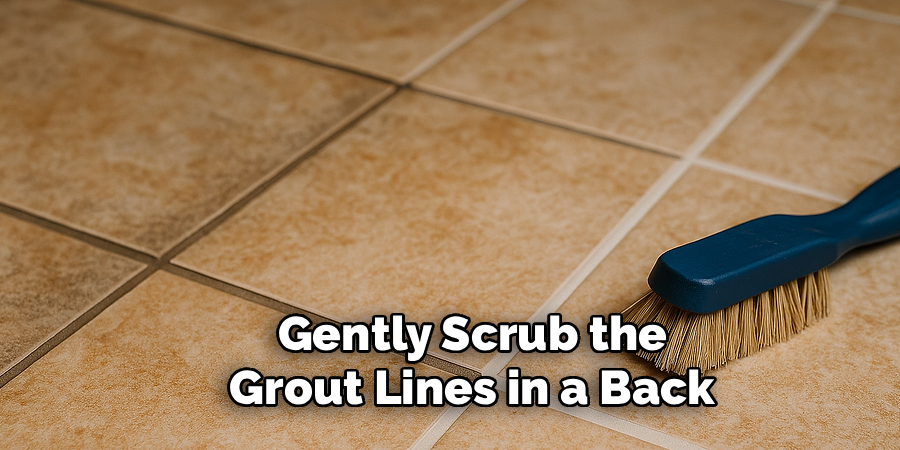
Over time, grout lines can become discolored from tracked-in soil and grime. If you notice your grout looks dingy, you will need to give it some extra attention. After mopping, dip a stiff-bristled grout brush (not a wire brush, which can cause damage) into your cleaning solution. Gently scrub the grout lines in a back-and-forth motion. For stubborn stains, you can create a paste using baking soda and water. Apply the paste to the grout, let it sit for about ten minutes, and then scrub it away. This targeted cleaning will restore your grout to its original color.
Step 6: Rinse the Floor with Clean Water
After you have finished mopping with the cleaning solution, it is important to rinse the floor. This step removes any soapy residue that could leave the floor looking dull or feeling sticky. Empty your bucket, rinse it out, and fill it with fresh, clean water. Using a clean, damp microfiber mop head, go over the entire floor one more time. This simple rinse picks up any lingering dirt and ensures that your floors will dry to a streak-free, beautiful finish, allowing the rich color and texture of the wood-look tile to shine through.
Step 7: Dry the Floor Thoroughly to Prevent Spots
The final step is to dry the floor. While you can let it air dry, using a clean, dry microfiber cloth or towel to dry the surface is the best way to prevent water spots and streaks, especially if you have hard water. Drying the floor immediately also helps prevent any remaining dirt in the water from settling back into the grout lines as it evaporates. Work in sections, just as you did when mopping, until the entire surface is dry. This last bit of effort ensures a perfect, professional-looking result every time.
Frequently Asked Questions
Can I Use a Steam Mop on Wood-Look Tile?
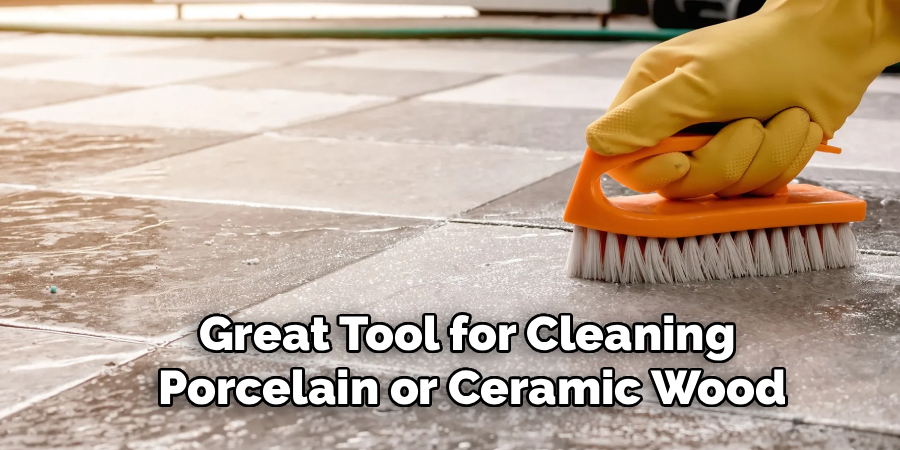
Yes, in most cases, a steam mop is a great tool for cleaning porcelain or ceramic wood-look tile. Steam is very effective at sanitizing and cutting through grime without chemicals. However, you should use it with caution. Avoid holding the steam mop in one spot for too long, and be mindful of your grout. If your grout is unsealed, cracked, or damaged, the high heat and moisture from the steam could cause further issues.
What Cleaners Should I Avoid Using?
You should avoid using harsh, abrasive, or acidic cleaners. This includes:
- Cleaners with ammonia or bleach, which can discolor grout over time.
- Oil-based cleaners or wax polishes, as they do not absorb into the tile and will leave a slippery, residue-collecting film.
- Abrasive powders or scouring pads, which can scratch the tile’s surface finish.
Always stick to a gentle, pH-neutral cleaner.
How Can I Remove Haze from My Tile?
A hazy or cloudy film on your tile is usually caused by leftover cleaner residue. The best way to remove it is with a simple solution of water and white vinegar. Mix one cup of white vinegar with one gallon of warm water. Mop the floor with this solution and then rinse thoroughly with clean water. Drying the floor immediately with a microfiber towel will also help eliminate any haze and restore the shine.
How Often Should I Deep Clean My Floors?
The frequency of deep cleaning depends on how much traffic the area gets. For a gardener’s mudroom or entryway that sees daily dirt, a quick sweep or vacuum should be done every day or two. A thorough mopping and deep clean should be performed weekly. For less-trafficked areas, sweeping once a week and mopping every two to four weeks is usually sufficient to keep the floors looking great.
Is Sealing the Grout Necessary?
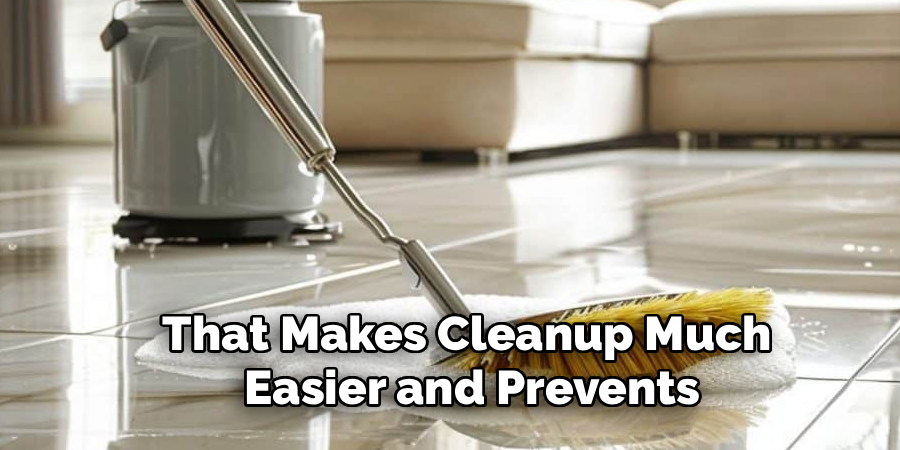
While not always required, sealing your grout is highly recommended, especially in areas prone to dirt and moisture like a gardener’s workspace. Grout is porous and can easily absorb dirt, water, and stains. Applying a quality grout sealer creates a protective barrier that makes cleanup much easier and prevents discoloration, keeping your floor looking new for years to come.
Conclusion
Wood-look tile is an ideal flooring choice for any gardener, offering the perfect blend of rustic charm and rugged durability. Keeping it looking as beautiful as the day it was installed is simple with a consistent and gentle cleaning routine. By regularly sweeping away loose soil, mopping with a pH-neutral cleaner, and paying attention to the grout, you can easily manage any mess your gardening hobby creates. Remember that the key is using the right tools, like a microfiber mop, and avoiding harsh chemicals that can leave residue. Now that you know how to clean wood look tile, you can enjoy your beautiful, practical floors without stress.

About
Mike May is a distinguished figure in the world of woodworking and timber design, with a decade of expertise creating innovative and sustainable indoor solutions. His professional focus lies in merging traditional craftsmanship with modern manufacturing techniques, fostering designs that are both practical and environmentally conscious. As the author of Woodimber, Mike delves into the art and science of timber-craft, inspiring artisans and industry professionals alike.
Education
RMIT University (Melbourne, Australia)
-
Associate Degree in Design (Timber): Focus on sustainable design, industry-driven projects, and practical craftsmanship.
-
Gained hands-on experience with traditional and digital manufacturing tools, such as CAD and CNC software.
Nottingham Trent University (United Kingdom)
-
Bachelor’s in Woodworking and Product Design (Honors): Specialized in product design with a focus on blending creativity with production techniques.
-
Participated in industry projects, working with companies like John Lewis and Vitsoe to gain real-world insights.
Publications and Impact
In Woodimber, May shares his insights on timber design processes, materials, and strategies for efficient production. His writing bridges the gap between artisan knowledge and modern industry needs, making it a must-read for both budding designers and seasoned professionals.