 (1)")

Wood furniture adds warmth and character to any home, but the inside of those beautiful drawers can quickly become a magnet for dust, crumbs, and mystery stains. We often focus on polishing the exterior while neglecting the interior storage spaces where our clothes, utensils, and keepsakes actually live. Ignoring these spaces can lead to musty smells and even damage to the wood over time.
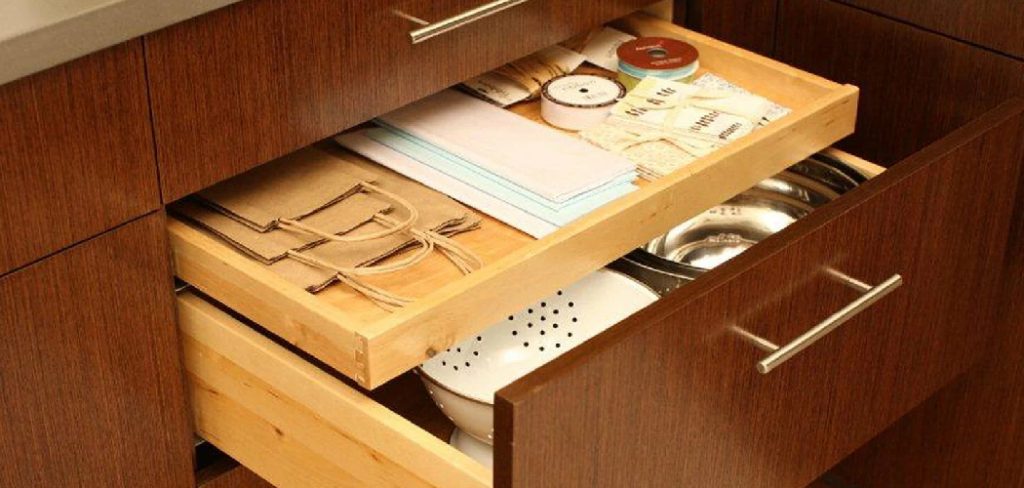
This guide on how to clean wood drawers is designed to help you tackle this neglected chore with confidence. We will walk you through everything you need to know to refresh your wooden drawers, from the initial empty-out to the final polish.
Whether you are dealing with an antique dresser or modern kitchen cabinetry, these steps will ensure your drawers remain clean, fresh, and beautiful for years to come.
What are the Benefits?
Taking the time to deep clean your wood drawers offers more advantages than just a tidy appearance. It is an essential part of home maintenance that protects your investment.
- Preservation of Wood: Dirt and grime can trap moisture, which is the enemy of wood. Regular cleaning prevents warping and rot.
- Odor Elimination: Old wood can develop a distinct musty smell. Cleaning removes the bacteria and mold spores that cause these odors, keeping your belongings smelling fresh.
- Pest Prevention: Crumbs and dust bunnies are inviting to pests like moths and silverfish. A clean drawer is a pest-free zone.
- Protection of Belongings: Clean drawers mean clean clothes and utensils. You won’t have to worry about staining your favorite sweater or washing a fork before using it.
- Enhanced Aesthetics: Even the inside of a drawer looks better when the wood grain is visible and glowing, rather than covered in a layer of gray dust.
What Will You Need?
Before you start pulling out drawers, gather these supplies. Having everything within reach will make the process much smoother.
- Vacuum cleaner with a crevice attachment and a brush attachment
- Microfiber cloths (at least 3-4 clean ones)
- Mild dish soap (avoid harsh chemicals)
- Warm water
- Bucket or large bowl
- White vinegar (for tough odors or mold)
- Wood cleaner or oil soap (optional, for deep cleaning)
- Old toothbrush (for corners)
- Dry towel
- Baking soda (for deodorizing)
- Drawer liners (optional, for after cleaning)
10 Easy Steps on How to Clean Wood Drawers
Cleaning wood requires a delicate balance. You need to be tough on dirt but gentle on the material. Follow these ten steps to get the job done right without damaging your furniture.
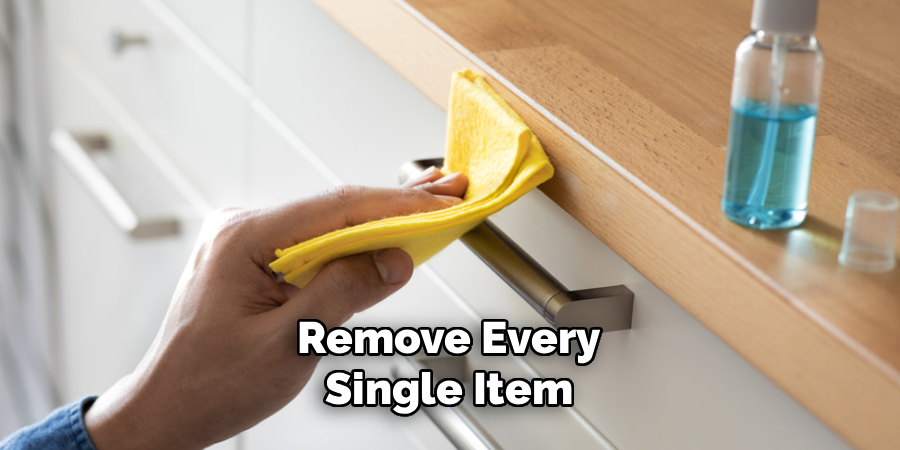
Step 1: Empty the Drawers Completely
The first step might seem obvious, but it is the most important. You cannot effectively clean a drawer while working around socks or silverware. Remove every single item. As you take things out, this is a perfect opportunity to declutter. If you find items you haven’t used in a year, consider donating or discarding them. Place the contents in a laundry basket or on a table nearby so the drawer is completely bare. This gives you full access to every corner and crevice that has been hiding dust for years.
Step 2: Remove the Drawers (If Possible)
For the best results, take the drawer out of the cabinet or dresser entirely. Most modern drawers have release levers on the tracks, while older wooden drawers often just need to be pulled out and tilted slightly up. Removing the drawer allows you to clean the back, the underside, and the rails, which often collect just as much dust as the interior. If a drawer is stuck or built-in, don’t force it; you can still clean it in place, but you will need to be extra careful with your water usage.
Step 3: Vacuum the Interior
Before introducing any liquid, you must remove the dry debris. Using a wet cloth on a dusty surface just creates mud, which can get stuck in the wood grain. Use your vacuum’s hose attachment to suck up loose dirt, lint, hair, and crumbs. The crevice tool is invaluable here for getting into the sharp corners where debris tends to pack down. Run the brush attachment along the bottom and sides to loosen any stubborn dust bunnies clinging to the wood fibers.
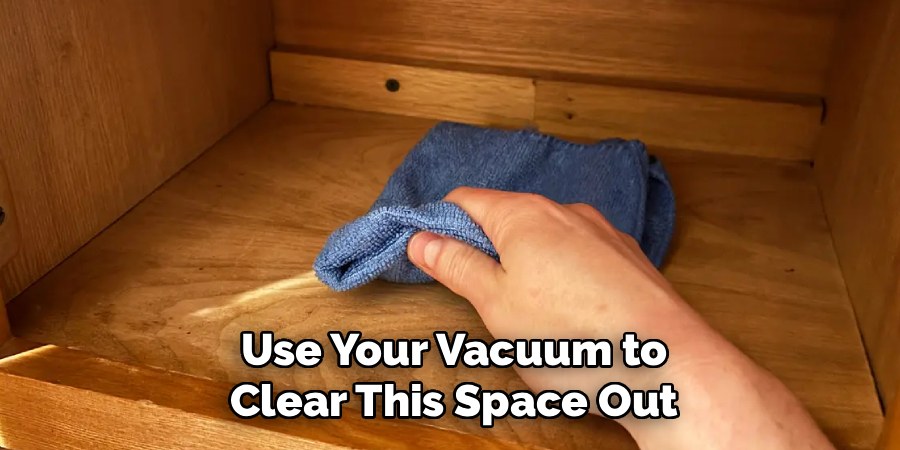
Step 4: Clean the Runners and Cabinet Interior
While the drawer is out, take a moment to look inside the empty cavity of the furniture piece. You will likely find dust bunnies inhabiting the corners and coating the drawer runners. Use your vacuum to clear this space out. Wipe down the metal or wood runners with a slightly damp microfiber cloth. If the runners are metal and feel sticky, you might need a specialized degreaser, but usually, warm soapy water does the trick. Clean tracks ensure your drawers glide smoothly when you put them back.
Step 5: Prepare Your Cleaning Solution
Wood is sensitive to moisture, so you should never soak it. Create a gentle cleaning solution by mixing a few drops of mild dish soap into a bucket of warm water. You want suds, but not a heavy concentration of soap, which can leave a sticky residue. Alternatively, if you are dealing with very old or grime-caked wood, you might opt for a specialized oil soap diluted according to the bottle’s instructions. Avoid harsh all-purpose sprays that contain ammonia or bleach.
Step 6: Wipe Down with a Damp Cloth
Dip a clean microfiber cloth into your solution and wring it out until it is barely damp. It should not be dripping. Wipe down the interior bottom and sides of the drawer. Move with the grain of the wood, not against it. This helps lift dirt out of the tiny grooves rather than pushing it deeper in. Rinse your cloth frequently in the bucket and wring it out thoroughly each time. If you encounter sticky spots, rub gently in a circular motion, but avoid scrubbing so hard that you strip the finish.
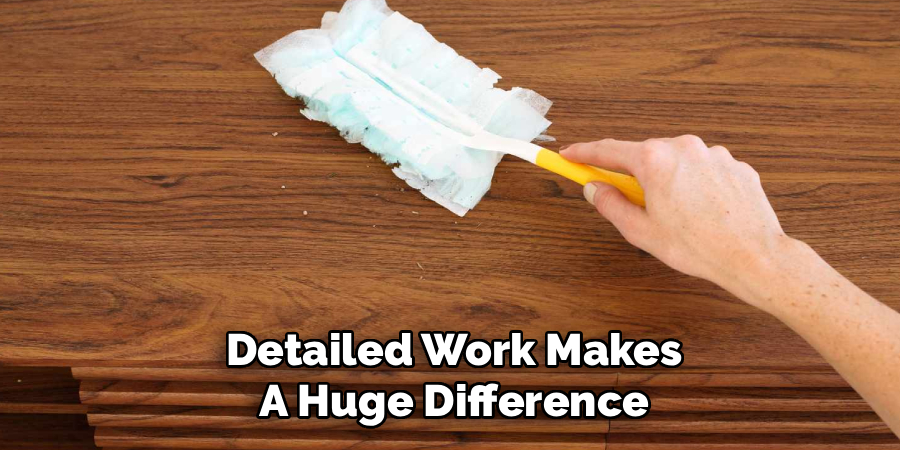
Step 7: Tackle Corners with a Toothbrush
The corners of drawers are notorious for trapping grime that a cloth simply can’t reach. Dip an old, soft-bristled toothbrush into your soapy water (shake off the excess liquid) and gently scrub the corners and seams where the bottom meets the sides. This is often where “gunk” accumulates. Once you have loosened the dirt, use a dry corner of your microfiber cloth or a cotton swab to lift the debris out. This detailed work makes a huge difference in the final look of the drawer.
Step 8: Rinse with Clean Water
Soap residue can attract more dirt over time, making your drawers get dirtier faster. Once you have washed the interior, empty your bucket and refill it with plain, clean water. Take a fresh microfiber cloth, dampen it, and wipe down all the surfaces you just cleaned. This “rinse” step ensures that no soap film remains on the wood. Again, ensure the cloth is only damp, not wet. You want to remove soap, not saturate the wood fibers.
Step 9: Dry Immediately and Thoroughly
Moisture is the biggest risk when cleaning wood. After rinsing, immediately take a dry, soft towel and wipe down every surface to remove any remaining surface moisture. Do not let the wood air dry while wet. Once you have towel-dried it, leave the drawer out of the cabinet in a well-ventilated room (or even outside in the shade on a dry, breezy day) for a few hours. Ensure it is bone dry before you even think about putting the contents back in.
Step 10: Deodorize and Line (Optional)
If the drawer still smells musty after cleaning, sprinkle baking soda inside and let it sit for a few hours or overnight before vacuuming it out. Alternatively, wipe the interior with a solution of equal parts water and white vinegar—the vinegar smell will dissipate as it dries, taking the musty odor with it. Once dry and fresh, consider adding a drawer liner. Liners protect the wood from future spills and stains, making your next cleaning session as simple as wiping down the liner or replacing it.
5 Things You Should Avoid
To protect the integrity of your wood furniture, steer clear of these common mistakes.
- Soaking the Wood: Never pour water directly into the drawer. Excess water causes wood to swell, warp, and crack, potentially ruining the drawer’s fit.
- Using Harsh Chemicals: Avoid bleach, ammonia, or abrasive scrubbing powders. These can strip the finish, discolor the wood, and damage the structural integrity of the fibers.
- Ignoring Drying Time: Rushing to refill the drawer while it is still damp creates a breeding ground for mold and mildew, undoing all your hard work.
- Using Rough Sponges: Steel wool or rough scouring pads will scratch the finish of the wood. Stick to soft microfiber cloths or soft-bristled brushes.
- Forcing Drawers Out: If a drawer doesn’t slide out easily, don’t yank it. You might break the tracks or the drawer front. Investigate the mechanism first.
Conclusion
Cleaning wood drawers is a manageable task that yields great rewards. By following these simple steps, you extend the life of your furniture and create a cleaner, healthier home environment. It’s about more than just hygiene; it’s about respecting the craftsmanship of your home’s interior.
Hopefully, this guide on how to clean wood drawers has helped you understand the importance of regularly cleaning and maintaining your wood drawers. Remember to use gentle cleaning methods, avoid harsh chemicals, and always follow the manufacturer’s instructions.
So grab your vacuum and a cloth, and give your drawers the refresh they deserve. Your clothes, keepsakes, and kitchen tools will thank you.
About
Mike May is a distinguished figure in the world of woodworking and timber design, with a decade of expertise creating innovative and sustainable indoor solutions. His professional focus lies in merging traditional craftsmanship with modern manufacturing techniques, fostering designs that are both practical and environmentally conscious. As the author of Woodimber, Mike delves into the art and science of timber-craft, inspiring artisans and industry professionals alike.
Education
RMIT University (Melbourne, Australia)
-
Associate Degree in Design (Timber): Focus on sustainable design, industry-driven projects, and practical craftsmanship.
-
Gained hands-on experience with traditional and digital manufacturing tools, such as CAD and CNC software.
Nottingham Trent University (United Kingdom)
-
Bachelor’s in Woodworking and Product Design (Honors): Specialized in product design with a focus on blending creativity with production techniques.
-
Participated in industry projects, working with companies like John Lewis and Vitsoe to gain real-world insights.
Publications and Impact
In Woodimber, May shares his insights on timber design processes, materials, and strategies for efficient production. His writing bridges the gap between artisan knowledge and modern industry needs, making it a must-read for both budding designers and seasoned professionals.