

Wooden furniture brings warmth and character to any room, but daily use quickly leaves behind smudges, dust, and sticky residue. Whether you inherited a vintage dining set or purchased a brand-new seating arrangement, proper maintenance ensures your pieces last for generations. Many homeowners feel nervous about damaging delicate finishes, often avoiding deep cleaning altogether to prevent accidental warping or discoloration.
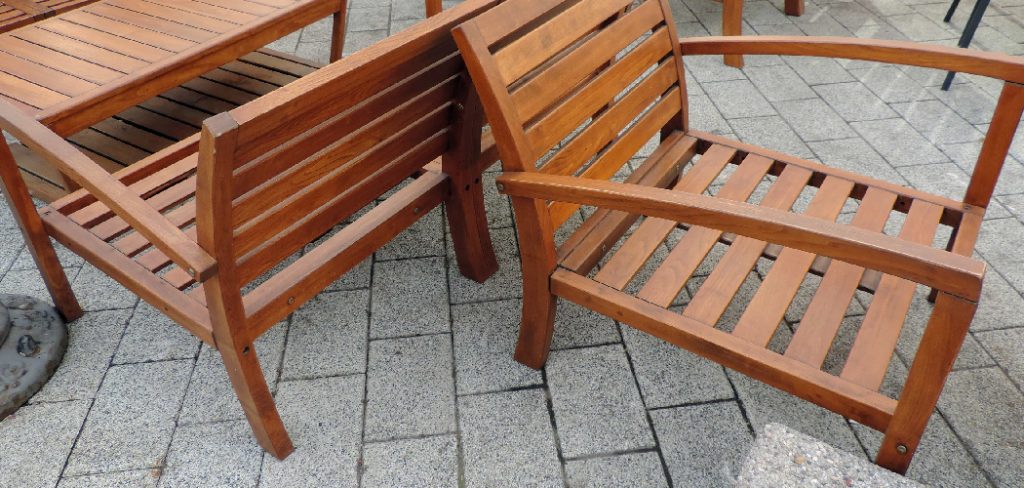
You do not need expensive commercial chemicals to restore that beautiful natural shine. Learning exactly how to clean wood chairs requires only a few basic household supplies and a gentle touch. This comprehensive guide breaks down the safest methods to lift dirt without stripping the protective clear coat.
We will walk you through preparation, gentle washing techniques, and final polishing steps. By the end of this read, you will have the confidence to tackle grime and keep your seating looking absolutely pristine year after year. Let us dive into the best practices for safe, effective furniture care.
Why Proper Wood Care Matters
Neglecting your wooden furniture leads to more than just an unsightly appearance. Dust particles actually possess microscopic jagged edges. When you sit on a dusty seat, you unknowingly grind these sharp particles into the finish, creating tiny scratches over time. Eventually, this wear and tear dulls the protective layer, leaving the raw timber beneath vulnerable to moisture and structural damage.
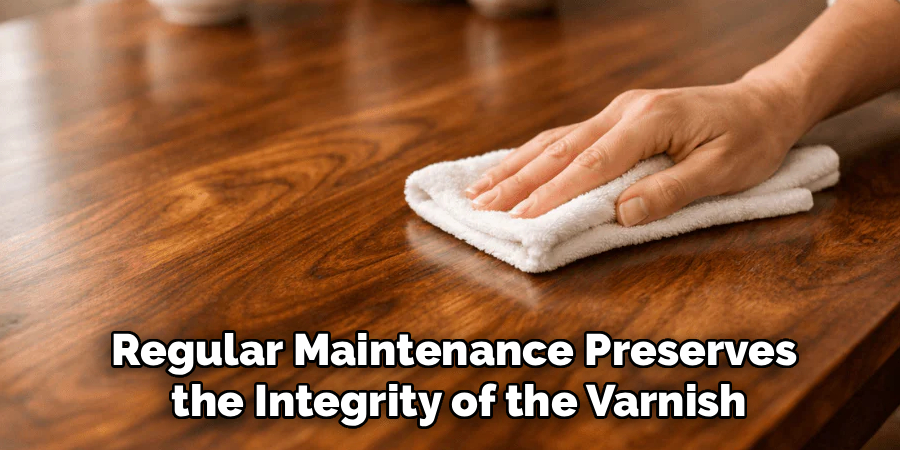
Regular maintenance preserves the integrity of the varnish, polyurethane, or wax coating that seals the timber. Moisture remains the greatest enemy of any timber product. When the protective barrier breaks down, humidity seeps into the grain, causing warping, cracking, or splitting. Simple, routine care prevents these costly issues.
You save money by extending the lifespan of your pieces and avoiding expensive professional restoration services. Taking a few minutes to wipe down your furniture protects your investment, maintains the inviting atmosphere of your dining space, and keeps the structural joints strong for daily use.
Step-by-Step Cleaning Guide on How to Clean Wood Chairs
Step 1: Dusting the Surface Thoroughly
Before introducing any moisture to your furniture, you must remove all loose debris. Use a dry microfiber cloth or a soft-bristled brush to gently sweep away dust from every surface. Pay special attention to the crevices, spindles, and carved details where pet hair and dirt love to hide.
Avoid using feather dusters, as they tend to simply push the dust around rather than trapping it effectively. Wiping away this top layer of debris prevents you from creating a muddy slurry once you apply your liquid solution. Take your time to reach underneath the seat and around the legs. A thorough dry dusting sets the foundation for a flawless finish and protects the clear coat from abrasive scratching during the washing phase.
Step 2: Preparing a Gentle Cleaning Solution
You do not need harsh chemicals to remove stubborn grime from your furniture. The most effective mixture usually involves items you already have sitting in your kitchen pantry. Fill a small bucket with warm water and add just a few drops of mild dish soap. Stir the water gently until light suds form on the surface. When figuring out how to clean wood chairs safely, less is always more regarding detergent.
Too much soap leaves a cloudy film behind that requires aggressive buffing to remove. Alternatively, you can mix equal parts water and white vinegar for a natural degreasing option. This diluted solution cuts through heavy oils left behind by bare hands while remaining perfectly safe for standard polyurethane and varnish finishes.
Step 3: Testing the Solution on a Hidden Area
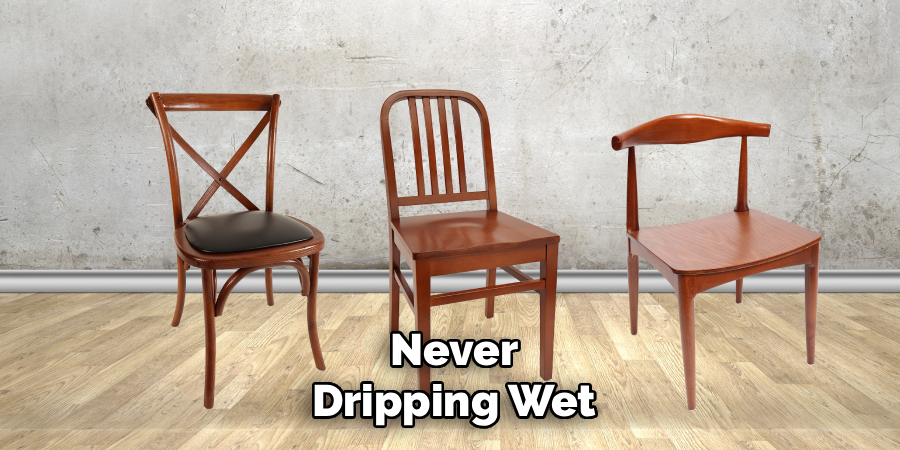
Never apply a new mixture directly to the most visible part of your furniture without testing it first. Dip the corner of a clean microfiber rag into your soapy water and wring it out completely. The fabric should feel barely damp, never dripping wet. Rub this damp cloth on a small, inconspicuous spot, such as the inside of a back leg or underneath the seat frame.
Wait a few minutes to see how the finish reacts to the moisture. If the clear coat turns cloudy, softens, or transfers color onto your rag, stop immediately. A negative reaction means the finish is compromised or requires specialized solvent care. If the test spot looks perfectly fine and dries clear, you can safely proceed with washing the entire piece.
Step 4: Wiping Down the Main Surfaces
Once you confirm your soapy water is safe, begin wiping down the entire piece working from the top down. Dip your cloth into the bucket and wring it out until it is practically dry. Wipe the backrest, armrests, and seat using smooth, even strokes that follow the natural grain of the timber. Following the grain ensures you lift dirt out of the microscopic grooves rather than pushing it deeper inside.
Work in small sections so the moisture does not sit on the surface for more than a few moments. Immediately follow up with a second, completely dry microfiber cloth to buff away any residual dampness. Never let water pool or air-dry on the surface, as this creates permanent cloudy water spots that ruin the aesthetic.
Step 5: Tackling Sticky Spots and Grime
Dining seating often accumulates stubborn, sticky messes from spilled food or greasy hands. When standard soapy water fails to lift a hardened spot, avoid the temptation to scrub vigorously. Instead, lightly dampen your cloth with mineral spirits for varnished pieces to lift the heavy grease. If you want a natural approach for how to clean wood chairs with heavy buildup, place a steeped black tea bag over the sticky residue for a minute.
The tannic acid in the tea breaks down the grease without harming the surrounding clear coat. Gently wipe the softened grime away with a damp rag. For tough physical residue like dried food, use the edge of an old credit card to carefully scrape the lump parallel to the surface. Never use abrasive sponges.
Step 6: Drying the Wood Completely
Moisture management remains the most critical aspect of this entire process. Even after buffing each section with a dry rag during the washing phase, residual dampness can linger in tight joints and decorative carvings. Grab a fresh, highly absorbent cotton towel and give the entire piece one final, meticulous wipe down.

Pay close attention to the seams where the legs meet the seat, as water naturally pools in these small gaps. If the room feels particularly humid, turn on a ceiling fan or open a window to encourage faster evaporation. The timber must be absolutely bone dry before you attempt to apply any protective waxes or polishes. Trapping moisture underneath a fresh layer of wax causes a milky discoloration known as blushing.
Step 7: Applying Polish or Wax for Protection
With the surface completely clean and dry, restore the brilliant shine by applying a high-quality furniture paste wax or a silicone-free liquid polish. Place a small amount of the product onto a clean cotton rag and massage it into the finish using circular motions. Work on one section at a time, ensuring an even, thin coat across the entire piece.
Allow the wax to sit for roughly ten to fifteen minutes until it appears slightly hazy. Once it hazes over, take a fresh microfiber cloth and vigorously buff the surface following the grain. This friction heats the wax, melting it into a hard, protective shell that repels dust and moisture. A good polishing routine keeps your pieces looking vibrant and shields them from daily wear.
Frequently Asked Question
Can I Use Olive Oil And Vinegar To Polish Furniture?
While popular online, olive oil is a non-drying oil that eventually turns rancid. It attracts dust and leaves a sticky residue on your furniture over time. Instead of cooking oils, use a dedicated commercial furniture wax or polish formulated specifically to protect and seal timber finishes safely.
How Often Should I Wash My Dining Set?
You should perform a dry dusting at least once a week to prevent surface scratches. A deeper wash with damp cloths and mild soap is only necessary every few months, or immediately after a spill. Over-washing introduces unnecessary moisture that can eventually degrade the protective clear coat.
What Should I Do If The Finish Looks Cloudy?
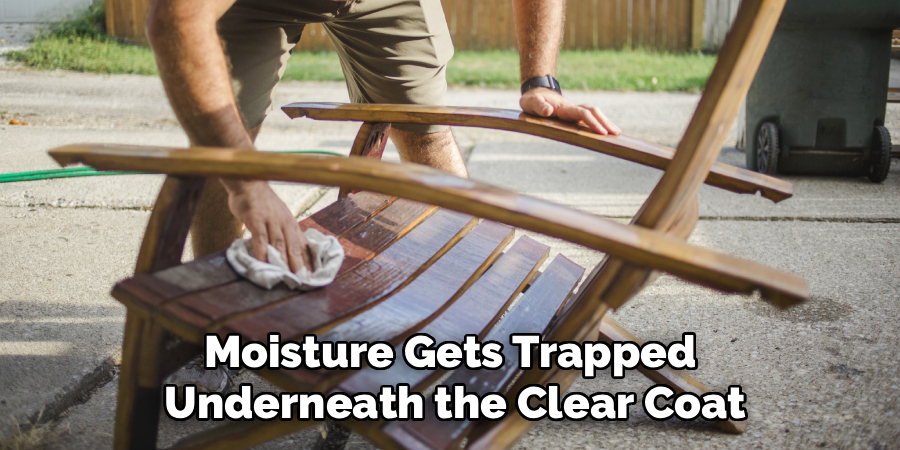
Cloudy spots, often called blushing, occur when moisture gets trapped underneath the clear coat. You can usually remove minor blushing by lightly rubbing mayonnaise or petroleum jelly into the stain and leaving it overnight. The oils displace the trapped moisture. Wipe it clean the next morning.
Are Disinfectant Wipes Safe For Timber Surfaces?
No, you should never use standard antibacterial wipes on your wooden furniture. These wipes contain harsh alcohols and chemicals that quickly strip away varnishes and polyurethane. Continuous use will dry out the timber, leaving it looking dull, faded, and highly susceptible to cracking and peeling.
How Do I Fix Small Scratches After Washing?
For very superficial scratches, you can rub a shelled walnut over the damage. The natural oils in the nut darken the scratch, blending it into the surrounding finish.
- Use a matching wax crayon for deeper gouges.
- Apply colored furniture paste wax to disguise minor surface wear.
- Consult a professional for deep cracks.
Conclusion
Maintaining the beauty of your dining and accent seating does not have to be an intimidating chore. By sticking to gentle soaps, using minimal water, and always drying the surface immediately, you protect the delicate finishes from unnecessary damage. Consistent dry dusting combined with occasional deep washing keeps your pieces looking vibrant and feeling smooth to the touch.
Now that you know the proper techniques, it is time to gather your microfiber cloths and bring that beautiful shine back to your dining room. Mastering how to clean wood chairs ensures your favorite furniture remains a stunning centerpiece in your home for decades to come. Protect your investment today with these simple, effective habits, and enjoy your beautiful seating arrangements for years.

About
Mike May is a distinguished figure in the world of woodworking and timber design, with a decade of expertise creating innovative and sustainable indoor solutions. His professional focus lies in merging traditional craftsmanship with modern manufacturing techniques, fostering designs that are both practical and environmentally conscious. As the author of Woodimber, Mike delves into the art and science of timber-craft, inspiring artisans and industry professionals alike.
Education
RMIT University (Melbourne, Australia)
-
Associate Degree in Design (Timber): Focus on sustainable design, industry-driven projects, and practical craftsmanship.
-
Gained hands-on experience with traditional and digital manufacturing tools, such as CAD and CNC software.
Nottingham Trent University (United Kingdom)
-
Bachelor’s in Woodworking and Product Design (Honors): Specialized in product design with a focus on blending creativity with production techniques.
-
Participated in industry projects, working with companies like John Lewis and Vitsoe to gain real-world insights.
Publications and Impact
In Woodimber, May shares his insights on timber design processes, materials, and strategies for efficient production. His writing bridges the gap between artisan knowledge and modern industry needs, making it a must-read for both budding designers and seasoned professionals.