

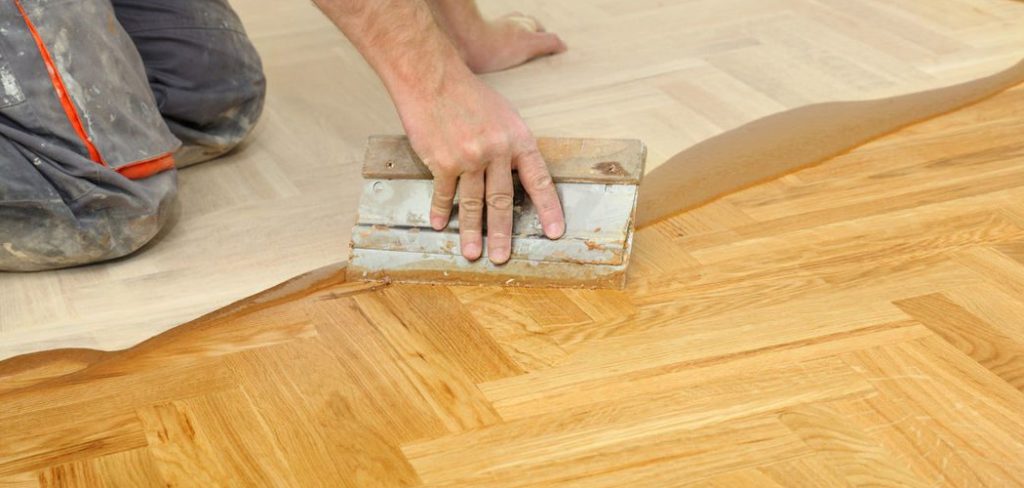
Welcome, DIY enthusiasts and home renovators! Plywood offers an incredibly affordable, highly stylish, and remarkably durable foundation for your modern living spaces. Many creative homeowners leave these wooden boards completely raw for a charming rustic aesthetic, while others seal them for a sleek, contemporary finish. However, maintaining their pristine appearance requires a very specific, cautious approach.
Using harsh chemical detergents or excessive water can quickly warp the delicate wood layers, leading to frustrating and costly household replacements. Understanding exactly how to clean plywood floors ensures your beautiful surfaces remain perfectly intact for many years to come. This comprehensive, beginner-friendly guide walks you safely through the absolute best maintenance techniques available. You will learn exactly what household tools to gather, which gentle washing solutions work best, and how to protect the vulnerable wood grain from future structural damage. Let us grab a premium soft-bristled broom and prepare your gorgeous wooden surfaces for a long, healthy, and vibrant lifespan inside your beautiful home.
Step-By-Step Guide: How to Clean Plywood Floors
Step 1: Gathering Supplies
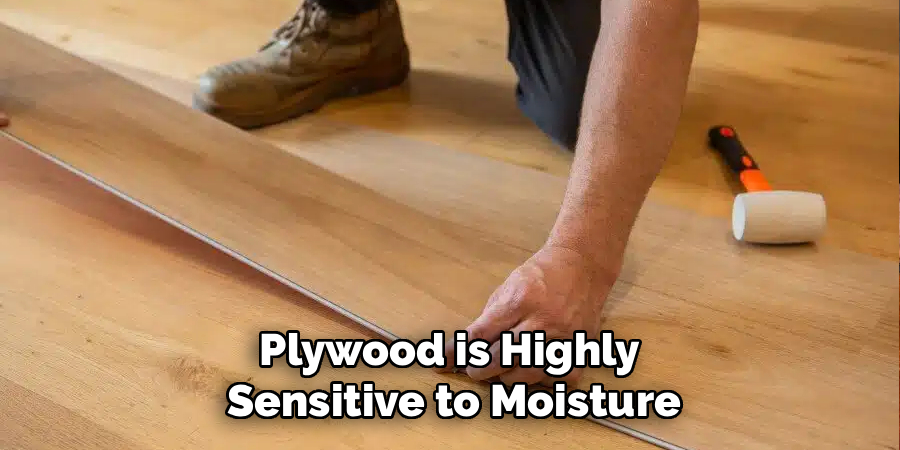
Before tackling your wooden surfaces, you must assemble the correct tools for the job. Plywood is highly sensitive to moisture, meaning standard wet string mops will cause immediate structural damage. You need a soft-bristled broom, a premium microfiber dust mop, and a reliable vacuum cleaner featuring a bare-floor setting. Avoid vacuums with aggressive rotating beater brushes, as they can easily scratch the delicate wood grain permanently. For the gentle washing phase, grab a clean plastic spray bottle, mild liquid dish soap, and several fresh microfiber cloths. Having these gentle cleaning supplies ready prevents you from reaching for harsh, abrasive chemicals out of sheer convenience. Proper physical preparation makes the entire maintenance process incredibly smooth and entirely stress-free.
Step 2: Remove Surface Dust and Loose Debris
The first physical action requires completely removing all loose dirt, pet hair, and abrasive grit from the wooden boards. Tiny dirt particles act exactly like rough sandpaper against your floor, slowly scratching the protective finish every single time you walk across the room. Grab your soft-bristled broom and carefully sweep the entire area, paying very close attention to the dark room corners and baseboards. Alternatively, you can run your vacuum cleaner over the surface using the gentle hard-floor attachment. You absolutely must remove this loose debris completely before introducing any liquid washing solutions. Skipping this crucial dry-sweeping phase usually results in muddy streaks and deep, permanent scratches across your beautiful wooden foundation.
Step 3: Mix a Gentle, Wood-Safe Wash Solution
Creating a highly safe washing solution ensures you lift sticky surface grime without dissolving the essential wood adhesives. Fill a clean spray bottle with warm tap water and add just two tiny drops of mild liquid dish soap. You want a very weak, highly diluted liquid mixture that cuts through household grease without leaving a heavy, sticky soapy film behind. Never use harsh commercial bleach, heavy ammonia, or acidic vinegar mixtures on these specific wooden boards. These intense liquid chemicals will rapidly degrade the surface seal and dry out the raw wood fibers completely. Shake the plastic spray bottle gently to mix the soapy solution perfectly before moving on to the actual washing phase.
Step 4: Lightly Mist the Target Area
Moisture remains the absolute biggest natural enemy of layered wooden boards. When wood absorbs excess water, the internal glued layers separate, bubble, and warp permanently. To prevent this catastrophic moisture damage entirely, you must never pour liquid directly onto the ground. Instead, take your prepared spray bottle and lightly mist a tiny three-foot section of the floor. The surface should look barely damp, never soaking wet or completely covered in standing water puddles. Working in small, highly manageable sections guarantees the liquid does not sit on the delicate wood for more than a few seconds. This highly controlled misting technique keeps your foundation perfectly safe from hidden, long-term water damage.
Step 5: Wipe the Wood with Microfiber Cloths
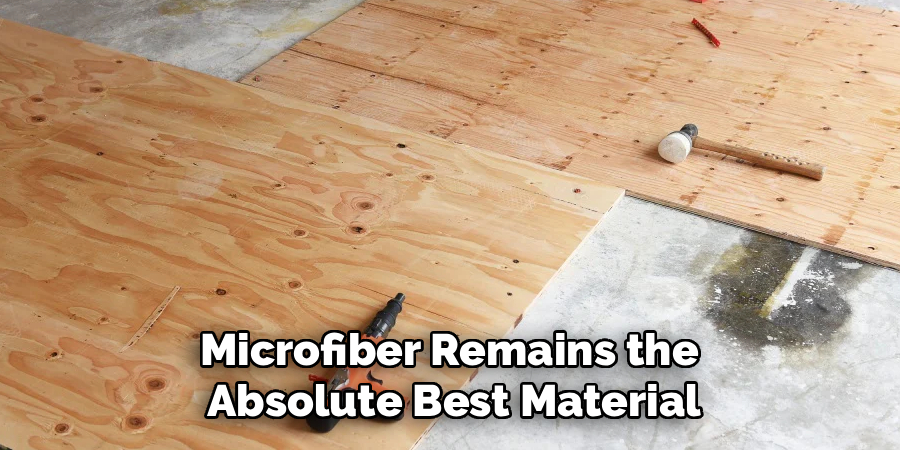
Immediately after misting the small floor section, you must thoroughly wipe the damp area using a clean, completely dry microfiber cloth. Microfiber remains the absolute best material for this specific task because it traps microscopic dirt while absorbing residual moisture instantly. Rub the soft cloth gently along the natural direction of the wood grain to lift hidden grime trapped in the tiny surface grooves. If your cloth becomes heavily soiled or overly saturated with soapy liquid, swap it out for a fresh, completely dry one immediately. Wiping the boards thoroughly ensures no stagnant water seeps through the tiny seams and penetrates the highly vulnerable inner layers of the wood.
Step 6: Tackle Stubborn Stains Carefully
You will occasionally encounter stubborn, sticky spots that refuse to budge with a simple, gentle wipe. When dealing with dried food spills or muddy shoe prints, firmly avoid the intense urge to scrub aggressively with a stiff plastic brush. Instead, spray a tiny amount of your mild soapy solution directly onto the stubborn stain and let it sit for exactly thirty seconds. Take a slightly damp microfiber rag and gently massage the sticky spot in tight, circular motions until it lifts completely off the floor. Aggressive physical scrubbing will quickly wear down the protective topcoat and expose the raw, vulnerable wood fibers to future structural damage.
Step 7: Buff the Floor Completely Dry
The final phase of your household maintenance routine involves removing any lingering traces of moisture from the room entirely. Take a large, completely dry microfiber floor mop and run it over the entire wooden surface one last time. This final buffing pass safely collects any missed water droplets and instantly restores a beautiful, natural shine to the wooden boards. If you notice the room feels slightly humid, turn on a ceiling fan or open a nearby window to encourage rapid indoor air circulation. Ensuring the boards are bone-dry protects the structural integrity of the glued layers and prevents dangerous, slippery spots from surprising your family members later.
Frequently Asked Questions (FAQ)
Can I Use A Steam Mop On Wooden Boards?
- You should absolutely never use a pressurized steam mop on these highly delicate surfaces.
- The extreme heat and intensely pressurized moisture will violently force hot water deep into the vulnerable layered seams.
- This intense moisture exposure causes the protective industrial glues to fail rapidly, leading to permanent bubbling and severe structural warping.
- Always stick to slightly damp microfiber cloths for safe, highly effective maintenance.
- Consistent dry dusting remains the absolute best daily defense against gritty dirt buildup and permanent surface scratching.
Is Vinegar Safe For Unfinished Surfaces?
- Standard white vinegar is highly acidic and generally considered unsafe for completely unsealed wooden foundations.
- The harsh natural acid actively eats away at the raw wood fibers, leaving the beautiful surface looking incredibly dull, dry, and severely faded over time.
- Instead of relying on acidic homemade cleaners, you should utilize a highly diluted, pH-neutral liquid dish soap.
- If your wooden boards are professionally sealed with a thick layer of heavy polyurethane, a very weak vinegar solution might be safely tolerated on rare occasions.
How Often Should I Wash My Floors?
- You should actively adjust your routine maintenance schedule based entirely on the daily foot traffic inside your specific room.
- Thorough dry sweeping or gentle bare-floor vacuuming should happen at least twice a week to eliminate abrasive dirt particles safely.
- Lightly misting and carefully wiping the wooden boards usually only needs to happen once a month for a standard residential bedroom.
- Over-washing introduces massive, completely unnecessary moisture risks, so only perform wet maintenance when the surface looks visibly dirty or feels sticky.
What Is The Best Way To Protect Raw Wood?
- Unfinished wooden boards remain incredibly porous and will absorb accidental liquid spills almost instantly.
- You should strongly consider applying a premium protective topcoat to seal the highly vulnerable natural grains completely.
- High-quality water-based polyurethane provides an incredibly durable, crystal-clear finish that fiercely resists daily moisture intrusion.
- Alternatively, applying a deep-penetrating natural wood oil offers a gorgeous, matte look while still effectively repelling liquid drops.
- Sealing the raw material permanently makes your future household maintenance routines significantly faster and much less risky.
How Do I Fix Scratches On My Boards?
- Minor surface scratches often disappear completely when you carefully apply a high-quality, color-matching wood putty to the damaged area.
- For incredibly shallow scuffs in the clear protective topcoat, applying a gentle buffing compound usually restores the original glossy shine beautifully.
- If the deep scratch penetrates completely through the top veneer and into the multiple internal layers, you might need to sand the specific area lightly.
- Always remember to reapply your chosen protective sealant immediately after sanding to prevent permanent structural moisture damage.
Conclusion
Caring for your unique wooden flooring does not have to remain a stressful or overly complicated household chore. By strictly prioritizing consistent dry sweeping, aggressively minimizing liquid exposure, and utilizing ultra-soft microfiber cloths, you protect the delicate layered construction perfectly. You no longer have to worry anxiously about accidental warping, permanent surface bubbling, or harsh chemical discoloration completely ruining your beautiful living spaces.
Understanding how to clean plywood floors empowers you to maintain a pristine, highly stylish home environment with absolute, unwavering confidence. The remarkable, long-lasting durability of this affordable building material truly shines when treated with the proper gentle care it deserves. Grab your soft broom, mix your mild soapy solution, and start refreshing your gorgeous wooden foundation today!

About
Mike May is a distinguished figure in the world of woodworking and timber design, with a decade of expertise creating innovative and sustainable indoor solutions. His professional focus lies in merging traditional craftsmanship with modern manufacturing techniques, fostering designs that are both practical and environmentally conscious. As the author of Woodimber, Mike delves into the art and science of timber-craft, inspiring artisans and industry professionals alike.
Education
RMIT University (Melbourne, Australia)
-
Associate Degree in Design (Timber): Focus on sustainable design, industry-driven projects, and practical craftsmanship.
-
Gained hands-on experience with traditional and digital manufacturing tools, such as CAD and CNC software.
Nottingham Trent University (United Kingdom)
-
Bachelor’s in Woodworking and Product Design (Honors): Specialized in product design with a focus on blending creativity with production techniques.
-
Participated in industry projects, working with companies like John Lewis and Vitsoe to gain real-world insights.
Publications and Impact
In Woodimber, May shares his insights on timber design processes, materials, and strategies for efficient production. His writing bridges the gap between artisan knowledge and modern industry needs, making it a must-read for both budding designers and seasoned professionals.