

A shed is a fantastic addition to any backyard, but its usefulness is often defined by its weakest link: the door. A flimsy, poorly fitting door can let in pests, moisture, and drafts, compromising everything you store inside. Instead of buying an expensive, generic pre-made door, you can create a sturdy, custom-fit one yourself. Building your own door not only saves money but also allows you to match the style of your shed perfectly, adding a touch of personal craftsmanship to your outdoor space.
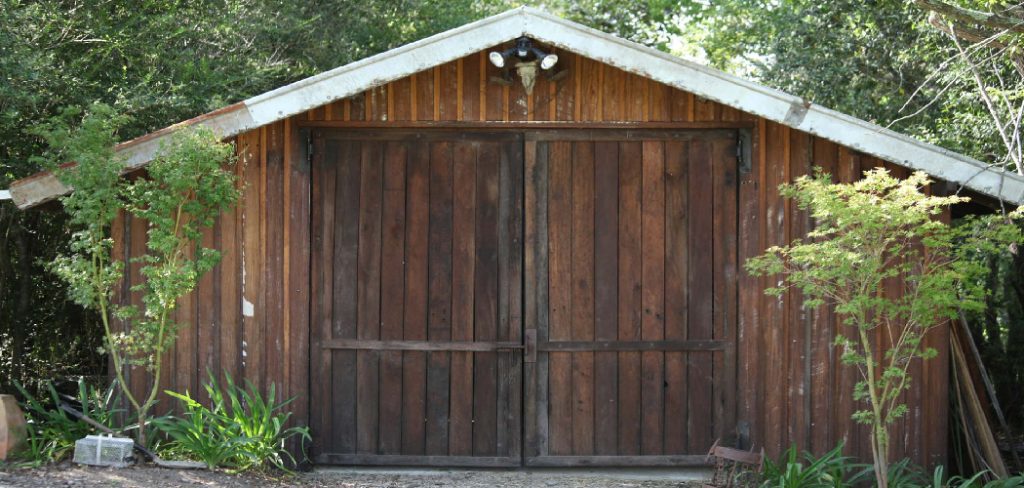
This guide is designed for beginners, providing a straightforward approach to the project. Learning How to Build a Wood Door for a Shed is a rewarding weekend task that enhances both the security and the appearance of your backyard structure.
Before you begin, it’s important to gather all the necessary tools and materials to ensure a smooth building process. Creating a wooden door for your shed requires basic woodworking skills and some careful planning, but with the right preparation, it’s entirely achievable even for beginners. By following a step-by-step approach, you’ll be able to construct a door that’s both functional and visually appealing, making it a lasting addition to your outdoor structure.
Why a Custom-Built Door is Better
Opting to build your own shed door is about more than just saving money; it is about gaining superior quality and a perfect fit. Pre-made shed doors are often constructed from lower-quality materials that can warp, sag, or delaminate after just a few seasons of exposure to the elements. When you build it yourself, you control the materials, allowing you to choose durable, weather-resistant lumber that will stand the test of time.
Furthermore, shed door openings are not always standard sizes. A custom build ensures your door fits the frame precisely, creating a tighter seal that offers better protection against rain, snow, and critters. It is a project that delivers a high-quality, long-lasting result that a store-bought alternative simply cannot match.
Step-by-Step Guide: How to Build a Wood Door for Shed
Step 1: Measure the Door Opening and Gather Materials
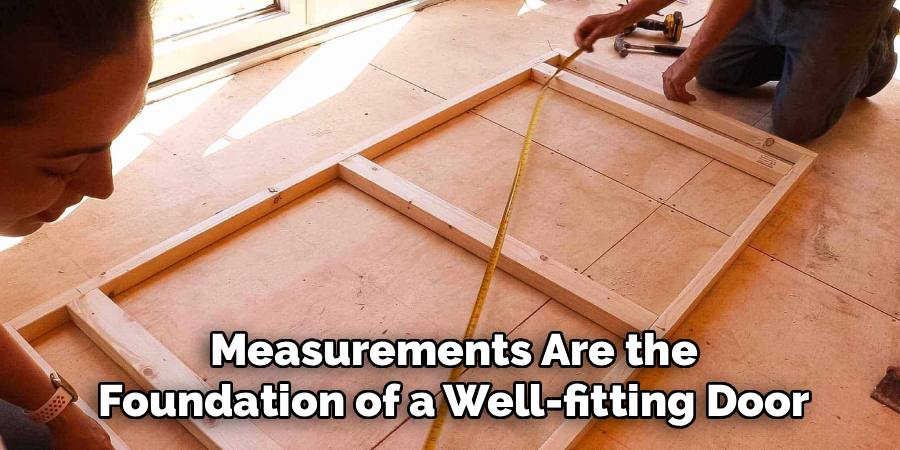
Accurate measurements are the foundation of a well-fitting door. Use a tape measure to determine the height and width of your shed’s door opening in at least two different spots to account for any variations. To ensure the door has clearance, subtract half an inch from both the final height and width measurements. For a classic and sturdy “Z-brace” door, you will need several tongue-and-groove boards for the main panel and three 1×6 or 1×4 boards for the braces. Additionally, gather your tools: a circular saw, drill, tape measure, wood glue, exterior-grade screws, and the necessary hardware, including heavy-duty T-hinges and a latch.
Step 2: Cut and Assemble the Main Door Panel
With your measurements finalized, it is time to build the core of the door. Lay your tongue-and-groove boards side-by-side on a flat surface, ensuring the grooved edge of one board fits snugly into the tongue of the next. Continue adding boards until the combined width is slightly wider than your final door measurement. Apply a bead of exterior-grade wood glue inside the groove of each board before joining them to create a strong, unified panel. Use a clamp to hold the boards together tightly while the glue begins to set. This panel will serve as the solid backdrop for your door’s structural braces.
Step 3: Square the Panel and Cut to Final Size
Once the boards are assembled, you need to ensure the panel is perfectly square. Measure the diagonals from corner to corner. If the two measurements are identical, your panel is square. If not, gently tap the longer corners until the measurements match. Once squared, use a chalk line or a straightedge to mark the final height and width you calculated in the first step. Carefully cut along these lines with a circular saw to create the final rectangular shape of your door. This precise cut is crucial for a door that hangs straight and closes properly within its frame.
Step 4: Cut and Position the Horizontal Braces
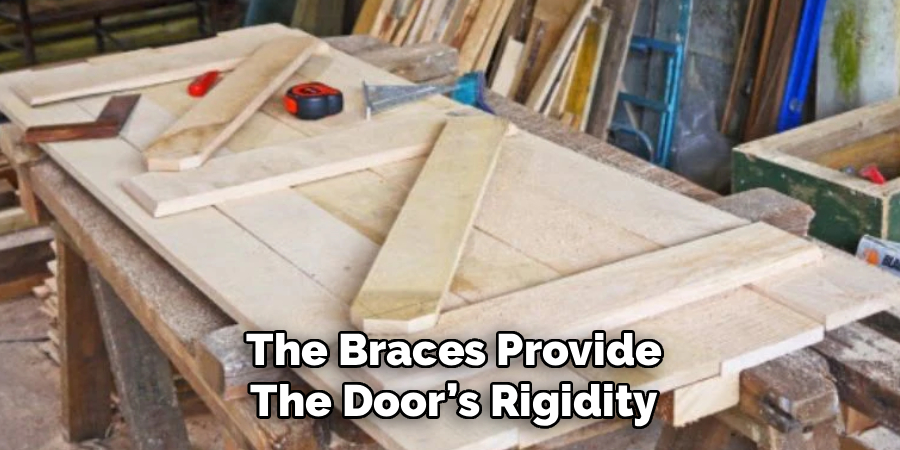
The braces provide the door’s rigidity and prevent it from sagging over time. Start by cutting two of your 1×6 boards to the exact width of your door panel. These will be the top and bottom horizontal braces. Place one board a few inches down from the top edge of the door and the other a few inches up from the bottom edge. Ensure they are perfectly parallel to the top and bottom of the door and equidistant from the sides. These braces will carry most of the door’s weight, so their placement is a key structural element.
Step 5: Shed with a Diagonal Brace
The diagonal brace is what gives this design its classic “Z” shape and its incredible strength, preventing the door from racking or twisting. Place your third 1×6 board diagonally across the panel, running from the top corner on the hinge side down to the bottom corner on the latch side. This orientation is critical for providing the correct structural support. Use a pencil to trace where the diagonal board intersects with the two horizontal braces. This will give you the exact angles you need to cut for a perfect fit, creating the iconic Z-brace look.
Step 6: Cut and Secure All the Braces
Using your circular saw or a miter saw, cut the ends of the diagonal brace along the angled lines you just marked. It should now fit snugly between the top and bottom horizontal braces. Once all three brace pieces are cut and positioned, secure them to the main door panel. Apply a generous amount of exterior wood glue to the back of each brace. Then, drive exterior-grade screws through the braces and into the tongue-and-groove boards below. Use screws that are long enough to bite into the panel but not so long that they poke through the front.
Step 7: Install the Hinges and Hang the Door
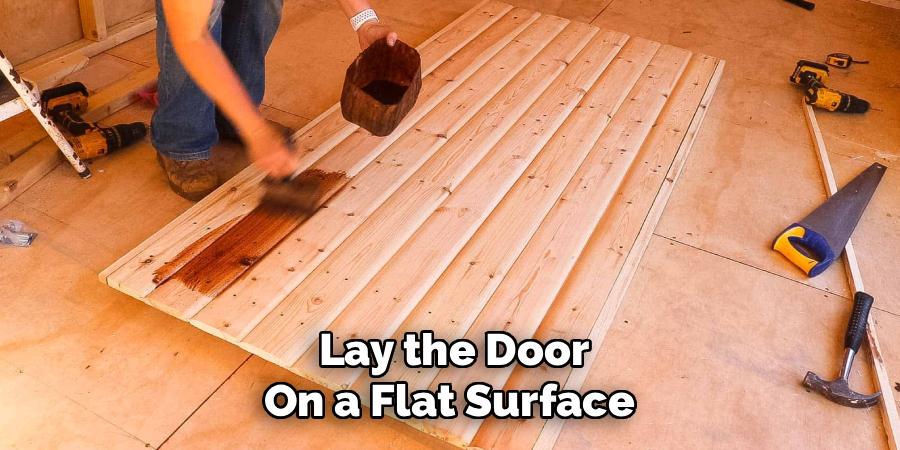
With your door fully constructed, you are ready to hang it. Lay the door on a flat surface and attach the T-hinges to the horizontal braces on the appropriate side. The long part of the “T” should sit flat on the brace. Next, with a helper, lift the door into the opening. Use shims or wood scraps to prop the door up from the bottom, creating the quarter-inch gap you need for clearance. Once the door is level and positioned correctly, screw the other side of the hinges into the shed’s door frame. This is a crucial step for a swinging door, and a core part of how to build a wood door for shed correctly.
Step 8: Attach the Latch and Finish the Wood
The final step is to add the hardware that will keep your door closed and secure. Install your chosen latch mechanism, such as a simple hasp and padlock or a more decorative gate latch, on the side opposite the hinges. Ensure it aligns properly so the door closes snugly. To protect your new door from the weather, apply a high-quality exterior-grade finish. You can use a clear sealant to showcase the natural wood, an exterior stain for color and UV protection, or a durable outdoor paint.
Frequently Asked Questions
What Is the Best Wood to Use for a Shed Door?
The best wood combines weather resistance with affordability.
- Pressure-Treated Pine: Excellent for durability and resistance to rot and insects, but it needs to dry out completely before finishing.
- Cedar or Redwood: Naturally resistant to decay and pests. They are beautiful but more expensive.
- Exterior-Grade Plywood (T1-11): A common choice for a simple, single-panel door. Ensure it is rated for outdoor use.
How Do I Stop My Wood Shed Door from Sagging?
A properly placed diagonal brace is the key to preventing sag.
- Correct Orientation: The diagonal brace should always run from the top hinge corner down to the bottom latch corner. This transfers the door’s weight down to the strong bottom hinge.
- Strong Joints: Using both wood glue and screws to attach the braces creates a much stronger bond than using screws alone.
How Thick Should a Shed Door Be?
The thickness depends on the materials used.
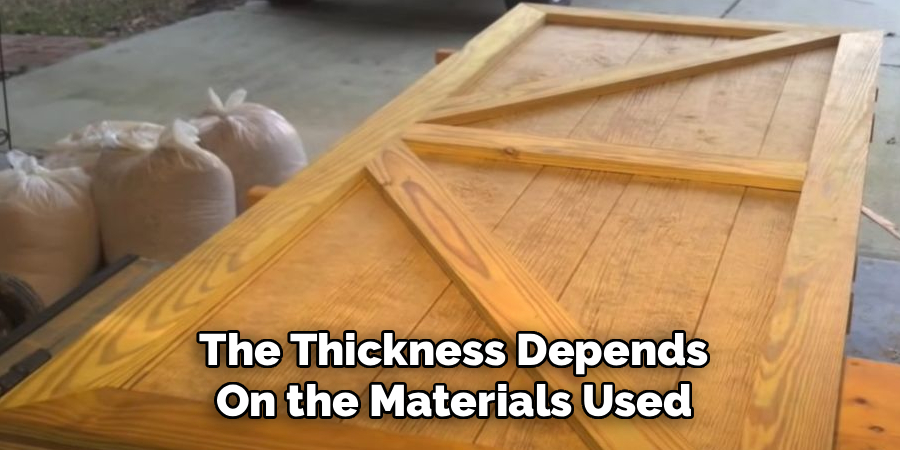
- Tongue-and-Groove: If you are using 3/4-inch tongue-and-groove boards with 3/4-inch braces, your total door thickness will be about 1.5 inches. This is a very common and sturdy dimension.
- Plywood: A single sheet of 5/8-inch or 3/4-inch exterior plywood can also work for a simpler, lighter-duty door.
Should the Shed Door Swing In or Out?
For weatherproofing and security, shed doors should almost always swing outwards.
- Weather Seal: An outward-swinging door allows you to install a proper threshold and stop molding on the inside, creating a better seal against rain and wind.
- Security: With the hinges on the outside, use security hinges with non-removable pins to prevent the door from being easily lifted off.
Can I Add a Window to My Shed Door?
Yes, adding a window is a great way to let natural light into your shed.
- Installation: To do this, you would cut an opening in your main door panel before attaching the braces.
- Framing: Frame the inside of the opening with small boards to create a pocket for a piece of plexiglass or tempered glass.
- Sealing: Secure the glass in place with trim and seal the edges with a weatherproof silicone caulk to prevent leaks.
Conclusion
Building your own shed door is a project that delivers immense satisfaction and tangible benefits. It gives you a final product that is stronger, better fitting, and more stylish than most off-the-shelf options. By following a clear process—measuring carefully, assembling the panel, and reinforcing it with a classic Z-brace—you create a door that not only secures your shed but also enhances its overall curb appeal. The key is to take your time with the preparation and use quality materials designed for outdoor exposure. Now that you have a complete guide on how to build a wood door for shed, you are ready to tackle this project and add a durable, handcrafted touch to your backyard.

About
Mike May is a distinguished figure in the world of woodworking and timber design, with a decade of expertise creating innovative and sustainable indoor solutions. His professional focus lies in merging traditional craftsmanship with modern manufacturing techniques, fostering designs that are both practical and environmentally conscious. As the author of Woodimber, Mike delves into the art and science of timber-craft, inspiring artisans and industry professionals alike.
Education
RMIT University (Melbourne, Australia)
-
Associate Degree in Design (Timber): Focus on sustainable design, industry-driven projects, and practical craftsmanship.
-
Gained hands-on experience with traditional and digital manufacturing tools, such as CAD and CNC software.
Nottingham Trent University (United Kingdom)
-
Bachelor’s in Woodworking and Product Design (Honors): Specialized in product design with a focus on blending creativity with production techniques.
-
Participated in industry projects, working with companies like John Lewis and Vitsoe to gain real-world insights.
Publications and Impact
In Woodimber, May shares his insights on timber design processes, materials, and strategies for efficient production. His writing bridges the gap between artisan knowledge and modern industry needs, making it a must-read for both budding designers and seasoned professionals.