

Kitchen renovations often seem to demand endless budgets and sweeping architectural changes. Yet, focusing on a single focal point can sometimes shift the entire balance of a room. The vent hood, typically an unremarkable metal appliance, offers a surprising opportunity for structural aesthetic intervention.
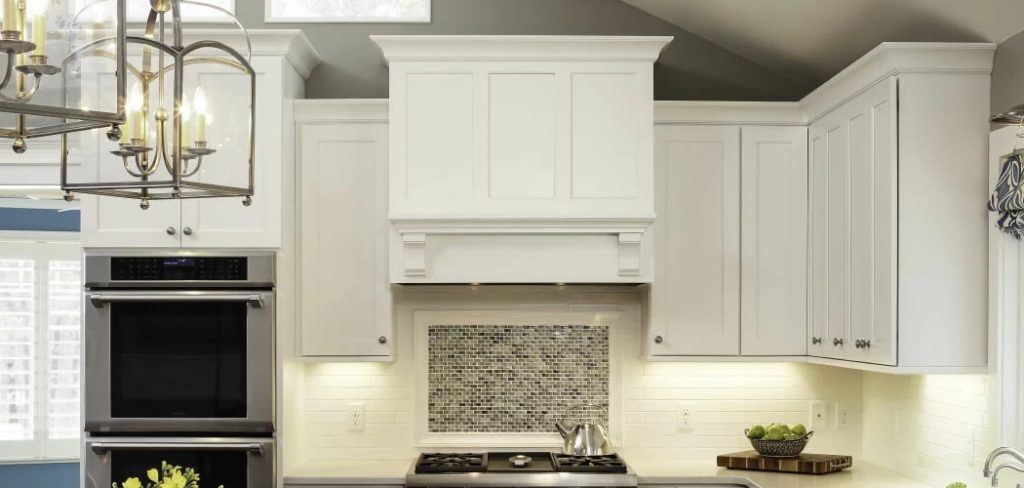
Covering this exhaust system with wood or drywall appears to indicate a broader trend toward hiding utility behind custom casework. It may suggest a subtle rebellion against the sterile, highly industrial stainless-steel aesthetic that dominated the early 2000s. It gives the illusion of a built-in, historic hearth rather than a purely functional modern kitchen. For the average homeowner, taking on this woodworking project might seem intimidating.
However, framing out a hood insert requires relatively basic carpentry skills. A custom vent hood cover completely alters the visual weight of your cooking space. In this guide on how to build a vent hood cover, we will explore the nuances of designing, framing, and finishing a wooden cover that integrates perfectly with your existing cabinetry.
Analyzing Vent Hood Cover Styles
Before buying lumber, it helps to pause and consider the architectural language of your kitchen. The box style presents a stark, modern silhouette with straight edges. Tapered or sloped iterations tend to widen at the base, creating a gentle geometry that softens the upper wall space.
Arched designs introduce a bottom curve, which could counteract the harsh perpendicular lines typical of upper cabinets. Shiplap configurations rely on overlapping boards to introduce a textured, slightly rustic visual rhythm. It’s worth noting that you don’t have to limit yourself to just one style. Combining different design elements can create a unique and visually appealing kitchen aesthetic.
Gathering the Necessary Materials
Once you have chosen the style and design of your kitchen cabinets, it’s time to gather all the necessary materials. This includes:
- Cabinet boxes
- Doors and drawer fronts
- Hinges and hardware
- Wood glue
- Screws or nails for assembly
- Screwdriver or drill for installation
You can purchase pre-made cabinets from a home improvement store or have them custom-made by a carpenter. If you choose to go the DIY route, make sure to accurately measure your space and double-check your measurements before purchasing any materials.
Critical Safety Considerations
Mixing raw lumber with heat and electricity demands caution. Power to the exhaust fan circuit must remain off during installation. Dust masks and safety glasses protect you during the cutting and sanding phases.
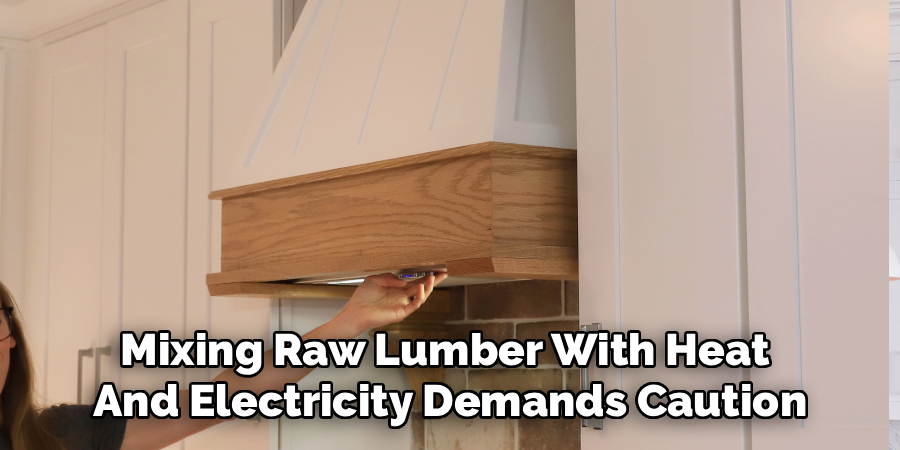
Most importantly, manufacturer guidelines explicitly state the minimum clearance required between the cooking surface and the combustible bottom edge of your structure. Ignoring this metric could invite a catastrophic fire hazard. Having a second person to assist with lifting the heavy framing is also highly recommended.
7 Simple Steps on How to Build a Vent Hood Cover
Step 1: Measure the insert and plan the layout
Accuracy in the first hour saves considerable frustration later. Measure the exact dimensions of your metal exhaust insert. Take note of where the ducting connects. The wooden skeleton must leave adequate interior clearance so the metal unit can slide in without binding.
Drafting the design on paper helps visualize the overlapping thicknesses of the 2×4 framing and the exterior panels. Locate the wall studs above your stove using a sensor, marking their centers. Drawing the physical footprint onto the drywall with a pencil confirms the structure will not block neighboring cabinet doors.
Step 2: Assemble the lower base frame
This bottom rectangle acts as the primary load-bearing collar for the heavy metal insert. Cut the 2x4s to fit the bottom opening dimensions. Secure these joints heavily with wood glue and long construction screws to prevent sagging over time.
Mount this completed rectangle to the wall studs using lag bolts. Ensure it sits perfectly level. A slight horizontal tilt here magnifies exponentially once the outer panels go on. Test the mount by applying downward force; it should resist movement entirely.
Step 3: Frame the upper support skeleton
The upper skeleton bridges the base frame to the ceiling, dictating the final shape. A straight box design merely requires an identical top frame anchored to the ceiling joists, connected by vertical corner studs. Sloped designs necessitate a smaller top frame and carefully angled vertical supports.
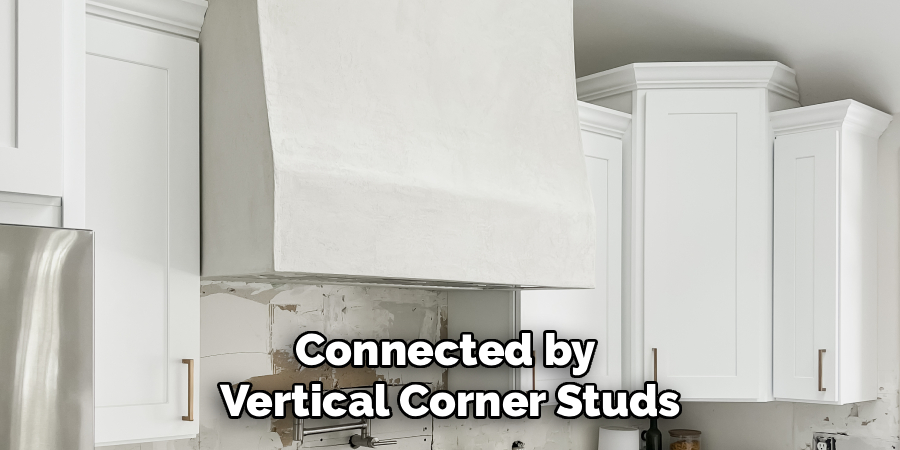
Miter cuts on these supports must sit flush against both the upper and lower framing plates. Drive screws to finalize this rigid inner skeleton. The metal ducting must route through this cavity safely, avoiding any stray screws that might puncture the thin metal piping.
Step 4: Cut the exterior panels
Translating the skeleton’s dimensions to plywood requires a slow, deliberate approach. Measure the front and side faces, accounting for any required overlap at the corners. A circular saw paired with a straight edge clamp yields the cleanest cuts.
Labeling the back of each panel prevents confusion. Dry-fitting these wooden faces against the frame allows you to verify the geometry before committing to glue. Minor discrepancies are better addressed with a sanding block than by forcing a tight panel into position.
Step 5: Fasten panels to the framework
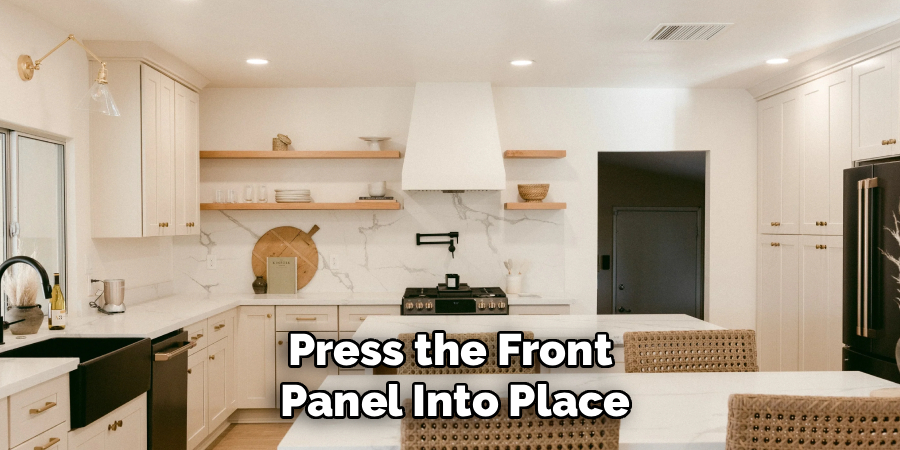
Applying a consistent bead of wood glue along the framing studs ensures long-term stability. Press the front panel into place. A pneumatic brad nailer makes quick work of securing the board, driving fasteners every few inches.
Attach the side panels in the same manner, paying close attention to the alignment of the front corner seams. Wiping away squeezed-out glue immediately with a damp rag saves you from nightmarish sanding sessions later.
Step 6: Install decorative trim
Raw plywood edges rarely look professional. Cutting and applying simple lattice trim or baseboard material conceals these joints. Crown molding at the ceiling intersection adds a traditional, architectural finish.
Miter these trim corners at 45-degree angles. Use glue and brad nails to secure them. Adding vertical strips across the front face can simulate shaker cabinetry, adding depth to an otherwise flat expanse of wood.
Step 7: Fill, sand, and finish
The final surface preparation dictates the quality of the paint job. Pack every nail hole and minor seam with wood putty. Once dry, smooth the surface with medium-grit sandpaper, followed by a fine-grit pass.
Remove the accumulated dust with a tack cloth. A stain-blocking primer prevents wood tannins from migrating through your topcoat. Apply two thin coats of cabinet-grade paint, allowing proper cure time. Afterward, the metal insert can finally slide into the completed wooden cavity.
Following these steps on how to build a vent hood cover will result in a professional and functional addition to your kitchen. Your vent hood cover can now blend seamlessly with the rest of your cabinetry, adding a touch of elegance and efficiency to your cooking space.
Assessing Long-term Maintenance and Cost
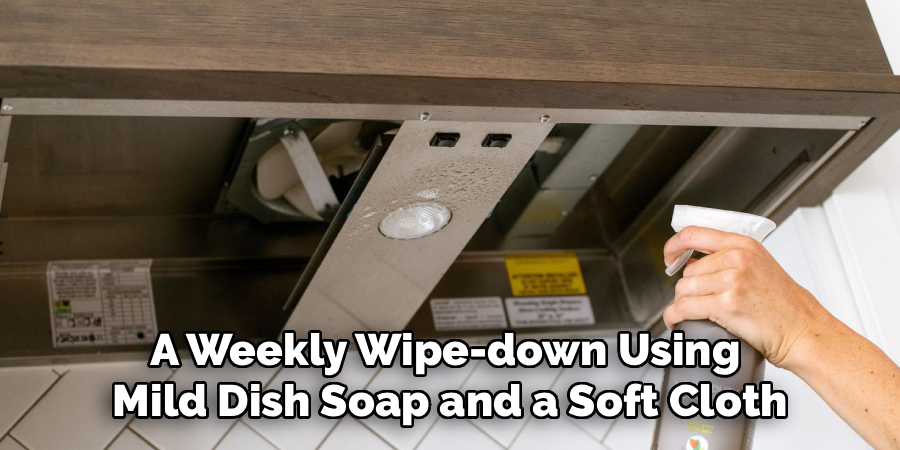
Keeping the wooden cover clean involves a weekly wipe-down using mild dish soap and a soft cloth. Harsh chemicals strip cabinet paint quickly. Routine cleaning of the metal grease filters underneath prevents heavy buildup that might eventually coat the surrounding woodwork.
Financially, this project presents a favorable alternative to custom cabinet shop prices. Lumber and paint might run between $100 and $300. The mechanical exhaust insert represents the highest variable cost, often sitting between $200 and $800. Time-wise, allocate a full weekend for construction and an additional day for paint curing.
Frequently Asked Questions About Custom Hoods
Q1: Which Wood Species Works Best?
MDF or birch plywood provides the smoothest canvas for a painted finish. If you plan to apply a clear coat or stain, oak or walnut veneer plywood will match high-end cabinetry. Standard pine 2x4s work fine for the unseen internal framing.
Q2: Is Exterior Venting Strictly Necessary?
Pushing the exhaust outside remains the optimal method for removing heat and grease. Sometimes, though, kitchen geography prohibits exterior ductwork. Recirculating inserts trap grease through charcoal filters before pushing the air back into the room, serving as an acceptable alternative if you maintain the filters regularly.
Q3: What is the Minimum Stove Clearance?
Combustible materials must maintain a safe distance from the heat source. Typically, this means 24 inches for electric cooktops and 30 inches for gas ranges. However, high-output gas burners often require even greater distances, so deferring to the manufacturer’s manual is non-negotiable.
Q4: How To Choose a Stove That Fits Your Kitchen?
When choosing a stove for your kitchen, it’s important to consider the size and layout of your space. Measure the area where you plan to place the stove to ensure it will fit comfortably without blocking walkways or creating safety hazards.
You should also consider the type of fuel that is most convenient for your home. Gas stoves are known for their precise temperature control and quick heating capabilities, while electric stoves are typically more budget-friendly and easier to clean.
Elevating Your Kitchen Architecture
Building your own hood cover transforms a purely mechanical necessity into a deliberate design choice. It may suggest a deeper level of customization in the home, moving away from builder-grade defaults. With careful measuring, secure framing, and patient finishing work, the resulting fixture looks completely integrated.
Review your kitchen layout, draft a basic blueprint, and consider tackling this rewarding carpentry challenge. Thanks for reading this guide on how to build a vent hood cover.

About
Mike May is a distinguished figure in the world of woodworking and timber design, with a decade of expertise creating innovative and sustainable indoor solutions. His professional focus lies in merging traditional craftsmanship with modern manufacturing techniques, fostering designs that are both practical and environmentally conscious. As the author of Woodimber, Mike delves into the art and science of timber-craft, inspiring artisans and industry professionals alike.
Education
RMIT University (Melbourne, Australia)
-
Associate Degree in Design (Timber): Focus on sustainable design, industry-driven projects, and practical craftsmanship.
-
Gained hands-on experience with traditional and digital manufacturing tools, such as CAD and CNC software.
Nottingham Trent University (United Kingdom)
-
Bachelor’s in Woodworking and Product Design (Honors): Specialized in product design with a focus on blending creativity with production techniques.
-
Participated in industry projects, working with companies like John Lewis and Vitsoe to gain real-world insights.
Publications and Impact
In Woodimber, May shares his insights on timber design processes, materials, and strategies for efficient production. His writing bridges the gap between artisan knowledge and modern industry needs, making it a must-read for both budding designers and seasoned professionals.