

Every woodworker eventually faces the frustration of cutting dovetails or tenons while bent over a low workbench. A specialized twin-screw clamping system raises your workpiece to a comfortable height, saving your back and improving your precision. This classic piece of workshop equipment clamps securely to your existing benchtop, giving you incredible holding power exactly where you need it.
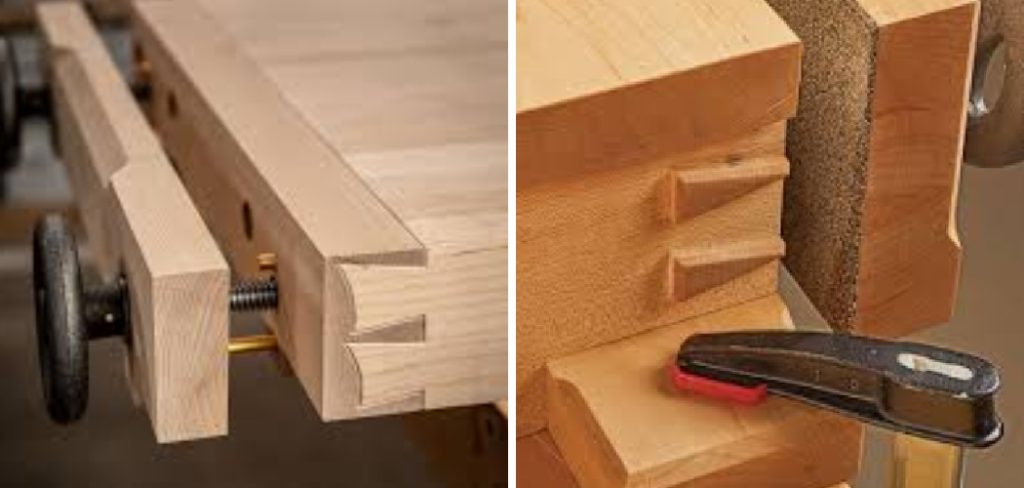
Many beginners assume that constructing workshop tools requires advanced engineering degrees or expensive machinery. In reality, you only need a few basic tools, some sturdy hardwood, and heavy-duty threaded hardware to create a professional-grade fixture. If you have been searching for a practical weekend project that will instantly upgrade your shop, you are in the perfect place. We will walk you through exactly how to build a moxon vise from scratch. You will learn the best practices for cutting the jaws, drilling perfectly aligned holes, and assembling the components for a lifetime of smooth operation. Clear off your workbench, grab your safety glasses, and let us get started on this rewarding build.
Step-By-Step Guide: How to Build a Moxon Vise
Step 1: Gather Your Hardwood and Hardware
Before you make a single cut, you must organize all your materials. Finding the right wood is crucial for a tool that needs to withstand immense pressure. Choose a dense, stable hardwood like maple, ash, or oak for the jaws. You will need two pieces measuring roughly thirty inches long, six inches wide, and at least eight-quarters (two inches) thick. For the mechanical components, purchase a specialized hardware kit that includes two thick threaded rods, large cast-iron handwheels, heavy nuts, and wide washers. Having everything laid out on your bench prevents frustrating trips to the hardware store later.
Step 2: Measure and Cut the Wood Jaws
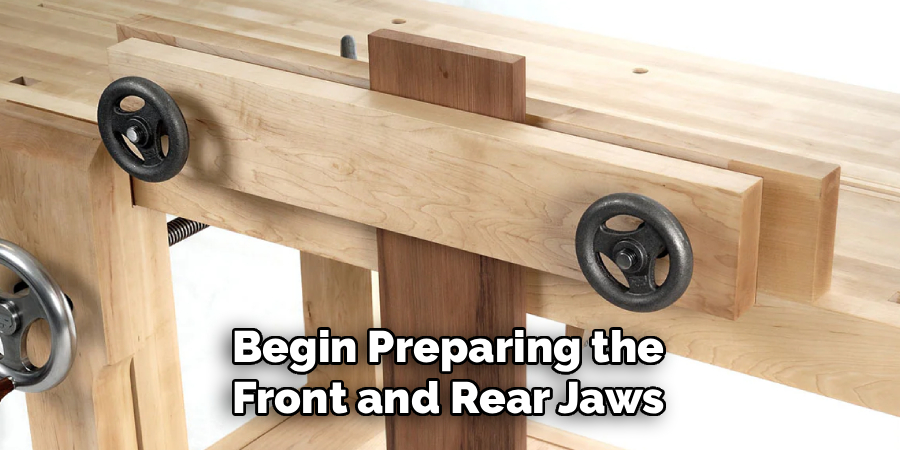
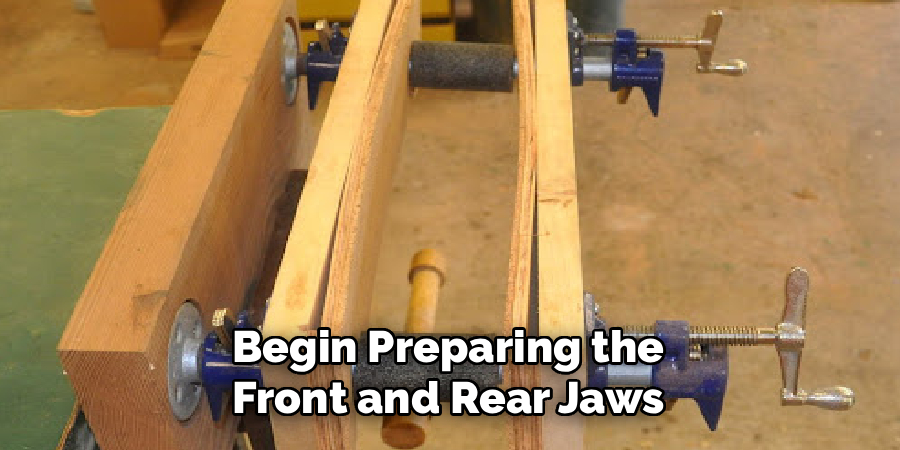
With your materials gathered, you can begin preparing the front and rear jaws. Lay your thick hardwood boards flat on your workbench and measure them carefully. You want both pieces to be completely identical in length and width. Use a reliable crosscut saw or a powered miter saw to trim the ends flush. If your boards have rough edges, run them through a jointer or use a sharp hand plane to create perfectly square sides. Squaring the wood ensures that the jaws will meet flush against each other, providing maximum clamping pressure without damaging your delicate workpieces down the line.
Step 3: Mark the Hardware Hole Locations
Proper hole alignment determines whether your clamping mechanism moves smoothly or binds up frustratingly. Set both wooden jaws down so they rest face-to-face, exactly as they will sit when finished. Measure about four inches inward from each end and draw a clear vertical line down the center of the wood’s width. Use a sharp awl to punch a small indentation at the intersection of your marks. This tiny divot will guide your drill bit and prevent it from wandering across the hard grain. Taking your time during this measuring phase guarantees perfectly parallel rods and a flawlessly operating tool.
Step 4: Drill the Main Clearance Holes
Drilling the holes requires precision, so you should ideally use a drill press to guarantee a perfectly vertical path. If you only have a hand drill, use a drilling guide block to keep your bit straight. Select a Forstner bit or a sharp brad-point bit that is slightly larger than the diameter of your threaded rods. You want the rods to pass through the front jaw without catching on the wood fibers. Clamp the jaws securely to your drill press table and plunge the bit slowly. Clear the wood shavings frequently to prevent the drill bit from overheating and burning the hardwood.
Step 5: Secure the Rear Jaw Hardware
The rear jaw serves as the stable anchor for your entire clamping system. You need to permanently fix the threaded rods to this back piece so they do not spin when you turn the front handwheels. Flip the rear jaw over and use a larger Forstner bit to counter-bore a shallow recess on the back face. This recess must be deep enough to completely hide the heavy metal nuts. Slide the threaded rods through the front, place the washers on the back, and thread the nuts tightly into the recessed pockets. Use strong epoxy to lock these rear nuts permanently into the wood.
Step 6: Create a Front Jaw Chamfer
Comfort matters when you spend hours sawing dovetails at your bench. The top edge of the front jaw typically features a deep chamfer or a rounded edge. This angle prevents your hands and saws from striking a sharp wooden corner while you work. Secure the front jaw in your existing bench clamp and use a sharp block plane to remove the top outer corner. You can create a simple forty-five-degree angle or a gentle, sloping curve depending on your personal preference. Figuring out how to build a moxon vise includes these small ergonomic details that make the tool truly a joy to use.
Step 7: Apply Suede or Leather Padding
While hardwood jaws offer incredible clamping strength, raw wood can sometimes slip or dent your softer workpieces. Adding a layer of suede or thick leather to the inside face of the front jaw creates an aggressive, non-marring grip. Cut a piece of leather that matches the exact length and width of the jaw face. Apply a generous layer of contact cement to both the wood and the rough side of the leather. Wait for the glue to become tacky, then press the leather firmly onto the wood. Use a smooth roller to remove any trapped air bubbles and trim the excess edges.
Step 8: Apply a Protective Wood Finish
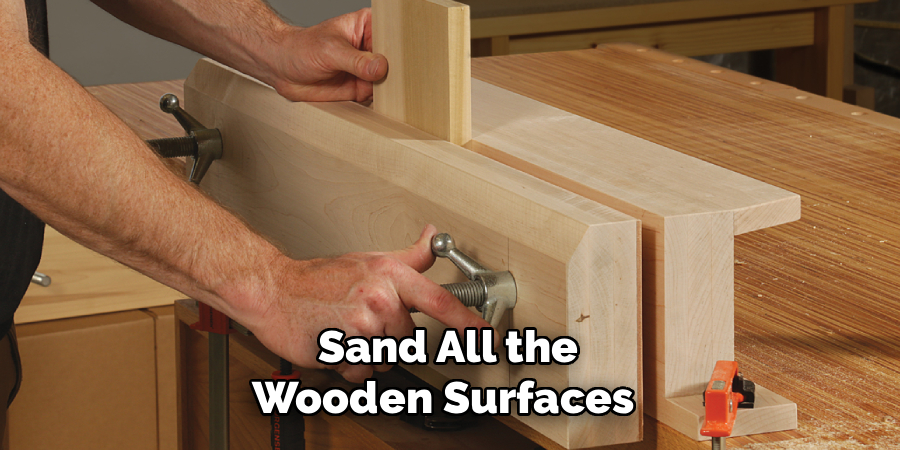
Your new tool will live in a dusty workshop environment, so it needs a durable protective coat. Sand all the wooden surfaces up to two-hundred-and-twenty grit, paying special attention to softening any remaining sharp corners. Wipe away the fine sawdust using a clean, dry rag. Apply a mixture of boiled linseed oil and paste wax, or a simple wipe-on polyurethane finish. These penetrating finishes protect the wood from seasonal moisture changes without creating a slippery film buildup on the clamping surfaces. Let the finish cure completely overnight before you attempt to assemble the heavy hardware components.
Step 9: Assemble and Test the Mechanism
The final step brings all your hard work together into a functional tool. Slide the finished front jaw over the two protruding threaded rods attached to the rear jaw. Place your heavy metal washers over the rods, followed by the large cast-iron handwheels. Spin the wheels clockwise to bring the jaws together. The movement should feel remarkably smooth and the jaws should close tightly against each other with zero gaps. Clamp the rear jaw down to your main workbench using heavy hold-downs, insert a scrap piece of wood between the leather-lined jaws, and enjoy the incredible, unyielding grip you just created.
Frequently Asked Question
What Type Of Wood Works Best?
You must choose a dense, rigid hardwood to handle the extreme clamping pressure without bowing.
- Hard maple is the traditional and most popular choice due to its incredible stiffness.
- White oak provides excellent durability and a beautiful classic look.
- Ash serves as a budget-friendly alternative that still offers phenomenal strength.
- Avoid softwoods like pine or cedar, as they will flex and permanently dent under pressure.
Can I Use Standard Threaded Rods?
While standard hardware store threaded rods will technically function, they are not highly recommended for this specific project.
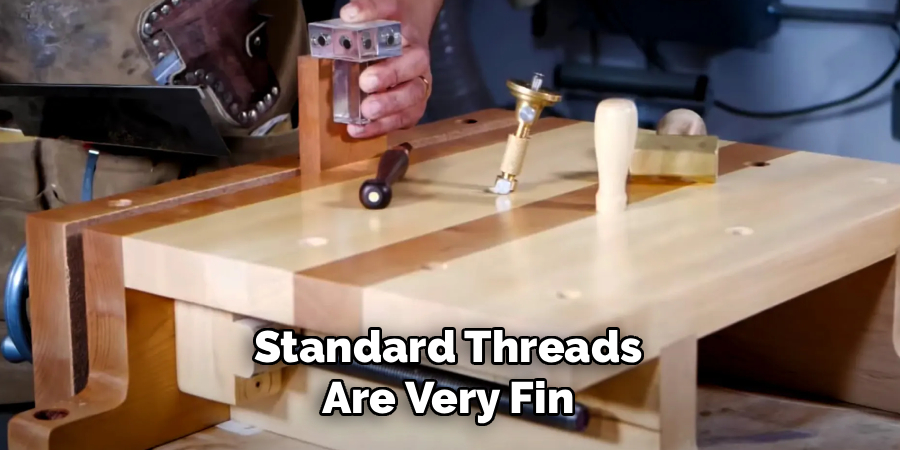
- Standard threads are very fine, requiring dozens of spins just to close the jaws an inch.
- Acme threaded rods feature deep, coarse threads designed specifically for rapid linear movement.
- Acme threads operate much smoother and handle lateral clamping forces much better than standard bolts.
How Do I Mount It To My Workbench?
This clamping system is designed to be completely portable, meaning you do not permanently attach it to your bench.
- You can secure the rear jaw to your benchtop using standard F-style woodworking clamps.
- Many woodworkers drill holdfast holes in the rear extension block for lightning-fast mounting.
- You can easily unclamp the entire unit and store it under your bench when you need your full table space.
What Are The Dimensions I Should Use?
The beauty of building your own tools is that you can customize the dimensions to fit your specific workflow.
- Most builders make the jaws between twenty-four and thirty-two inches long.
- The height is typically around six inches, giving you plenty of vertical clamping depth.
- You want at least twenty inches of clear space between the two threaded rods to accommodate wide furniture panels.
Why Should I Add Leather To The Jaws?
Lining the inside clamping surfaces with leather dramatically improves the performance of your finished tool.
- Leather compresses slightly, conforming to minor irregularities in your workpieces.
- It provides a massive amount of friction, meaning you need less tightening pressure to hold boards securely.
- The soft surface prevents the hard maple jaws from crushing the delicate fibers of softer woods like pine or poplar.
Conclusion
Creating your own workshop fixtures provides an incredible sense of accomplishment and immediately improves your woodworking capabilities. By cutting thick hardwood jaws, aligning the heavy-duty threaded rods perfectly, and adding protective leather pads, you have crafted a tool that rivals any expensive commercial option. This portable clamping system will save your back during long sessions of cutting joinery and will elevate the overall precision of your craft.
Now that you know how to build a moxon vise, it is time to source your materials and fire up your tools. Do not rush the measuring and drilling phases, as perfect alignment guarantees a lifetime of smooth, frictionless operation. Enjoy the process of shaping the wood, savor the beautiful finish you apply, and look forward to the comfort and control this new fixture will bring to your future furniture projects.

About
Mike May is a distinguished figure in the world of woodworking and timber design, with a decade of expertise creating innovative and sustainable indoor solutions. His professional focus lies in merging traditional craftsmanship with modern manufacturing techniques, fostering designs that are both practical and environmentally conscious. As the author of Woodimber, Mike delves into the art and science of timber-craft, inspiring artisans and industry professionals alike.
Education
RMIT University (Melbourne, Australia)
-
Associate Degree in Design (Timber): Focus on sustainable design, industry-driven projects, and practical craftsmanship.
-
Gained hands-on experience with traditional and digital manufacturing tools, such as CAD and CNC software.
Nottingham Trent University (United Kingdom)
-
Bachelor’s in Woodworking and Product Design (Honors): Specialized in product design with a focus on blending creativity with production techniques.
-
Participated in industry projects, working with companies like John Lewis and Vitsoe to gain real-world insights.
Publications and Impact
In Woodimber, May shares his insights on timber design processes, materials, and strategies for efficient production. His writing bridges the gap between artisan knowledge and modern industry needs, making it a must-read for both budding designers and seasoned professionals.