

Taking on custom woodworking projects opens up a fantastic avenue for creativity and functional home improvement. Many beginners feel intimidated by complex shapes and identical repeating parts, assuming they need highly expensive industrial CNC machinery to achieve professional results. You can easily replicate intricate designs and perfect curves using basic handheld tools and simple wooden patterns.
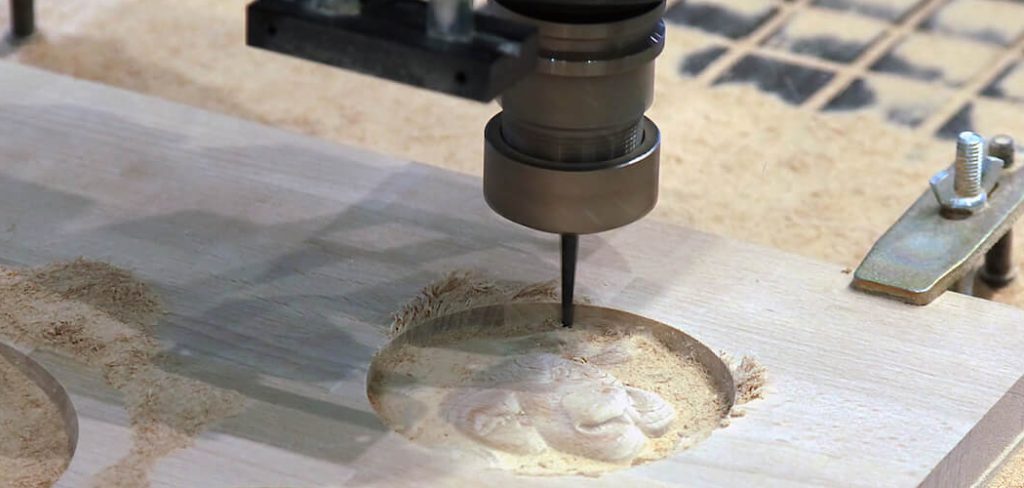
A sturdy pattern combined with the right hardware allows you to create matching furniture legs, custom signs, or perfectly fitted inlay pieces. Learning exactly how to use router template guide accessories completely transforms your workshop capabilities overnight. We have designed this comprehensive guide to walk you through the entire setup and cutting process safely and effectively. You will learn fundamental carpentry skills that immediately elevate the quality and precision of your handmade wooden creations.
Why Template Routing Changes Everything
Operating woodworking tools freehand often leads to messy edges, mismatched parts, and frustrating mistakes that waste expensive hardwood. Relying solely on a steady hand limits your ability to produce professional-grade items, especially when you need to build four identical chairs for a dining set. Incorporating a physical pattern into your workflow provides an infallible physical barrier that forces your cutting bit to follow a designated path flawlessly. This mechanical advantage ensures every single piece you cut matches the original master pattern down to the exact millimeter.
Taking the time to master this specific technique also acts as a gateway to highly advanced joinery and furniture making. The process requires you to practice essential skills like understanding grain direction, managing cutting depth, and securing materials safely to a workbench. Because the mechanical guide handles the complex geometry, you can focus your attention entirely on maintaining safe tool control and monitoring the cutting speed. The minimal cost of the brass collars required for this method removes the need to buy dozens of expensive specialty bearing bits.
Step-By-Step Guide To How to Use Router Template Guide
Step 1: Gather Your Essential Tools First
Every successful shop session begins with thorough preparation and organizing your workspace before turning on any loud machinery. You need a reliable plunge or fixed-base machine, a sharp straight-cutting bit, double-sided woodworking tape, and high-quality brass guide collars. Grab a clear safety shield, reliable hearing protection, and a dust mask to keep yourself completely safe while generating sawdust. Having your clamps and measuring tools within arm’s reach ensures you remain focused once the actual cutting begins. You save significant time and prevent silly mistakes by placing everything directly on your benchtop before starting.
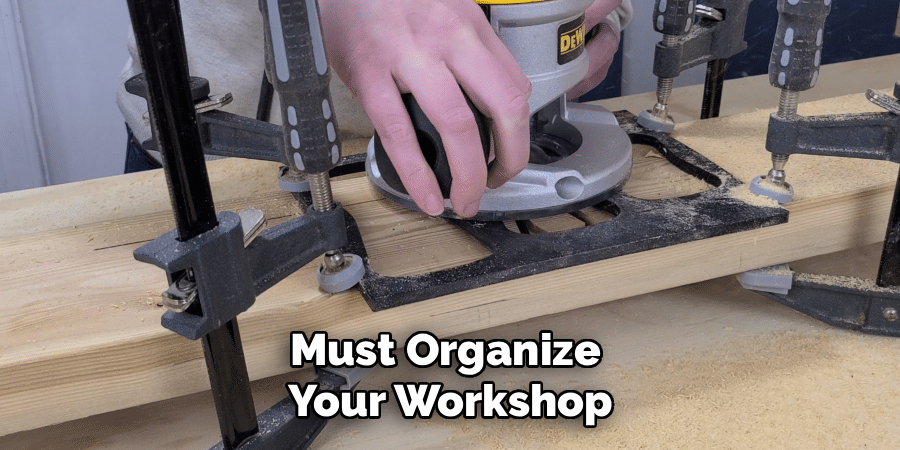
Step 2: Prepare Your Wood Material And Pattern
Precision matters immensely when setting up your cutting path, as any flaw in the pattern transfers directly into your final expensive workpiece. Cut your desired shape out of a sturdy piece of quarter-inch fiberboard, sanding the edges until they feel perfectly smooth to the touch. Place your actual project wood flat on the table and apply several strips of strong double-sided tape across the surface. Press your sanded fiberboard pattern firmly onto the taped wood, ensuring the edges align comfortably with the rough dimensions of your stock.
Step 3: Selecting the Right Brass
Selecting the right brass collar determines the final accuracy and offset of your carved wooden shape. You must insert the brass guide bushing directly into the baseplate of your machine, locking it tightly into place with the provided knurled metal ring. The straight cutting bit drops straight through the center of this brass cylinder without ever actually touching the metal sides. The outside edge of the brass collar rubs physically against your fiberboard pattern, establishing a fixed distance between the template and the cutting edge.
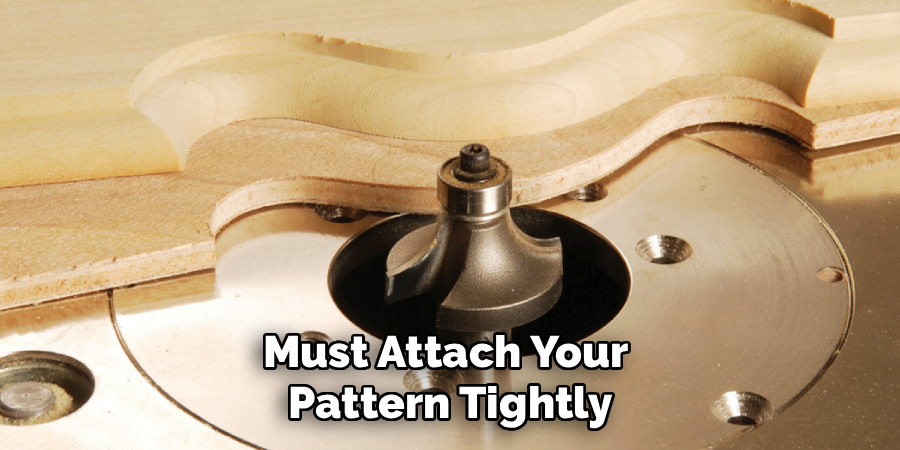
Step 4: Secure The Material To Your Workbench
Creating a stable work surface guarantees your project remains entirely safe while you push heavy machinery across the delicate wood grain. You must lock the taped assembly down tightly using strong bar clamps or hold-down toggles attached to your benchtop. Ensure the clamps sit far enough away from the cutting path so the baseplate of your tool does not crash into the metal bars. Proper material securing acts as the invisible foundation that protects your hands and prevents the wood from violently spinning out of control.
Step 5: Set The Depth Of Your Cutting Bit
Adjusting the plunge depth correctly ensures you do not burn the wood fibers or force the tool to work harder than necessary. Lower the cutting bit until the bottom edge sits just below the thickness of the wood you want to remove. You should never try to cut through thick hardwood in a single pass, as this dulls the blade rapidly and creates dangerous kickback. Set your tool depth stop to take multiple shallow passes, removing roughly a quarter of an inch of material each time you travel around the shape.
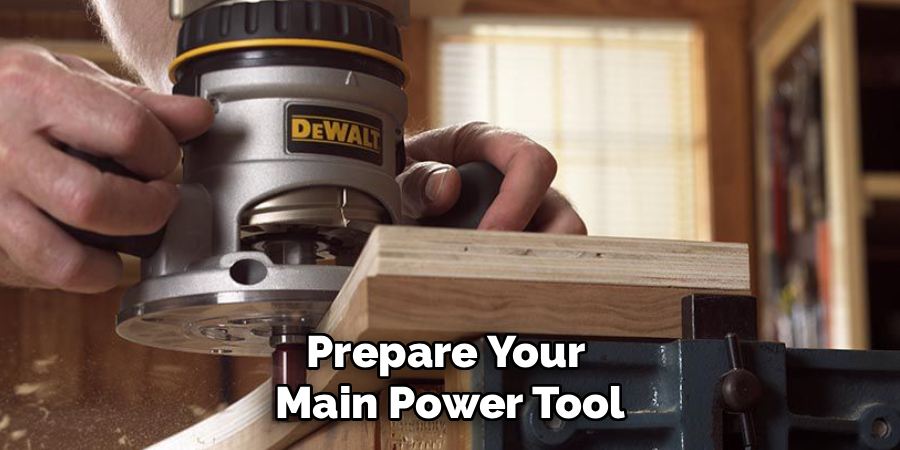
Step 6: Make Your First Initial Passes Gently
Starting the machine requires a firm grip and a clear understanding of which direction the cutting bit naturally wants to travel. Turn the power on and let the motor reach full speed before gently lowering the bit into the waste section of your wood. Push the machine counterclockwise around the outside of your pattern, keeping the brass collar pressed firmly against the edge of the fiberboard. Moving against the rotation of the bit gives you maximum physical control and prevents the tool from aggressively pulling itself out of your hands.
Step 7: Scorch the Wood Safely
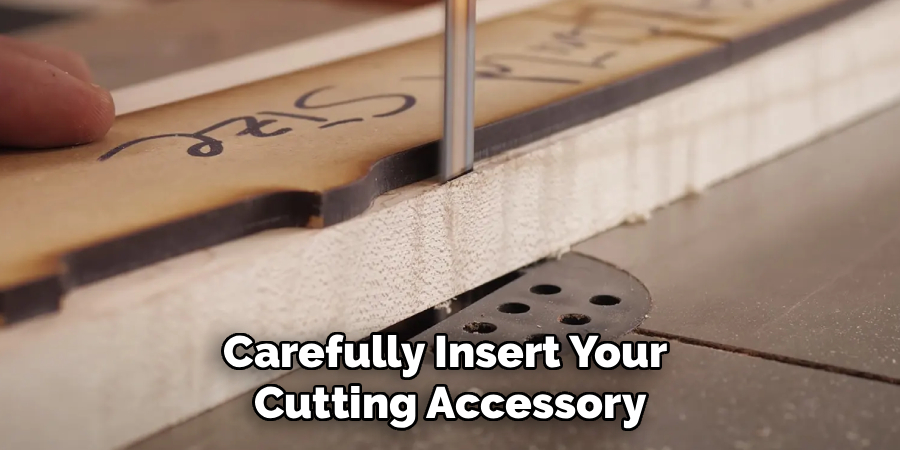
Navigating tricky corners and tight interior curves demands extreme focus to prevent burning the delicate timber surfaces. Keep your movement speed highly consistent as you glide the brass collar along the smooth edge of your custom fiberboard pattern. If you pause too long in one specific spot, the friction from the spinning bit will instantly scorch the wood and leave ugly black marks. Listen closely to the pitch of the motor; a severe drop in tone means you are pushing too fast and need to slow your forward momentum.
Step 8: Clean Up The Edges And Inspect The Cut
Proper finishing techniques separate amateur woodworking attempts from gorgeous, professional-looking furniture components that feel wonderful to touch. Once you complete the final full-depth pass, turn off the motor completely and wait for the bit to stop spinning before lifting the tool away. Carefully pry the fiberboard pattern off your freshly cut wooden piece using a flat putty knife to break the tape’s adhesive bond. Wrap a piece of medium-grit sandpaper around a block and gently sand the newly routed edges to remove any tiny fuzzy fibers left behind.
Frequently Asked Questions
What Type Of Wood Works Best For Creating Custom Templates?
Medium-density fiberboard serves as the absolute best material for creating your master patterns because it lacks natural wood grain entirely. Traditional lumber has alternating soft and hard rings that can cause your sanding block to dive and create wavy, uneven edges. Fiberboard cuts effortlessly, sands to a glass-like finish, and provides a highly rigid edge for the brass collar to ride against smoothly.
Do I Need A Specific Plunge Tool For This Task?
You can successfully complete guided cuts using either a fixed-base or a plunge-style machine depending on the specific project requirements. Plunge models offer a distinct advantage for interior cuts like bowl carving because you can drop the spinning bit directly into the center of the wood safely. Fixed models work perfectly fine for edge routing where you can simply slide the tool directly into the material from the outside perimeter.
How Do I Prevent The Wood From Splintering While Cutting?
Splintering usually occurs when you push the cutting bit too quickly or try to remove massive chunks of material in a single aggressive pass. You must always cut “downhill” relative to the grain direction to ensure the blade cleanly slices the fibers instead of violently lifting them up. Making a very shallow scoring pass first also helps sever the top layer of wood, leaving a pristine surface for the subsequent deeper cuts.
Can I Create Complex Shapes With This Method?
This guided technique absolutely excels at producing highly complex geometric shapes, interlocking puzzle joints, and intricate curved furniture legs. As long as the brass collar can physically fit inside the curves of your fiberboard pattern, the spinning bit will replicate the design flawlessly. You can even chain multiple different patterns together to create massive, intricate signs or detailed topographical maps out of solid lumber.
What Is The Difference Between A Bushing And A Bearing?
A bushing refers to the stationary brass collar that locks directly into the baseplate of your machine, requiring a separate straight bit dropped through the center. A bearing bit features a small spinning metal wheel permanently attached directly to the top or bottom of the actual cutting blade assembly. Brass collars offer much more versatility because you can mix and match different collar sizes with various bit diameters to create precise mathematical offsets.
Conclusion
Taking the time to craft your own custom wooden shapes rewards you with perfect, highly repeatable pieces that elevate your craftsmanship immensely. We explored the massive benefits of working with physical patterns, from saving expensive lumber to controlling the final aesthetic dimensions completely. By preparing your materials properly, securing your workbench, and understanding cutting direction, you guarantee a safe and reliable final product.
Now that you understand exactly how to use router template guide systems, you possess the confidence to upgrade your shop capabilities personally. Stop settling for slightly mismatched furniture legs and start gathering your fiberboard for your next highly rewarding weekend build. Grab your safety glasses, head into your workspace, and enjoy the incredible satisfaction of fabricating flawless wooden parts with your own two hands.

About
Mike May is a distinguished figure in the world of woodworking and timber design, with a decade of expertise creating innovative and sustainable indoor solutions. His professional focus lies in merging traditional craftsmanship with modern manufacturing techniques, fostering designs that are both practical and environmentally conscious. As the author of Woodimber, Mike delves into the art and science of timber-craft, inspiring artisans and industry professionals alike.
Education
RMIT University (Melbourne, Australia)
-
Associate Degree in Design (Timber): Focus on sustainable design, industry-driven projects, and practical craftsmanship.
-
Gained hands-on experience with traditional and digital manufacturing tools, such as CAD and CNC software.
Nottingham Trent University (United Kingdom)
-
Bachelor’s in Woodworking and Product Design (Honors): Specialized in product design with a focus on blending creativity with production techniques.
-
Participated in industry projects, working with companies like John Lewis and Vitsoe to gain real-world insights.
Publications and Impact
In Woodimber, May shares his insights on timber design processes, materials, and strategies for efficient production. His writing bridges the gap between artisan knowledge and modern industry needs, making it a must-read for both budding designers and seasoned professionals.