

Crafting your own wooden jewelry brings a unique sense of satisfaction and allows you to wear something truly one-of-a-kind. A wooden necklace carries a natural, earthy charm that mass-produced metal jewelry simply cannot replicate. Working with wood allows you to connect with raw materials, turning a simple block of timber into a wearable piece of art.
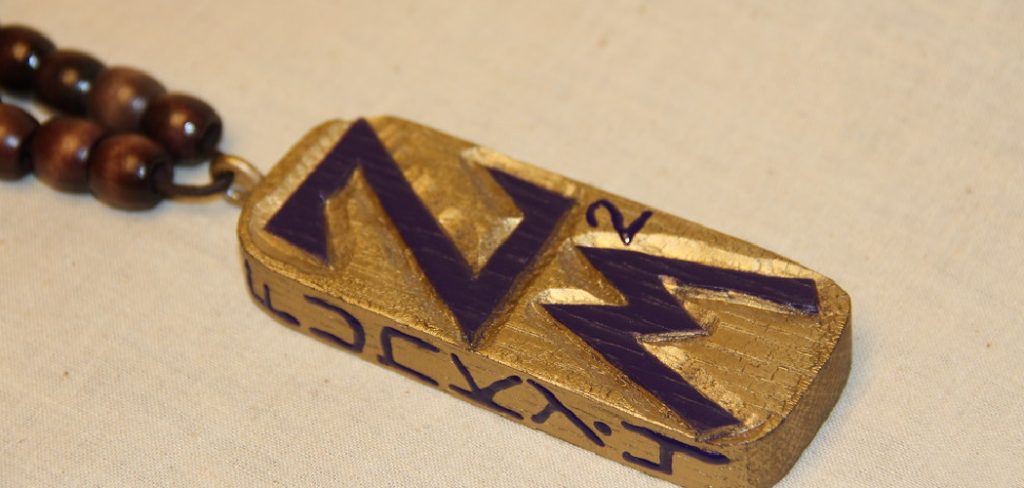
Whether you want to create a rustic pendant or a highly polished, modern geometric shape, wood offers endless possibilities. It holds warmth, character, and texture. By taking the time to design, carve, and finish a wooden necklace, you infuse the piece with your own personal story and creative vision. You do not need a fully equipped carpentry shop to get started.
Let’s dive into how to make a wooden necklace.
What Will You Need?
Before you begin, gather the following tools and materials to ensure a smooth crafting process.
Materials:
- A small block or scrap of hardwood (walnut, cherry, maple, or oak work beautifully)
- A necklace cord (leather, waxed cotton, or a metal chain)
- Jewelry clasps and jump rings (if not using a simple knot tying method)
- Wood finish (beeswax, linseed oil, mineral oil, or a clear varnish)
Tools:
- A coping saw or jeweler’s saw for cutting fine shapes
- A small hand drill or rotary tool (like a Dremel) with a fine drill bit
- Various grits of sandpaper (start with 80-grit and work up to 400-grit or higher)
- Needle files or a wood rasp for shaping edges
- A pencil and paper for sketching your design
- A soft cloth for applying the finish
- Small pliers for attaching jewelry findings
10 Easy Steps on How to Make a Wooden Necklace
Step 1: Choosing the Right Wood
Selecting the right piece of wood serves as the foundation for your entire project. Hardwoods generally perform better for jewelry making than softwoods because they are more durable and take a polish beautifully. Look for small scraps of walnut, cherry, or maple, which feature gorgeous natural grain patterns and rich colors.
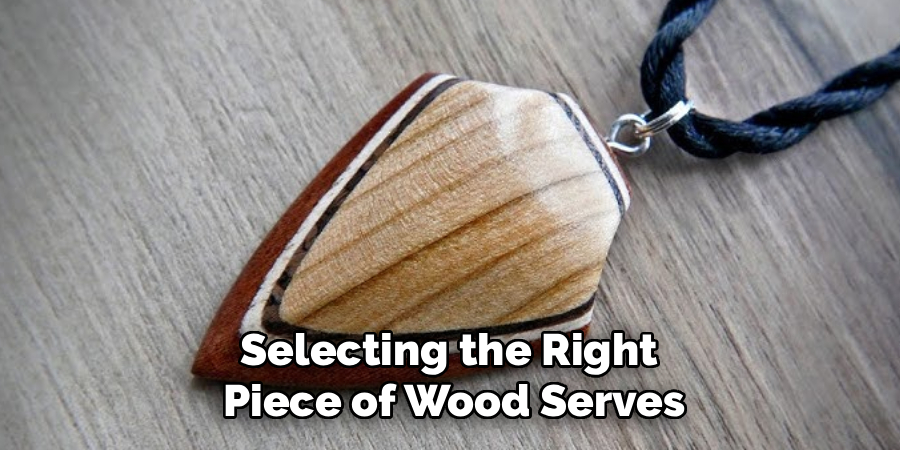
Avoid using wood that is green or wet, as it will warp and crack as it dries over time. You want fully dried, stable lumber. If you are a beginner, you might want to purchase small wood blanks specifically sold for carving or turning, as these are pre-dried and free of major defects. Take time to examine the grain direction of your chosen piece. You want the grain to run lengthwise across your pendant for maximum structural strength. A cross-grain pendant might easily snap if you accidentally bump it against a hard surface.
Step 2: Designing Your Pendant
Before you make a single cut, you need a clear vision of what you want to create. Grab a pencil and some paper to sketch out a few different ideas. You might choose a simple geometric shape like a triangle, circle, or hexagon, or you might prefer a more organic, free-flowing design like a leaf or an abstract teardrop. Keep your tools in mind; if you only have a basic hand saw, avoid intricate designs with tight interior curves.
Once you settle on a design, cut the paper sketch out with scissors to serve as a template. Place this paper template directly onto your wood block and trace around it with a dark pencil. Think about where the hole for the necklace cord will go, and mark that spot clearly. Ensure there is enough wood between the hole and the edge of the pendant so it will not break under tension.
Step 3: Cutting the Basic Shape
With your design clearly drawn onto the wood, it is time to cut out the rough shape. Clamp your wood block securely to your workbench to prevent it from slipping and causing an injury. Using your coping saw or jeweler’s saw, slowly cut along the outside edge of your pencil line. Do not try to cut exactly on the line just yet; leave a tiny margin of extra wood. This margin gives you room for error and allows you to refine the shape perfectly during the filing and sanding stages.
Let the saw do the work by applying smooth, even strokes without forcing the blade through the material. Forcing the blade can cause the wood to splinter or the delicate saw blade to snap. Take your time, rotate the wood as necessary for different angles, and focus on steady, controlled movements.
Step 4: Refining the Edges
Once you free your pendant from the larger block of wood, the edges will look rough and uneven. Now you will use your wood rasps or needle files to bring the wood down exactly to your drawn pencil line. Hold the pendant firmly in your hand or secure it gently in a padded vice. Use smooth, forward strokes with your file to remove the excess material.
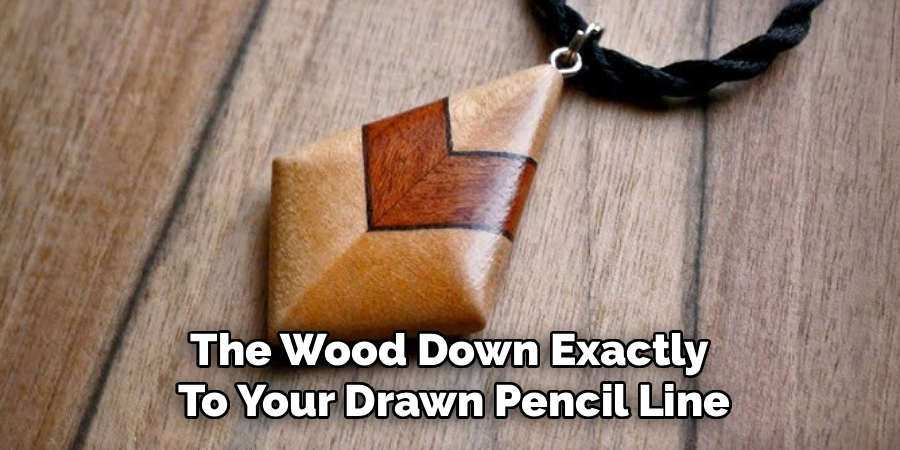
This is where you establish the true final shape of your necklace. Pay close attention to the curves and corners, ensuring they flow naturally without awkward bumps or jagged points. If you are creating a faceted geometric design, use a flat file to ensure your angles remain crisp and sharp. If you prefer an organic shape, round over the sharp front and back edges so the pendant will sit comfortably against the wearer’s chest.
Step 5: Drilling the Hole for the Cord
Drilling the hole requires precision and care, as it is easy to split the wood if you rush. Choose a drill bit that is slightly wider than the cord or jump ring you plan to use. Place your pendant on a piece of scrap wood before drilling. This “backer board” prevents the wood from blowing out or splintering when the drill bit exits the bottom side of the pendant.
Position your drill perfectly perpendicular to the wood surface directly over the mark you made during the design phase. Apply gentle, steady pressure and run the drill at a moderate speed. Do not force the bit down; let the sharp edges slice through the wood fibers. Once the hole is completely drilled, blow away the sawdust and use a tiny piece of rolled-up sandpaper to smooth the interior edges of the hole, preventing the rough wood from fraying your necklace cord.
Step 6: First Round of Sanding (Coarse)
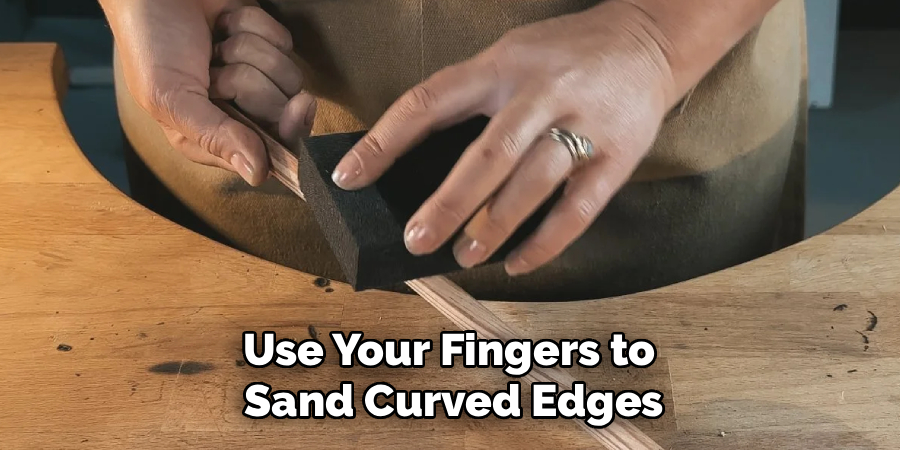
Sanding transforms your rough wooden cutout into a professional-looking piece of jewelry. Start with a coarse grit sandpaper, such as 80 or 100 grit. The goal of this stage is to remove all the deep scratches left behind by your saw and files. Wrap the sandpaper around a small, flat block of wood to keep your flat surfaces truly flat, or use your fingers to sand curved edges. Always try to sand in the direction of the wood grain whenever possible to avoid creating deep cross-grain scratches that will show up prominently when you apply the finish.
Take your time with the coarse grit, as this is where you finalize the overall surface texture and remove any lingering imperfections. Do not move on to the next grit until the entire piece has a uniform, slightly fuzzy appearance without any deep gouges.
Step 7: Final Round of Sanding (Fine)
Now you will progress through finer grits of sandpaper to build a buttery smooth surface. Move from your coarse grit to 150, then 220, then 320, and finally 400 grit. Wipe the dust off the pendant with a clean cloth between each grit change so you do not rub coarse particles into the smoothing wood. With each step up in grit, the wood will feel softer and the natural grain pattern will become more distinct. For an incredibly smooth finish, you can even go up to 600 or 800 grit.
Take special care around the edges and the drilled hole to ensure everything feels comfortable to the touch. By the time you finish with the highest grit, the wood should feel almost like glass. A thorough sanding job marks the difference between a project that looks amateur and one that looks like a high-end artisan craft.
Step 8: Applying the Finish or Stain
Applying the finish represents the most rewarding part of the process, as it instantly brings the dull wood to life, highlighting the rich colors and complex grain patterns. You can use a variety of finishes, but natural oils like linseed oil, mineral oil, or beeswax are excellent, non-toxic choices for jewelry that will sit directly against the skin.
Apply a generous amount of your chosen finish to a clean, lint-free cloth and rub it firmly into all surfaces of the pendant. Make sure to get some oil inside the drilled hole as well. Let the oil soak into the wood fibers for about ten to fifteen minutes, then take a dry section of the cloth and rigorously buff off all the excess finish. If you want a glossy appearance, you can apply a second or third coat after the first one has completely dried, buffing between each application.
Step 9: Measuring and Cutting the Cord
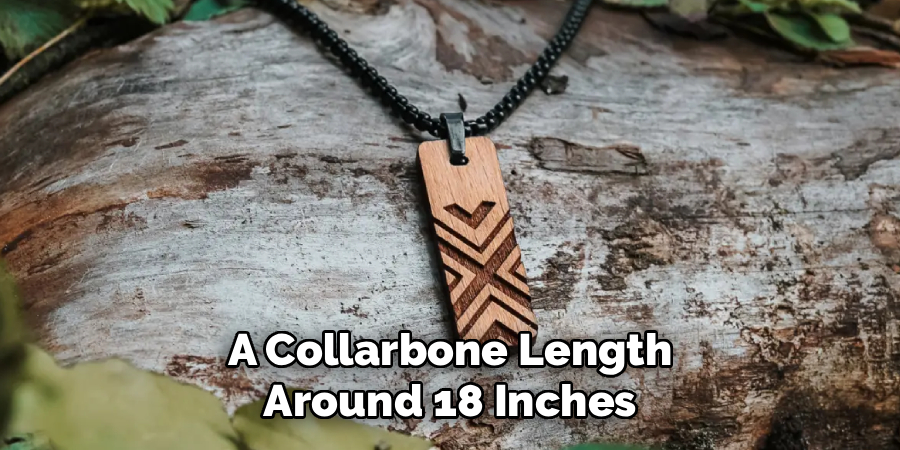
With the pendant finished and drying, turn your attention to the necklace cord. Think about how long you want the necklace to hang. A standard choker length sits around 16 inches, a collarbone length around 18 inches, and a longer, matinee length around 24 inches. Use a flexible measuring tape around your own neck to find the perfect drape for your specific design. Add an extra two to three inches to your measurement to account for the knots and clasps you will need to tie.
Cut your leather, cotton, or metal chain precisely with sharp scissors or wire cutters. If you are using a synthetic cord like nylon, you might want to carefully singe the cut ends with a lighter to prevent them from fraying over time. Prepare your cord so it is ready to be securely attached to your freshly finished wooden centerpiece.
Step 10: Assembling the Necklace
The final step brings all your hard work together into a wearable piece of art. If you drilled a large enough hole, you can simply thread the cord directly through the pendant. You can secure it in place by tying a simple knot just above the wood, or leave it free-sliding. If your hole is smaller, you may need to attach a metal jump ring to the pendant first, and then thread your cord through the ring.
Once the pendant is situated on the cord, attach your clasps to the ends. You can use crimp ends and lobster clasps for a professional look, or simply learn to tie adjustable sliding knots if you are using leather or waxed cotton. Test the strength of your connections with a gentle tug. Put the necklace on, admire your handiwork, and enjoy wearing your beautiful, handcrafted wooden jewelry.
Conclusion
How to make a wooden necklace is a highly rewarding journey that blends artistic design with hands-on craftsmanship.
By taking a simple block of wood and applying patience, care, and basic tools, you can craft a stunning accessory that carries your unique personal touch. Remember that making mistakes is part of the learning process, so do not feel discouraged if your first attempt is not completely flawless. Focus on enjoying the tactile experience of shaping and polishing the wood.
Gather your materials, clear off a workspace, and start carving today—you will soon be wearing a beautiful piece of nature that you built with your own two hands.

About
Mike May is a distinguished figure in the world of woodworking and timber design, with a decade of expertise creating innovative and sustainable indoor solutions. His professional focus lies in merging traditional craftsmanship with modern manufacturing techniques, fostering designs that are both practical and environmentally conscious. As the author of Woodimber, Mike delves into the art and science of timber-craft, inspiring artisans and industry professionals alike.
Education
RMIT University (Melbourne, Australia)
-
Associate Degree in Design (Timber): Focus on sustainable design, industry-driven projects, and practical craftsmanship.
-
Gained hands-on experience with traditional and digital manufacturing tools, such as CAD and CNC software.
Nottingham Trent University (United Kingdom)
-
Bachelor’s in Woodworking and Product Design (Honors): Specialized in product design with a focus on blending creativity with production techniques.
-
Participated in industry projects, working with companies like John Lewis and Vitsoe to gain real-world insights.
Publications and Impact
In Woodimber, May shares his insights on timber design processes, materials, and strategies for efficient production. His writing bridges the gap between artisan knowledge and modern industry needs, making it a must-read for both budding designers and seasoned professionals.