

Welcome to the wonderful world of backyard conservation. As a home gardener, you already know how crucial pollinators are for blooming flowers and robust vegetable yields. However, certain native insects love tunneling into our wooden decks, porches, and roof eaves, causing frustrating structural damage. Instead of resorting to harsh chemicals or costly pest control, you can redirect these fascinating creatures by providing them with a dedicated, attractive habitat.
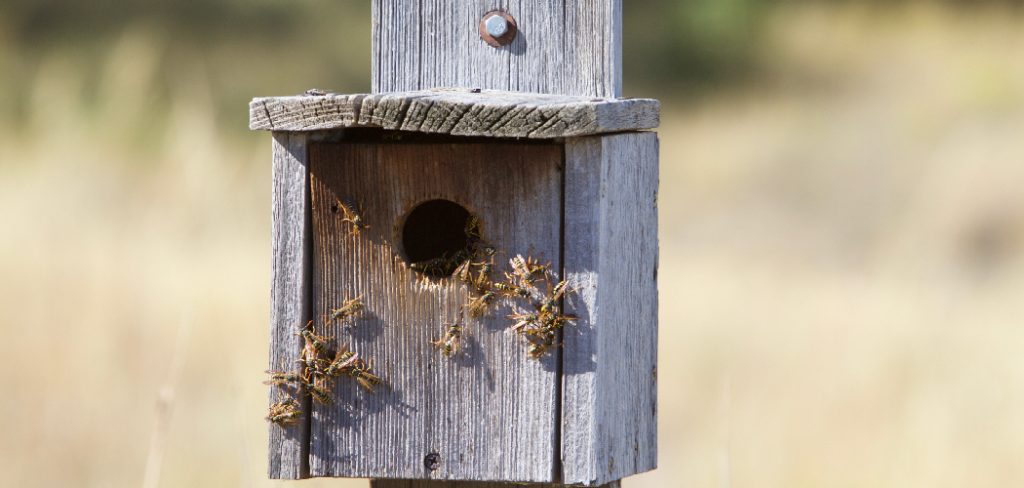
By learning how to build a carpenter bee house, you protect your valuable property while supporting local ecosystems. This simple, rewarding DIY project requires minimal tools and basic untreated lumber, making it absolutely perfect for beginners. In just one afternoon, you can construct a safe haven that keeps your wooden structures completely bite-free. Let us gather our materials and dive right into the easy, step-by-step process of creating a welcoming home for these hardworking, gentle giants.
Step-By-Step Guide On How to Build a Carpenter Bee House
Step 1: Select the Proper Untreated Lumber
Choosing the right wood serves as the most critical foundation for your pollinator project. You must absolutely use untreated, natural lumber because the harsh chemicals found in pressure-treated wood will quickly harm or repel the insects you want to attract. Softwoods provide the best material since they mimic the natural dead trees these pollinators instinctively seek out in the wild. Pine, cedar, and fir represent excellent, budget-friendly options that are incredibly easy to cut and drill.
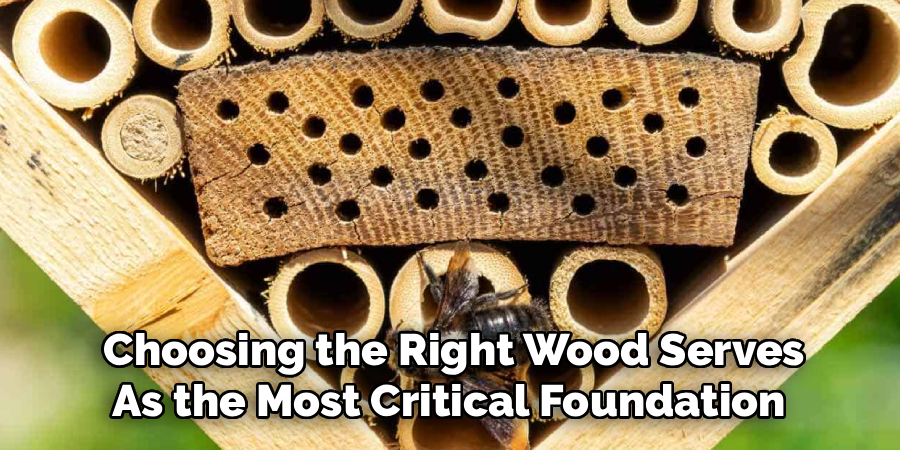
Purchase a thick block of wood, ideally a four-by-four post, measuring about eight to ten inches in length. This generous thickness provides ample room for deep, protective tunnels while keeping the developing larvae completely insulated from extreme weather conditions and hungry predators.
Step 2: Gather Your Essential Drilling Tools
Before you make a single mark on your fresh lumber, clear your workbench and gather your necessary tools. Having everything within arm’s reach prevents frustrating interruptions once you begin the physical work. Understanding how to build a carpenter bee house safely means you will need a reliable power drill, a sturdy workbench vice or heavy clamps, and a measuring tape.
The most vital tool is a high-quality drill bit measuring exactly half an inch in diameter, which perfectly matches the natural size of the tunnels these insects create themselves. Additionally, grab a pencil for marking your holes and some medium-grit sandpaper to smooth out the rough edges later. Wearing proper safety glasses ensures flying sawdust never interrupts your focus while you operate the power drill.
Step 3: Mark the Entry Hole Locations
Careful planning ensures your wooden block looks neat and functions perfectly. Stand your untreated block upright on your workbench and grab your measuring tape. You want to mark your entry points on the front face of the wood, spacing them evenly to prevent the internal tunnels from intersecting. Draw a small pencil mark every two inches along the center line of the block. For a standard eight-inch post, this gives you three or four perfectly spaced entry points. Leaving adequate space between each hole guarantees the structural integrity of the wood remains strong even after you hollow out the inside. Double-check your measurements to ensure the layout looks visually balanced and professional before you proceed.
Step 4: Angle the Wood for Drilling
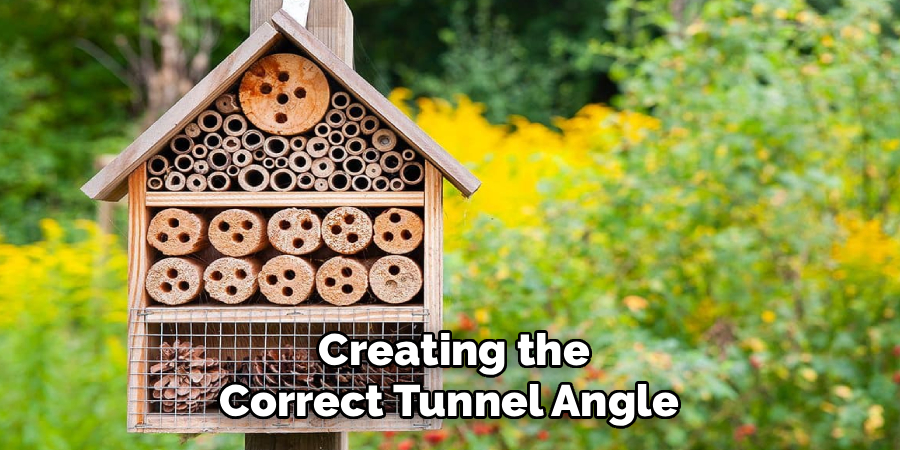
Creating the correct tunnel angle is the secret to a successful habitat. In nature, these insects bore upward at a slight angle before turning horizontally to keep rainwater from flooding their precious nests. To replicate this brilliant natural design, tilt your wooden block backward at a forty-five-degree angle inside your vice. Clamp the wood down tightly so it absolutely cannot shift or spin while you apply pressure with the power tool. If you do not have a vice, you can prop the front edge of the block up on a scrap piece of wood and secure it firmly with heavy-duty table clamps. This simple tilted setup makes drilling the upward-sloping entrance holes incredibly easy.
Step 5: Drill the Upward Entrance Holes
Put on your safety glasses and prepare to create the entryways. Insert your half-inch bit into the power drill and align the tip with your first pencil mark. Because you tilted the block in the previous step, drilling straight down automatically creates the perfect upward-sloping tunnel. Gently squeeze the trigger and apply steady, even pressure, allowing the sharp flutes of the bit to cut through the softwood effortlessly. Drill inward approximately one to two inches deep. Pull the spinning bit out frequently to clear the packed sawdust from the hole, which prevents the metal from overheating. Repeat this careful process for every single pencil mark you drew on the front face of your wooden block.
Step 6: Bore the Long Horizontal Tunnels
Now you must create the long residential corridors where the females will eventually lay their eggs. Unclamp your block, set it completely flat on the workbench, and secure it tightly once again. Insert your drill bit into the upward-sloping entrance hole you just made, but this time, angle the drill so it runs parallel to the length of the wood. You are essentially making a sharp ninety-degree turn inside the block. Carefully bore straight down the length of the post, stopping about one inch before the drill bit pierces the back wall. This deep, dark, and enclosed tunnel perfectly mimics the secure nesting galleries these solitary pollinators desperately search for every single spring.
Step 7: Sand the Edges and Add a Roof
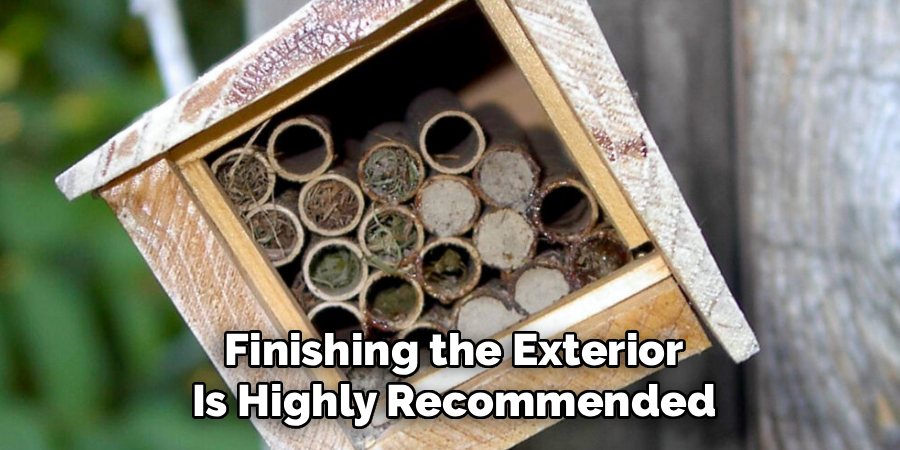
Rough, splintered wood around the entrance holes can damage delicate wings, so finishing the exterior is highly recommended. Take your medium-grit sandpaper and gently rub it over the drilled openings until the edges feel perfectly smooth to the touch. Once the entrances are safe, consider adding a small overhanging roof to provide extra protection against heavy spring rainstorms. Cut a thin piece of scrap cedar slightly wider than your block and attach it to the top using waterproof wood glue or small exterior screws. This simple overhanging ledge acts like an umbrella, ensuring the internal tunnels remain completely dry and cozy for the developing larvae during fierce seasonal weather changes.
Step 8: Mount the Habitat in the Perfect Location
Finding the ideal mounting spot determines whether your new backyard project succeeds or fails. These sun-loving insects prefer warm, bright locations, so seek out a southern or eastern-facing wall on your property. Use heavy-duty exterior screws to mount the wooden block securely against a fence, a sturdy tree trunk, or the side of an outbuilding. Position the block at least four to six feet off the ground to protect the inhabitants from curious pets and roaming nighttime predators. Ensure the structure remains completely stable in the wind, as a swinging or loose block will quickly frighten away any potential residents looking for a permanent home.
Frequently Asked Question
Do These Insects Sting Humans Or Pets?
Male carpenter bees often act highly aggressive and will buzz loudly around your head, but they completely lack a stinger and cannot hurt you. The females do possess a stinger but are incredibly docile. They will only sting if you directly squeeze them in your bare hand or severely threaten their nest. For home gardeners, they are completely safe to have buzzing around the yard and rarely pose any serious threat to children or domestic pets.
When Is The Best Time To Hang The Block?
You should mount your newly built habitat in early spring, just before the weather significantly warms up.
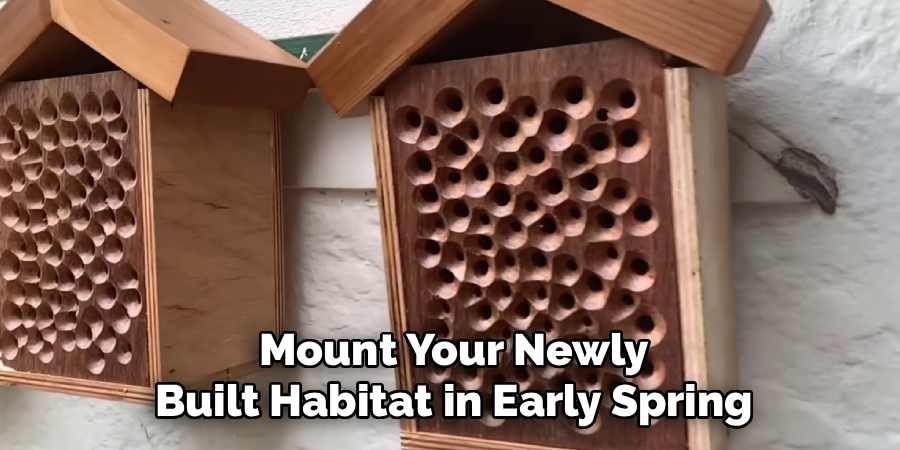
- March and April are the ideal installation months for most regions.
- Hanging it early ensures the block is ready when the females emerge from hibernation.
- If you miss the spring window, you can still hang it in the summer so it naturally weathers and becomes attractive for the following year.
Should I Paint Or Stain The Exterior Wood?
You must absolutely never paint, varnish, or chemically stain the interior or exterior of the nesting block.
- Paint fumes and chemical sealants will instantly repel these sensitive pollinators.
- They specifically look for raw, untreated, and naturally weathering wood.
- If you want to protect the exterior from water damage, you can lightly rub the outside with natural, raw linseed oil, but leave the entrance holes completely untouched.
How Do I Attract Them To The New Habitat?
While finding a sunny, south-facing location is usually enough, you can encourage faster adoption with a few simple tricks.
- Leave some of the sawdust from your drilling process inside the tunnels.
- The smell of freshly excavated wood signals to the females that the area is perfect for nesting.
- Placing the block near blooming, nectar-rich spring flowers also naturally draws them right toward your newly installed wooden habitat.
Will This Keep Them Away From My Porch?
Providing a dedicated nesting block drastically reduces the chances of them damaging your home, but it works best alongside preventative measures.
- You must actively paint or varnish the exposed wood on your porch.
- These insects strongly dislike chewing through painted or treated surfaces.
- By treating your porch and offering a highly attractive, untreated alternative nearby, you effectively redirect their natural nesting instincts safely away from your valuable property.
Conclusion
Taking proactive steps to manage backyard wildlife creates a harmonious environment for both you and nature. By offering an alternative nesting site, you successfully protect your home’s structural integrity without resorting to harmful extermination methods. We covered the importance of selecting untreated lumber, the precise drilling angles needed to mimic natural tunnels, and the best sunny locations for mounting your finished project.
It truly requires very little time or money to make a massive positive impact on your local ecosystem. Now that you have mastered how to build a carpenter bee house, you can confidently set up your workbench and get started. Grab your power drill, pick up some scrap pine or cedar, and enjoy the immensely rewarding process of supporting these gentle, hardworking pollinators right in your own backyard.

About
Mike May is a distinguished figure in the world of woodworking and timber design, with a decade of expertise creating innovative and sustainable indoor solutions. His professional focus lies in merging traditional craftsmanship with modern manufacturing techniques, fostering designs that are both practical and environmentally conscious. As the author of Woodimber, Mike delves into the art and science of timber-craft, inspiring artisans and industry professionals alike.
Education
RMIT University (Melbourne, Australia)
-
Associate Degree in Design (Timber): Focus on sustainable design, industry-driven projects, and practical craftsmanship.
-
Gained hands-on experience with traditional and digital manufacturing tools, such as CAD and CNC software.
Nottingham Trent University (United Kingdom)
-
Bachelor’s in Woodworking and Product Design (Honors): Specialized in product design with a focus on blending creativity with production techniques.
-
Participated in industry projects, working with companies like John Lewis and Vitsoe to gain real-world insights.
Publications and Impact
In Woodimber, May shares his insights on timber design processes, materials, and strategies for efficient production. His writing bridges the gap between artisan knowledge and modern industry needs, making it a must-read for both budding designers and seasoned professionals.