 (1)")

Are you looking to add warmth, character, and stunning texture to a dull room?
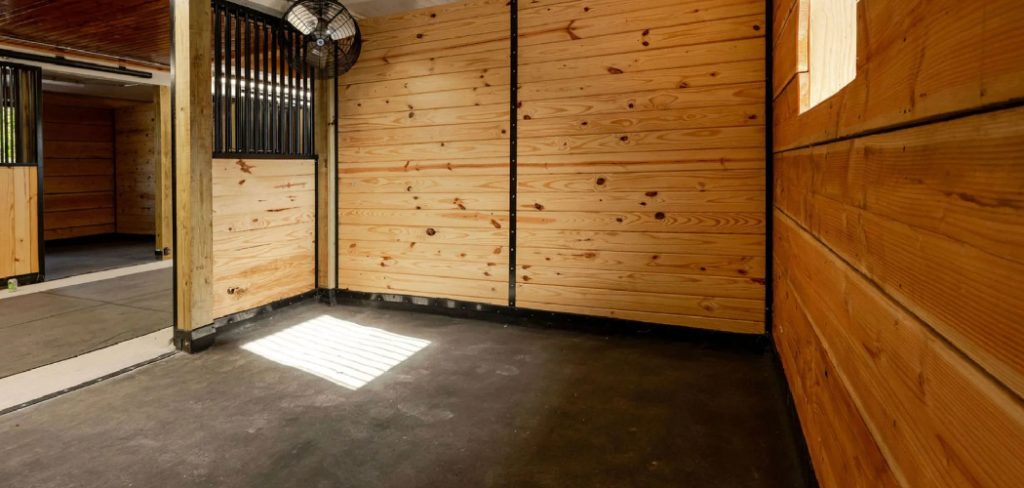
Adding a wood accent wall is one of the most rewarding home improvement projects you can tackle. You do not need to be a master carpenter to achieve beautiful results. With a free weekend, some basic tools, and a little bit of patience, you can completely transform your space.
This guide on how to install wood wall planks will walk you through the entire process from start to finish. You will learn the benefits of wood paneling, gather the exact tools you need, and follow a detailed step-by-step process to get your planks securely on the wall.
What are the Benefits
Wood plank walls bring more than just rustic charm to your home. They offer a variety of benefits that make the effort completely worthwhile:
- Visual Warmth and Texture: Wood brings a natural, cozy element indoors that paint or wallpaper simply cannot match.
- Durability: Solid wood stands up to scuffs, bumps, and daily wear far better than standard drywall.
- Acoustic Insulation: Adding a layer of wood to your wall helps absorb sound, making the room quieter and reducing echoes.
- Hides Imperfections: If your drywall has dents, scratches, or uneven patches, wood planks cover them up flawlessly.
- Boosts Home Value: A well-executed wood accent wall acts as a premium custom feature that appeals to potential home buyers.
What Will You Need?
Before you start swinging a hammer, gather all your supplies. Having everything within reach will make the installation process smooth and stress-free. Here is your materials checklist:
- Wood planks (enough to cover your square footage plus 10% extra for waste)
- Tape measure and pencil
- Stud finder
- Laser level or a long spirit level
- Chalk line tool
- Construction adhesive and a caulking gun
- Brad nailer (and an air compressor if it is pneumatic)
- 1.5-inch to 2-inch brad nails
- Miter saw (for straight cuts)
- Jigsaw (for cutting around outlets)
- Pry bar and utility knife
- Electrical box extenders (if working around outlets)
10 Easy Steps on How to Install Wood Wall Planks
Building your accent wall requires careful planning and precise execution. Follow these ten detailed steps to ensure your wood planks look professional and stay securely attached to the wall for years to come.
Step 1: Calculate Your Materials and Measure the Wall
The first thing you need to do is figure out exactly how much wood to buy. Grab your tape measure and find the width and height of your wall in inches. Multiply the width by the height to get the total square inches, then divide that number by 144 to find your total square footage. Because you will inevitably make mistakes or need to cut pieces to fit around the edges, always add an extra 10 to 15 percent to your total. Ordering all your wood at once guarantees that the color, grain, and thickness match perfectly. It also prevents you from pausing your project halfway through to run back to the hardware store.
Step 2: Acclimate the Wood to Your Room
Wood is a natural, porous material that expands and contracts based on the temperature and humidity of its environment. If you install the planks immediately after bringing them inside, they might shrink and leave ugly gaps, or expand and buckle off the wall. To prevent this, unbox your wood planks and lay them flat in the room where you plan to install them. Let them sit there for at least 48 to 72 hours. This crucial waiting period allows the wood to adjust to the specific climate of your home. Taking this simple precaution will save you from disastrous warping issues later on.

Step 3: Prepare Your Wall Surface
A great installation starts with a clean, flat canvas. Remove any nails, screws, or old picture hooks from the wall. If you have large holes or bumps in the drywall, sand them down or fill them in so the planks will lay perfectly flat. Additionally, if your wood planks have natural knots or slight gaps between the boards, the wall behind them might peek through. To camouflage this, consider painting your wall a dark color, like black or deep brown, before you begin. This shadow effect completely hides the drywall and makes the finished wood wall look solid and professional.
Step 4: Locate and Mark the Wall Studs
Drywall alone cannot support the weight of solid wood planks. You must anchor the boards directly into the wooden framework of your house. Grab your electronic stud finder and slide it slowly across the wall near the ceiling, the middle, and the floor. Whenever the tool beeps to indicate a stud, make a clear pencil mark. Standard studs usually sit 16 inches apart. Once you find them all, use a long level and a pencil—or snap a chalk line—to draw a straight vertical line down the center of each stud from the ceiling to the floor. These lines will guide your nail gun later.
Step 5: Remove Baseboards and Outlet Covers
To achieve a clean, built-in look, you need to clear the wall of any obstacles. Start by turning off the electricity to the room at your breaker box to ensure you are safe while working near outlets. Remove all the plastic switch plates and outlet covers using a screwdriver. Next, take your utility knife and carefully score the line of caulk where your baseboard meets the wall. Gently tap a pry bar behind the baseboard and pull it away from the wall. Set the baseboard aside in a safe place so you can reinstall it at the very end of the project.
Step 6: Draw a Level Reference Line
Do not trust your ceiling or your floor to be perfectly straight. Houses settle over time, and starting your first row directly against a crooked floor will throw off the entire wall. Instead, measure up from the floor to the width of your first plank and make a mark. Place your laser level or a long spirit level at this mark and draw a perfectly horizontal line across the entire width of the wall. This reference line is your ultimate guide. Installing your first row of planks perfectly flush with this level line ensures that every subsequent row stacks up straight and true.
Step 7: Apply Construction Adhesive to the First Plank
While nails hold the wood in place, construction adhesive provides the long-term bonding strength you need to prevent the boards from rattling or bowing. Load a tube of high-quality wood paneling adhesive into your caulking gun. Flip your first plank over and apply the glue in a wavy, zigzag pattern down the center of the board. Keep the adhesive about an inch away from the edges. If you put the glue too close to the edge, it will squeeze out onto the face of the wood when you press it against the wall, creating a messy cleanup job.
Step 8: Nail the Planks into the Studs
Press your glued plank firmly against the wall, lining the top edge up exactly with your level reference line. Hold it tightly in place. Grab your brad nailer, load it with 1.5-inch or 2-inch nails, and fire two nails through the plank directly into every wall stud you marked earlier. If your planks have a tongue-and-groove profile, try to shoot the nails at a downward angle through the tongue so the next board hides the nail head. Keep your hands well away from the firing zone, and wear safety glasses to protect your eyes from any flying debris.
Step 9: Stagger the Seams for a Natural Look
If you line up the vertical seams of your planks row after row, your wall will look rigid and unnatural. To achieve an authentic hardwood floor appearance, you must stagger the joints. Start your second row with a plank cut to a different length than the first row. A good rule of thumb is to take the leftover piece from the end of your first row and use it to start the second row. Continue this random pattern all the way up the wall. Step back every few rows to inspect your work and ensure you do not accidentally create a stair-step or “H” pattern with the seams.
Step 10: Cut Around Outlets and Reinstall Trim
When you reach an electrical outlet or light switch, hold the plank over the box and carefully mark the exact dimensions on the wood. Use a jigsaw to cut out this rectangular opening, ensuring the plank fits snugly over the outlet. Because the wood adds thickness to the wall, your electrical outlets will now sit too deeply. Install electrical box extenders to bring the receptacles flush with the new wood surface safely. Finally, measure and cut your baseboards, nail them back into place at the bottom of the wall, and fill any visible brad nail holes with matching wood putty.
5 Things You Should Avoid
- Skipping the Acclimation Process: Installing wood straight from the store guarantees warping, shrinking, and gaps.
- Relying on the Ceiling for Level: Ceilings are rarely perfectly straight. Always use a level to dictate your starting row.
- Using Too Much Adhesive: Excessive glue will squeeze through the joints and ruin the finish of your wood.
- Forgetting Outlet Extenders: Leaving electrical switches buried behind thick wood panels is a major fire hazard.
- Aligning the Seams: Stacking the ends of your boards directly on top of one another looks highly unnatural and weakens the structural hold.
Conclusion
Installing a wood plank wall is a brilliant way to elevate the style of your home with your own two hands. By properly prepping your space, securing the boards to the studs, and paying close attention to your level lines, you can create a flawless focal point in any room.
Hopefully, this guide on how to install wood wall planks has provided you with helpful tips and techniques for successfully installing a wood plank wall in your own home.
Grab your tools, pick out your favorite wood finish, and enjoy the process of bringing your new space to life.
About
Mike May is a distinguished figure in the world of woodworking and timber design, with a decade of expertise creating innovative and sustainable indoor solutions. His professional focus lies in merging traditional craftsmanship with modern manufacturing techniques, fostering designs that are both practical and environmentally conscious. As the author of Woodimber, Mike delves into the art and science of timber-craft, inspiring artisans and industry professionals alike.
Education
RMIT University (Melbourne, Australia)
-
Associate Degree in Design (Timber): Focus on sustainable design, industry-driven projects, and practical craftsmanship.
-
Gained hands-on experience with traditional and digital manufacturing tools, such as CAD and CNC software.
Nottingham Trent University (United Kingdom)
-
Bachelor’s in Woodworking and Product Design (Honors): Specialized in product design with a focus on blending creativity with production techniques.
-
Participated in industry projects, working with companies like John Lewis and Vitsoe to gain real-world insights.
Publications and Impact
In Woodimber, May shares his insights on timber design processes, materials, and strategies for efficient production. His writing bridges the gap between artisan knowledge and modern industry needs, making it a must-read for both budding designers and seasoned professionals.