 (1)")

Tired of looking at worn, outdated cabinets every time you walk into your kitchen?
You do not have to spend thousands of dollars on a complete remodel to get the space you want. Refinishing your existing wood cabinets offers a budget-friendly way to completely transform the heart of your home.
This comprehensive guide on how to refinish wood cabinets will walk you through exactly how to tackle this rewarding DIY project. You will learn the benefits of keeping your existing frames, the exact tools you need, and a foolproof 10-step method to achieve a smooth, factory-like finish.
What are the Benefits?
Choosing to refinish your cabinets instead of replacing them comes with a host of incredible advantages.
First, it is incredibly cost-effective. Replacing cabinets often costs tens of thousands of dollars, whereas a refinishing project usually costs a fraction of that amount. You keep the sturdy, original boxes and only update the exterior.
Second, you have total creative control. You can choose any paint color or wood stain that matches your specific design vision. Finally, refinishing is an environmentally friendly choice. By breathing new life into your current materials, you keep large amounts of perfectly good wood out of the local landfill.
What Will You Need?
Before you begin taking things apart, gather all your supplies. Having everything within reach will make the process smooth and enjoyable.
- Cordless drill or screwdriver
- Masking tape and a marker (for labeling)
- Heavy-duty degreaser (like TSP)
- Sponge and clean rags
- Wood filler and a putty knife
- Sandpaper (120-grit and 220-grit)
- Tack cloths or a shop vacuum
- High-quality stain-blocking primer
- Cabinet-grade enamel paint or wood stain
- High-density foam rollers and angled synthetic brushes
- Drop cloths and painter’s tape
- Clear protective topcoat (polyurethane)
10 Easy Steps on How to Refinish Wood Cabinets
Taking your time through these steps will ensure a beautiful, long-lasting result. Do not rush the process, and focus on the details of each phase.
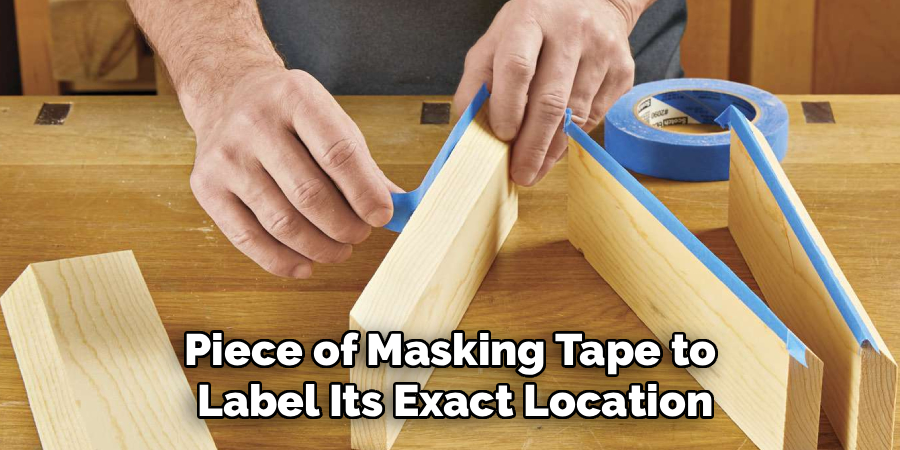
Step 1: Remove the Doors and Hardware
Start by removing all cabinet doors, drawer fronts, and hardware. Do not try to paint or stain the doors while they are still attached to the cabinet frames. Taking them off allows you to work on a flat surface, which prevents drips and runs. As you remove each piece, use a piece of masking tape to label its exact location. Write a corresponding number inside the cabinet box. Place all your hinges and screws into plastic bags so you do not lose them during the project.
Step 2: Clean and Degrease Thoroughly
Kitchens are greasy environments. Over the years, your cabinets have collected a microscopic layer of cooking oils, fingerprints, and grime. If you paint over this grease, your new finish will eventually peel off. Scrub every inch of the doors, drawer fronts, and cabinet frames using a strong degreaser like TSP (Trisodium Phosphate). Use a rough sponge to scrub the crevices and profiles. Rinse the wood thoroughly with clean water and let it dry completely before moving forward.
Step 3: Repair Scratches and Dents
Inspect your clean cabinet doors for any damage. Look for deep scratches, dents, or gouges. If you plan to change the hardware to a different size, now is the time to fill the old screw holes. Apply wood filler to these areas using a small putty knife. Press the filler firmly into the gaps and leave a slight mound on top, as the filler will shrink slightly as it dries. Allow the wood filler to harden completely according to the manufacturer’s instructions before you begin sanding.
Step 4: Sand the Surfaces
Sanding is arguably the most crucial step for a professional finish. You do not need to sand down to bare wood unless you are switching from a dark stain to a light stain. If you are painting, your goal is simply to remove the glossy topcoat and give the surface some “tooth.” Use 120-grit sandpaper to scuff all surfaces. Always sand in the direction of the wood grain to avoid leaving cross-directional scratches. Use a sanding block for flat areas and a flexible sanding sponge for detailed grooves and edges.
Step 5: Vacuum and Wipe Down
Sanding creates an enormous amount of fine dust. This dust is the enemy of a smooth paint job. Use a shop vacuum with a brush attachment to remove the bulk of the dust from your workspace, the cabinet frames, and the doors. Next, take a tack cloth—a sticky piece of cheesecloth designed specifically for woodworking—and gently wipe down every surface. The tack cloth will pick up the microscopic particles that the vacuum missed, leaving you with a perfectly clean slate.
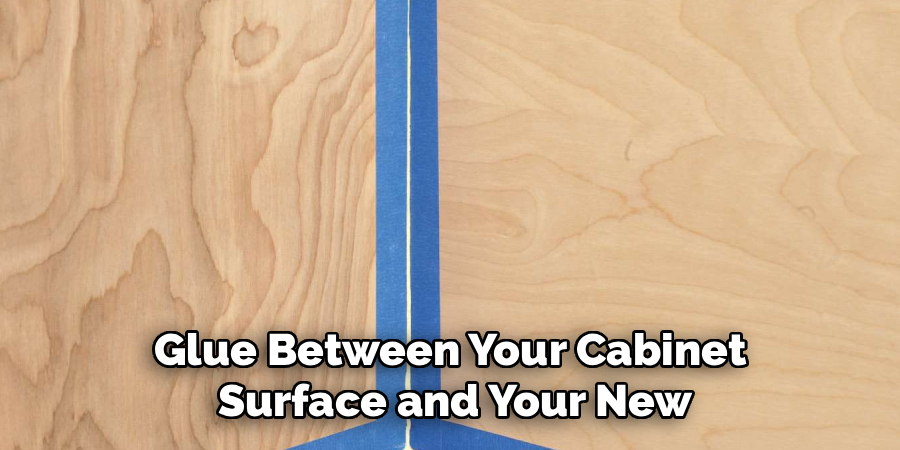
Step 6: Apply a High-Quality Primer
Primer acts as the glue between your cabinet surface and your new paint. It also blocks old wood tannins and stains from bleeding through. Use a brush to apply primer to the detailed areas of the doors, then use a high-density foam roller to smooth out the flat panels. Rollers help prevent visible brush strokes. Apply a thin, even coat of primer to the backs of the doors first. Once dry, flip them over and prime the fronts. Do not forget to prime the cabinet frames mounted on your walls.
Step 7: Sand the Primer Coat
Many people skip this step, but professionals know it is the secret to a glass-like finish. Primer often raises the grain of the wood slightly or leaves a subtle texture behind. Once your primer is completely dry, take a piece of fine 220-grit sandpaper and lightly sand the primed surfaces. You are not trying to remove the primer; you are just knocking down any high spots or rough patches. Wipe the dust away with a fresh tack cloth.
Step 8: Paint or Stain the Cabinets
Now it is time to apply your color. Use the same technique you used for the primer: brush the details and roll the flat areas. Apply thin coats. Thick coats of paint take longer to dry and are prone to dripping. Paint the backs of the doors, let them dry, and then paint the fronts. You will almost certainly need two coats of paint for full coverage. Wait for the first coat to dry completely—usually at least four to six hours, depending on the product—before applying the second coat.
Step 9: Apply a Protective Topcoat
If you used a standard wood stain or certain types of matte paint, you must apply a clear protective topcoat. Kitchen cabinets endure a lot of abuse, from wet hands to bumping pots and pans. A clear polyurethane topcoat seals the color and adds a durable barrier against moisture and scratches. Apply the topcoat using a clean, high-quality brush. Stir the topcoat gently before using it; shaking the can will introduce air bubbles that will ruin your smooth finish.
Step 10: Reassemble and Install
Patience is required here. Wait at least 48 hours for your final coat to cure before reassembling the cabinets. If you rehang the doors too early, they might stick to the cabinet frames. Peel off your masking tape labels one by one as you match each door to its proper frame. Attach your hinges, install your fresh hardware, and step back to admire your completely transformed kitchen.
5 Things You Should Avoid
- Skipping the Prep Work: Failing to clean and degrease the wood will guarantee that your new paint chips off within months.
- Using the Wrong Paint: The wall paint is too soft for cabinets. Always use an enamel or a product specifically formulated for trim and cabinetry.
- Rushing Drying Times: Applying a second coat of paint before the first is fully dry will cause the paint to wrinkle and ruin the texture.
- Forgetting to Label: Mixing up cabinet doors will cause massive headaches during reinstallation, as hinges are often adjusted for specific frames.
- Using Cheap Applicators: Bargain brushes shed bristles into wet paint, and cheap rollers leave fuzzy lint behind. Invest in high-quality tools.

Frequently Asked Questions
Do I Have to Sand My Cabinets Before Painting Them?
Yes, sanding is a crucial step that you cannot afford to skip if you want durability.
It removes the old glossy finish and creates a textured surface on the wood.
This slight texture gives your new primer and paint something physical to grip onto.
Without sanding, your new finish will likely peel or chip from everyday use.
You do not need to sand to bare wood, just dull the current shiny surface.
What is the Best Type of Paint to Use on Kitchen Cabinets?
The best choice for kitchen cabinets is typically a high-quality acrylic enamel paint.
Water-based acrylic enamels offer excellent durability and very easy soap-and-water cleanup.
Alkyd paints are another great option because they level out beautifully to hide brush strokes.
You should always look for a paint specifically labeled for cabinets or high-traffic trim.
These specific formulas dry to a hard shell that resists daily kitchen wear and tear.
How Long Does It Usually Take to Refinish All My Kitchen Cabinets?
Refinishing an average kitchen takes about one to two full weeks of consistent work.
The most time-consuming part of the project is simply waiting for coats to dry.
Cleaning, removing hardware, and sanding will easily consume your entire first weekend.
Applying primer, paint, and topcoats requires multiple days of proper curing time.
Rushing this timeline usually results in a messy finish that lacks long-term durability.
Conclusion
How to refinish wood cabinets is a highly rewarding project that completely revitalizes your space. By carefully preparing the surfaces, choosing the right materials, and following these detailed steps, you can achieve a factory-smooth finish that lasts for years.
Hopefully, this guide has provided you with the knowledge and confidence to tackle your own cabinet refinishing project. Whether you’re a DIY enthusiast or a homeowner looking to save some money, refinishing cabinets is a great way to give your space a fresh new look without breaking the bank.
Gather your tools, clear your schedule for a few weekends, and enjoy the process of bringing new life to your home.
About
Mike May is a distinguished figure in the world of woodworking and timber design, with a decade of expertise creating innovative and sustainable indoor solutions. His professional focus lies in merging traditional craftsmanship with modern manufacturing techniques, fostering designs that are both practical and environmentally conscious. As the author of Woodimber, Mike delves into the art and science of timber-craft, inspiring artisans and industry professionals alike.
Education
RMIT University (Melbourne, Australia)
-
Associate Degree in Design (Timber): Focus on sustainable design, industry-driven projects, and practical craftsmanship.
-
Gained hands-on experience with traditional and digital manufacturing tools, such as CAD and CNC software.
Nottingham Trent University (United Kingdom)
-
Bachelor’s in Woodworking and Product Design (Honors): Specialized in product design with a focus on blending creativity with production techniques.
-
Participated in industry projects, working with companies like John Lewis and Vitsoe to gain real-world insights.
Publications and Impact
In Woodimber, May shares his insights on timber design processes, materials, and strategies for efficient production. His writing bridges the gap between artisan knowledge and modern industry needs, making it a must-read for both budding designers and seasoned professionals.