

Many people love the look of these classic, tapering shapes for plant trellises, peaceful meditation spaces, or artistic holiday displays. Building one from scratch might seem intimidating at first glance because of the leaning angles, but it is actually a very manageable and highly rewarding weekend project. If you want to tackle a fun DIY woodworking task, you are in the exact right place.
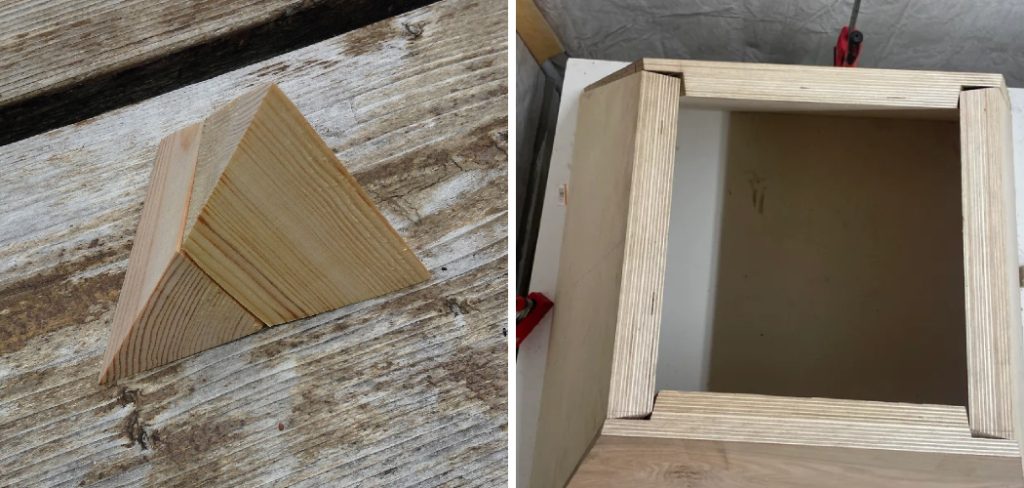
Understanding exactly how to build a wooden pyramid frame opens up endless creative possibilities for upgrading your home exterior and interior spaces. We will cover everything you need to know, from selecting the right lumber and tools to making those tricky compound angled cuts perfectly. By the end of this comprehensive guide, you will have a sturdy, beautiful structure to show off to your friends and family.
Why Build a Wooden Pyramid Frame
Creating your own geometric structure offers incredible benefits for both your garden aesthetics and your personal woodworking skills. Gardeners frequently use these structures as highly effective, heavy-duty plant supports. Climbing vines, pole beans, cucumbers, and tomatoes thrive when they can grow upward along a sturdy, well-designed wooden trellis. The wide, square base provides excellent stability against strong winds and heavy rain, while the narrowing top keeps the climbing plants manageable, healthy, and easy to harvest.
Beyond practical gardening applications, these structures serve as fantastic architectural focal points for outdoor living spaces. You can drape them in warm outdoor string lights to create a magical evening ambiance on your patio. Many people also use them as unique bases for seasonal decorations or as structural accents in modern landscape design. Taking on this specific project also dramatically improves your basic carpentry skills. You will learn to measure precisely, understand spatial geometry, and cut compound angles safely. This hands-on experience translates perfectly to much more advanced DIY projects down the road, building your confidence with power tools and raw materials.
Step-by-Step Guide to How to Build a Wooden Pyramid Frame
Step 1: Planning How to Build a Wooden Pyramid Frame
A successful woodworking project always begins with a solid, well-thought-out plan. Before you grab a saw, you must determine the final size of your structure. Consider exactly where you plan to put it and what specific purpose it will serve. A small tabletop decoration requires completely different dimensions and wood thickness than a massive plant trellis. Sketch your design on a piece of paper, noting the desired width of the square base and the total vertical height. This simple blueprint helps you calculate the exact amount of wood you need to purchase. Taking time for planning how to build a wooden pyramid frame prevents expensive mistakes and saves you multiple frustrating trips to the local hardware store.

Step 2: Selecting the Best Lumber
Choosing the right material dictates the longevity, strength, and durability of your finished project. If you intend to use your structure outdoors in the garden or on an uncovered patio, you must select weather-resistant wood. Cedar and redwood are excellent natural choices that resist rot and insect damage without relying on harsh chemicals. Pressure-treated pine is a more budget-friendly alternative for heavy outdoor use. For an indoor decorative piece, standard pine or whitewood works perfectly and accepts wood stain beautifully. Inspect every single board at the lumber yard before you buy it. You want straight pieces completely free from large knots, severe bowing, or deep splits that could compromise the final structural shape.
Step 3: Measuring and Marking the Base
Creating a perfectly square base provides the necessary foundation for the entire project. Lay your chosen lumber flat on a clean, even workbench. Use a reliable tape measure to mark the four sides of your base frame. For a classic geometric look, all four sides must be the exact same length. Use a heavy-duty carpenter’s square to draw a straight line directly across the wood at your measurement mark. This ensures your saw blade will follow a perfectly straight path during the cut. Double-check all your measurements before making any marks permanently. A base frame that is even slightly off-square will make joining the angled top pieces incredibly frustrating later on.
Step 4: Cutting the Base Pieces
With your measurements clearly marked, it is time to cut the horizontal base components. Secure the wood firmly to your workbench using heavy clamps to prevent any dangerous shifting. Use a miter saw or a standard circular saw to make clean, straight cuts along your pencil lines. Take your time and let the saw blade do the hard work without forcing or rushing it through the material. Always wear protective safety glasses to keep flying sawdust out of your eyes. Once you finish cutting, lightly sand the rough edges of each board with medium-grit sandpaper. Smooth edges ensure the adjoining boards will fit together tightly and look highly professional during the assembly phase.
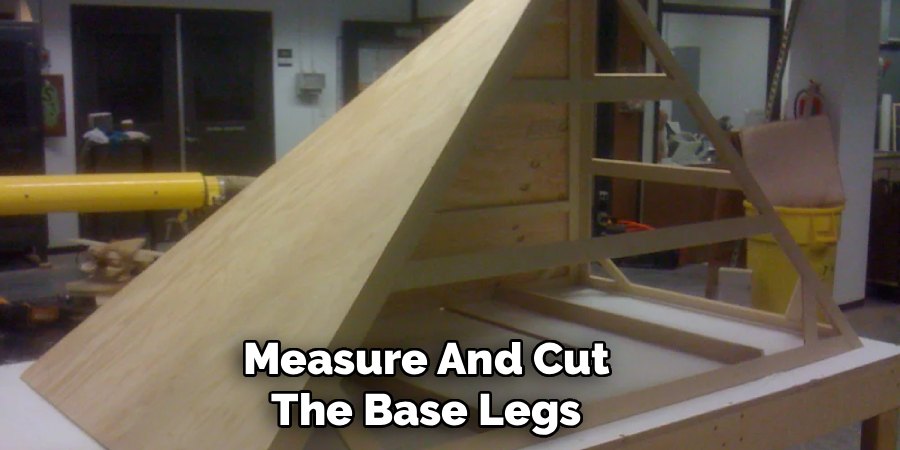
Step 5: Assembling the Square Base
Bringing the base together requires patience, flat surfaces, and precise alignment. Lay the four freshly cut boards on a flat workbench to form a perfect square. Apply a thin layer of waterproof wood glue to the ends where the boards meet. Use specialized corner clamps to hold the pieces tightly together at perfect ninety-degree angles. Once clamped securely, drill pilot holes through the outside edges into the adjoining boards. Driving exterior-grade wood screws into these pilot holes creates a highly secure joint that will not split the fragile wood grain. Wipe away any excess wet glue that squeezes out before it has a chance to dry completely on the surface.
Step 6: Cutting the Angled Uprights
Cutting the four upright legs is easily the most challenging part of this entire project. Because they lean inward to meet at a single central point, you must cut compound angles at both the top and bottom of each individual leg. The specific angle depends heavily on the base width and vertical height you chose during your initial planning phase. Generally, a table saw or a compound sliding miter saw is required to safely make these precise, dual-angle cuts. Test your mathematical angle calculations on a cheap scrap piece of wood first. Adjust your saw blade carefully until the scrap pieces sit flush against your square base and meet perfectly at the top peak.
Frequently Asked Questions
What Is the Best Wood for Outdoor Frames?
The best wood for outdoor projects must naturally resist moisture and common insect damage. Cedar and redwood are premium choices that offer incredible durability alongside a beautiful natural color. If you are working on a tighter budget, pressure-treated pine is a fantastic alternative that holds up very well against the outdoor elements. You should always avoid using untreated pine or cheap whitewood for garden use, as these materials will quickly rot when exposed to rain and soil moisture.
Do I Need a Miter Saw for This Project?
While you do not strictly need a miter saw, it makes the entire building process significantly easier and much more accurate. A compound miter saw allows you to dial in precise angles for the upright leaning legs, which is absolutely crucial for getting all four pieces to meet perfectly at the top. If you only have a basic hand saw or a standard circular saw, you can still complete the project by measuring very carefully and using an angle finder tool.
How Can I Calculate the Leg Angles?
Calculating the precise compound angles for your upright legs requires a bit of basic geometry. The angle depends entirely on the width of your base and your desired total height. Many woodworkers use free online angle calculators to find the exact miter and bevel degrees needed for their specific custom dimensions. Alternatively, you can create a full-scale drawing on a large piece of cardboard to physically measure the angles with a protractor before cutting.
How Do I Keep the Frame from Tipping Over?
A tall geometric frame can become quite top-heavy, especially if covered in thick, heavy climbing vines or heavy decorations. To prevent strong winds from blowing it over, you should anchor it firmly to the ground. You can attach metal ground stakes to the bottom base boards and drive them deeply into the garden soil. If placing the structure on a solid concrete patio, consider attaching heavy decorative planters to the base corners for added weight.
Can I Paint the Frame Before Assembly?
Painting or staining your wood before putting everything together is a highly effective and popular strategy. Pre-finishing allows you to coat every single edge and end grain thoroughly, which provides maximum protection against moisture damage. However, you must carefully avoid getting paint or stain on the specific areas where you plan to apply wood glue. Glue does not adhere securely to painted surfaces. Once assembled, simply touch up the visible screw holes with a small brush.

Conclusion
Taking a basic stack of raw lumber and transforming it into a striking, beautiful geometric structure is a deeply satisfying experience. You now understand the sheer importance of careful planning, precise measuring, and making highly accurate angled cuts. Mastering how to build a wooden pyramid frame equips you with highly valuable carpentry skills that you can confidently apply to countless future DIY home improvement endeavors.
Whether you use your new custom creation to support climbing garden vegetables, grow beautiful morning glories, or display warm decorative lights on your evening patio, it is sure to become a beloved focal point. Grab your safety glasses, pick up some high-quality lumber, and start building your custom geometric masterpiece this weekend.

About
Mike May is a distinguished figure in the world of woodworking and timber design, with a decade of expertise creating innovative and sustainable indoor solutions. His professional focus lies in merging traditional craftsmanship with modern manufacturing techniques, fostering designs that are both practical and environmentally conscious. As the author of Woodimber, Mike delves into the art and science of timber-craft, inspiring artisans and industry professionals alike.
Education
RMIT University (Melbourne, Australia)
-
Associate Degree in Design (Timber): Focus on sustainable design, industry-driven projects, and practical craftsmanship.
-
Gained hands-on experience with traditional and digital manufacturing tools, such as CAD and CNC software.
Nottingham Trent University (United Kingdom)
-
Bachelor’s in Woodworking and Product Design (Honors): Specialized in product design with a focus on blending creativity with production techniques.
-
Participated in industry projects, working with companies like John Lewis and Vitsoe to gain real-world insights.
Publications and Impact
In Woodimber, May shares his insights on timber design processes, materials, and strategies for efficient production. His writing bridges the gap between artisan knowledge and modern industry needs, making it a must-read for both budding designers and seasoned professionals.