

A front door is the centerpiece of your home’s exterior, offering a warm welcome to visitors and setting the tone for your entire property. For home gardeners who cultivate beautiful entryways with potted plants and climbing vines, a faded or chipped door can detract from the overall picture. The thought of taking the door off its hinges can be daunting, involving heavy lifting and leaving your home exposed. Luckily, there is a much simpler way. This guide will show you exactly how to repaint a front door without removing it, transforming its appearance in a single afternoon. This project is perfect for beginners and allows you to refresh your home’s curb appeal with minimal disruption.
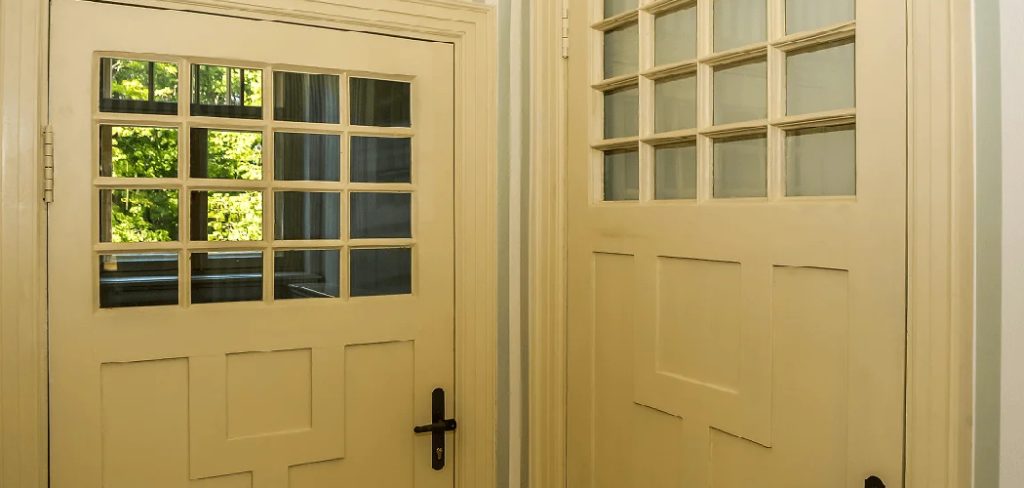
Repainting your front door can seem like a complex task, but it doesn’t have to be. With the right tools, preparation, and a little patience, you can completely revitalize your door’s look without the hassle of removing it from its frame. Whether you’re aiming for a bold statement color or simply refreshing the existing paint, this straightforward process will help you achieve a professional-looking finish effortlessly.
Why a Fresh Coat of Paint Elevates
Your front door is more than just an entry point; it is a key feature of your home’s personality. For gardeners, it serves as the backdrop to the living art you create with flowers, shrubs, and seasonal displays. A freshly painted door can make the colors of your container gardens pop, complement the foliage of your climbing roses, and create a cohesive, polished look from the curb. This simple weekend project offers an incredible return on investment, instantly boosting your home’s curb appeal. It also provides a vital layer of protection against the elements, shielding the wood or metal from sun, rain, and fluctuating temperatures, which prevents warping and extends the life of the door.
8 Step-by-Step Guide on How to Repaint a Front Door Without Removing It
Step 1: Prepare Your Workspace and Gather Supplies
Before you begin, proper preparation is key to a smooth and clean project. Start by laying a drop cloth on the ground both inside and outside the doorway to protect your porch and flooring from paint drips. Use painter’s tape to meticulously cover all the hardware you do not want to get paint on, such as the handle, lock, hinges, and any decorative kick plates or mail slots. It is also wise to prop the door open slightly with a doorstop to prevent it from swinging shut or brushing against the frame while you are working. Gather all your supplies, including sandpaper, cleaning solution, primer, paint, brushes, and rollers.

Step 2: Clean the Door Surface Thoroughly
Over time, your front door accumulates a layer of dirt, pollen, and grime that can prevent new paint from adhering properly. It is essential to start with a perfectly clean surface. Mix a mild detergent with warm water or use a specialized TSP (trisodium phosphate) substitute cleaner. With a sponge or soft cloth, scrub the entire surface of the door, paying close attention to the crevices within any detailed paneling. Once you have scrubbed it clean, rinse the surface thoroughly with a cloth dampened with plain water to remove any soap residue. Allow the door to dry completely before moving on to the next step.
Step 3: Sand the Surface for Proper Adhesion
For the new paint to stick effectively, you need to scuff up the old finish. This process, known as “deglossing,” creates a slightly rough surface for the primer and paint to grip. Using a medium-grit sandpaper, typically around 120- to 180-grit, lightly sand the entire door. You do not need to strip the old paint completely; you are simply aiming to remove the glossy sheen and smooth out any minor imperfections. Once you have finished sanding, wipe the entire door down with a tack cloth or a damp microfiber rag to remove every trace of sanding dust.
Step 4: Apply a High-Quality Primer
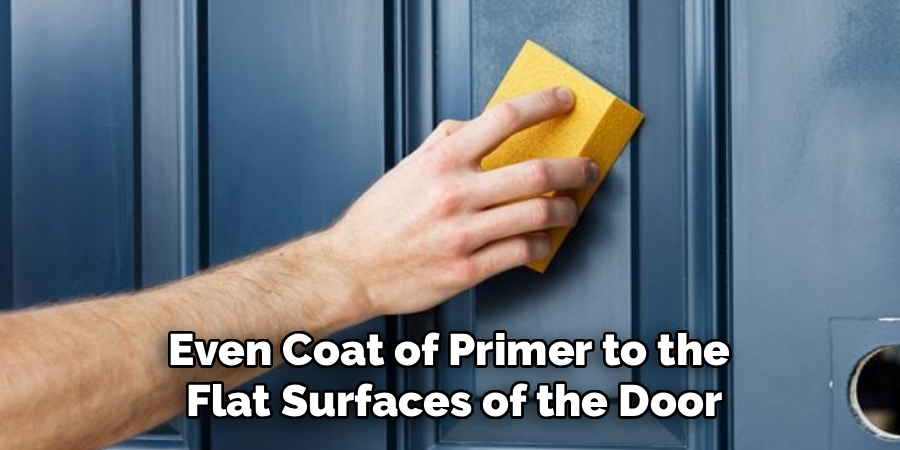
Primer is the secret to a professional-looking, durable paint job. It blocks stains, ensures the final color appears true and vibrant, and creates a uniform surface for the topcoat. Using a high-quality exterior primer is especially important for a front door that is exposed to the elements. Start by using a small angled brush to apply primer to the detailed, recessed areas of any door panels. Then, use a small foam roller to apply a thin, even coat of primer to the flat surfaces of the door. Let the primer dry completely according to the manufacturer’s instructions.
Step 5: Begin Painting the Inset Panels
The key to a flawless finish when learning how to repaint a front door without removing it is to follow a specific order. Always start with the recessed or inset panels first. Use a high-quality, 2-inch angled sash brush to carefully paint the detailed molding around the panels. Then, switch to a small roller or continue with your brush to fill in the flat center of the panels. Working from the details outward prevents you from accidentally smudging areas you have already painted with a smooth finish. Apply a thin, even coat to avoid drips and runs.
Step 6: Paint the Horizontal and Vertical Rails
After the inset panels are complete, you can move on to the “rails” of the door. The horizontal rails are the cross-pieces, and the vertical rails, also known as stiles, are the long pieces on the sides. Start by painting all the horizontal rails, working from the top of the door down. Use your roller for the flat areas to achieve a smooth finish and your brush for any detailed edges. Next, paint the vertical stiles, including the long hinge-side edge of the door that is now exposed because you have it propped open. This methodical approach ensures even coverage.
Step 7: Apply the Final Topcoat
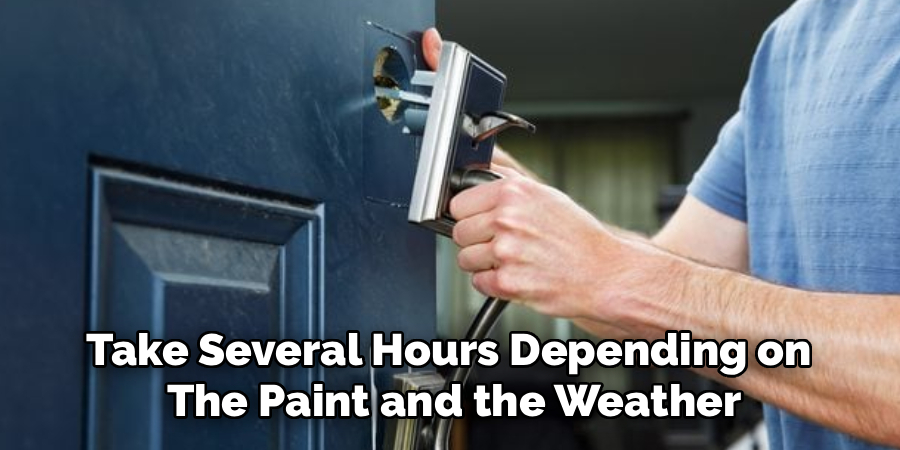
Let the first coat of paint dry completely, which can take several hours depending on the paint and the weather. Once it is dry to the touch, you can apply your second and final topcoat. Follow the exact same order as before: start with the inset panels, then move to the horizontal rails, and finish with the vertical stiles. This second coat will deepen the color and cover any thin spots, resulting in a rich, uniform finish. Be mindful of your brushstrokes and roller marks, always aiming for long, smooth passes to create a professional look.
Step 8: Remove Painter’s Tape and Allow for Curing
Once you have finished your final coat, carefully remove the painter’s tape while the paint is still slightly wet. Pulling the tape off wet paint creates a cleaner, crisper line than waiting for it to dry completely. Although the door may feel dry to the touch in a few hours, paint takes much longer to fully cure and harden. Be gentle with the door for several days, avoiding any bumps or scrapes that could mar your beautiful new finish. Allow plenty of time before attempting to clean the newly painted surface.
Frequently Asked Questions
What Is the Best Type of Paint for a Front Door?
For a front door, you should always use a high-quality exterior-grade paint.
- Latex Paint: A 100% acrylic latex paint with a semi-gloss or satin finish is a popular choice. It is durable, easy to clean, and flexible enough to handle temperature changes.
- Oil-Based Paint: While less common now due to longer drying times and strong odors, oil-based paints offer a very hard, durable finish.
Do I Need to Prime if I Am Painting the Same Color?
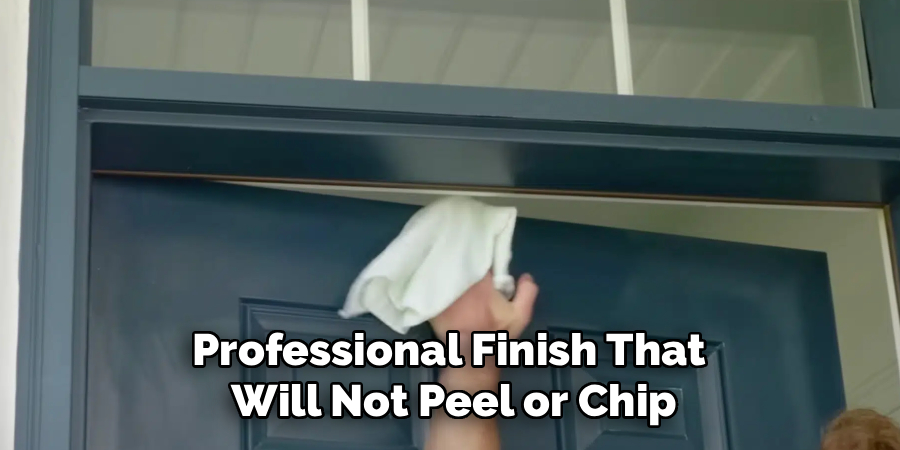
Yes, it is almost always a good idea to prime. Even if you are repainting with the same color, the old surface is weathered and may have stains. A coat of primer seals the surface, blocks any bleed-through, and ensures your topcoat has a uniform and durable bond. This step is crucial for a long-lasting, professional finish that will not peel or chip.
How Do I Choose the Right Paint Color?
Choosing a color is a personal choice, but there are a few things to consider.
- Your Home’s Exterior: Look at the color of your siding, brick, and trim. Choose a door color that complements these existing elements.
- Light Exposure: A color can look very different in direct sun versus in the shade. It is a good idea to get a sample and paint a small test patch first.
What Should I Do if It Starts to Rain?
Painting in dry, mild weather is ideal. If unexpected rain occurs, the best course of action depends on the paint’s drying stage. If the paint is still very wet, the rain may wash it away. If it has started to form a “skin” but is not fully dry, the raindrops can leave permanent marks in the finish. It is best to avoid painting if there is any chance of rain in the forecast for at least 24 hours.
How Long Do I Have to Keep the Door Open?
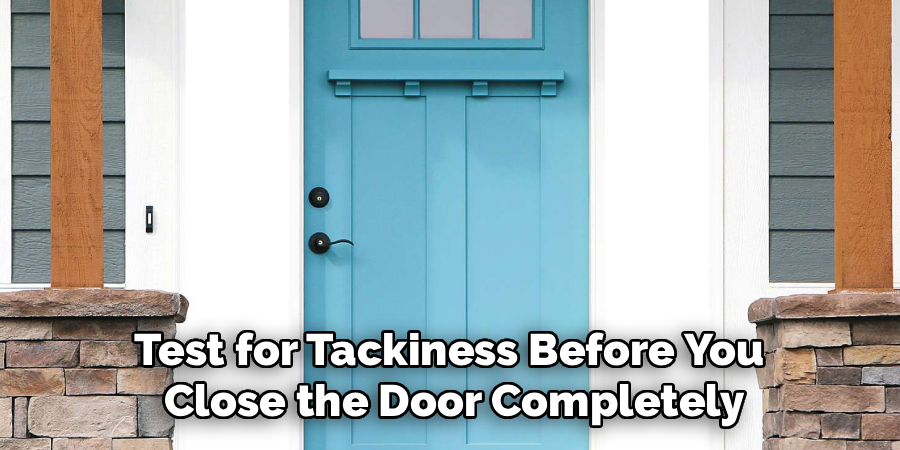
You will need to keep the door propped open until the edges are dry enough that they will not stick to the weatherstripping on the door frame. This can take anywhere from 4 to 8 hours, depending on the paint, temperature, and humidity. Gently touching a less visible edge can help you test for tackiness before you close the door completely for the night.
Conclusion
Giving your front door a fresh look is one of the most effective and affordable ways to enhance your home’s exterior and complement your garden. By skipping the heavy lifting of removing the door, you can complete this transformative project in just one weekend. The secret to success lies in diligent preparation, from cleaning and sanding the surface to applying a quality primer. Following a methodical painting order ensures a smooth, professional finish that is free of drips and brush marks.
This project is well within the reach of any beginner. With a little patience and the right technique, you can achieve a stunning result that will make you proud every time you walk up to your home. Now that you have a clear plan on how to repaint a front door without removing it, you are ready to pick a color, grab a brush, and give your home the beautiful entryway it deserves.

About
Mike May is a distinguished figure in the world of woodworking and timber design, with a decade of expertise creating innovative and sustainable indoor solutions. His professional focus lies in merging traditional craftsmanship with modern manufacturing techniques, fostering designs that are both practical and environmentally conscious. As the author of Woodimber, Mike delves into the art and science of timber-craft, inspiring artisans and industry professionals alike.
Education
RMIT University (Melbourne, Australia)
-
Associate Degree in Design (Timber): Focus on sustainable design, industry-driven projects, and practical craftsmanship.
-
Gained hands-on experience with traditional and digital manufacturing tools, such as CAD and CNC software.
Nottingham Trent University (United Kingdom)
-
Bachelor’s in Woodworking and Product Design (Honors): Specialized in product design with a focus on blending creativity with production techniques.
-
Participated in industry projects, working with companies like John Lewis and Vitsoe to gain real-world insights.
Publications and Impact
In Woodimber, May shares his insights on timber design processes, materials, and strategies for efficient production. His writing bridges the gap between artisan knowledge and modern industry needs, making it a must-read for both budding designers and seasoned professionals.