

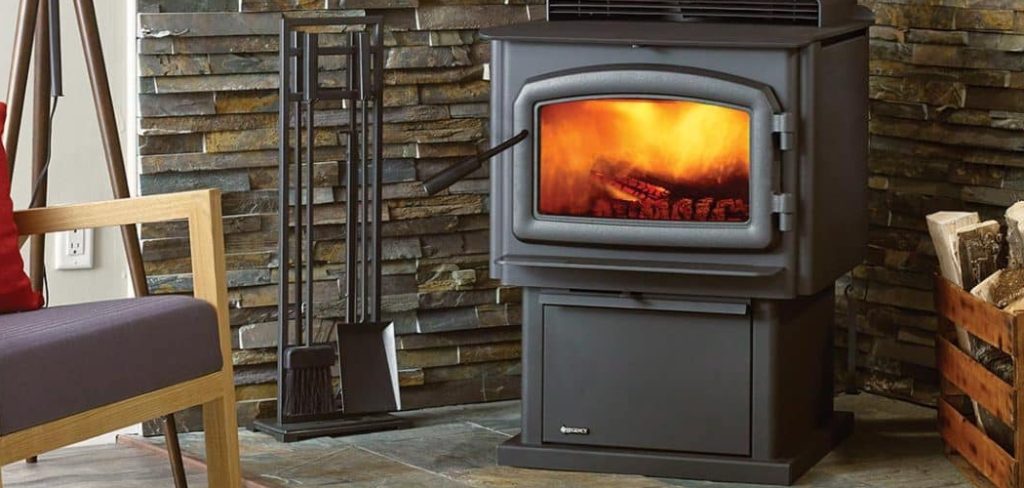
Maintaining a safe and efficient heating system is a critical responsibility for any homeowner relying on solid fuel. When winter arrives, the warmth of a fire provides unmatched comfort, but it also creates byproducts that accumulate inside your ventilation system. Ignoring this buildup can lead to dangerous conditions, including poor air quality and devastating property fires. Understanding how to clean wood stove chimney systems is essential for preventing these hazards and keeping your home safe.
This guide provides an easy-to-follow, comprehensive approach to maintaining your flue. By learning the proper techniques and gathering the right tools, you can confidently tackle this necessary chore. You will discover exactly what steps to take to ensure your heating system remains in optimal working condition throughout the coldest months of the year.
Why Cleaning Your Wood Stove Chimney Matters
Regular maintenance goes far beyond simply keeping your home looking tidy. When you burn solid logs, the combustion process releases smoke, water vapor, unburned wood particles, and various hydrocarbon gases. As these substances travel up the relatively cooler flue, condensation occurs. This creates a highly combustible, dark, and sticky substance known as creosote. If a stray spark ignites a thick layer of creosote, it can cause a catastrophic fire that burns at extremely high temperatures, easily spreading to the structural framework of your home.
Beyond fire prevention, regular sweeping greatly improves the overall efficiency of your heating appliance. A clear flue creates a stronger draft, which pulls the necessary oxygen into the firebox to maintain a hot, clean burn. When airflow is restricted by soot and creosote buildup, your fire will smolder, produce excess smoke, and fail to generate adequate heat. This forces you to burn more fuel to achieve the same level of warmth, costing you extra money and effort.
Step-By-Step Guide To How To Clean Wood Stove Chimney
Step 1: Gathering Supplies

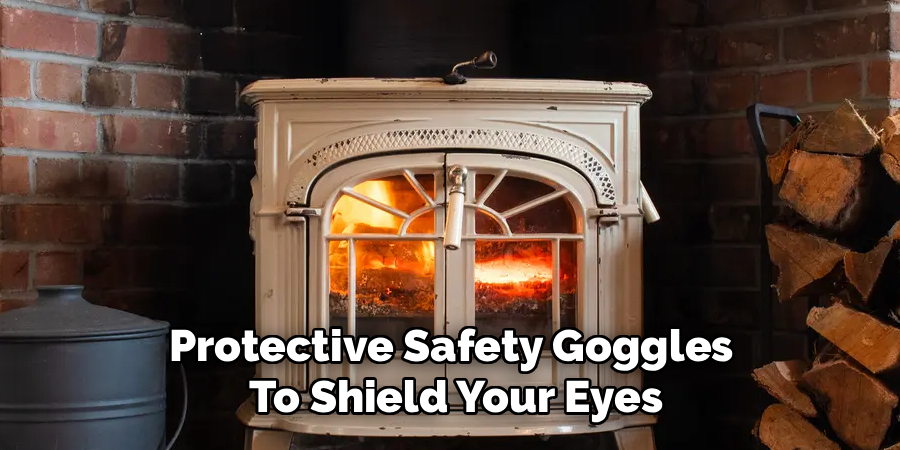
Before you begin the physical labor, you must gather all the necessary tools and safety equipment. The most important tool is a chimney brush that perfectly matches the interior dimensions and shape of your flue. You will also need fiberglass extension rods to push the brush all the way up to the top. Essential safety gear includes a high-quality dust mask or respirator, protective safety goggles, and heavy-duty work gloves. Additionally, you should prepare a large canvas drop cloth, a metal ash bucket, an ash shovel, and a shop vacuum equipped with a fine dust filter. Having everything organized in your workspace prevents unnecessary interruptions once the dirty work begins.
Step 2: Preparing Your Indoor Workspace Safely
Your living room can quickly become covered in soot if you do not properly prepare the surrounding area. Start by waiting at least forty-eight hours after your last fire to ensure all ashes are completely cold. Lay down your large canvas drop cloth in front of the hearth, extending it out several feet to catch any stray debris. Remove any decorative items, tools, or furniture near the hearth to protect them from airborne dust. Next, use a damp cloth to seal off the opening of the firebox as much as possible, leaving just enough room to insert your cleaning rods. This barrier is crucial for keeping the messy soot contained within the appliance.
Step 3: Inspecting The Firebox And Removing Leftover Ash
Before you introduce your brush into the flue, you need a clean starting point at the base. Open the doors to your appliance and carefully scoop out the cold ashes using your metal shovel. Transfer these ashes into your designated metal bucket for safe disposal later. Once the bulk of the loose ash is removed, use your specialized shop vacuum to suck up the fine dust hiding in the corners and crevices of the firebox. Inspect the firebricks and the baffle plate at the top of the firebox.
Screw your first flexible fiberglass rod into the bottom of your stiff wire brush head. Insert the brush directly down into the dark, open top of the flue. You must carefully remove the baffle plate according to your manufacturer’s instructions so that falling soot has a clear path to drop down during the sweeping process.
Step 4: Accessing The Flue And Positioning Your Brush
Depending on your specific setup, you will either sweep from the bottom up or from the roof down. Sweeping from the bottom is generally safer for beginners as it avoids the risks associated with climbing on a steep roof. Insert the appropriately sized wire or poly brush into the bottom opening of the flue. Attach the first flexible fiberglass rod to the brush by twisting it securely. Ensure the connection is tight, as you do not want the brush detaching deep inside the pipe. Position your body comfortably, keeping a firm grip on the rod while minimizing the gap in your plastic or cloth seal covering the appliance opening.
Step 5: Scrubbing The Interior Walls Vigorously
Now it is time for the primary physical labor of the project. Push the brush upward using a vigorous push-and-pull motion to scrub the interior walls. The stiff bristles will scrape away the accumulated soot and flaky creosote, sending it tumbling down into the firebox below. Work in small sections, thoroughly scrubbing before moving higher. Listen to the sound of the bristles against the pipe; a gritty scraping sound indicates you are successfully removing the buildup. Keep your movements steady and controlled to avoid damaging the pipe joints or the interior lining. Ensure you are maintaining a tight seal at the bottom to prevent a massive dust cloud from entering your living room.
Step 6: Extending The Rods To Reach The Top
As you progress higher up the pipe, you will reach the limit of your first fiberglass extension rod. Keep the brush securely wedged in the pipe, holding the bottom of the first rod firmly. Burning seasoned cordwood harvested from your own property is deeply rewarding, but it inevitably produces soot and creosote over time. Thread the second extension rod onto the bottom of the first one, twisting until it locks tightly into place. Continue the same vigorous up-and-down scrubbing motion, gradually pushing the assembly higher. Repeat this process of adding rods until the brush emerges from the top of the chimney cap outside. You will know you have reached the top when you feel a sudden decrease in resistance.
Step 7: Final Cleanup And Reassembling The Appliance
Carefully pull the brush back down, unscrewing and setting aside each rod as it emerges from the firebox. Once the tool is entirely removed, wait a few minutes for the airborne soot inside the appliance to settle. Carefully pull back your damp cloth barrier and look inside. You will find a large pile of dislodged soot and creosote chunks. Shovel this hazardous waste into your metal bucket and vacuum the remaining fine dust. Reinstall your baffle plate securely, ensuring it sits exactly as the manufacturer intended. Finally, roll up your drop cloth, take the metal bucket outside, and gently wipe down the glass doors of your appliance.
Frequently Asked Questions
What Tools Are Absolutely Necessary For Sweeping?
You need a properly sized chimney brush, flexible extension rods, a metal ash bucket, and a sturdy ash shovel. A heavy canvas drop cloth is essential to protect your flooring. Safety gear must include a respirator mask, goggles, and thick gloves to protect your lungs and skin from toxic dust. A shop vacuum equipped with a fine particulate filter is highly recommended for cleaning up the remaining soot without blowing it back into the room.
How Often Should I Perform This Maintenance?
Most experts recommend inspecting your flue at least once a year, preferably right before the heating season begins. However, the sweeping frequency depends entirely on your burning habits. If you burn fires daily throughout the winter, you may need to scrub the pipes twice or even three times a season. It is generally time to scrub whenever you notice creosote buildup approaching a thickness of one-eighth of an inch on the interior walls.
Can I Burn Special Logs Instead Of Manual Scrubbing?
Creosote sweeping logs contain chemical additives that help dry out and loosen sticky tar buildup inside your pipes. While these logs can make the flaky debris easier to remove, they do not replace the physical brushing required to clear the system completely. They are meant to be a supplementary treatment used in conjunction with regular manual maintenance. You still need to use a stiff brush to scrape the debris away and prevent dangerous blockages.
What Is The Best Way To Prevent Heavy Creosote Buildup?
The most effective strategy is to burn only well-seasoned, dry firewood that has been split and stacked for at least a year. Green or wet wood creates excessive moisture and cooler fires, which drastically accelerates sticky condensation inside the flue. You should also maintain small, hot fires rather than large, smoldering ones. Providing adequate oxygen allows the combustion process to burn away gases before they can travel up and condense on the interior walls.
Should I Clean From The Bottom Up Or Roof Down?
Working from the bottom up is generally much safer for homeowners because it eliminates the risk of falling off a steep or icy roof. It allows you to stay comfortably inside your home while doing the work. However, sweeping from the roof down allows you to easily clean the exterior cap and spark arrestor by hand, and gravity works in your favor as you push the brush downward. Choose the method that best aligns with your physical comfort and safety.
Conclusion
Taking the time to maintain your heating appliance is a vital part of winter preparation that should never be ignored. You drastically reduce the risk of destructive fires and ensure your home stays comfortably warm without wasting fuel. Following a methodical process keeps the mess to a minimum and guarantees the interior walls are thoroughly cleared of dangerous buildup. Now that you understand exactly how to clean wood stove chimney systems, you can confidently check this essential task off your seasonal to-do list. Gather your supplies, block out a few hours this weekend, and give your flue the attention it needs before the freezing temperatures arrive.

About
Mike May is a distinguished figure in the world of woodworking and timber design, with a decade of expertise creating innovative and sustainable indoor solutions. His professional focus lies in merging traditional craftsmanship with modern manufacturing techniques, fostering designs that are both practical and environmentally conscious. As the author of Woodimber, Mike delves into the art and science of timber-craft, inspiring artisans and industry professionals alike.
Education
RMIT University (Melbourne, Australia)
-
Associate Degree in Design (Timber): Focus on sustainable design, industry-driven projects, and practical craftsmanship.
-
Gained hands-on experience with traditional and digital manufacturing tools, such as CAD and CNC software.
Nottingham Trent University (United Kingdom)
-
Bachelor’s in Woodworking and Product Design (Honors): Specialized in product design with a focus on blending creativity with production techniques.
-
Participated in industry projects, working with companies like John Lewis and Vitsoe to gain real-world insights.
Publications and Impact
In Woodimber, May shares his insights on timber design processes, materials, and strategies for efficient production. His writing bridges the gap between artisan knowledge and modern industry needs, making it a must-read for both budding designers and seasoned professionals.