 (1)")

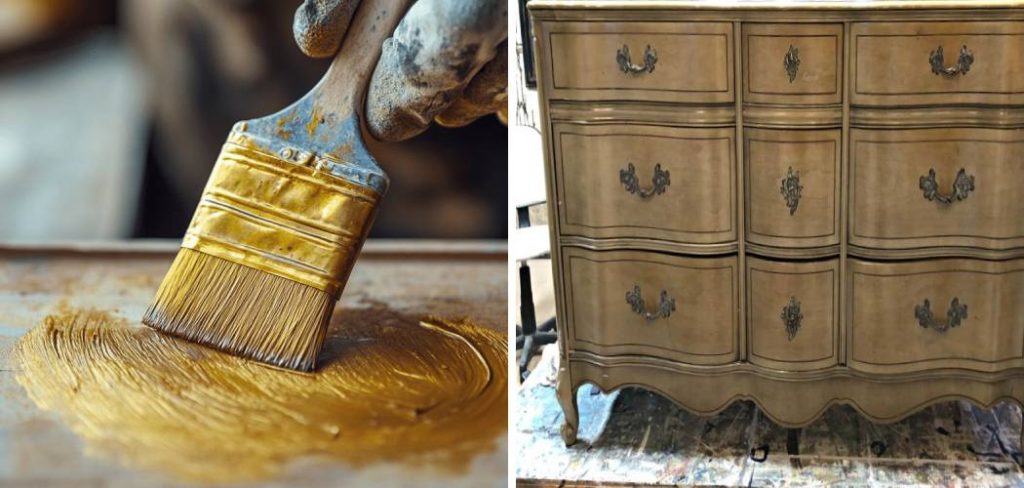
Giving a wooden piece a touch of gold can transform it from ordinary to extraordinary. A gold finish adds a layer of luxury, sophistication, and timeless elegance that few other colors can match.
Whether you’re reviving an old picture frame, upcycling a forgotten piece of furniture, or adding a glamorous accent to your home decor, learning how to paint wood gold is a valuable skill. This process can seem intimidating, but with the right techniques and materials, you can achieve a flawless, professional-looking metallic finish.
This comprehensive guide will walk you through everything you need to know, from preparing your surface to applying the final protective coat, ensuring your project shines with a perfect golden glow.
What Will You Need?
Surface Preparation:
- Drop cloths or plastic sheeting
- Fine-grit sandpaper (120-grit) and extra-fine-grit sandpaper (220-grit)
- Sanding block or electric sander
- Wood filler
- Putty knife
- Tack cloth or microfiber rags
- Wood cleaner or a solution of mild soap and water
- Painter’s tape
Painting:
- High-quality primer (shellac-based or oil-based, recommended for adhesion)
- Gold metallic paint (spray paint or liquid paint)
- A warm-toned base coat paint (optional, but recommended: red, ochre, or brown)
- High-quality paintbrushes (a variety of sizes, including a small artist’s brush for details)
- Small foam roller (for larger flat surfaces)
- Paint tray
Finishing & Safety:
- Clear topcoat or sealant (polyurethane, polycrylic, or clear wax)
- Clean, lint-free rags for wax application (if used)
- Safety goggles
- Respirator mask (especially important when sanding and using spray products)
- Disposable gloves
10 Easy Steps on How to Paint Wood Gold
Step 1: Prepare Your Workspace and the Wood Surface
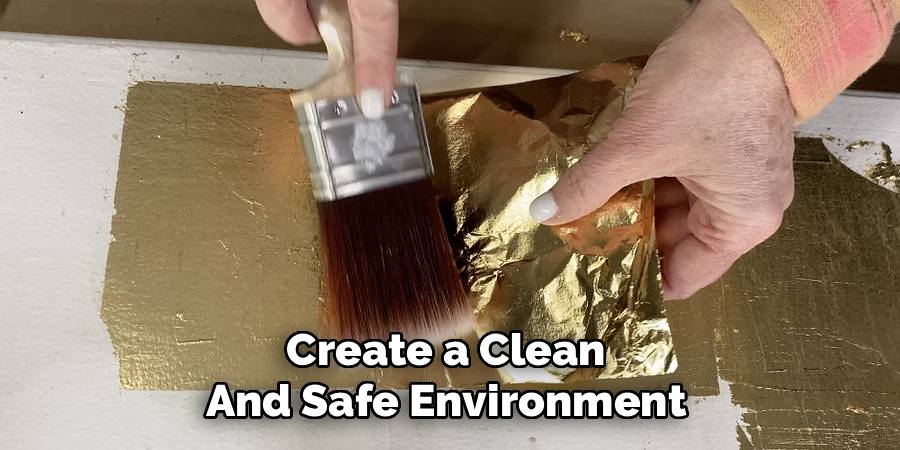
The foundation of a perfect paint job is meticulous preparation. Before you even think about opening a can of paint, you must create a clean and safe environment and properly prepare the wood. Start by laying down drop cloths or plastic sheeting to protect your floors and surrounding furniture from dust, spills, and paint overspray. Ensure your workspace is well-ventilated; open windows and doors, and consider using a fan to circulate air away from your project. This is especially critical if you are using spray paints or oil-based products, which can release strong fumes.
Next, turn your attention to the wooden piece. Your goal is to create a surface that is clean, smooth, and ready to accept primer and paint. Begin by thoroughly cleaning the wood to remove any dirt, grime, oil, or old polish. A simple solution of mild dish soap and warm water applied with a soft cloth works well for most pieces.
Step 2: Repair and Sand for a Smooth Canvas
With the wood clean and dry, it’s time to inspect it for any imperfections. Look for dents, scratches, or holes. These flaws will be magnified by a metallic finish, so addressing them now is crucial. Apply a small amount of wood filler to any imperfections using a flexible putty knife. Press the filler firmly into the void, slightly overfilling it to account for shrinkage as it dries. Follow the manufacturer’s instructions for drying time, which can range from a few minutes to several hours depending on the product and the depth of the repair.
Once the filler is fully cured, you can begin sanding. Sanding accomplishes two things: it smooths out the wood filler and other rough spots, and it scuffs up the surface, creating microscopic grooves for the primer to grip onto. Start with a medium-to-fine grit sandpaper, such as 120-grit. Wrap it around a sanding block for even pressure on flat surfaces, or use an electric sander to speed up the process on larger pieces. Sand in the direction of the wood grain to avoid creating unsightly scratches.
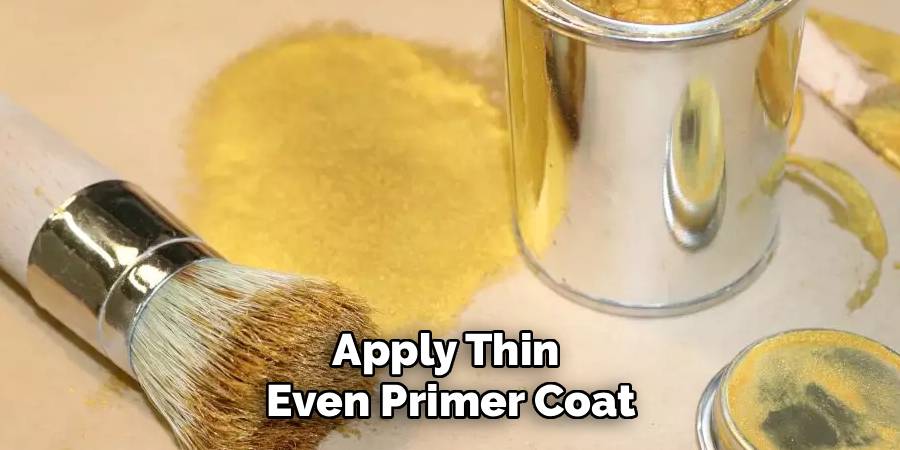
Step 3: Apply a High-Quality Primer
Skipping primer is one of the most common mistakes in DIY painting, and it’s a step you cannot afford to miss, especially when painting wood gold. Primer serves several essential functions: it blocks stains and tannins in the wood from bleeding through and discoloring your gold paint, it provides a uniform surface for the paint to adhere to, and it ensures a more even and vibrant final color. For wood, a shellac-based or oil-based primer is often the best choice as they provide superior adhesion and stain-blocking capabilities.
Apply the primer in a thin, even coat using a high-quality brush or foam roller. If you’re using spray primer, hold the can about 8-10 inches from the surface and apply with light, sweeping motions, slightly overlapping each pass to avoid drips and ensure full coverage. A single thin coat is usually sufficient, but if you are covering a very dark wood or have significant stains, a second coat may be necessary after the first has dried completely.
Step 4: Add a Warm Base Coat (Optional but Recommended)
This optional step is a professional technique that adds incredible depth and richness to a metallic gold finish. Historically, gilders would apply gold leaf over a red clay base called “bole.” The warm color underneath gives the gold a luminous, warm glow and makes the finish look more authentic and less like a flat coat of paint. You can replicate this effect easily with paint. Choose a warm color like a deep red, rich ochre, or earthy brown. The choice of color will subtly influence the final tone of your gold. Red will give it a warmer, more classic look, while brown will provide a more antique, aged appearance.
Apply one or two thin coats of your chosen base color over the dried primer. Ensure the coverage is even and opaque. The goal is to completely cover the white or gray of the primer. Allow this base coat to dry completely. It doesn’t need to be perfect, as it will be covered by the gold, but it should be a solid, even layer of color.
Step 5: Apply the First Coat of Gold Paint
Now for the exciting part—applying the gold paint. Whether you are using a spray can or a liquid paint with a brush, the technique is key to avoiding streaks, drips, and brush marks. If using spray paint, shake the can vigorously for at least a minute to ensure the metallic pigments are fully mixed. Hold the can 10-12 inches from the surface and apply in light, sweeping motions. Start spraying just before the edge of the piece and continue past the other side. Overlap each pass by about 50% to create a uniform layer. It is far better to apply several very thin coats than one heavy coat, which will almost certainly drip and pool, ruining your smooth surface.
If you are using a brush, choose a high-quality one with soft bristles to minimize brushstrokes. Dip only the tip of the brush into the paint and apply a thin, even coat, always brushing in the same direction. For larger flat areas, a small foam roller can help you achieve a smoother, more uniform application.
Step 6: Lightly Sand Between Coats
Once your first coat of gold paint is completely dry, you’ll want to perform a very light sanding. This step is crucial for achieving that perfectly smooth, almost factory-like finish. Use an extra-fine grit sandpaper, such as 220-grit or even 320-grit, and a very light touch. You are not trying to remove the paint you just applied; you are simply smoothing out any minor imperfections, such as tiny dust nibs that may have settled on the surface while it was drying, or any slight unevenness in the paint application itself.
Gently glide the sandpaper over the surface, applying minimal pressure. The goal is to just “knock down” any high spots and create a velvety-smooth texture. On detailed or carved areas, you might want to use a flexible sanding sponge or simply fold a small piece of sandpaper to get into the crevices. After this quick sanding, it is essential to remove every particle of dust. Use a tack cloth or a clean, dry microfiber cloth to wipe down the entire piece thoroughly.
Step 7: Apply Subsequent Coats of Gold
With your surface now perfectly smooth, you are ready to build up the color and opacity of your gold finish. Apply your second coat of gold paint using the same technique you used for the first. Whether spraying or brushing, maintain thin, even layers. With this second coat, you will start to see the beautiful, rich gold color really come to life as it begins to cover the base coat more completely. Let this coat dry thoroughly.
Depending on the quality of your paint and the color of your base coat, you will likely need between two and four coats of gold paint in total to achieve full, lustrous coverage.
Step 8: Add Detail and Dimension (Optional)
Once you have achieved an opaque and even gold base, you can add further dimension and an aged look to your piece. This step is particularly effective for ornate furniture or frames with lots of carved details. One popular technique is to use a dark wax or an antique glaze. Apply a small amount of the wax or glaze over the gold surface with a cloth or a small brush, working it into the crevices and detailed areas.
Before the wax or glaze dries, use a clean, soft cloth to wipe away the excess from the raised or flat surfaces. This technique leaves the dark color settled in the recesses, which creates contrast and makes the details pop.
Step 9: Apply a Protective Topcoat
After putting in all the hard work to create a beautiful gold finish, the final and most critical step is to protect it. A topcoat, or sealant, will shield the paint from scratches, scuffs, moisture, and the effects of daily use. Without a protective layer, metallic paint can be surprisingly delicate and prone to damage. The type of topcoat you choose is important. A water-based polycrylic is an excellent choice as it dries crystal clear and will not yellow over time, which can be a problem with some oil-based polyurethanes. A clear finishing wax is another great option, especially if you used a dark wax for aging, as it provides a soft, satin sheen and a protective layer.
Apply the topcoat in thin, even layers, just as you did with the paint. If using a liquid product like polycrylic, use a high-quality synthetic brush and apply it with long, smooth strokes, being careful to avoid bubbles. If using a spray sealant, apply it in light, sweeping motions. Two to three thin coats are usually recommended for durable protection, especially for high-traffic items like tabletops or chairs.
Step 10: Cure and Reassemble
Patience is a virtue, especially when it comes to the final curing of your project. While the topcoat may feel dry to the touch within a few hours, it is not fully hardened. Curing is the chemical process where the paint and sealant harden to their maximum durability, and this can take anywhere from several days to a few weeks, depending on the products used, the temperature, and the humidity. Refer to the manufacturer’s instructions for the recommended cure time.
During this period, be very gentle with the piece. Avoid placing heavy objects on it, sliding items across its surface, or exposing it to harsh cleaning chemicals. If you painted a piece of furniture that you had to disassemble, like removing hardware or drawers, wait until the curing period is over before reassembling it. Attaching hardware too soon can press into the still-soft finish, leaving permanent indentations.
Conclusion
Transforming wood with gold paint is a rewarding project that can bring a touch of glamour and sophistication to any space.
By following these steps on how to paint wood gold with care and patience, you can move beyond a simple coat of paint and create a finish that is rich, deep, and durable. From the critical prep work of cleaning and sanding to the final protective topcoat, each stage plays a vital role in the final outcome.
Don’t be afraid to experiment with different shades of gold and aging techniques to create a piece that is uniquely yours. Now, go ahead and turn that forgotten wooden item into a golden treasure.