 (1)")

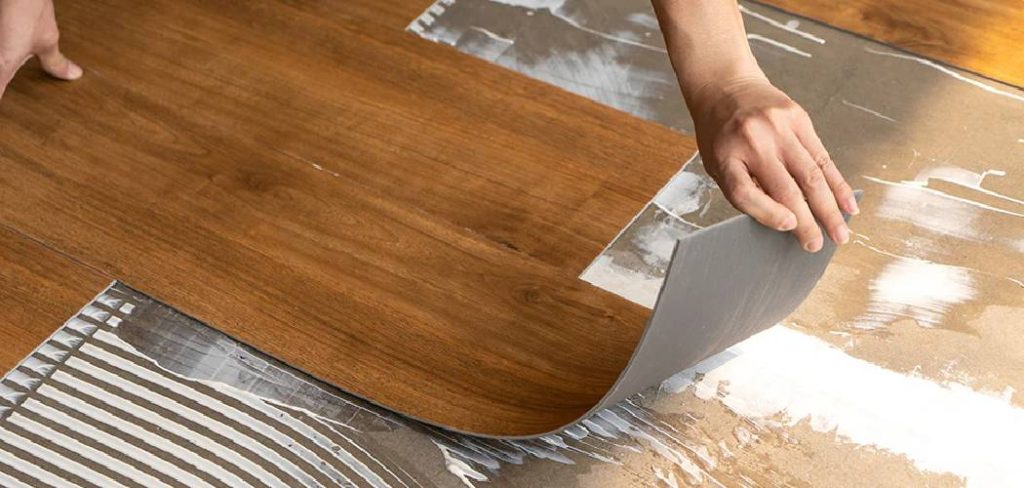
Installing tile can dramatically transform a room, lending it an air of elegance and durability. Many homeowners believe this upgrade is only possible on a concrete slab foundation. However, with the right preparation and materials, you can successfully and beautifully install tile directly over a wood subfloor.
This guide on how to install tile on a wood subfloor will walk you through the entire process, from understanding the benefits to laying the final tile. We will cover the essential materials, provide a detailed step-by-step installation plan, and highlight common pitfalls to avoid.
By following these instructions, you can achieve a professional-quality tiled floor that will last for years, adding significant value and appeal to your home.
What Will You Need?
Tools & Equipment:
- Tape Measure
- Level (4-foot or longer)
- Chalk Line
- Pencil
- Safety Glasses & Gloves
- Knee Pads
- Utility Knife
- Circular Saw or Jigsaw
- Drill/Driver with Mixing Paddle Attachment
- 5-Gallon Buckets (at least two)
- Notched Trowel (size specified by your tile manufacturer)
- Tile Spacers
- Tile Saw or Tile Cutter
- Rubber Grout Float
- Sponges
- Margin Trowel
Materials:
- Plywood or OSB (if subfloor repairs are needed)
- Construction Screws (for securing subfloor)
- Cement Backer Board (e.g., HardieBacker, Durock)
- Backer Board Screws
- Fiberglass Seam Tape for backer board
- Tile of your choice (plus 10-15% extra for cuts and mistakes)
- Thin-set Mortar (Polymer-modified is recommended for wood subfloors)
- Grout (Sanded or Unsanded, depending on joint width)
- Grout Sealer
- Silicone Caulk (for expansion joints)
10 Easy Steps on How to Install Tile on a Wood Subfloor
Step 1: Subfloor Inspection and Preparation
The success of your entire project rests on the condition of your subfloor. A wood subfloor must be exceptionally rigid and structurally sound to prevent the tile and grout from cracking. Begin by thoroughly inspecting the existing subfloor, which is likely plywood or oriented strand board (OSB). Remove any previous floor coverings like carpet, vinyl, or laminate to expose the raw wood. Look for any signs of water damage, rot, or delamination. Any compromised sections must be cut out and replaced with new sheeting of the same thickness.

Next, check for deflection. Walk firmly across the entire floor, bouncing lightly in different areas. You are looking for any springiness, bounce, or movement between the floor joists. If you feel any give, the subfloor is not stiff enough. To fix this, you must add another layer of at least 5/8-inch exterior-grade plywood. This new layer should be glued and screwed down to the original subfloor, with screws placed every 6 inches along the perimeter and every 8 inches in the field.
Step 2: Install Cement Backer Board
Never install tile directly onto a wood subfloor. Wood expands and contracts with changes in humidity and temperature, which will cause grout and tile to crack. A cement backer board is an essential uncoupling layer that provides a stable, water-resistant, and cementitious surface for the thin-set mortar to bond to. The most common sizes are 1/4-inch and 1/2-inch thick. For floor applications, 1/4-inch is usually sufficient.
Lay the backer board sheets on the subfloor, leaving a 1/8-inch gap between sheets and a 1/4-inch gap around the room’s perimeter to allow for expansion. Stagger the joints of the backer board so they do not line up with the subfloor seams. Before permanently fastening a sheet, mix a small batch of thin-set mortar to a peanut butter consistency. Use the flat side of your trowel to spread a thin, even layer of mortar on the subfloor where the sheet will go.
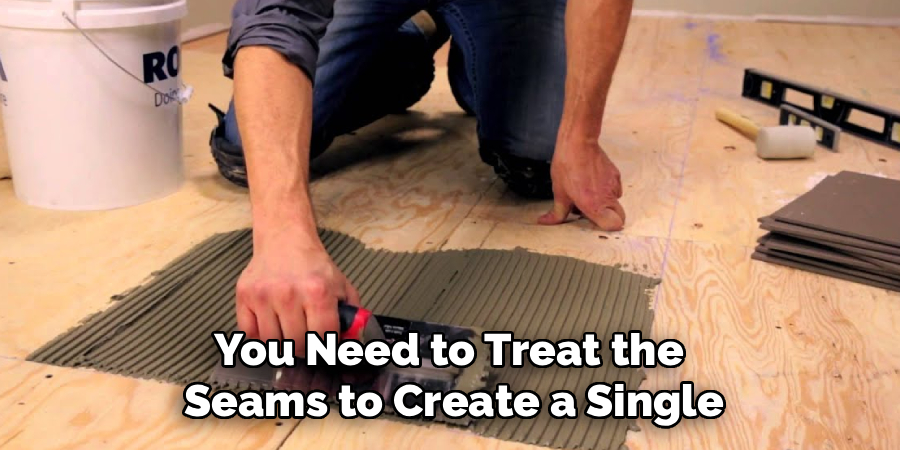
Step 3: Tape and Mortar the Seams
Once all the backer board is installed, you need to treat the seams to create a single, monolithic surface. This step prevents movement between the individual boards, which could transfer through to the tile. You will need alkali-resistant fiberglass mesh tape, which is designed specifically for this purpose.
Apply the self-adhesive tape over all the joints between the backer board sheets. Press the tape down firmly to ensure it is flat. Next, mix another batch of thin-set mortar. Using your margin trowel or the flat side of the notched trowel, force the mortar through the mesh tape to completely fill the gap between the boards. Skim a thin, flat layer of mortar over the tape, feathering the edges out a few inches on either side of the joint.
Step 4: Plan Your Tile Layout
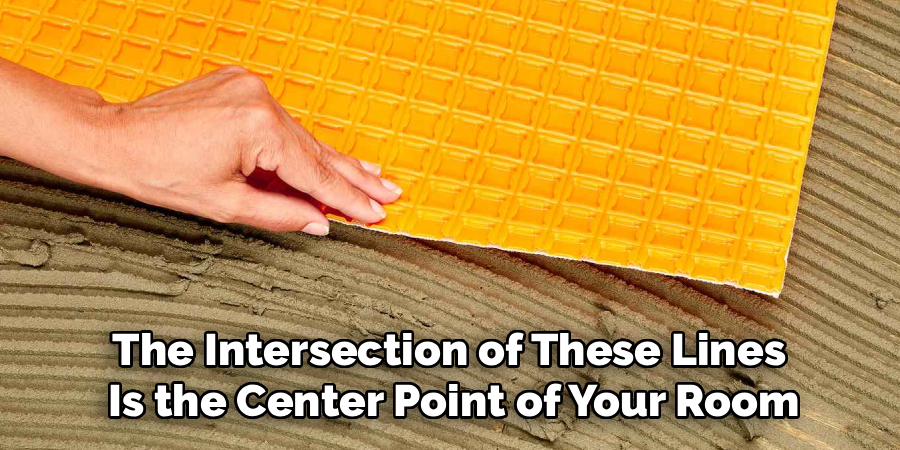
Careful layout planning is crucial for a professional-looking result. It helps minimize difficult cuts and ensures your pattern is balanced and centered. Begin by finding the center of the two opposing walls and snapping a chalk line between them. Do the same for the other two walls. The intersection of these lines is the center point of your room.
Perform a “dry layout” by laying tiles along these lines from the center point out to the walls, using your tile spacers to account for grout joints. This allows you to see how the tiles will end at the walls. You want to avoid having very thin slivers of tile along any prominent wall. If your layout results in cuts less than half a tile’s width, adjust your starting point. You can shift the layout by moving the center lines a few inches in any direction.
Step 5: Mix the Thin-Set Mortar
Properly mixed thin-set mortar is vital for a strong, permanent bond. Always follow the manufacturer’s instructions printed on the bag precisely, as different types have different water ratios. Start by pouring the required amount of cool, clean water into a 5-gallon bucket. Then, slowly add the dry powder to the water. Adding powder to water helps prevent clumps from forming at the bottom of the bucket.
Use a heavy-duty, low-RPM drill with a mixing paddle attachment to mix the mortar. Mix for several minutes until you achieve a smooth, creamy consistency, similar to cake frosting or peanut butter. It should be thick enough to hold its shape on the trowel without sliding off. After the initial mix, let the mortar “slake” or rest for 5-10 minutes.
Step 6: Apply the Mortar
With your layout lines as a guide, start applying the mortar. Work in small, manageable sections, about 2×3 feet at a time. Scoop some mortar out of your bucket with the margin trowel and place it onto the backer board. Using the flat side of your notched trowel, spread the mortar firmly over the section, pressing it into the surface to create a strong mechanical bond.
Once the area is covered, switch to the notched side of the trowel. Holding the trowel at a consistent 45-degree angle, comb the mortar in one direction to create straight, parallel ridges of a uniform height. The size of the trowel’s notches depends on the size of your tile; larger tiles require larger notches to ensure adequate coverage. Consistent trowel angle and combing direction are key to achieving an even bed of mortar under each tile.
Step 7: Set the First Tiles
The moment of truth has arrived. Begin setting your tiles at the intersection of your layout lines. Gently press the first tile into the mortar bed with a slight twisting motion. This helps collapse the mortar ridges and ensures full coverage on the back of the tile. Do not slide it around too much. Place the tile precisely along your chalk lines.
Set the next tile right beside the first one, and immediately insert tile spacers at the corners and along the sides to maintain consistent grout joints. Continue this process, working your way outward from the center in a quadrant. As you lay each tile, use your level to check that it is flush with its neighbors. If a tile is too low, lift it, add a small amount of mortar (a process called “back-buttering”), and reset it. If it’s too high, press it down more firmly. Periodically lift a tile to check for coverage—the back should be at least 85-95% covered in mortar.
Step 8: Cut and Install Edge Tiles
As you reach the walls and other obstacles, you will need to cut tiles to fit. For straight cuts, a score-and-snap tile cutter is fast and efficient. Measure the space for the tile carefully, remembering to subtract the width of two grout joints (one on each side of the cut tile) if it’s between two other tiles, or one grout joint plus the 1/4-inch perimeter expansion gap if it’s against a wall. Mark your tile, align it on the cutter, score it firmly, and snap it.
For more complex cuts, such as around pipes, door jambs, or corners, you will need a wet tile saw or an angle grinder with a diamond blade. A wet saw provides the cleanest and most accurate results for L-shaped or notched cuts. Always measure twice and cut once.
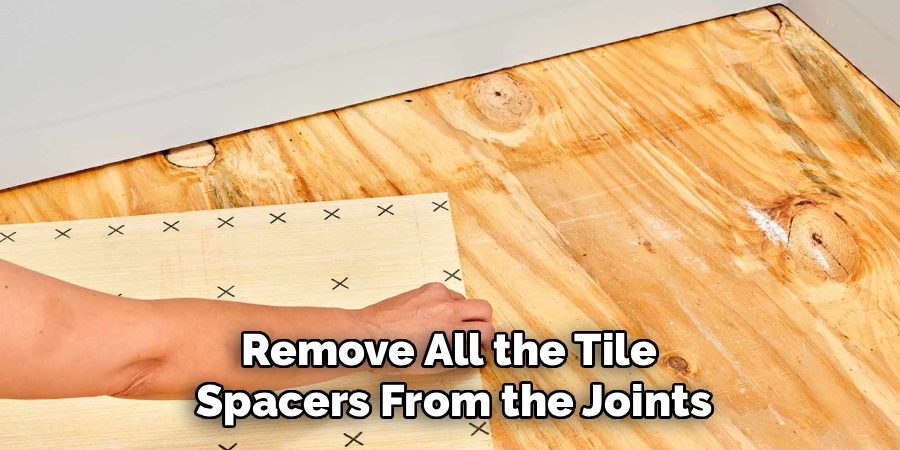
Step 9: Grout the Tile
After the thin-set mortar has fully cured (wait at least 24-48 hours, or as directed by the manufacturer), it’s time to grout. First, remove all the tile spacers from the joints. Use a utility knife to carefully scrape out any mortar that may have squeezed up into the grout lines. Then, vacuum the entire floor to remove all dust and debris.
Mix your grout according to the package directions until it reaches a thick, paste-like consistency. Apply the grout using a rubber grout float. Holding the float at a 45-degree angle to the tile surface, spread the grout diagonally across the tiles, forcing it deep into the joints. Work in small sections and remove the excess grout from the tile faces with the float held at a near-90-degree angle. After about 15-30 minutes, when the grout has slightly firmed up, use a damp (not wet) grout sponge to clean the tile surfaces, rinsing the sponge frequently in a bucket of clean water. Be careful not to pull grout out of the joints.
Step 10: Sealing and Finishing
Let the grout cure completely, which can take 48-72 hours or more. This final curing process is crucial for its hardness and durability. Once cured, apply a high-quality grout sealer. This sealer penetrates the porous grout and protects it from stains, moisture, and discoloration. Apply it carefully using a small brush or applicator bottle, wiping any excess off the tile face immediately.
Finally, fill the 1/4-inch expansion gap you left around the perimeter of the room with a flexible 100% silicone caulk that matches your grout color. Do not fill this gap with grout, as it needs to remain flexible to accommodate movement. Once the caulk is dry, you can reinstall your baseboards, and your new tile floor is complete and ready for years of enjoyment.
Conclusion
Installing tile on a wood subfloor is a rewarding project that adds lasting beauty and function to your home.
While it demands precision and patience, it is not beyond the skills of a dedicated DIYer. The key to success lies in meticulous preparation. A rigid, stable subfloor, combined with the essential layer of cement backer board, creates the foundation for a floor that will not crack or fail.
By following the steps outlined in this guide on how to install tile on a wood subfloor—from careful layout and proper mortar mixing to precise tile setting and grouting—you can achieve a durable, waterproof, and professional-looking finish.
About
Mike May is a distinguished figure in the world of woodworking and timber design, with a decade of expertise creating innovative and sustainable indoor solutions. His professional focus lies in merging traditional craftsmanship with modern manufacturing techniques, fostering designs that are both practical and environmentally conscious. As the author of Woodimber, Mike delves into the art and science of timber-craft, inspiring artisans and industry professionals alike.
Education
RMIT University (Melbourne, Australia)
-
Associate Degree in Design (Timber): Focus on sustainable design, industry-driven projects, and practical craftsmanship.
-
Gained hands-on experience with traditional and digital manufacturing tools, such as CAD and CNC software.
Nottingham Trent University (United Kingdom)
-
Bachelor’s in Woodworking and Product Design (Honors): Specialized in product design with a focus on blending creativity with production techniques.
-
Participated in industry projects, working with companies like John Lewis and Vitsoe to gain real-world insights.
Publications and Impact
In Woodimber, May shares his insights on timber design processes, materials, and strategies for efficient production. His writing bridges the gap between artisan knowledge and modern industry needs, making it a must-read for both budding designers and seasoned professionals.