 (1)")

Are you struggling to darken the color of your wood furniture or flooring? One easy and effective solution is to use oil-based products.
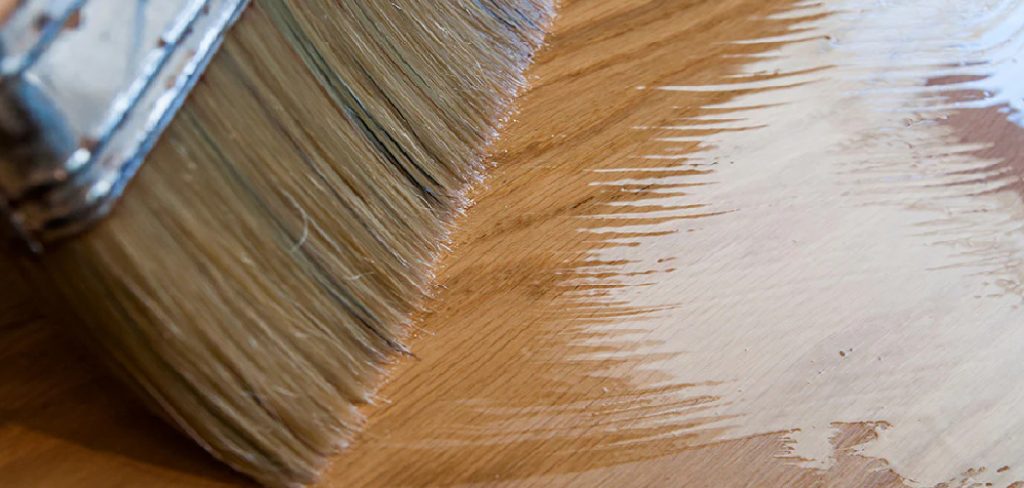
Giving a piece of wood a rich, deep color can transform it from a simple object into a statement piece. While stains and paints are common choices, using oil to darken wood offers a unique finish that enhances the natural grain and beauty of the material. This method not only colors the wood but also protects it, creating a durable and elegant surface that feels as good as it looks.
This guide on how to darken wood with oil will walk you through everything you need to know, from the initial prep work to the final polish, ensuring you achieve a professional-quality finish.
What You Will Need?
Before you begin, gathering all your materials will make the process smooth and efficient. Here is a list of the essential tools and supplies for this project.
- Wood Darkening Oil: Choose a high-quality oil like boiled linseed oil, tung oil, or a specialized dark wood oil.
- Sandpaper: A range of grits from 120 to 220.
- Clean, Lint-Free Cloths: Several cotton rags or microfiber cloths are needed for application and buffing.
- Tack Cloth or Vacuum: To remove all dust from the surface before oiling.
- Safety Gear: Nitrile gloves to protect your hands and safety glasses for your eyes.
- Ventilation: A well-ventilated workspace or fans to ensure proper air circulation.
- Mineral Spirits: For cleaning brushes (if used) and for potential thinning of the oil.
- Metal Container with Water: For safe disposal of oil-soaked rags.
10 Easy Steps on How to Darken Wood with Oil
Following these steps carefully will ensure you achieve a deep, even, and durable finish. This process requires patience, but the stunning results are well worth the effort.
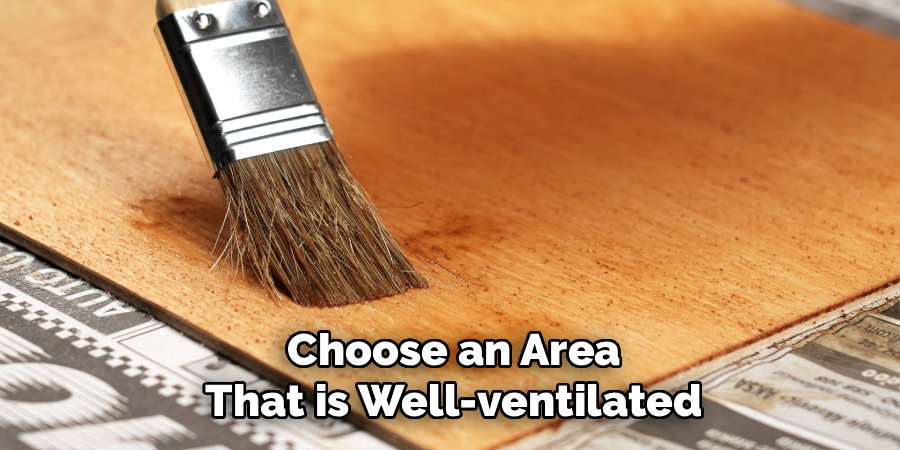
Step 1: Prepare Your Workspace
The first and most critical step is to set up a proper workspace. Choose an area that is well-ventilated to help with the dissipation of fumes from the oil and to aid in the curing process. Garages with the door open, workshops with good airflow, or even a covered outdoor space on a calm, dry day are ideal. Protect your floor or work surface from spills by laying down a drop cloth or old cardboard.
Ensure you have good lighting so you can clearly see the wood surface and check for any imperfections or missed spots during the application. Organize all your tools and materials so they are within easy reach. This prevents you from having to search for an item with oily hands, keeping your project and workspace clean and organized.
Step 2: Prepare the Wood Surface
Proper surface preparation is the foundation of a beautiful finish. If your wood piece has an existing finish, like paint, varnish, or lacquer, you must remove it completely. Use a chemical stripper or a heat gun for thick coatings, followed by scraping. For thinner finishes, sanding may be sufficient.
Start sanding the entire piece with a medium-grit sandpaper, such as 120-grit. Always sand in the direction of the wood grain to avoid creating cross-grain scratches that will be highlighted by the oil. The goal of this initial sanding is to remove any old finish remnants and smooth out any significant surface imperfections. Once the surface is uniform, progress to a finer grit, like 180 or 220. This step further refines the surface, closing the pores of the wood slightly to ensure the oil absorbs evenly and doesn’t appear blotchy. The smoother the surface, the more luxurious the final finish will feel.
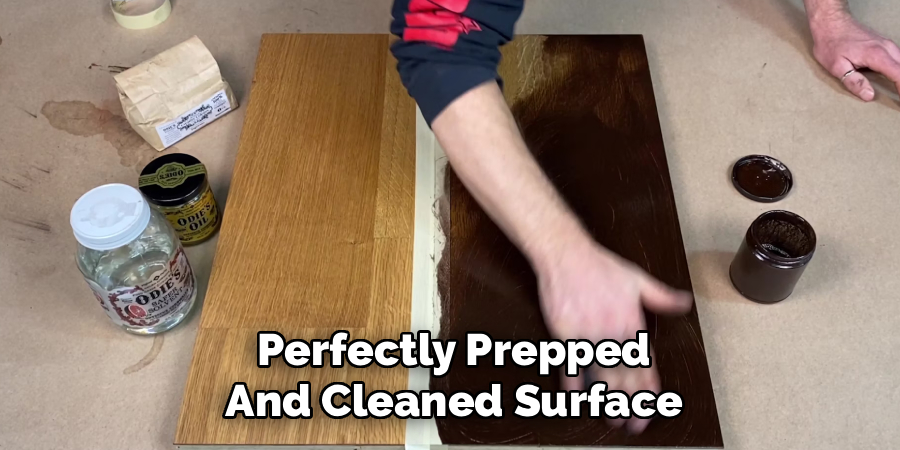
Step 3: Clean the Wood Thoroughly
After sanding, the wood will be covered in a fine layer of dust. Removing every particle is essential for a flawless finish. Any dust left behind will mix with the oil, creating a gritty, muddy texture that ruins the clarity and feel of the surface.
Start by using a brush or a vacuum with a brush attachment to remove the bulk of the dust. Pay close attention to corners, crevices, and any detailed areas where dust tends to accumulate. After vacuuming, go over the entire piece with a tack cloth. A tack cloth is a sticky piece of cheesecloth designed to pick up the finest dust particles that brushes and vacuums leave behind. Wipe the surface gently, again following the direction of the wood grain. If you don’t have a tack cloth, a lint-free cloth lightly dampened with mineral spirits will also work effectively. Allow the mineral spirits to fully evaporate before moving on to the next step.
Step 4: Apply the First Coat of Oil
With a perfectly prepped and cleaned surface, you are ready to apply the oil. Put on your nitrile gloves. Pour a small amount of the darkening oil into a shallow container or directly onto a clean, lint-free cloth. Do not pour the oil directly onto the wood, as this can lead to an overly saturated spot that is difficult to even out.
Using the saturated cloth, begin to apply the oil to the wood. Work in manageable sections, rubbing the oil into the surface using a circular or back-and-forth motion to work it deep into the wood pores. Then, finish each section by wiping with the grain in long, even strokes. Apply a liberal, wet coat, ensuring the entire surface is uniformly covered. The wood should look wet and glossy. Let the oil sit and penetrate the wood for about 15-30 minutes. The time can vary depending on the type of oil and the wood’s porosity.
Step 5: Wipe Off the Excess Oil
This is one of the most important steps for achieving a professional finish. After the oil has had time to penetrate, you must remove all excess oil from the surface. Use a new, clean, lint-free cloth to vigorously wipe down the entire piece. You want to remove any oil that has not been absorbed by the wood. If you leave a thick layer of oil on the surface, it will not cure properly and will become a sticky, tacky mess that is very difficult to fix.
Continue wiping and buffing until the surface feels almost dry to the touch. It may take several clean cloths to remove all the excess. The goal is to leave the oil in the wood, not on the wood. The surface should have a soft, satin sheen, not a high gloss.
Step 6: Allow the First Coat to Cure
Curing is a chemical process where the oil reacts with oxygen and hardens. This is different from simple drying or evaporation. Proper curing is vital for the durability and protective qualities of the finish. Place the wood piece in a warm, dry, and well-ventilated area. The curing time for the first coat can vary significantly, from 12 to 24 hours or even longer, depending on the type of oil, ambient temperature, and humidity.
Boiled linseed oil and tung oil have different curing profiles. Refer to the manufacturer’s instructions for specific guidance. The surface should feel completely dry and not at all tacky before you proceed to the next step. Rushing this process is a common mistake that compromises the entire finish.
Step 7: Lightly Sand Between Coats
Once the first coat is fully cured, you may notice that the surface feels slightly rough. This is because the oil can raise the wood grain, causing tiny wood fibers to stand up. To achieve a silky-smooth final finish, you need to knock down these raised fibers.

Use a very fine-grit sandpaper, such as 320 or 400-grit, or a fine abrasive pad. Lightly scuff the surface, always moving in the direction of the wood grain. The goal is not to remove the oil finish you just applied but simply to smooth the surface. Apply very little pressure—just the weight of your hand is often enough. After sanding, be sure to clean the surface again with a tack cloth or a cloth dampened with mineral spirits to remove all sanding dust.
Step 8: Apply Subsequent Coats
To build a deeper color and increase protection, you will need to apply multiple coats of oil. The process for applying the second and subsequent coats is the same as the first: apply the oil, let it penetrate for 15-30 minutes, and then wipe off all the excess completely. The wood will absorb less oil with each additional coat.
Most projects benefit from at least three coats. However, the number of coats you apply depends on the desired depth of color and level of sheen. For items that will see heavy use, like tabletops or cutting boards, you may want to apply four or five coats for maximum durability. Remember to allow each coat to cure fully and to lightly sand and clean the surface between each application.
Step 9: The Final Buff
After you have applied your final coat and it has cured completely (which may take 24-48 hours), it’s time for the final buff. This step brings out the beautiful, soft luster that is characteristic of an oil finish.
Take a clean, soft, lint-free cloth and buff the entire surface vigorously. Use circular motions and firm pressure. This process smooths the finish one last time and raises the sheen from a matte or satin look to a subtle, elegant glow. Keep buffing until the surface feels smooth and polished. This final touch is what elevates the finish from good to exceptional, giving the wood a deep, hand-rubbed appearance.
Step 10: Final Curing and Safe Disposal
While the surface may feel dry after a day or two, the oil deep within the wood will continue to cure for several days or even weeks. During this final curing period, the finish is still relatively soft and vulnerable. Handle the piece with care and avoid placing heavy objects on it. Keep it away from moisture and extreme temperature changes. A full cure, where the oil has reached its maximum hardness and durability, can take up to 30 days.

Crucially, you must dispose of your oil-soaked rags safely. Rags saturated with oils like linseed and tung oil can spontaneously combust as they cure due to an exothermic reaction. Never bunch them up and throw them in the trash. The safest method is to lay them out flat on a non-flammable surface to dry completely, or to submerge them in a metal container filled with water before taking them to a hazardous waste disposal facility.
Conclusion
Darkening wood with oil is a rewarding process that produces a finish of unmatched warmth and elegance. By patiently following the steps of preparing the surface, applying thin coats, and allowing for proper curing, you can achieve a durable and professional result that highlights the wood’s natural character.
This timeless technique not only protects your wooden pieces but also connects you to a long tradition of fine craftsmanship, ensuring your project will be cherished for years to come.
Hopefully, this guide on how to darken wood with oil has provided you with the knowledge and confidence to embark on your own journey of finishing wood with oil.
About
Mike May is a distinguished figure in the world of woodworking and timber design, with a decade of expertise creating innovative and sustainable indoor solutions. His professional focus lies in merging traditional craftsmanship with modern manufacturing techniques, fostering designs that are both practical and environmentally conscious. As the author of Woodimber, Mike delves into the art and science of timber-craft, inspiring artisans and industry professionals alike.
Education
RMIT University (Melbourne, Australia)
-
Associate Degree in Design (Timber): Focus on sustainable design, industry-driven projects, and practical craftsmanship.
-
Gained hands-on experience with traditional and digital manufacturing tools, such as CAD and CNC software.
Nottingham Trent University (United Kingdom)
-
Bachelor’s in Woodworking and Product Design (Honors): Specialized in product design with a focus on blending creativity with production techniques.
-
Participated in industry projects, working with companies like John Lewis and Vitsoe to gain real-world insights.
Publications and Impact
In Woodimber, May shares his insights on timber design processes, materials, and strategies for efficient production. His writing bridges the gap between artisan knowledge and modern industry needs, making it a must-read for both budding designers and seasoned professionals.