 (1)")

Staining wood is one of the most rewarding DIY projects, instantly transforming plain lumber into something rich and elegant. However, it can also be incredibly frustrating when the color doesn’t turn out quite right. Perhaps the sample looked perfect in the store, but on your furniture, it looks washed out or too light. Or maybe you are trying to match a new piece to an existing antique set, and the finish just isn’t deep enough.
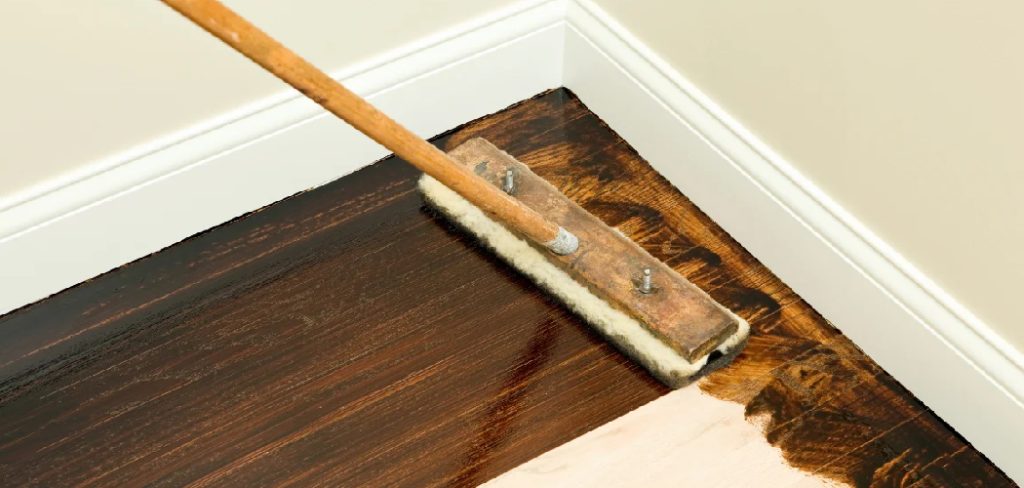
Don’t panic; you don’t need to strip everything down and start from scratch. Learning how to darken wood stain effectively allows you to adjust the tone and achieve that professional, custom finish you envisioned. This guide is designed to walk you through the various methods available, from simple layering to using toners and glazes. We will explore safe, easy techniques that give you total control over the final color, ensuring your woodworking project becomes a stunning focal point in your home.
Why You Might Need to Darken Your Wood Finish
There are countless reasons why a woodworker or homeowner might decide to deepen the tone of their project. Often, it comes down to wood species variation. A stain that looks chocolate brown on oak might look like a light tan on pine because softwoods absorb pigment differently. This inconsistency can be disappointing if you had a specific look in mind. Darkening the stain helps to unify these differences, creating a consistent, high-end appearance across different types of wood.
Beyond correcting mistakes, darkening wood is a powerful design choice. Richer, darker tones like mahogany, walnut, or espresso often convey a sense of luxury, warmth, and age that lighter woods cannot replicate. Darker finishes can also help hide imperfections, knots, or mineral streaks in lower-grade lumber, making an inexpensive piece of furniture look much more valuable. Whether you are aiming for a moody, modern aesthetic or a traditional, antique vibe, knowing how to manipulate color depth gives you the artistic freedom to customize your space exactly to your taste.
Step-by-Step Guide on How to Darken Wood Stain
Step 1: Evaluate the Current Finish and Choose Your Method
Before you open a can of stain, you need to understand what you are working with. If the wood is raw and you just applied a coat that is too light, your path is simple: add more coats. However, if the wood has already been sealed with a topcoat like polyurethane, you cannot simply wipe more stain on top, as it will not penetrate. In that case, you will need to use a tinted finish or a glaze.

Look closely at the existing color. Is it too red? Too yellow? Choosing a darkening agent with the right undertones—like a green-based walnut to counteract red—is crucial. This assessment phase prevents chemical incompatibilities and ensures the final result matches your vision.
Step 2: Prepare the Surface for the New Application
Preparation is the unglamorous secret to a flawless finish. If you are applying another coat of stain to unsealed wood, ensure the surface is clean and free of dust. If the wood is already sealed or if the first coat has dried completely, you need to create a mechanical bond. Lightly sand the surface with fine-grit sandpaper, such as 220-grit or 320-grit.
You are not trying to strip the color off; you just want to scuff the surface slightly to give the new layer something to grab onto. Wipe away all sanding dust with a tack cloth or a rag dampened with mineral spirits. A clean surface ensures your darkening layers apply evenly without trapping debris.
Step 3: Apply Additional Coats of the Same Stain
The simplest method for unsealed wood is to keep doing what you started. Wood is porous, and like a sponge, it can often hold more pigment than a single application provides. Apply a second coat of your original stain using a clean rag or brush. Let it sit for the maximum time recommended by the manufacturer before wiping off the excess.
This allows more pigment to settle into the grain. Be careful not to let it dry on the surface, or it will become sticky. This incremental approach allows you to sneak up on the desired color slowly. It is the safest first step in learning how to darken wood stain without overshooting and making it too black.
Step 4: Utilize a Gel Stain for Better Coverage
If standard liquid stain isn’t getting you dark enough, switch to a gel stain. Gel stains are much thicker, similar to pudding, and they sit on top of the wood rather than soaking deep into the pores. This makes them excellent for darkening wood that is difficult to stain, like pine, or for layering over existing finishes.
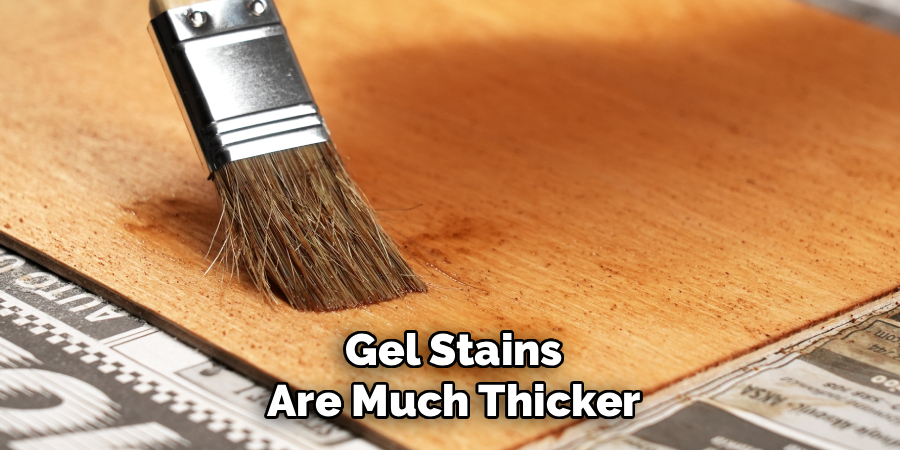
Apply the gel stain generously with a foam brush or rag. Because it is less transparent than liquid stain, it acts almost like a translucent paint, rapidly deepening the color. You can control the darkness by how much you wipe off. Leave a slightly heavier film if you want a very deep tone, but be sure to smooth it out to avoid brush marks.
Step 5: Master the Art of Glazing
Glazing is a technique used by professionals to add depth and antique character. A glaze is a pigmented coating that stays wet longer than stain, giving you time to manipulate it. You can buy pre-made glazes or mix your own using stain and a glazing medium. Apply the glaze over your sealed or stained wood, getting it into the corners and recesses. Then, wipe it off the high points, leaving the dark color in the grain and crevices. This accentuates the texture of the wood and darkens the overall appearance without completely obscuring the grain. It adds a three-dimensional quality that simple staining often lacks, creating a rich, furniture-grade finish that looks incredibly sophisticated.
Step 6: Use a Toner to Adjust Color Evenly
A toner is essentially a topcoat with pigment added to it. You can make your own by mixing a small amount of stain or dye into your polyurethane or varnish. This method is fantastic because it adds color and protection simultaneously. It is best applied with a sprayer for an even coat, but a careful hand can use a brush. Because the color is suspended in the clear coat, it sits on top of the wood like a filter on a camera lens. Each coat of toner you apply will progressively darken the piece. This is the ideal solution for blotchy woods because the color doesn’t rely on absorption, ensuring a perfectly uniform darkness across the entire project.
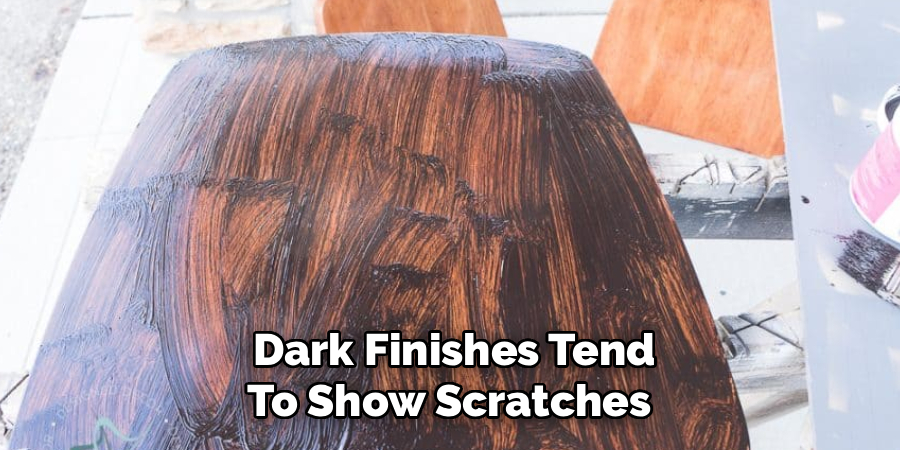
Step 7: Seal the Deal with a Protective Topcoat
Once you have achieved that perfect espresso or mahogany shade, you must protect it. Dark finishes tend to show scratches and dust more than light ones, so a durable topcoat is non-negotiable. If you used an oil-based darkening method, stick to an oil-based polyurethane or lacquer to ensure proper adhesion.
Apply at least two coats of clear finish over your darkened stain. This adds depth to the color, making it look “wet” and vibrant, and seals in your work against wear and tear. Use a satin or semi-gloss sheen, as high gloss can make dark furniture look plastic. Allow ample drying time between coats to ensure a hard, durable shell that preserves your hard work.
Frequently Asked Questions
Can I Darken Wood Stain Without Stripping the Old Finish?
Yes, you absolutely can darken wood without stripping.
- Gel Stain: This is the most popular method. Because gel stain sits on top of the surface, it can be applied directly over polyurethane or varnish after a light sanding and cleaning.
- Polyshades: These are “stain and polyurethane in one” products designed specifically to go over existing finishes to darken the tone.
- Glazing: You can apply a dark glaze over a sealed surface to add depth and darkness, then seal it with a fresh topcoat.
What Happens If I Make the Stain Too Dark?
If you overshoot and the wood becomes too dark, you have a few options depending on the stage of the process.
- Still Wet: If the stain is still wet, flood the surface with mineral spirits (for oil-based) or water (for water-based) and wipe aggressively with clean rags to dilute and remove the pigment.
- Dried: If it has dried, you can try scrubbing it with fine steel wool and a solvent like mineral spirits.
- Last Resort: If it is fully cured and too dark, you will likely need to sand it down to raw wood and start over.
Is It Better to Use Dye or Pigment Stain to Darken Wood?
It depends on the look you want.
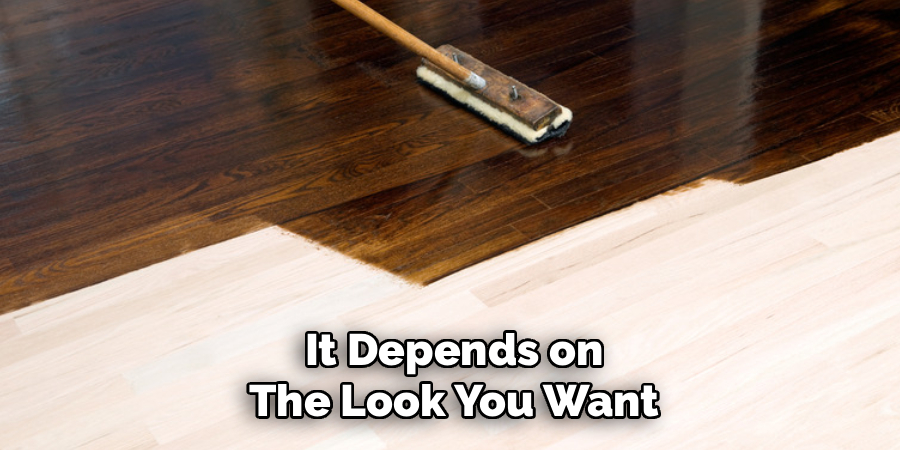
- Pigment Stains: These contain solid particles that lodge in the wood pores. They tend to muddy the grain slightly as you go darker, which can be good for hiding imperfections.
- Dyes: These are made of microscopic particles that dissolve completely. They penetrate deep into the wood fibers and remain transparent even when very dark. Use dyes if you want to darken the wood while keeping the grain definition crystal clear.
How Long Should I Wait Between Coats of Stain?
Patience is key to avoiding a sticky mess.
- Oil-Based Stains: typically require 8 to 24 hours of drying time depending on humidity and temperature.
- Water-Based Stains: dry much faster and can often be recoated in 2 to 4 hours.
- Gel Stains: often require 24 to 48 hours because they are thick and heavily pigmented. Always read the can, as recoating too soon can lift the previous layer.
Can I Mix Different Colors of Stain Together?
Yes, mixing stains is a great way to create a custom color.
- Compatibility: Only mix stains with the same base (oil with oil, water with water). Do not mix a water-based dye with an oil-based stain.
- Testing: Mix small amounts in a separate cup first and test it on a scrap piece of wood.
- Black: Adding a small amount of Ebony or Onyx stain to a brown stain is an excellent way to darken it without changing the underlying hue (red/yellow).
Conclusion
Transforming a light or lackluster piece of wood into something bold and beautiful is a skill that any DIYer can master. It allows you to salvage mistakes, match disparate furniture pieces, and elevate the overall aesthetic of your home without the cost of buying new lumber. The key is to work slowly, test your methods on scrap pieces, and understand the chemistry of the products you are using. Whether you choose the layering power of gel stains, the transparency of toners, or the depth of glazing, you now have the knowledge to control the outcome.
Remember that darkening wood is as much an art as it is a science. Don’t be afraid to experiment with mixtures and techniques until you find that perfect shade. By following the steps outlined above and understanding how to darken wood stain properly, you can confidently tackle your next refinishing project, knowing that the rich, deep finish of your dreams is just a few coats away.
About
Mike May is a distinguished figure in the world of woodworking and timber design, with a decade of expertise creating innovative and sustainable indoor solutions. His professional focus lies in merging traditional craftsmanship with modern manufacturing techniques, fostering designs that are both practical and environmentally conscious. As the author of Woodimber, Mike delves into the art and science of timber-craft, inspiring artisans and industry professionals alike.
Education
RMIT University (Melbourne, Australia)
-
Associate Degree in Design (Timber): Focus on sustainable design, industry-driven projects, and practical craftsmanship.
-
Gained hands-on experience with traditional and digital manufacturing tools, such as CAD and CNC software.
Nottingham Trent University (United Kingdom)
-
Bachelor’s in Woodworking and Product Design (Honors): Specialized in product design with a focus on blending creativity with production techniques.
-
Participated in industry projects, working with companies like John Lewis and Vitsoe to gain real-world insights.
Publications and Impact
In Woodimber, May shares his insights on timber design processes, materials, and strategies for efficient production. His writing bridges the gap between artisan knowledge and modern industry needs, making it a must-read for both budding designers and seasoned professionals.