

Exposed wood beams add a stunning architectural element to any room, evoking a sense of rustic charm and structural elegance. However, installing solid wood beams is often an expensive, complex, and structurally demanding renovation. What if you could achieve that same high-end, farmhouse look for a fraction of the cost and effort? The solution is surprisingly simple: rigid foam insulation.
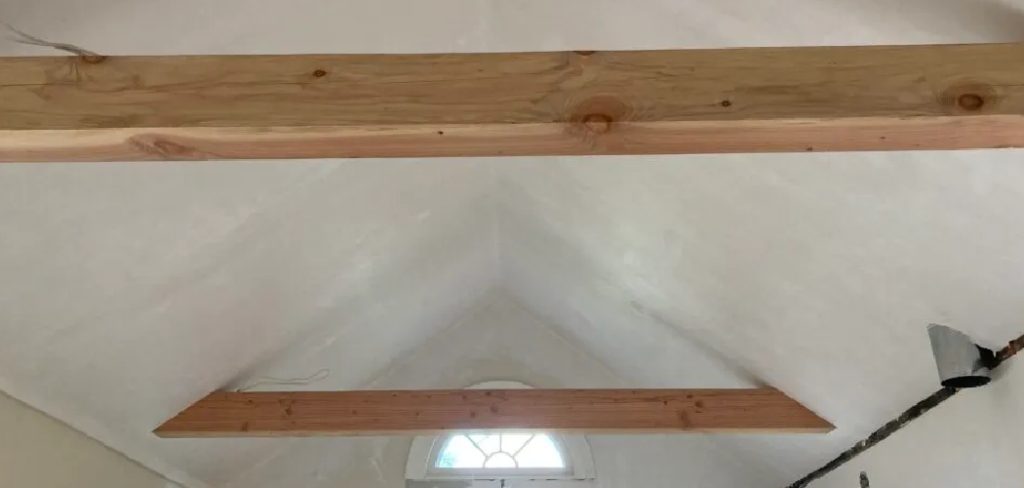
This lightweight material can be easily transformed into incredibly realistic-looking beams that are easy to handle and install. Learning how to make faux wood beams from styrofoam is a game-changing DIY project that allows anyone to add dramatic character and warmth to their ceilings without needing a construction crew or a massive budget. This guide will show you how.
Why Faux Styrofoam Beams are a Smart Home Upgrade
Choosing to create faux beams from styrofoam is one of the most cost-effective and impactful DIY projects you can undertake. Real wood beams can cost thousands of dollars and often require structural reinforcement to support their immense weight. In contrast, styrofoam sheets are inexpensive and so lightweight that they can be installed on almost any ceiling with simple construction adhesive, with no need to alter your home’s structure.
This project offers complete creative control. You can customize the size, color, and texture to perfectly match your decor, from a smooth, modern look to a deeply distressed, centuries-old appearance. Because they are a DIY project, you get the satisfaction of creating a custom architectural feature with your own hands. It’s a budget-friendly renovation that delivers a high-end aesthetic, adding significant visual interest and perceived value to your home.
Step-by-Step Guide on How to Make Faux Wood Beams from Styrofoam
Step 1: Design and Measure for Your Beams
Before you buy any materials, you need a clear plan. Decide where you want to install the beams and what size will look best. Use a tape measure to determine the length needed for each beam. Consider the scale of your room; a large room with high ceilings can handle thick, substantial beams, while a smaller room may look better with more modest dimensions. A common size is a three-sided box beam made from foam that is 6 inches high and 6 inches wide. Once you have your dimensions, you can calculate how many sheets of rigid foam insulation you will need to purchase.
Step 2: Cut the Styrofoam Panels to Size
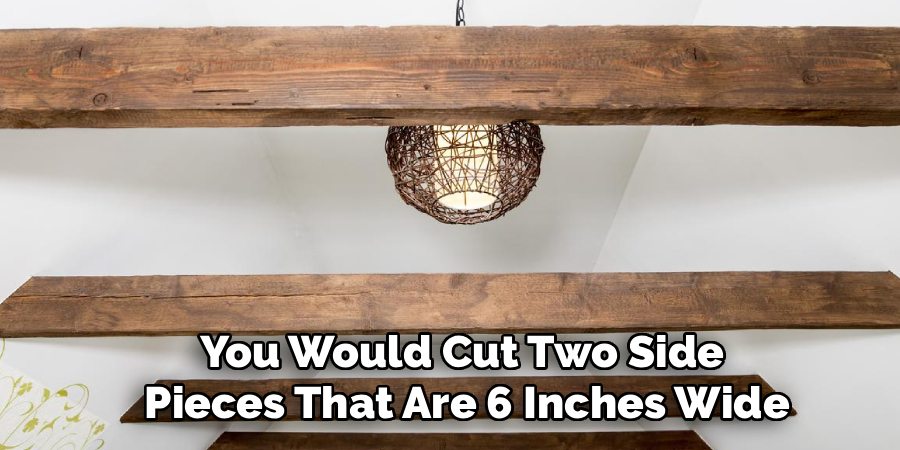
Using your measurements, it is time to cut the rigid foam insulation sheets into the individual panels that will form your three-sided beam. A long, straight edge and a sharp utility knife are all you need for this step. For a 6×6 inch beam, you would cut two side pieces that are 6 inches wide and one bottom piece that is slightly narrower to account for the thickness of the side panels. For example, if your foam is 2 inches thick, the bottom piece would be just under 6 inches wide. Score the foam multiple times with the knife rather than trying to cut through it in one pass for a cleaner edge.
Step 3: Assemble the Three-Sided Beam Box
Now you will assemble the cut panels into a U-shaped trough, which will be your hollow beam. Lay the bottom panel flat and apply a generous bead of foam-safe construction adhesive along each long edge. Carefully press the two side panels onto the adhesive, creating the walls of your beam. Use painter’s tape every foot or so to hold the pieces together firmly while the adhesive cures. It is crucial to use an adhesive specifically rated for foam, as standard construction adhesives contain solvents that will melt and destroy the styrofoam.
Step 4: Add Realistic Wood Texture and Imperfections
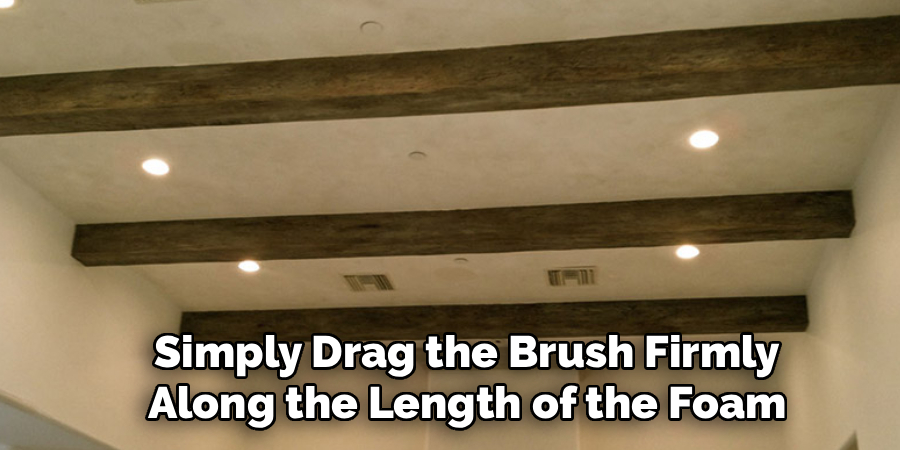
This is the most creative step and where the styrofoam truly begins to look like wood. Real wood is never perfectly smooth. To create an authentic texture, you can use various tools to distress the surface. A wire brush dragged along the length of the foam will create a convincing grain pattern. You can also use a ball-peen hammer to create random dents, or the edge of a putty knife to make small nicks and gouges. Some DIYers even use a heat gun on a low setting, held far from the surface, to slightly melt and create a wavy, aged texture.
Step 5: Styrofoam Look Real with Putty
The seams where your foam panels meet can be a dead giveaway that the beam is not solid wood. To hide these corner joints, apply a thin layer of lightweight spackling compound or wood filler along each seam with a putty knife. Drag the knife along the joint to smooth it out and blend it into the surrounding foam. You can also use the spackle to fill any deep cuts or to build up texture in certain areas, mimicking knots or rough patches in the wood. Let the compound dry completely before moving on.
Step 6: Apply a Base Coat of Paint
Once all your texturing is complete and the putty is dry, it is time to start the finishing process. The first layer of color is your base coat. Choose a latex paint in a light tan or beige color that resembles the underlying tone of natural, unfinished wood like pine or oak. Use a paintbrush to apply an even coat over the entire surface of the beam, making sure to get into all the cracks and crevices you created during the distressing stage. This base coat seals the foam and spackle, providing a uniform canvas for the staining process.
Step 7: Apply a Dark Gel Stain for an Aged Look
This is the step that brings the wood grain to life. Gel stain is ideal for this project because its thick consistency allows it to sit on top of the painted surface rather than soaking in, giving you more control. Dip a clean rag or foam brush into a dark gel stain, like a walnut or jacobean color. Wipe the stain onto the beam in long, continuous strokes, working in the direction of your wire-brushed grain. Immediately use a clean, dry rag to wipe most of the stain off, leaving the dark pigment behind in the textured grooves, which makes the grain pop.
Step 8: Install the Finished Beams on the Ceiling
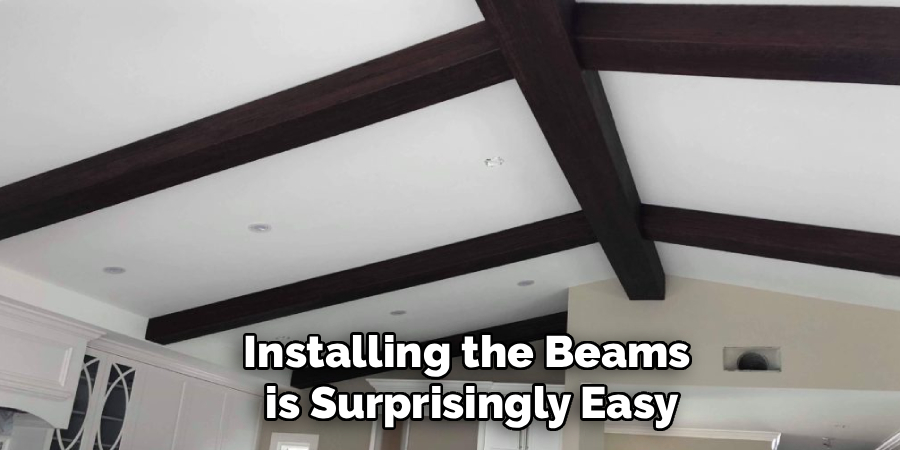
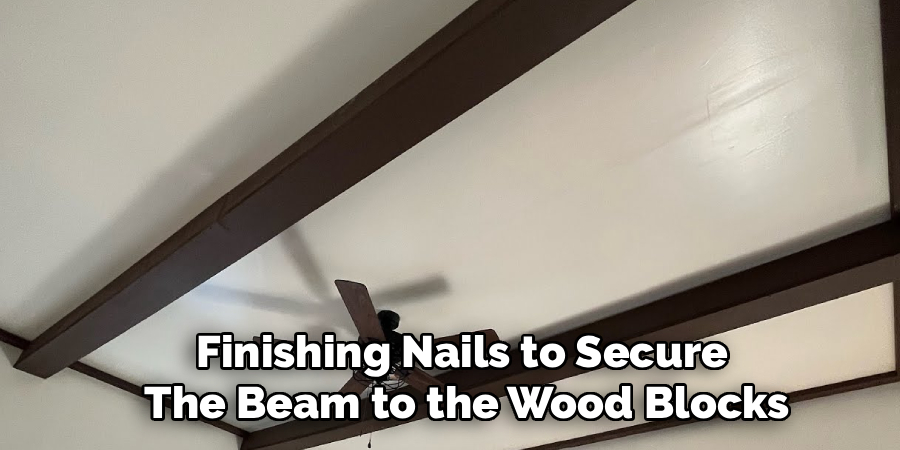
Thanks to their lightweight nature, installing the beams is surprisingly easy. Locate the ceiling joists in your room using a stud finder and mark their positions. The most secure method for installation is to first screw 2×4 wood blocks to the ceiling, aligned with where the inside of your hollow beam will go. Apply a generous amount of foam-safe construction adhesive to the top edges of your faux beam and to the wood blocks. Lift the beam into place, pressing it firmly against the ceiling over the blocks. Use a few finishing nails or screws driven through the beam into the blocks to hold it securely while the adhesive cures.
Frequently Asked Questions
What Kind of Styrofoam Should I Use?
You should use rigid foam insulation panels, which are dense and easy to work with.
- XPS Foam: Extruded Polystyrene (XPS) foam, often pink or blue, is a great choice. It is strong, has a smooth surface, and is easy to cut and shape.
- EPS Foam: Expanded Polystyrene (EPS), which is white and looks like a typical cooler, can also be used, but it is more crumbly and can be messier to work with.
Is It Safe to Have Styrofoam Beams in My House?
Yes, when done correctly, it is safe. All rigid foam insulation sold for building purposes is treated with a fire retardant. Once the foam is completely covered and sealed with spackling compound and multiple layers of latex paint, its flammability is significantly reduced. However, you should never install them near a high-heat source like a wood stove chimney or recessed can lights that are not IC-rated.
How Do You Hide the Seams Between Foam Panels?
Hiding the seams is crucial for a realistic look. The best method is to use a lightweight spackling compound or wood filler. Apply it with a putty knife, smoothing it into the corner joint. You can even add some texture to the putty while it is wet to help it blend in with the surrounding “wood grain” you created. Once painted and stained, the seam should be virtually invisible.
What Is the Best Way to Create a Realistic Wood Grain Texture?
A stiff wire brush is the most effective tool for creating a convincing wood grain. After assembling the beam, simply drag the brush firmly along the length of the foam. This will carve shallow grooves that perfectly mimic the grain of real wood. Varying the pressure and slightly wiggling the brush as you go can create a more natural, less uniform pattern.
How Do I Attach the Beams to the Ceiling?
The most secure method is a combination of adhesive and mechanical fasteners.
- First, screw 2×4 wood blocks to the ceiling joists where the beam will be placed.
- Apply a generous amount of foam-safe construction adhesive to the top edges of the faux beam and the blocks.
- Press the beam onto the ceiling.
- Use long screws or finishing nails to secure the beam to the wood blocks while the adhesive dries.
Conclusion
Creating architectural character in your home does not have to be an expensive or difficult endeavor. With a few sheets of rigid foam insulation and some creative finishing techniques, you can produce stunningly realistic wood beams that are lightweight, affordable, and easy to install. The process relies on clever texturing and a multi-layered paint and stain finish to transform a simple building material into a work of art. The most important steps are creating a convincing grain with a wire brush and using gel stain to highlight that texture.
Now that you have this complete guide on how to make faux wood beams from styrofoam, you have the knowledge and confidence to add this incredible feature to your own home. It is a project that delivers a powerful visual impact, allowing you to achieve a custom, high-end look on a DIY budget.

About
Mike May is a distinguished figure in the world of woodworking and timber design, with a decade of expertise creating innovative and sustainable indoor solutions. His professional focus lies in merging traditional craftsmanship with modern manufacturing techniques, fostering designs that are both practical and environmentally conscious. As the author of Woodimber, Mike delves into the art and science of timber-craft, inspiring artisans and industry professionals alike.
Education
RMIT University (Melbourne, Australia)
-
Associate Degree in Design (Timber): Focus on sustainable design, industry-driven projects, and practical craftsmanship.
-
Gained hands-on experience with traditional and digital manufacturing tools, such as CAD and CNC software.
Nottingham Trent University (United Kingdom)
-
Bachelor’s in Woodworking and Product Design (Honors): Specialized in product design with a focus on blending creativity with production techniques.
-
Participated in industry projects, working with companies like John Lewis and Vitsoe to gain real-world insights.
Publications and Impact
In Woodimber, May shares his insights on timber design processes, materials, and strategies for efficient production. His writing bridges the gap between artisan knowledge and modern industry needs, making it a must-read for both budding designers and seasoned professionals.