 (1)")

Kitchen renovations can be notoriously expensive. Between new cabinetry, appliances, and countertops, the costs spiral quickly. But sometimes, the layout of your kitchen works perfectly fine—it’s just the look that feels tired.
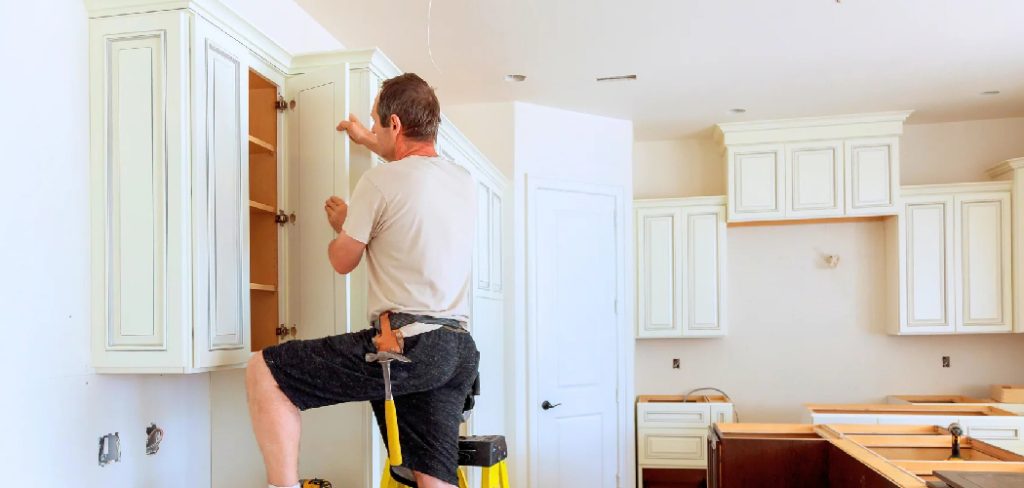
Painting your wood cupboards is one of the most transformative DIY projects you can undertake. It has the power to take a dark, dated kitchen and turn it into a bright, modern space, all for a fraction of the cost of a full remodel.
This guide on how to paint wood cupboards will walk you through the entire process. Whether you are a seasoned DIY enthusiast or picking up a paintbrush for the first time, these instructions are designed to help you achieve a professional-grade finish that lasts.
What Will You Need?
Preparation is everything. Gather these supplies before you begin to ensure a smooth workflow.
Cleaning and Prep:
- Degreaser (TSP or a TSP substitute)
- Scrubbing sponges and buckets
- Wood filler or putty
- Sandpaper (100-grit and 220-grit)
- Sanding block or orbital sander
- Tack cloth (for removing dust)
- Painter’s tape
- Drop cloths or rosin paper
Painting Supplies:
- High-quality bonding primer (oil-based or shellac-based is often best for wood)
- Cabinet-grade paint (enamel, alkyd, or a hybrid water-borne alkyd)
- Angled sash brush (2-inch or 2.5-inch)
- Mini foam roller or flocked roller
- Paint tray and liners
- Screwdriver or drill (for removing hardware)
- Ziploc bags and a marker (for organizing hardware)
10 Easy Steps on How to Paint Wood Cupboards
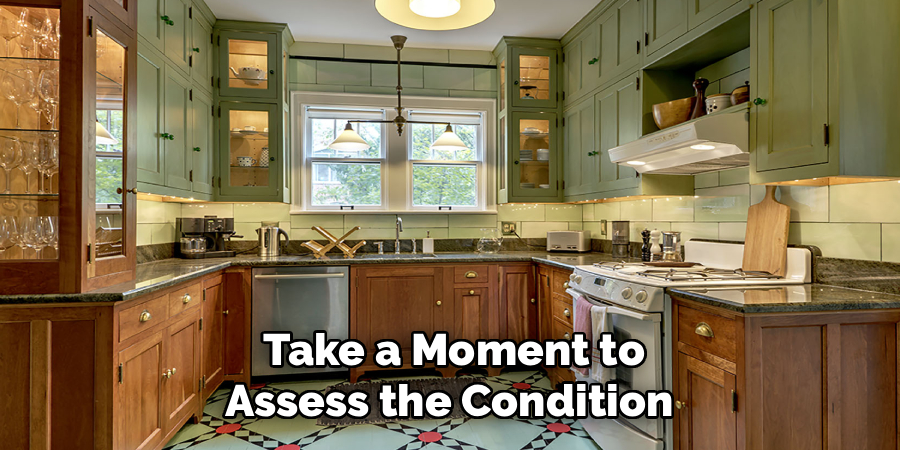
Step 1: Assess and Plan Your Layout
Before you touch a screwdriver, take a moment to assess the condition of your wood. Are there deep gouges that need filling? Is the laminate peeling? Knowing the state of your cupboards determines how much prep work lies ahead. This is also the time to plan your painting station. You need a large, dust-free area—like a garage or a spare room—where doors can lay flat to dry.
Trying to paint vertical surfaces while they are still attached to the cabinet boxes almost always results in drips. Clear out the counters and set up your drying racks or tables. This logistical step saves you massive headaches later on. If you have a lot of doors, consider building simple drying racks using 2x4s or using old boxes to prop them up.
Step 2: Remove Doors, Drawers, and Hardware
This step requires patience and organization. Start by removing all the cabinet doors and pulling out the drawers. You will also need to remove every single piece of hardware—knobs, pulls, hinges, and latches. As you remove each door, label it. A common trick is to write a number on a piece of tape and stick it inside the door hinge hole (where it won’t be painted over), and place a matching number on the cabinet frame.
This ensures that when you reassemble everything, the doors fit back exactly where they belong. Store the hinges and screws for each specific door in a labeled Ziploc bag. Cupboards settle over time, and mixing up hinges can lead to doors that don’t hang straight.
Step 3: Deep Clean the Surfaces
This is arguably the most critical step for paint adhesion. Kitchen cupboards are often covered in invisible layers of grease, cooking oils, fingerprints, and wax. If you paint over this grime, the paint will eventually peel or bubble. Use a strong degreaser like Trisodium Phosphate (TSP) or a safer TSP substitute. Mix it with warm water according to the instructions and scrub every inch of the wood with a sponge or scouring pad.
Pay special attention to the areas around the handles and near the stove where grease accumulates. Once scrubbed, wipe everything down with clean water to remove any chemical residue and let the wood dry completely. The surface must be squeaky clean.
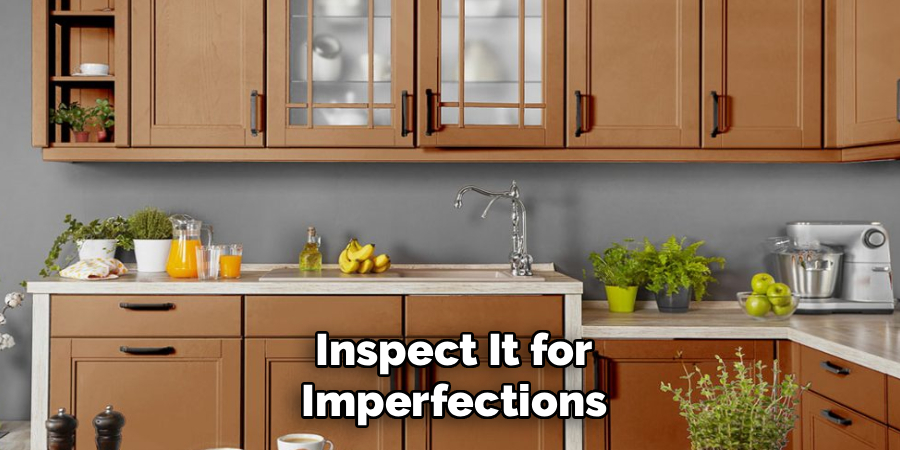
Step 4: Repair Damages and Fill Grains
Now that the wood is clean, inspect it for imperfections. If you are changing your hardware size (for example, switching from a knob to a handle with two screws), fill the old screw holes with high-quality wood filler. Fill any scratches, dents, or gouges as well. If you have oak cabinets with a deep, open grain and you want a smooth, modern finish, you might want to skim coat the doors with a grain filler.
This is an optional step, but highly recommended for oak. Apply the filler with a putty knife, let it dry, and then sand it flush. If you skip grain filling on oak, the wood texture will show through the paint, which is a matter of personal preference but something to consider before proceeding.
Step 5: Sand All Surfaces
Sanding serves two purposes: it smooths out the repairs you just made, and it scuffs up the old finish so the new primer has something to “bite” into. You don’t need to strip the wood down to bare timber, but you do need to remove the sheen. Use 100-grit or 120-grit sandpaper for this initial pass.
An orbital sander speeds up the work on flat surfaces, but you will need to sand detailed molding and corners by hand using a sanding sponge or folded paper. Be thorough but careful not to round over crisp corners. Once you have sanded everything to a dull, matte finish, the dust will be everywhere. Vacuum the surfaces and the surrounding area thoroughly.
Step 6: Remove Dust Completely
Dust is the enemy of a smooth finish. Even a small amount of sawdust left on the surface will result in a gritty texture in your final paint job. After vacuuming, wipe down every single surface with a tack cloth. A tack cloth is a sticky cheesecloth designed specifically to pick up fine particles that vacuums miss.
Do not use water for this step, as it can raise the wood grain you just smoothed down. Wipe the doors, the frames, and your work area. If you are working in a garage, you might want to wet down the floor slightly to prevent dust from kicking up while you walk around. Ensure the lighting is good so you can spot any stray debris before you open your paint can.
Step 7: Apply the Primer
Never skip primer when painting wood cupboards. Primer seals the wood, prevents stains (like tannins in oak) from bleeding through, and creates a bonding layer for the paint. Use a high-quality bonding primer. If your cabinets are dark wood or have a lot of tannins (like knotty pine or mahogany), use an oil-based or shellac-based primer for the best stain blocking.

Apply the primer using a brush for corners and detailed areas, and a mini foam roller for flat surfaces. Don’t worry if the primer looks streaky or doesn’t cover the wood color completely; its job is adhesion, not full coverage. Paint the backs of the doors first, let them dry, flip them, and then paint the fronts.
Step 8: Sand the Primer
Once the primer is fully dry (check the can for dry times, usually a few hours or overnight), you need to sand again. This step is the secret to a finish that feels like factory-made cabinetry rather than a DIY project. The primer often raises the grain of the wood slightly, creating a rough feel. Use fine-grit sandpaper (220-grit) to lightly sand all the primed surfaces.
You are not trying to remove the primer, just smooth it out. Your hand should glide across the surface like it’s glass. Wipe away the dust again with a tack cloth. This interim sanding step ensures your topcoat lays down perfectly smooth and flat.
Step 9: Apply the First Coat of Paint
Finally, it is time for color. Use a high-quality paint formulated specifically for cabinetry and trim. These paints dry harder than standard wall latex and resist chipping. Just like with the primer, start with the backs of the doors. Use an angled sash brush to get paint into the recessed panels and corners first, then immediately follow up with a roller on the flat surfaces to smooth out brush marks.
This technique is called “tipping off.” Keep a wet edge and work quickly to avoid lap marks. Apply a thin, even coat. Thick coats take forever to cure and are prone to drips. Let this coat dry completely—usually longer than the primer, often 24 hours depending on the paint type.
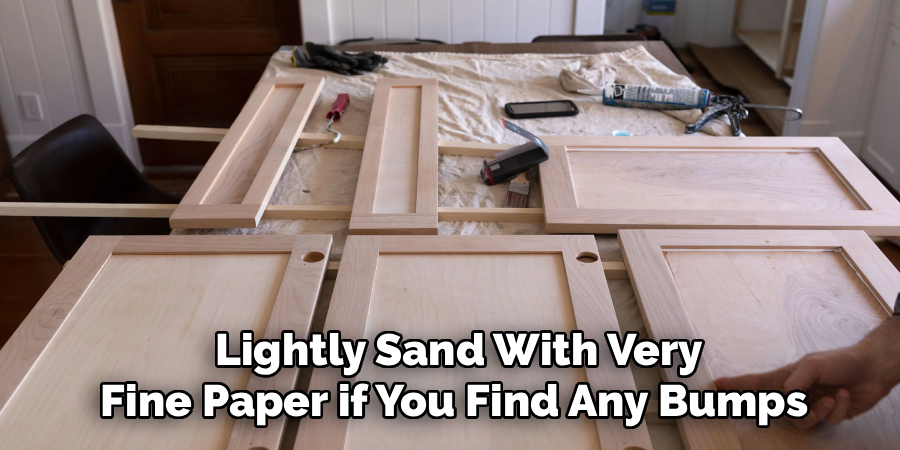
Step 10: Apply the Second Coat and Reassemble
After the first coat is dry, lightly sand with very fine paper if you find any bumps or dust nibs (wipe clean if you do). Apply the second coat of paint using the same method. Two coats are usually sufficient, but lighter colors like white over dark wood might require a third. Once the final coat is applied, let the cabinets cure. This is the hardest part: waiting. While the paint may feel dry to the touch in a few hours, it takes days (sometimes weeks) to fully cure and harden.
Wait at least 24 to 48 hours before flipping doors or handling them gently. Wait even longer before reattaching the hardware and hanging the doors back up. Peel off your painter’s tape carefully, reinstall your knobs and hinges using your labeling system, and admire your transformed kitchen.
5 Things You Should Avoid
- Skipping the Cleaning Step: Never paint over grease. Even the best primer cannot bond to oil. If you skip scrubbing with a degreaser, your paint will eventually delaminate and peel off in sheets, ruining all your hard work.
- Rushing the Drying Time: It is tempting to flip doors over as soon as they feel dry, but this leads to “blocking”—where the paint sticks to the surface it’s resting on, pulling chunks of paint off. Patience protects your finish.
- Using Wall Paint: Do not use standard latex wall paint on cabinets. It is too soft and will remain tacky, leading to fingerprints and chips. Always invest in enamel or alkyd paint designed for trim and cabinetry.
- Painting Hardware in Place: Don’t try to paint around hinges and knobs. It looks unprofessional, and paint on the hinges can affect how the doors open and close. Always remove hardware before starting.
- Applying Thick Coats: Avoid slapping on thick layers of paint to get the job done faster. Thick paint drips, dries unevenly, and cures poorly. Multiple thin coats always look better and last longer than one thick coat.
Conclusion
Painting your wood cupboards is a labor of love, but the results are undeniably rewarding.
By following these steps and avoiding common pitfalls, you can achieve a durable, beautiful finish that breathes new life into your kitchen. It requires patience, attention to detail, and a bit of elbow grease, but the outcome—a stunning, custom-look kitchen without the renovation price tag—is absolutely worth the effort.
Hopefully, this guide on how to paint wood cupboards has provided you with the necessary tools and knowledge to successfully transform your wood cupboards into a stunning focal point in your home. We wish you luck on your painting journey! Happy painting!
About
Mike May is a distinguished figure in the world of woodworking and timber design, with a decade of expertise creating innovative and sustainable indoor solutions. His professional focus lies in merging traditional craftsmanship with modern manufacturing techniques, fostering designs that are both practical and environmentally conscious. As the author of Woodimber, Mike delves into the art and science of timber-craft, inspiring artisans and industry professionals alike.
Education
RMIT University (Melbourne, Australia)
-
Associate Degree in Design (Timber): Focus on sustainable design, industry-driven projects, and practical craftsmanship.
-
Gained hands-on experience with traditional and digital manufacturing tools, such as CAD and CNC software.
Nottingham Trent University (United Kingdom)
-
Bachelor’s in Woodworking and Product Design (Honors): Specialized in product design with a focus on blending creativity with production techniques.
-
Participated in industry projects, working with companies like John Lewis and Vitsoe to gain real-world insights.
Publications and Impact
In Woodimber, May shares his insights on timber design processes, materials, and strategies for efficient production. His writing bridges the gap between artisan knowledge and modern industry needs, making it a must-read for both budding designers and seasoned professionals.