

Wooden windows add undeniable charm and character to a home, but they require regular maintenance to keep them looking their best and functioning properly. Peeling paint, rot, and moisture damage can quickly turn a beautiful feature into an eyesore if left unchecked. Fortunately, a fresh coat of paint is one of the most cost-effective ways to protect your investment and boost your home’s curb appeal. While it might seem like a daunting task involving tricky angles and glass protection, mastering the art of window painting is achievable for any DIY enthusiast.
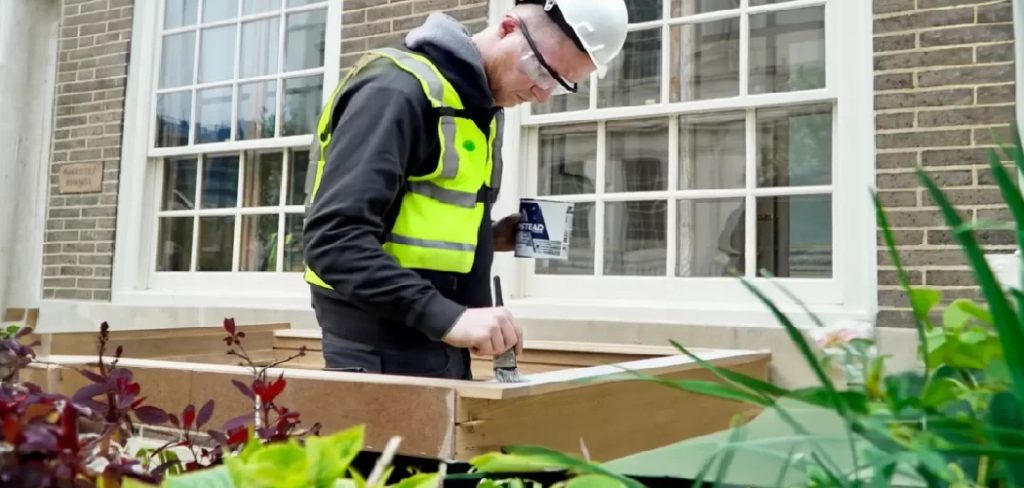
Learning how to paint wood window frames correctly involves more than just slapping on a new color; it requires specific preparation techniques to ensure the paint bonds well and withstands the elements. This guide is designed to walk you through the entire process, from scraping away old flakes to applying that final, smooth topcoat. By following these professional steps, you will not only revitalize the look of your windows but also seal the wood against future weather damage, ensuring your home remains beautiful and energy-efficient for years to come.
Why Restoring Your Window Frames Matters
Neglected window frames are more than just a cosmetic issue; they can lead to significant structural problems for your home. Wood is a natural material that expands and contracts with changes in humidity and temperature. Without a solid protective layer of paint, moisture can penetrate the timber, leading to rot, mold growth, and eventually, the need for expensive replacements. A quality paint job acts as a shield, sealing the wood fibers against rain, snow, and UV rays.
Furthermore, well-painted frames contribute significantly to energy efficiency. Cracks and gaps in the paint or caulking can allow drafts to enter, forcing your heating and cooling systems to work harder. By taking the time to repair and paint your frames, you are effectively sealing these air leaks. aesthetically, crisp, clean window frames frame your view of the outside world and provide a polished look that increases property value. Whether you are preparing to sell or simply want to enjoy a fresher living space, this project offers a high return on investment for your time and effort.
Step-by-Step Guide on How to Paint Wood Window Frames
Step 1: Assess the Condition and Gather Supplies
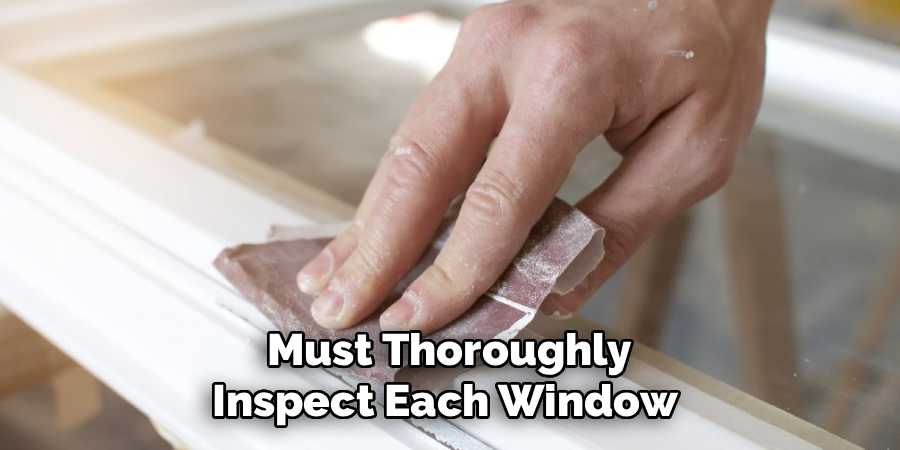
Before you dip a brush into any can, you must thoroughly inspect each window for signs of damage. Look closely for soft spots that indicate rot, loose glazing putty, or cracked wood that might need repair before painting begins. Once you have a clear idea of the scope, gather all necessary high-quality materials. You will need a scraper, sandpaper in various grits, painter’s tape, primer, exterior-grade trim paint, and high-quality brushes. angled sash brushes are particularly useful for cutting in sharp lines against the glass. Having everything ready beforehand prevents frustrating interruptions and ensures you can focus entirely on the technique of how to paint wood window frames efficiently.
Step 2: Clean the Surface thoroughly
Paint will never adhere properly to a dirty or greasy surface, so deep cleaning is a non-negotiable step. Mix a solution of water and mild detergent or a specialized degreaser to scrub down the wood frames. Use a sponge or a stiff bristle brush to remove years of accumulated dirt, mildew, and road grime. Pay special attention to the corners and crevices where dust tends to settle. After scrubbing, rinse the frames with clean water and allow them to dry completely. This creates a pristine base for your primer and ensures that your new paint job will not peel or bubble prematurely due to hidden contaminants.
Step 3: Remove Loose Paint and Sand Smooth
This is the most labor-intensive part of the process but also the most critical for a smooth finish. Use a sharp paint scraper or a wire brush to remove any loose, flaking, or peeling paint. You do not need to remove every inch of old paint if it is still adhered well, but you must remove anything that is failing. Once the loose material is gone, use medium-grit sandpaper to feather the edges where the old paint meets the bare wood. Sanding smooths out ridges and roughens the surface, providing “tooth” for the new coating. Wipe away all sanding dust with a tack cloth before moving on.
Step 4: Repair Damage and Apply Masking Tape
With the surface clean and sanded, address any imperfections you found during your initial inspection. Fill nail holes, gouges, or cracks with a high-quality exterior wood filler. If the glazing putty holding the glass is cracked or missing, scrape it out and apply fresh glazing compound. Allow all repairs to dry according to the manufacturer’s instructions, then sand them flush with the surrounding wood. Next, carefully apply painter’s tape to the glass, leaving a tiny gap—about 1/16th of an inch—between the tape and the wood. This gap allows the paint to seal the joint between the wood and the glass, preventing moisture from seeping behind the frame.

Step 5: Prime the Bare Wood Areas
Primer serves as the foundation for your paint, blocking stains and ensuring uniform absorption. If you have exposed bare wood from scraping and sanding, you must spot-prime those areas. For older windows that may have been painted with oil-based products, an oil-based primer is often the safest choice to ensure compatibility. If the entire frame is in rough shape, priming the whole surface is the best practice. Apply the primer evenly, brushing it into the grain and corners. Let it dry completely before lightly sanding it with fine-grit paper. This step is essential when learning how to paint wood window frames for maximum durability.
Step 6: Paint the Interior Sashes and Jambs
Start painting with the innermost parts of the window first. If you have double-hung windows, raise the bottom sash and lower the top sash to expose the jambs and the meeting rails. Paint these areas using smooth, deliberate strokes. Ideally, paint the horizontal rails first, followed by the vertical stiles. Keep a “wet edge” by working quickly enough that the paint does not dry before you blend the next stroke into it. This technique prevents lap marks. Be careful not to paint the tracks where the sash slides, as thick paint layers can cause the window to stick and become difficult to open.
Step 7: Paint the Frame and Sill
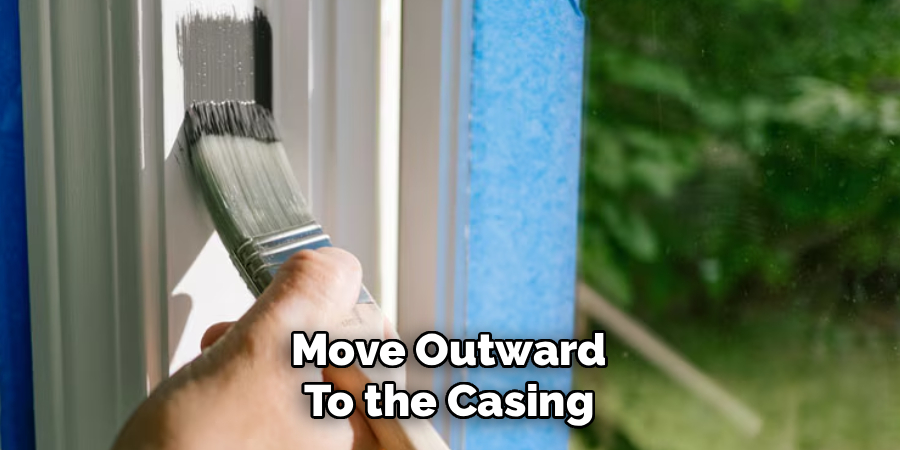
Once the sashes are complete, move outward to the casing, frame, and sill. The sill takes the brunt of the weather, so it often requires a slightly thicker coat or extra attention to detail. Apply the paint in long, continuous strokes, working from the top down to catch any drips. Use your angled sash brush to cut in clean lines where the frame meets the siding or brick. Ensure you coat the bottom edge of the sill thoroughly, as this is a common entry point for moisture. Two thin coats are always superior to one thick coat, as they dry harder and provide better protection against the elements.
Step 8: Remove Tape and Clean Up
Timing is everything when removing painter’s tape. If you wait until the paint is fully cured, you risk peeling up chunks of your new finish along with the tape. The best time to remove it is when the paint is dry to the touch but not yet fully hardened, usually a few hours after application. Pull the tape slowly at a 45-degree angle away from the painted surface. If you notice any paint sticking, lightly score the edge with a utility knife to break the seal. Clean any accidental smudges on the glass with a razor blade scraper, and wash your brushes immediately to preserve them for future projects.
Frequently Asked Questions
What is the Best Paint for Exterior Wood Windows?
Choosing the right paint is crucial for longevity.
- Acrylic Latex: High-quality exterior acrylic latex paint is generally preferred because it is flexible, breathable, and resists cracking as the wood expands and contracts.
- Enamel: For high-traffic areas or sills, an exterior enamel can provide a harder, more durable shell that resists dirt and scratching.
- Sheen: A semi-gloss or gloss finish is ideal because it sheds water more effectively than flat or satin finishes and is easier to clean.
Can I Paint Windows Without Removing Them?
Yes, you can paint windows in place, but you must manage the moving parts carefully.
- Sash Positioning: Move the sashes up and down during the drying process to prevent them from getting painted shut.
- Lubrication: Avoid painting the tracks or jamb liners where the window slides. You can use a clear wax or silicone spray on these areas later to keep them gliding smoothly.
- Time: Allow ample drying time before closing the window completely to avoid sticking.
How Do I Fix a Window Painted Shut?
If a window won’t open after painting, don’t panic or force it.
- Score the Seal: Run a sharp utility knife or a specialized window zipper tool between the sash and the frame to cut the paint film sealing them together.
- Gentle Pressure: Tap the sash frame gently with a rubber mallet or a block of wood and a hammer to break the bond.
- Leverage: Use a putty knife to carefully pry under the sash from the outside if accessible, working your way across the bottom.
Should I Use Oil-Based or Water-Based Primer?
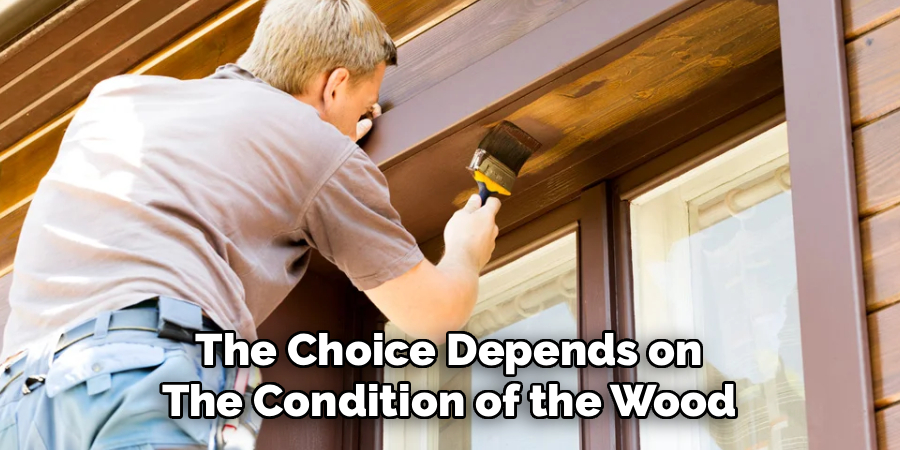
The choice depends on the condition of the wood and the previous finish.
- Oil-Based Primer: Best for sealing bare wood, blocking tannins (especially in cedar or redwood), and adhering to old, chalky oil paints. It penetrates deeply and dries hard.
- Water-Based Primer: Easier to clean up and lower in VOCs. It works well on previously painted surfaces that are in good condition but may not block stains as effectively as oil.
How Often Should Wood Window Frames Be Painted?
Maintenance frequency depends on climate and exposure.
- General Rule: Exterior wood trim typically needs repainting every 5 to 7 years.
- Signs of Wear: If you see cracking, peeling, or chalking paint, it is time to repaint regardless of the timeline.
- Southern Exposure: Windows facing south or west receive more sun and UV damage, often requiring maintenance sooner than those on the north or east sides.
Conclusion
Revitalizing your wood windows is a project that demands patience and attention to detail, but the payoff is immediate and substantial. By meticulously cleaning, scraping, and sanding, you create the perfect canvas for a durable finish that protects your home from the harsh realities of weather. While the process of taping and cutting in might feel tedious, these small steps prevent moisture intrusion and rot, saving you thousands of dollars in potential repairs down the line.
Remember that the quality of your prep work is just as important as the quality of the paint you choose. Don’t rush the drying times, and always prioritize sealing the wood properly over speed. Now that you are equipped with the knowledge of how to paint wood window frames, you can confidently tackle this essential home maintenance task. Grab your sash brush and get ready to give your home a fresh, polished look that combines classic beauty with modern protection.

About
Mike May is a distinguished figure in the world of woodworking and timber design, with a decade of expertise creating innovative and sustainable indoor solutions. His professional focus lies in merging traditional craftsmanship with modern manufacturing techniques, fostering designs that are both practical and environmentally conscious. As the author of Woodimber, Mike delves into the art and science of timber-craft, inspiring artisans and industry professionals alike.
Education
RMIT University (Melbourne, Australia)
-
Associate Degree in Design (Timber): Focus on sustainable design, industry-driven projects, and practical craftsmanship.
-
Gained hands-on experience with traditional and digital manufacturing tools, such as CAD and CNC software.
Nottingham Trent University (United Kingdom)
-
Bachelor’s in Woodworking and Product Design (Honors): Specialized in product design with a focus on blending creativity with production techniques.
-
Participated in industry projects, working with companies like John Lewis and Vitsoe to gain real-world insights.
Publications and Impact
In Woodimber, May shares his insights on timber design processes, materials, and strategies for efficient production. His writing bridges the gap between artisan knowledge and modern industry needs, making it a must-read for both budding designers and seasoned professionals.