

When you are working on a woodworking project, small imperfections like nail holes, scratches, or tiny gaps can be frustrating. These minor flaws can stand out, especially after applying a finish. While you can buy commercial wood fillers at any hardware store, they often fail to match the exact color and texture of your project. The solution is surprisingly simple and can be found right in your workshop.
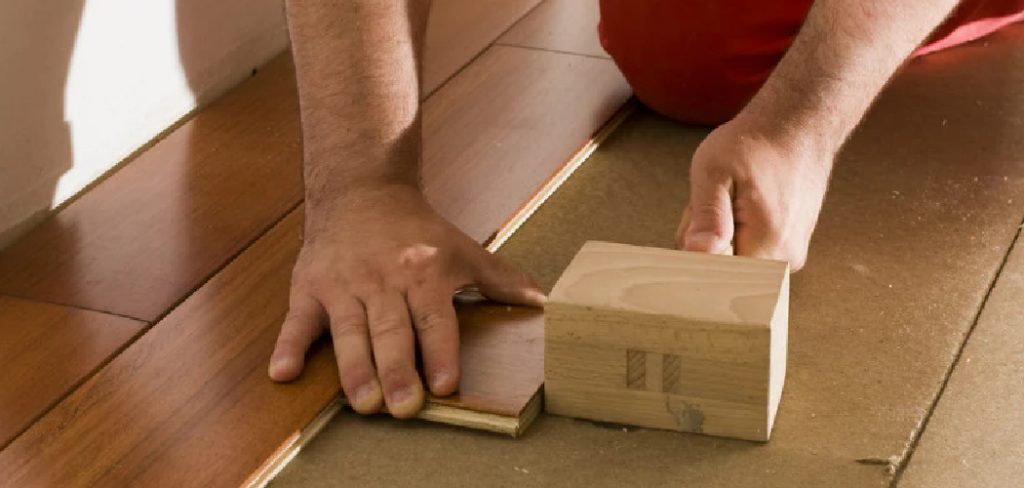
Learning how to make wood putty from scratch gives you the power to create a perfect, custom-matched filler using materials you already have. This guide is designed for beginners, providing a straightforward recipe that will help you achieve seamless, professional-looking repairs on any wood surface. Get ready to elevate your DIY game with this essential woodworking skill.
Why Learning to Make Wood Putty is Valuable
The primary benefit of making your own wood putty is the perfect color match. Commercial fillers come in a limited range of shades, and even the “stainable” versions rarely absorb stain the same way as real wood, often leaving a noticeable patch. When you make putty from the sawdust of the exact wood you are working with, you guarantee an invisible repair. This technique is not only effective but also incredibly cost-efficient and resourceful.
Instead of letting that fine sanding dust go to waste, you are upcycling it into a valuable repair material. This process eliminates the need to buy and store multiple containers of different colored putties, saving you money and reducing workshop clutter. It is a classic woodworker’s trick that adds a layer of craftsmanship to your projects.
Step-by-Step Guide on How to Make Wood Putty
Step 1: Collect Sawdust from Your Project
The most crucial ingredient for a perfect match is the sawdust from the specific piece of wood you intend to repair. The best way to gather this is during the final sanding stages of your project. Use a fine-grit sandpaper, around 180 to 220-grit, as this produces a very fine dust that will create a smooth paste.
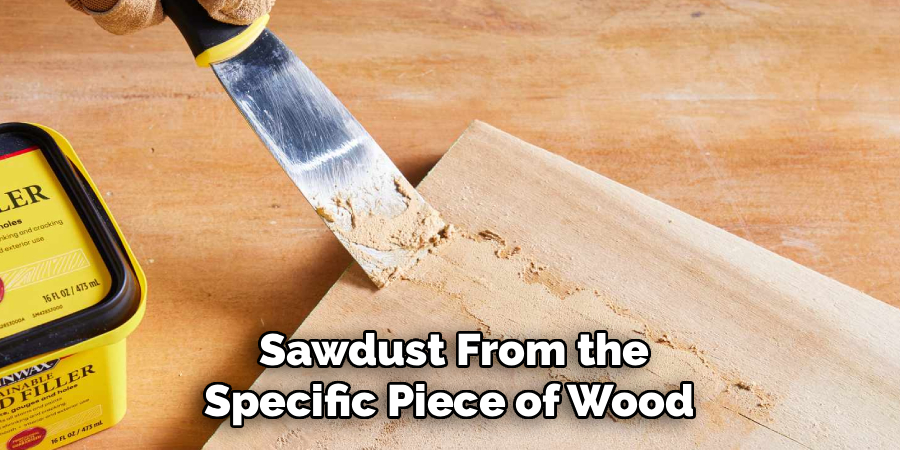
As you sand, collect the dust that accumulates on the wood and the sandpaper. You can gather it on a piece of paper or into a small container. Avoid using sawdust from a saw blade, as these particles are often too coarse and can result in a gritty, noticeable patch. You do not need a large amount; a small pile is usually sufficient for filling several nail holes or minor scratches.
Step 2: Sift the Sawdust for a Fine Consistency
To achieve a putty that is smooth and easy to work with, you need to ensure there are no large chips, splinters, or other debris in your collected sawdust. Even small inconsistencies can create a lumpy texture that will be visible in the final repair. You can sift the dust through a fine mesh screen or an old tea strainer to separate the fine particles from the coarser bits.
This quick step makes a significant difference in the quality of your homemade filler. Your goal is to have a pile of dust that has the consistency of flour or fine powder. This ensures the putty will press easily into small cracks and holes, creating a seamless bond with the surrounding wood.
Step 3: Choose Your Binding Agent
The sawdust needs a binder to turn it into a paste. The most common and effective binder is a standard wood glue, such as PVA glue. Wood glue is an excellent choice because it dries hard, is sandable, and bonds well with the wood fibers you are repairing. For a slightly more flexible or slower-drying putty, you can also use a clear-drying lacquer or shellac as your binder. The choice depends on the final finish you plan to use on your project. For most general-purpose repairs, especially on pieces that will not be stained, wood glue is the perfect, readily available option. Make sure your binder is compatible with your intended topcoat.
Step 4: Mix the Sawdust and Glue to Form a Paste
On a scrap piece of wood or a disposable surface like a plastic lid, place a small pile of your sifted sawdust. Create a small well in the center of the pile. Add a few drops of your chosen wood glue or other binder into the well. Using a putty knife or a small craft stick, begin to slowly fold the sawdust into the glue.
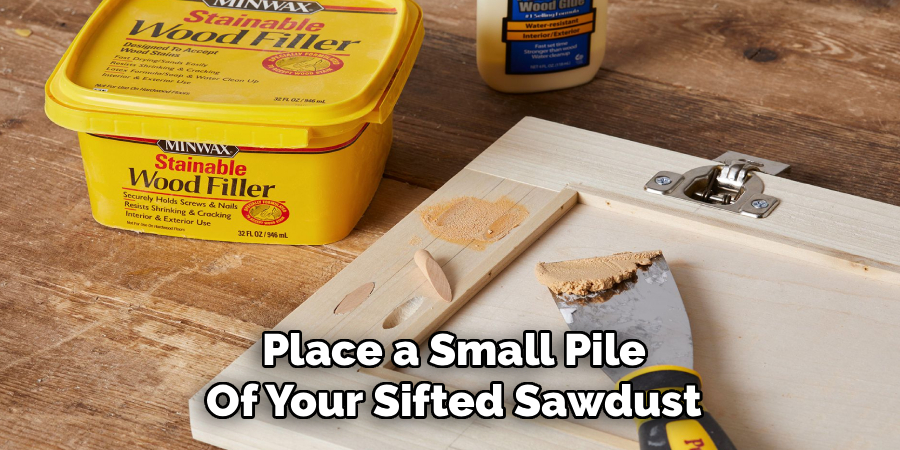
Continue mixing and adding tiny amounts of glue until you achieve a thick, consistent paste. The ideal texture is similar to peanut butter or thick dough—it should be firm enough to hold its shape but pliable enough to be pressed into a hole without crumbling. This is a critical stage in the process of how to make wood putty correctly.
Step 5: Adjust the Putty Consistency
Getting the right consistency is a matter of feel. If your putty mixture is too dry and crumbly, it will not adhere properly inside the hole. Add another small drop of wood glue and continue mixing until it becomes more workable.
Conversely, if the putty is too wet or sticky, it will be difficult to handle and may shrink excessively as it dries. In this case, simply add a bit more of your fine sawdust to the mixture to thicken it up. The goal is to create a putty that is easy to scoop up with your putty knife and that stays together as you apply it to the wood surface.
Step 6: Testing the Color
Before you start filling holes on your main project, it is wise to test the color of the dried putty. Apply a small amount of your mixture to a scrap piece of the same wood and let it dry completely. Keep in mind that the putty will darken slightly as the glue dries and may change color again when a finish is applied.
This test patch will give you an accurate preview of the final appearance. If you plan to stain the piece, apply stain over your test patch to see how the filler reacts. While a sawdust-and-glue mixture does not absorb stain perfectly, it will accept it much better than most commercial fillers.
Step 7: Apply the Putty to the Imperfections
With your putty mixed and tested, you are ready to make the repairs. Scoop a small amount of putty onto the tip of a flexible putty knife. Press the putty firmly into the nail hole, scratch, or crack you want to fill. Make sure to press down hard enough to force the filler deep into the void, ensuring there are no air pockets.
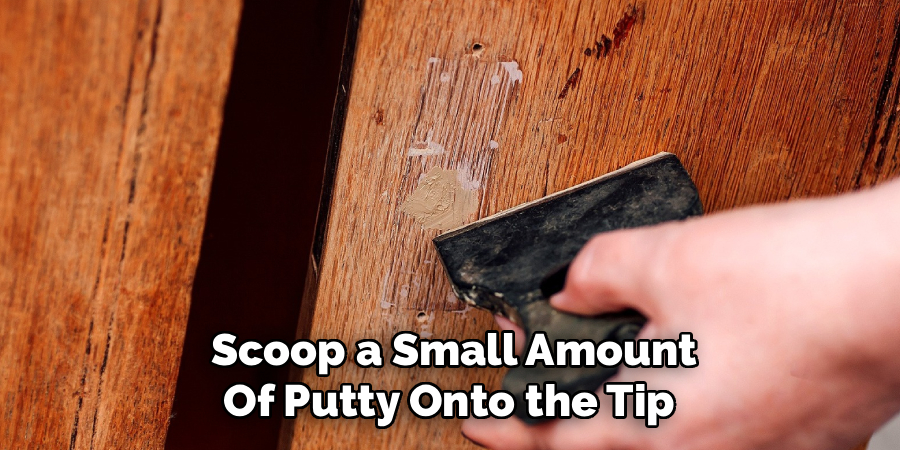
It is important to slightly overfill the hole, leaving a small mound of putty on the surface. The putty will shrink a little as it dries, and this excess ensures the final dried repair will be flush with the wood surface after sanding.
Step 8: Let the Putty Dry and Cure Completely
Patience is key during the drying phase. The time it takes for your homemade putty to dry depends on the size and depth of the repair, the type of glue used, and the humidity in your workshop. Small nail holes might be dry in under an hour, while larger gaps could take several hours or even overnight.
Avoid the temptation to sand the putty before it is fully hardened. Sanding too early will just pull the soft putty out of the hole, forcing you to start over. You will know it is ready when it feels rock-hard and does not yield to pressure from a fingernail.
Step 9: Sand the Repair Smooth and Flush
Once the putty is completely cured, you can sand it flush with the surrounding wood. Use a sanding block with fine-grit sandpaper (the same grit you used to finish the rest of your project) to ensure a flat, even surface. Sand gently, focusing only on the repaired area, until the excess putty is gone and the patch feels perfectly smooth to the touch.
Be careful not to sand too aggressively, as this can create a noticeable divot in the wood. After sanding, wipe away all the dust, and your repaired area should be almost invisible, ready for its final finish.
Frequently Asked Questions
Can I Stain Homemade Wood Putty?
Yes, but with mixed results.
- Absorption: Putty made with wood glue does not absorb stain as deeply as raw wood because the glue seals the wood fibers. It will accept some color, making it a better match than many commercial fillers.
- Best Practice: For the best results on stained projects, make your putty using sawdust and a clear lacquer or sanding sealer as the binder, as these interfere less with stain absorption. Always test on a scrap piece first.
What Is the Difference Between Wood Putty and Wood Filler?
The terms are often used interchangeably, but there is a technical difference.
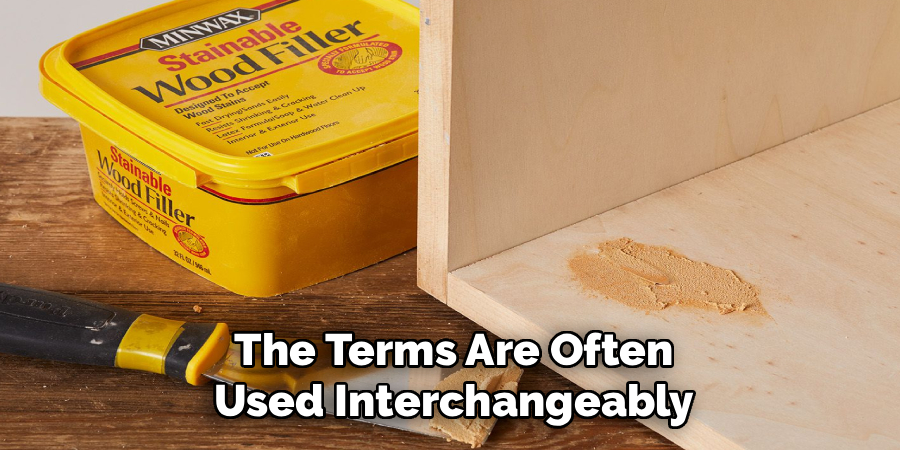
- Wood Filler: Typically used on bare, unfinished wood before staining or sealing. It dries hard and is sandable. Your homemade mixture is technically a wood filler.
- Wood Putty: A non-hardening, oil-based product used to fill holes in already finished wood. It does not dry hard and cannot be sanded. It is meant for cosmetic touch-ups after the topcoat is applied.
How Long Does Homemade Wood Putty Last?
Once mixed, your homemade putty has a very short working time.
- Pot Life: Since it is made with wood glue, it will begin to dry and harden within 10-15 minutes.
- Best Method: Only mix a small batch at a time—just enough for the immediate task at hand. You cannot store pre-mixed putty for later use, as it will cure into a solid, unusable block.
Can I Make Wood Putty in Different Colors?
The color is determined by the sawdust you use.
- Matching Wood: Always use sawdust from the same species of wood as your project for a perfect match.
- Tinting: You can slightly alter the color by adding a small amount of universal colorant or pigment to the mixture, but this can be difficult to control. The simplest and most effective method is always to use matching sawdust.
Why Is My Homemade Putty Cracking?
Cracking is usually caused by excessive shrinkage as the putty dries.
- Too Much Binder: If your mixture is too wet (too much glue and not enough sawdust), it will shrink significantly as the liquid evaporates, causing it to crack or pull away from the edges.
- Deep Fills: For very deep holes or gaps, it is better to apply the putty in several thin layers, letting each layer dry before adding the next. This minimizes overall shrinkage.
Conclusion
Creating your own wood putty is a simple, effective, and resourceful skill that every DIY enthusiast should have in their back pocket. It transforms waste material from your workshop into a custom solution for achieving flawless, invisible repairs. The process requires no special equipment, just the sawdust from your project and a common binder like wood glue. By taking the time to prepare the materials and apply the putty correctly, you ensure that small imperfections will not detract from the beauty of your finished piece.
Now that you understand how to make wood putty, you can stop worrying about mismatched colors and obvious patches. You have the power to create professional-quality repairs that blend seamlessly, elevating the craftsmanship of your woodworking projects from good to great.

About
Mike May is a distinguished figure in the world of woodworking and timber design, with a decade of expertise creating innovative and sustainable indoor solutions. His professional focus lies in merging traditional craftsmanship with modern manufacturing techniques, fostering designs that are both practical and environmentally conscious. As the author of Woodimber, Mike delves into the art and science of timber-craft, inspiring artisans and industry professionals alike.
Education
RMIT University (Melbourne, Australia)
-
Associate Degree in Design (Timber): Focus on sustainable design, industry-driven projects, and practical craftsmanship.
-
Gained hands-on experience with traditional and digital manufacturing tools, such as CAD and CNC software.
Nottingham Trent University (United Kingdom)
-
Bachelor’s in Woodworking and Product Design (Honors): Specialized in product design with a focus on blending creativity with production techniques.
-
Participated in industry projects, working with companies like John Lewis and Vitsoe to gain real-world insights.
Publications and Impact
In Woodimber, May shares his insights on timber design processes, materials, and strategies for efficient production. His writing bridges the gap between artisan knowledge and modern industry needs, making it a must-read for both budding designers and seasoned professionals.