

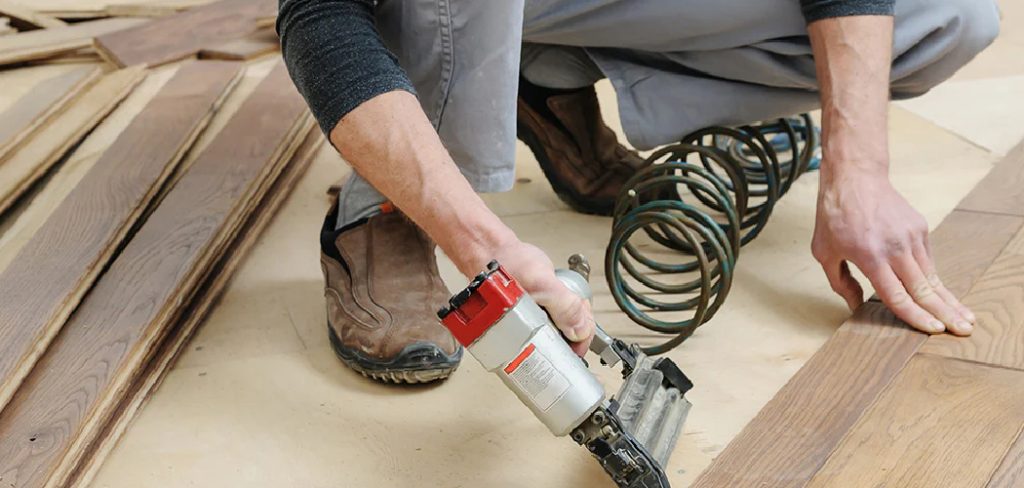
Woodworking often appears to be a straightforward exercise in geometry and patience. Yet, few mechanical failures feel quite as defeating as a screw that simply refuses to grip. A stripped cavity or a wobbly joint might suggest a fundamental mismatch between the metal hardware and the organic material you are working with. We tend to think of lumber as a solid, uniform mass. In reality, it behaves much more like a tightly packed bundle of microscopic drinking straws.
Driving a metal wedge directly into those fibrous bundles without proper technique could potentially sever the structural bonds that give timber its strength. When a fastener spins endlessly in its socket, it generally indicates that the internal fibers have been pulverized. The structural integrity of the entire piece comes into question, leaving you with a wobbly chair leg or a sagging bookshelf.
Fortunately, figuring out how to get screws to stay in wood is largely a matter of respecting the material’s biology. The mechanics of threaded fasteners rely heavily on friction and fiber engagement. By understanding grain orientation and applying a few methodical preparation techniques, you might reasonably expect your hardware to remain firmly anchored for decades.
Essential Tools for Hardware Installation
Before making any permanent alterations to your stock, gathering the proper supplies can prevent frustrating interruptions. Scrambling to find a specific drill bit while holding a heavy board in place is an easy way to make mistakes.
- A reliable power drill or manual screwdriver
- Application-specific wood screws
- Drill bits sized for pilot holes
- Standard PVA wood glue
- Wooden toothpicks or hardwood dowels
- A bar of dry soap or beeswax
- Safety glasses
7 Guidelines on How to Get Screws to Stay in Wood
Step 1: Evaluate and Select the Proper Screw
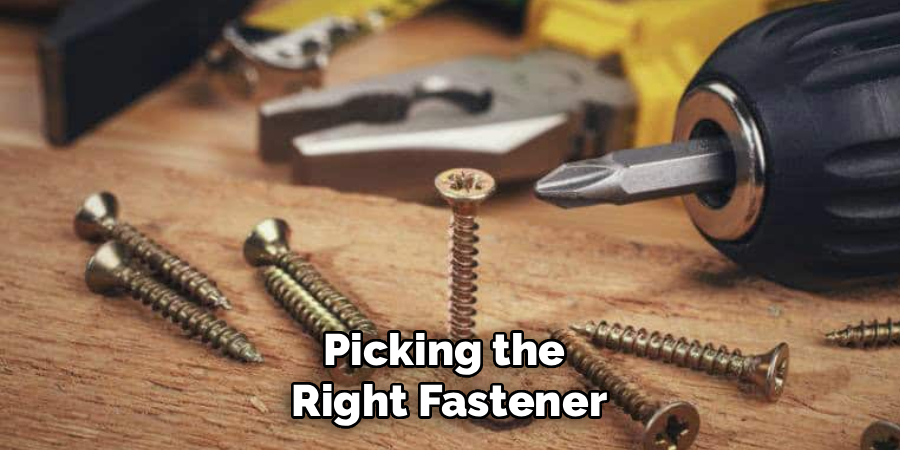
Picking the right fastener might seem obvious, but thread geometry matters immensely. Wood screws feature coarse, widely spaced threads that are explicitly engineered to bite into soft, porous fibers. You want the fastener to be long enough to penetrate the underlying substrate securely. A standard working theory is that the metal should sink at least halfway into the receiving piece of stock.
The environment also dictates your material choice. Standard zinc-plated hardware works perfectly well for indoor cabinetry. If your build will live on a damp patio, however, choosing stainless steel or polymer-coated exterior screws appears to be the only logical choice to prevent rapid oxidation and joint failure.
Step 2: Prepare the Wood with a Pilot Hole
Forcing a thick shank into a solid board creates immense outward pressure. This stress often leads to catastrophic splitting, especially near the end grain of brittle hardwoods like maple. A pilot hole removes just enough material to accommodate the solid inner core of the screw. This allows the sharp outer threads to carve their own path without acting like a splitting wedge.
Finding the exact bit size requires a bit of visual estimation. Hold the drill bit up in front of your screw. The bit should obscure the solid central shaft completely, while leaving the spiraling outer threads visible. Wrapping a scrap of masking tape around the bit gives you a reliable depth gauge so you do not bore straight through your workbench.
Step 3: Evacuate the Cavity

Drilling produces waste material. If that sawdust remains trapped inside your newly formed channel, it can act as a dense, impenetrable false bottom. The screw might bind up prematurely, leaving the head protruding awkwardly above the surface.
Taking a moment to clear the debris improves thread engagement. A quick blast from an air compressor works exceptionally well. If you lack pneumatic tools, simply plunging the spinning drill bit in and out of the hole a few times will draw the majority of the shavings out of the channel.
Step 4: Introduce a Dry Lubricant
Driving thick steel into dense timber generates a surprising amount of thermal energy. Friction makes the physical act of driving the screw exhausting, and it dramatically increases the torque load on the metal head. Applying a light lubricant reduces this friction profile.
Ordinary beeswax or a cheap bar of dry soap serves this purpose perfectly. Dragging the threads across the wax coats the metal, allowing it to glide past the wood fibers with significantly less resistance. Avoid liquid oils or synthetic sprays. Wet lubricants have a tendency to bleed into the surrounding cellular structure, which can ruin subsequent staining or finishing attempts.
Step 5: Consider Adhesive Reinforcement
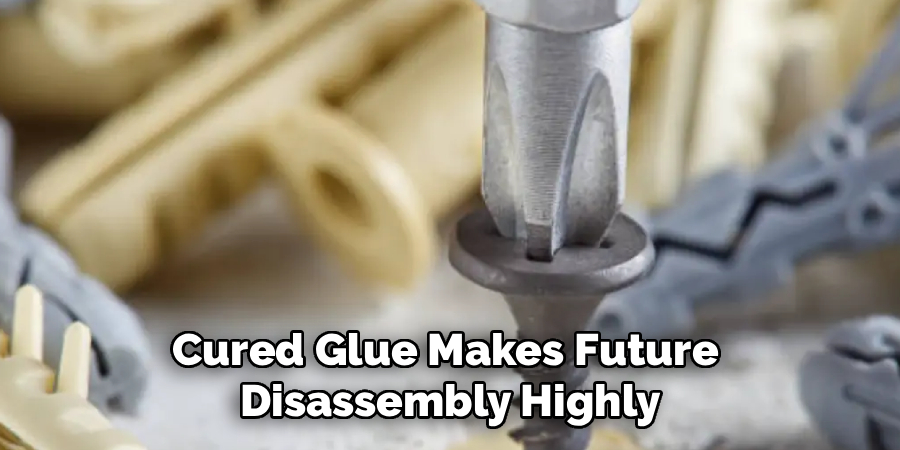
Relying entirely on mechanical friction might not suffice for high-traffic furniture. Squeezing a small drop of PVA wood glue into the pilot hole before driving the fastener could potentially offer a secondary layer of security. As the moisture evaporates, the adhesive binds the pulverized wood fibers directly to the metal shank.
This approach does have a notable drawback. Cured glue makes future disassembly highly unlikely without causing significant damage. You should probably reserve this tactic for permanent, structural joints. Always wipe away any squeeze-out immediately, as dried adhesive seals the wood pores and rejects finishes.
Step 6: Address Stripped Cavities with Wood Fill
Occasionally, you will encounter a hole that has been thoroughly wallowed out. When the metal threads have nothing left to bite into, they simply spin. Injecting new material back into the void is the most practical solution.
Wooden toothpicks are surprisingly effective for this repair. They are made from compressed hardwood, which mimics the structure you just lost. Coat three or four toothpicks in wood glue, pack them tightly into the damaged hole, and snap them off flush with the surface. Once the adhesive cures overnight, this composite patch often provides a tighter grip than the original lumber.
Step 7: Manage Driving Angles and Torque

The actual insertion phase requires a degree of physical control. Approaching the wood at a careless angle guarantees the flat underside of the screw head will never sit flush. Align your driver so it is perfectly perpendicular to the work surface before engaging the motor.
Apply firm, steady downward pressure to keep the driver bit seated in the recess. Letting the bit slip not only damages the screw head but also risks gouging your freshly sanded stock. Stop the rotation the exact moment the hardware sits level with the surrounding area. Driving it any deeper will tear the top layer of fibers, ruining the compressive strength you just established.
Following these steps on how to get screws to stay in wood will ensure that your project stays sturdy and secure for years to come.
Additional Tips for Working with Screws
- Use a screwdriver with the correct size and shape for the screw head. Using the wrong tool can strip or damage the screw, making it difficult to drive in or remove.
- Apply pressure while turning the screw to keep it aligned with the wood grain. This will prevent splitting and ensure a tight fit.
- If you are working with hardwood, pre-drill pilot holes before inserting screws. This will make it easier to drive in the screws and reduce the risk of splitting.
- For larger screws, use a drill driver instead of a manual screwdriver for faster and more efficient installation.
- Consider using a lubricant such as wax or soap on the threads of the screw before driving it in.
Safety and Operational Considerations
Airborne splinters and shattered metal bits pose a genuine threat to your vision. Wearing protective eyewear should be a non-negotiable habit in any shop environment. Additionally, clamping your workpieces to a heavy table prevents the wood from spinning violently if a drill bit catches on a hard knot.
If a fastener suddenly binds and refuses to turn, backing it out slowly is far safer than applying excessive force and snapping the steel shaft.
Common Pitfalls to Navigate
Many structural failures stem from impatience. Bypassing the pilot hole almost always results in microscopic stress fractures that worsen over time. Selecting a drill bit that is slightly too large will leave the fastener swimming in its socket.
Finally, ignoring the total thickness of your assembled pieces frequently results in sharp metal tips emerging from the visible face of your project.
Frequently Asked Questions
Q1: Why Do My Screws Keep Coming Loose in Wood Over Time?
Fasteners typically loosen when seasonal humidity shifts cause the organic material to expand and contract repeatedly. This movement crushes the fibers pressing against the metal threads. Using hardware with overly fine threads can also limit the initial grip strength. Packing the weakened cavity with hardwood splinters and adhesive can generally restore the joint’s holding capacity.
Q2: Can I Use Drywall Screws for Woodworking Projects?
Opting for drywall screws is a remarkably common error. They are manufactured from brittle steel that often snaps under the shearing forces created by natural wood movement. Their bugle-shaped heads are designed to dimple paper, not cleanly countersink into solid timber. Using dedicated wood screws, which feature a thicker shank and slight flexibility, is always the better engineering choice.
Conclusion
Establishing permanent, reliable mechanical joints elevates the overall quality of your structural builds. Taking the extra time to size a drill bit properly, lubricate the metal, and pack out damaged cavities might seem tedious in the moment.
Yet, these deliberate actions ensure your work handles the stresses of daily use without faltering. The next time you assemble a piece of furniture, applying these measured techniques could be the difference between a lasting heirloom and a frustrating repair job. Thanks for reading this guide on how to get screws to stay in wood.

About
Mike May is a distinguished figure in the world of woodworking and timber design, with a decade of expertise creating innovative and sustainable indoor solutions. His professional focus lies in merging traditional craftsmanship with modern manufacturing techniques, fostering designs that are both practical and environmentally conscious. As the author of Woodimber, Mike delves into the art and science of timber-craft, inspiring artisans and industry professionals alike.
Education
RMIT University (Melbourne, Australia)
-
Associate Degree in Design (Timber): Focus on sustainable design, industry-driven projects, and practical craftsmanship.
-
Gained hands-on experience with traditional and digital manufacturing tools, such as CAD and CNC software.
Nottingham Trent University (United Kingdom)
-
Bachelor’s in Woodworking and Product Design (Honors): Specialized in product design with a focus on blending creativity with production techniques.
-
Participated in industry projects, working with companies like John Lewis and Vitsoe to gain real-world insights.
Publications and Impact
In Woodimber, May shares his insights on timber design processes, materials, and strategies for efficient production. His writing bridges the gap between artisan knowledge and modern industry needs, making it a must-read for both budding designers and seasoned professionals.