

Woodworking offers a deeply rewarding way to bring functional beauty into your home. Creating your own wooden accessories allows you to craft pieces that perfectly match your personal style and household needs. One of the best starting projects for any aspiring builder is a simple, elegant napkin holder.
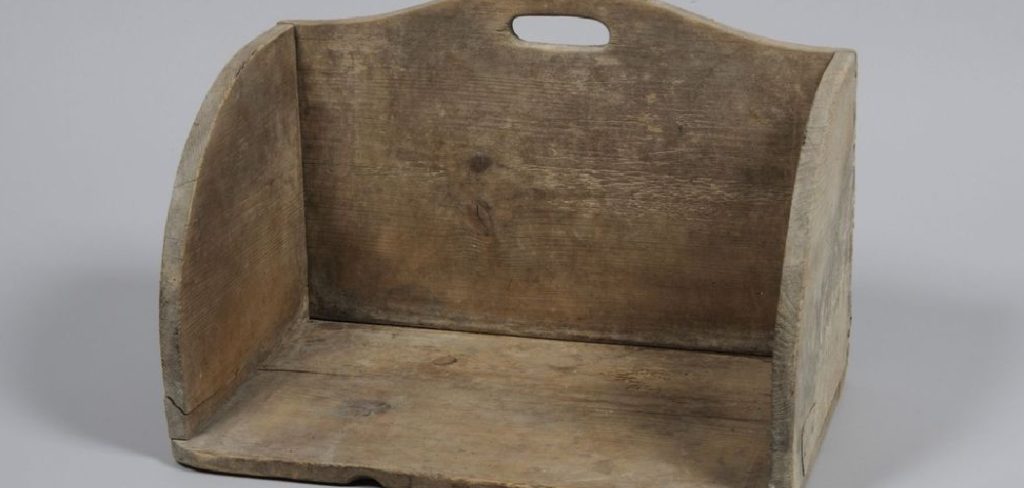
This project requires minimal materials, introduces fundamental woodworking concepts, and leaves you with a highly useful kitchen item. We will walk through every detail of this enjoyable build together. You will learn how to measure, cut, assemble, and finish a beautiful piece from scratch.
Let’s dive into how to make a wooden napkin holder.
What Will You Need?
Before you begin measuring and cutting, you must gather all the necessary supplies and tools. Having everything organized and within reach makes the building process smooth and enjoyable.
Materials:
- One piece of hardwood or pine board (1/2-inch thick, at least 6 inches wide, and 24 inches long)
- High-quality wood glue
- Sandpaper in various grits (120, 180, and 220 grit)
- Wood stain or paint of your choice
- Clear protective finish (polyurethane or finishing wax)
- Clean, lint-free cotton rags or foam brushes
Tools:
- Tape measure or high-quality steel ruler
- Carpenter’s square (to ensure perfect 90-degree angles)
- Sharp pencil for marking
- Handsaw, jigsaw, or miter saw (depending on what you have available)
- Two to four small bar clamps or C-clamps
- Safety glasses and hearing protection (if using power tools)
- Dust mask for sanding phases
10 Easy Steps on How to Make a Wooden Napkin Holder
Step 1: Planning Your Dimensions and Design
Before picking up a saw, you must decide exactly how large you want your finished piece to be. Standard cocktail napkins require different dimensions from large dinner napkins. For a standard square holder, a base measuring 7 inches long by 3 inches wide works wonderfully. The two side panels should measure roughly 7 inches long by 5 inches tall.
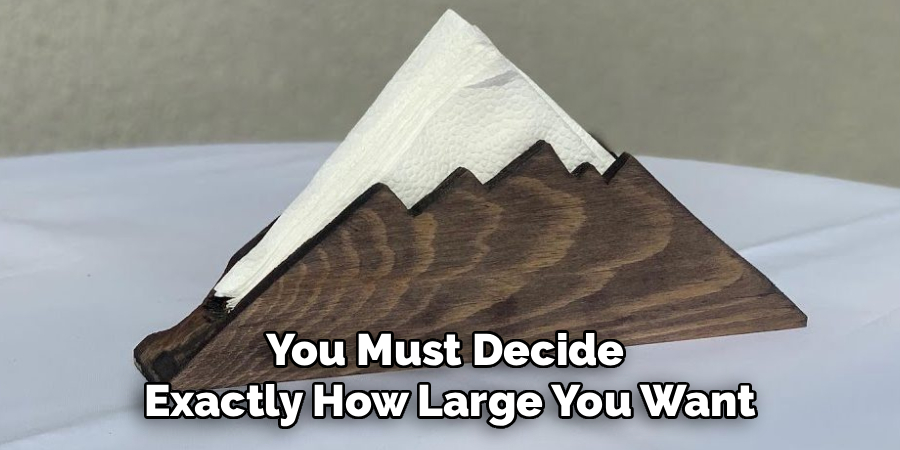
Sketch these dimensions on a piece of scrap paper. Taking ten minutes to visualize the final product helps prevent costly mistakes later. We recommend keeping the design simple for your first attempt, sticking to straight, clean lines rather than complex curves.
Step 2: Marking the Wood Accurately
Take your 1/2-inch thick wooden board and lay it flat on your workspace. Use your tape measure and sharp pencil to mark the base piece at 7 inches by 3 inches. Use your carpenter’s square to ensure every line you draw is perfectly straight and sits at a true 90-degree angle. Next, mark out the two side panels at 7 inches long and 5 inches tall. Double-check every single measurement before you consider cutting. A woodworking adage says to measure twice and cut once, and following this rule saves you plenty of frustration and wasted lumber.
Step 3: Setting Up Your Workspace for Cutting
Clear off your workbench or sturdy table to ensure you have plenty of room to maneuver your saw. Clamp your wooden board securely to the edge of the table so it cannot shift or vibrate while you cut. If you plan to use power tools, put on your safety glasses, hearing protection, and dust mask right now. Position yourself so you have a clear line of sight to the pencil marks you just drew. Proper setup guarantees both your personal safety and the accuracy of your upcoming cuts.
Step 4: Cutting the Base Piece
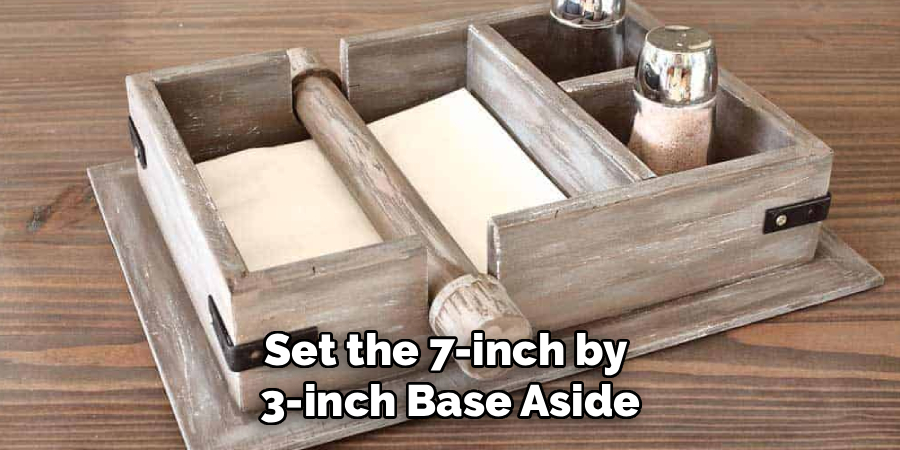
Take your saw and carefully align the blade just on the outside edge of the pencil line you drew for the base piece. Cutting slightly outside the line leaves you a tiny margin of error that you can sand away later. If you use a handsaw, use smooth, even strokes, letting the teeth of the blade do the work without forcing it. If you use a miter saw or jigsaw, keep a steady hand and guide the tool gently through the wood. Once you finish the cut, set the 7-inch by 3-inch base aside.
Step 5: Cutting the Two Side Panels
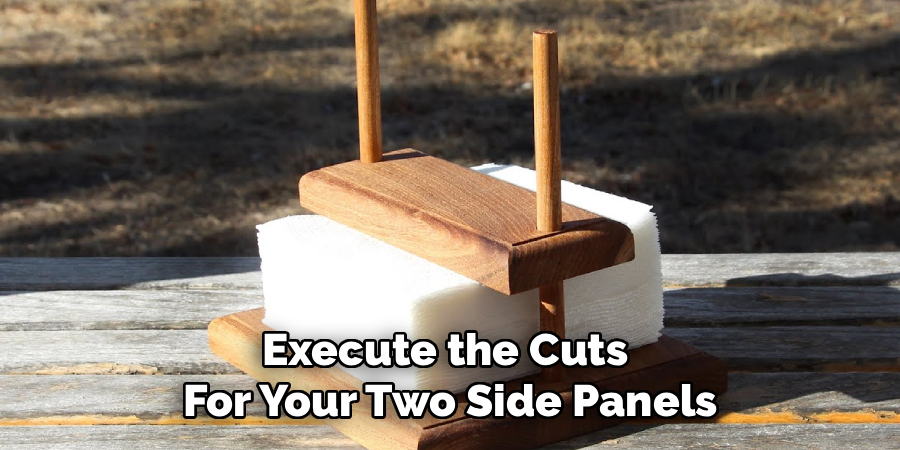
Reposition your main board and clamp it down securely once again. Now, execute the cuts for your two side panels, following the same careful techniques you used for the base. Remember to cut along the outside of your pencil lines. Take your time to ensure both side pieces end up exactly the same length and height. If one side panel ends up taller or longer than the other, your finished napkin holder will look lopsided. Consistency here determines the visual quality of your final project.
Step 6: Sanding the Individual Components
Now you have three distinct pieces of wood: one base and two sides. Before assembling them, you need to sand away any rough edges, splinters, and saw marks. Start with your 120-grit sandpaper to remove the heaviest imperfections and round over the sharp corners slightly. Once the pieces feel generally smooth, switch to the 180-grit sandpaper, and finally finish with the 220-grit for a glass-like texture. Always rub the sandpaper in the same direction as the wood grain to avoid leaving visible scratch marks. Wipe all the sawdust away with a slightly damp cloth.
Step 7: Dry Fitting the Pieces Together
Never apply wood glue without doing a “dry fit” first. A dry fit means assembling the pieces exactly as they will sit in the final product, but without using any adhesive. Place the base flat on your table. Stand the two side panels up against the long edges of the base. Look closely at the joints to see if they sit flush against each other. If you notice a gap or a wobble, you may need to sand the bottom edges of the side panels a bit more to flatten them out.
Step 8: Applying Wood Glue and Assembling
Once you feel satisfied with the dry fit, it is time for assembly. Run a thin, consistent bead of high-quality wood glue along the bottom edge of one side panel. Press this glued edge firmly against the side of the base piece. Repeat this exact process for the second side panel. Press the pieces firmly together. You should see a tiny bit of glue squeeze out from the joint; this indicates you used the perfect amount of adhesive. Wipe away any excess wet glue immediately with a damp rag, as dried glue will prevent the stain from absorbing later.
Step 9: Clamping the Joints and Drying
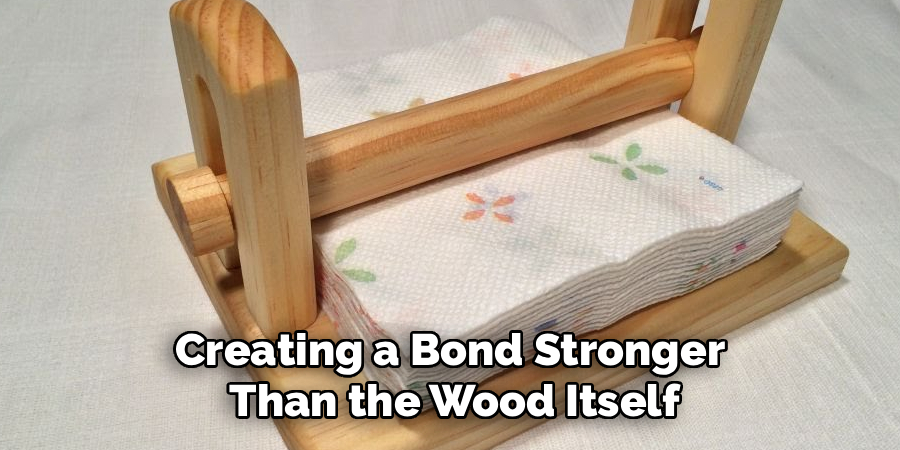
Hold the assembled pieces together and carefully apply your bar clamps or C-clamps across the holder. Tighten the clamps just enough to hold the wood firmly in place without leaving deep indentations in the soft wood. The pressure forces the glue deep into the wood fibers, creating a bond stronger than the wood itself. Leave the assembly clamped and entirely undisturbed for at least 24 hours. Rushing this step and removing the clamps early often results in weak joints that snap under pressure.
Step 10: Staining and Applying the Final Finish
After the glue cures completely, remove the clamps. Give the entire piece one last light sanding with 220-grit paper to remove any raised grain. Wipe away all dust. Stir your chosen wood stain thoroughly and apply it with a foam brush or rag, moving with the grain. Let the stain penetrate for five to fifteen minutes, then wipe off the excess. Once the stain dries entirely, brush on a coat of clear polyurethane or rub in some finishing wax to protect the wood from moisture and daily wear. Let it cure, and your project is complete!
5 Things You Should Avoid
- Ignoring Wood Grain Direction: When you assemble and sand your project, always pay attention to the wood grain. Sanding against the grain leaves ugly, permanent scratches that become glaringly obvious once you apply stain.
- Using Too Much Glue: While you want a strong bond, applying an excessive puddle of glue causes a massive mess. Squeeze-out that you fail to wipe up will dry rock-hard and seal the wood pores. This prevents your wood stain from penetrating, leaving ugly white splotches on your final piece.
- Rushing the Drying Process: Patience serves as a woodworker’s best tool. Taking the clamps off before the glue fully cures will compromise the structural integrity of the holder. Similarly, applying a clear topcoat before the wood stain dries completely will cause a sticky, tacky mess that ruins the finish.
- Skipping the Dry Fit: Never assume your cuts are mathematically perfect. Skipping the dry fit almost always guarantees you will discover a poorly fitting joint only after you have covered it in wet glue, leading to a stressful and messy correction process.
- Using Warped Lumber: When buying or selecting your starting board, sight down the edge to ensure it sits perfectly flat. Building a small project with bowed, cupped, or twisted wood makes assembly incredibly difficult and results in a holder that rocks unevenly on your table.
Conclusion
Creating your own functional kitchen accessories brings immense satisfaction and builds valuable practical skills. By following this comprehensive guide on how to make a wooden napkin holder, you have learned how to transform a simple flat board into a beautiful, useful object. You practiced crucial techniques like accurate measuring, straight cutting, effective joint gluing, and proper surface finishing.
These foundational abilities will serve you incredibly well as you move on to larger and more complex projects in the future. Remember that the key to great woodworking lies in patience, careful planning, and a willingness to learn from every mistake.
Keep practicing, keep building, and enjoy the wonderful craft of woodworking.

About
Mike May is a distinguished figure in the world of woodworking and timber design, with a decade of expertise creating innovative and sustainable indoor solutions. His professional focus lies in merging traditional craftsmanship with modern manufacturing techniques, fostering designs that are both practical and environmentally conscious. As the author of Woodimber, Mike delves into the art and science of timber-craft, inspiring artisans and industry professionals alike.
Education
RMIT University (Melbourne, Australia)
-
Associate Degree in Design (Timber): Focus on sustainable design, industry-driven projects, and practical craftsmanship.
-
Gained hands-on experience with traditional and digital manufacturing tools, such as CAD and CNC software.
Nottingham Trent University (United Kingdom)
-
Bachelor’s in Woodworking and Product Design (Honors): Specialized in product design with a focus on blending creativity with production techniques.
-
Participated in industry projects, working with companies like John Lewis and Vitsoe to gain real-world insights.
Publications and Impact
In Woodimber, May shares his insights on timber design processes, materials, and strategies for efficient production. His writing bridges the gap between artisan knowledge and modern industry needs, making it a must-read for both budding designers and seasoned professionals.