

How to build a vent hood box is a fantastic way to upgrade your kitchen. Standard metal vent hoods function well, but they often lack the warmth and character that a wooden enclosure brings to a room.
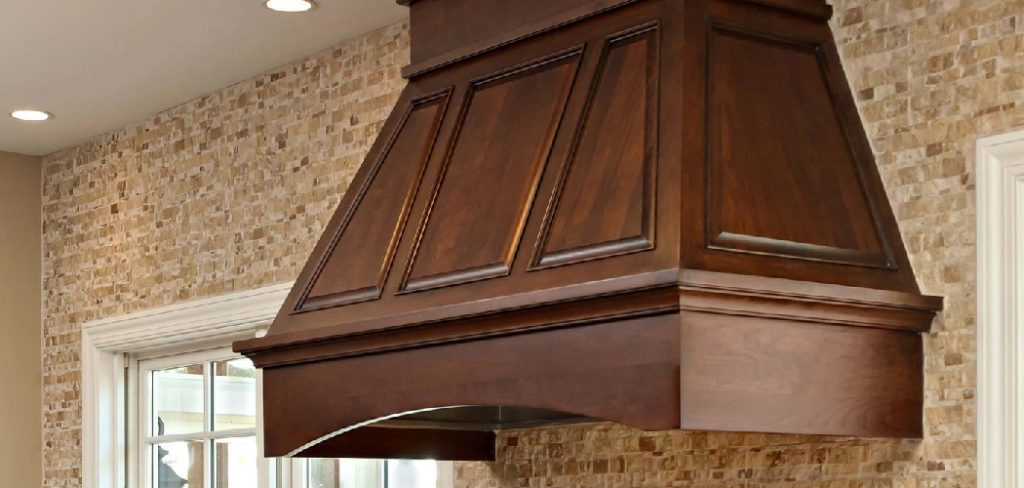
Creating your own cover allows you to match your specific cabinet style, paint color, or wood stain. You can transform a basic appliance into a beautiful focal point above your stove. While it might seem like a complex carpentry job, breaking it down into manageable parts makes it a highly rewarding weekend project.
Grab your tools, and let us build something beautiful for your home.
What are the Benefits?
A custom vent hood box offers several great advantages for your kitchen space. First, it completely hides unattractive metal ductwork and basic range hood inserts. Second, it gives you total control over the design, allowing you to seamlessly match your existing cabinetry or create a contrasting statement piece. Third, building it yourself saves a significant amount of money compared to buying a pre-made custom wood hood. Finally, a well-built, stylish vent hood adds substantial visual appeal and can even increase the overall value of your home.
What Will You Need?
Before you start cutting wood, gather all the necessary tools and materials. Having everything within reach makes the building process smooth and enjoyable.
Materials:
- Vent hood insert (the mechanical exhaust fan)
- 2×4 or 2×2 lumber for the internal frame
- 1/2-inch or 3/4-inch sanded plywood for the exterior panels
- Wood glue
- Wood screws (1 1/4-inch and 2 1/2-inch)
- Brad nails
- Decorative trim or molding
- Wood filler, sandpaper, and your choice of paint or stain
Tools:
- Measuring tape and pencil
- Level
- Miter saw or circular saw
- Power drill and driver
- Brad nailer
- Stud finder
- Safety glasses and hearing protection
10 Easy Steps on How to Build a Vent Hood Box
Step 1: Measure Your Space
Accurate measurements are the foundation of your project. Begin by measuring the width of the area above your stove, making sure to note the distance between your upper cabinets as well as the total available height from the ceiling down to your desired installation point. Record both depth and height for reference. Pay close attention to any light fixtures, tile backsplashes, or architectural features that could impact your hood’s dimensions. Finally, check the manufacturer’s specifications for your vent hood insert to ensure your new box will fit properly and allow enough clearance on all sides for installation and ventilation.

Step 2: Design the Structure
With your measurements in hand, sketch the design of your vent hood box. Decide if you prefer a classic straight-sided box, an elegantly tapered form, or a custom shape that suits your kitchen’s style. Think about how your new hood will coordinate with existing cabinetry, crown molding, or room decor. Use graph paper or online tools to draw panels to scale. At this stage, list the lengths and angles of each framing piece and panel so you won’t make errors once you start cutting materials. Remember to incorporate space for mounting the vent insert and provide maintenance access, if needed.
Step 3: Locate the Wall Studs
Your vent hood box will be heavy, especially after attaching the solid wood and the vent insert. Using a stud finder, locate the vertical wall studs above your stove, as these will provide the solid anchor points necessary for safe installation. Mark at least two or three studs across the installation area; it’s best to mark both the top and bottom of the working area so you can see the stud alignment as you assemble and install the frame. Clear marks ensure you drive your mounting screws into secure lumber rather than just drywall.
Step 4: Cut the Framing Lumber
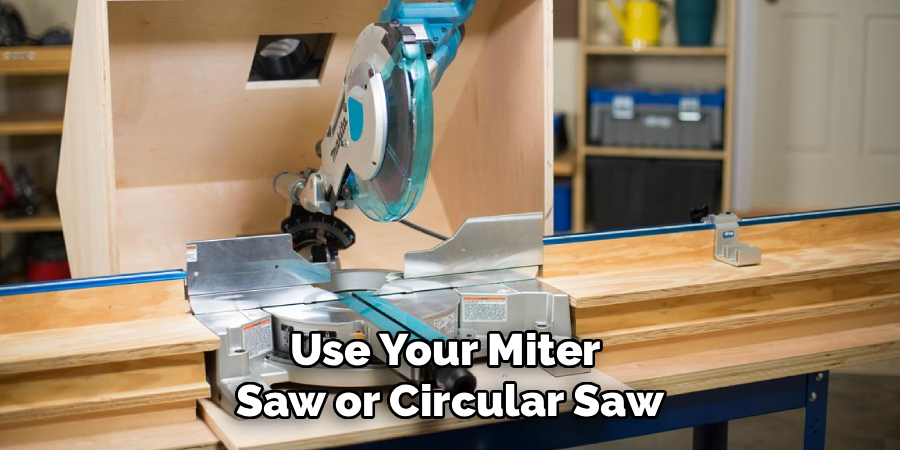
With safety gear on, use your miter saw or circular saw to carefully cut the frame pieces out of your 2×2 or 2×4 lumber according to your design. Double-check every length and angle against your layout—precision here means your box panels will align perfectly, and the insert will fit as expected. Use the lumber for the base rectangle, which supports the vent insert, vertical uprights to carry the load upward, and a top rectangle that will attach to the wall or ceiling. Dry-fit the pieces on your workspace to verify everything matches your design before proceeding.
Step 5: Assemble the Internal Frame
Lay out all the frame components on a flat surface and pre-drill holes for your wood screws to prevent splitting the lumber. Apply wood glue to each joint before assembling to add strength. Start by assembling the bottom base frame, then attach the uprights, and finally secure the upper frame. Use 2 1/2-inch screws for reliable, long-lasting joints. Occasionally, check with a level and carpenter’s square to make sure the assembly remains square and true. With help, lift the frame into place and anchor the back legs directly into the studs using lag bolts for maximum support.
Step 6: Install the Vent Insert
Before attaching the exterior panels, it’s best to install your vent hood insert. Carefully lift the insert into the open frame, aligning it with your layout and manufacturer recommendations for height and clearance. Secure the insert using hardware provided by the manufacturer—this usually means screws through the mounting brackets into the wood. Attach the vent ducting, making sure connections are tight and sealed (use aluminum tape for best results). Route the ductwork up through the ceiling or out the rear wall, ensuring it will exhaust fully outside your home. Carefully double-check all electrical connections, and if needed, call in a licensed electrician for the wiring.
Step 7: Cut the Plywood Panels
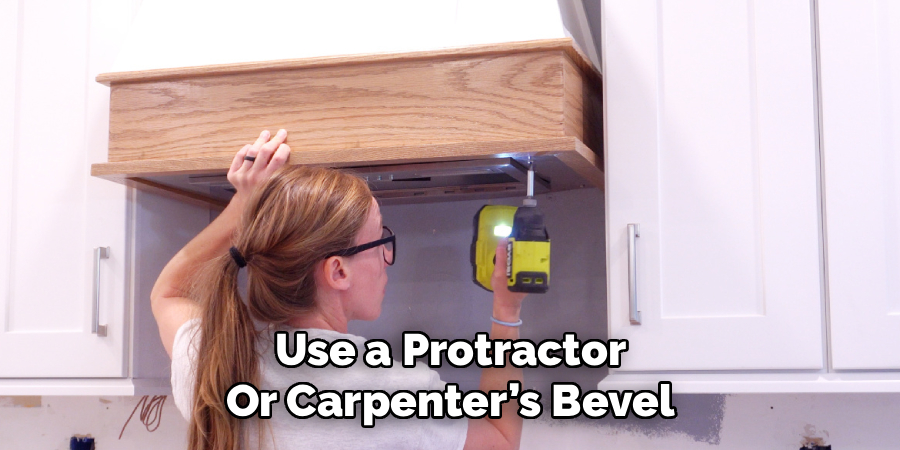
Measure each side, front, and any angled surfaces of your frame. Transfer these measurements carefully onto your sanded plywood. When cutting panels with complex angles (for tapered or slanted boxes), use a protractor or carpenter’s bevel to accurately trace each angle. For curved or decorative fronts, you may want to make a cardboard template first. Use a circular saw or table saw for long straight cuts, and a jigsaw for more intricate shapes. Keep the best surfaces of each panel facing outward.
Step 8: Attach the Plywood Exterior
Do a dry fit of your plywood panels on the frame to confirm a good fit all the way around. Make small adjustments if necessary. Apply wood glue to the frame edges, then secure each panel in place with brad nails or finishing nails, spacing them out for even holding power. Start with the side panels, then add the front. If you plan to add detailed trim or panels, leave space as needed at the corners or bottom. Wipe away any glue squeeze-out immediately to prevent finish problems later.
Step 9: Add Trim and Molding
Trim elevates your vent hood box from a carpentry project to a custom showpiece. Cut decorative moldings or trim pieces to hide exposed plywood edges, cover seams, and dress up flat surfaces. Add trim around the bottom edge for definition and at the top edge to blend nicely into the ceiling molding. Mitre all corners for a seamless look, and attach with wood glue and brad nails. For extra elegance, consider layering different types of trim for depth, or add corbels and carved accents that match your existing kitchen hardware and cabinetry.
Step 10: Sand and Finish
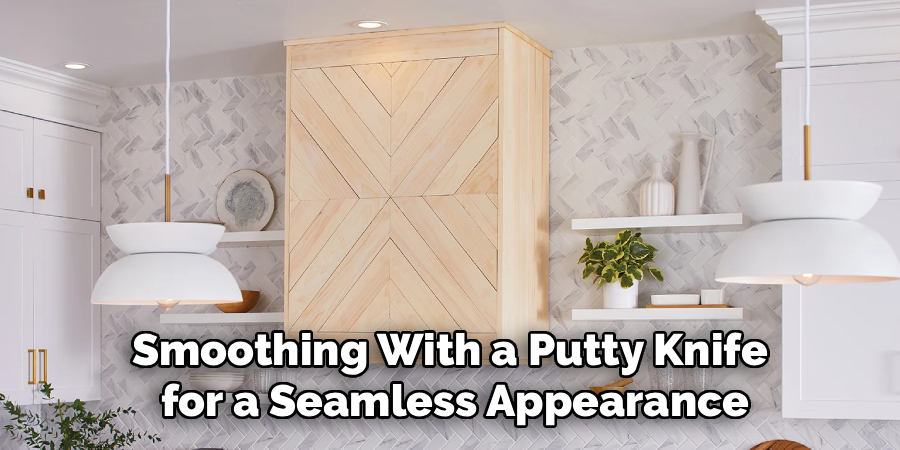
Start by filling all visible nail holes and seams with wood filler, smoothing with a putty knife for a seamless appearance. Let the filler dry fully per the manufacturer’s instructions. Then sand the entire vent hood box, starting with medium-grit sandpaper and moving to fine grit for a silky finish—always sand in the direction of the wood grain. Pay extra attention to corners, trim, and areas that will be touched often. Once everything feels smooth, clean off all dust with a tack cloth. Apply primer if painting, or a wood conditioner if staining, followed by two or more coats of your chosen finish for durability.
5 Things You Should Avoid
- Ignoring Building Codes: Never vent your hood into an attic; always route the exhaust entirely outside your home.
- Using Weak Supports: Avoid using only drywall anchors, as the heavy wooden box requires strong wall studs for safe mounting.
- Forgetting Insert Clearances: Do not build the frame too tightly; leave a tiny bit of wiggle room to easily slide the metal insert into place.
- Skipping the Level: Never guess if the frame is straight, or your final box will look noticeably crooked against your cabinets.
- Rushing the Finish: Avoid skipping the wood filler and sanding stage, as rough edges will ruin the look of your beautiful new centerpiece.
Conclusion
Building a custom vent hood box takes patience, careful measuring, and basic woodworking skills.
By constructing a sturdy internal frame and wrapping it in quality plywood and trim, you can create a stunning architectural feature. Follow these steps closely, prioritize safety, and enjoy the beautiful upgrade you just brought to your kitchen.
Hopefully, this guide on how to build a vent hood box has given you the confidence to tackle this project and make your kitchen truly stand out. Remember to always take your time, measure twice, and cut once. Happy building!

About
Mike May is a distinguished figure in the world of woodworking and timber design, with a decade of expertise creating innovative and sustainable indoor solutions. His professional focus lies in merging traditional craftsmanship with modern manufacturing techniques, fostering designs that are both practical and environmentally conscious. As the author of Woodimber, Mike delves into the art and science of timber-craft, inspiring artisans and industry professionals alike.
Education
RMIT University (Melbourne, Australia)
-
Associate Degree in Design (Timber): Focus on sustainable design, industry-driven projects, and practical craftsmanship.
-
Gained hands-on experience with traditional and digital manufacturing tools, such as CAD and CNC software.
Nottingham Trent University (United Kingdom)
-
Bachelor’s in Woodworking and Product Design (Honors): Specialized in product design with a focus on blending creativity with production techniques.
-
Participated in industry projects, working with companies like John Lewis and Vitsoe to gain real-world insights.
Publications and Impact
In Woodimber, May shares his insights on timber design processes, materials, and strategies for efficient production. His writing bridges the gap between artisan knowledge and modern industry needs, making it a must-read for both budding designers and seasoned professionals.