

Woodworking sometimes feels like a series of small combat missions against stubborn material and, more often than one might admit, one’s own impatience. You measure, double-check your plans, line things up with care—and then realize the hole you’ve just drilled is laughably snug for that dowel or bolt you intended to use. It’s a familiar letdown.

Now, it might look tricky once you’ve already made a cut and your pilot bit can no longer find purchase in the middle. Still, as long as you proceed in a deliberate, methodical way, you can open up that hole without botching the rest of your project. The right know-how—and perhaps just a little humility—goes a long way. In this guide on how to make a hole bigger in wood, we’ll show you how to do it with minimal fuss and frustration.
Tools and Materials You’ll Need
Before you start widening that hole, it’s important to have all the necessary tools and materials on hand. This will save you time and frustration in constantly having to stop and search for missing items.
Power Drill:
The power drill is essential for making a hole bigger in wood. It provides the torque and speed needed to effectively widen the hole.
Drill Bit Set:
A good set of drill bits in various sizes will come in handy when making a hole larger. Make sure to choose the appropriate size for the hole you are widening.
Sandpaper or File:
After drilling, you may need to smooth out rough edges or surfaces. Having sandpaper or a file on hand will help you achieve a clean and polished finish.
Measuring Tape:
Precision is key when it comes to woodworking, so having a measuring tape handy will ensure that your hole is widened accurately and evenly.
Safety Glasses:
Safety should always be a top priority when working with power tools. Protect your eyes from flying debris by wearing safety glasses throughout the process.
Dust Mask:
Sawdust can irritate your nose and throat, so wearing a dust mask while drilling will keep you comfortable and safe.
Clamps:
Clamps are essential when widening a hole, as they hold the wood in place and prevent it from moving while you work. Use at least two clamps to secure the wood and ensure stability.
7 Practical Steps on How to Make a Hole Bigger in Wood
Step 1: Assess What You’re Up Against
Before charging in, pause and inspect the damage (or, if optimistic, the opportunity for adjustment). Are you a millimeter off, or do you need to double the diameter? For a barely-too-small hole, wrap some sandpaper around a dowel or run a file around the edge. It’s tedious, but you’re less likely to overdo it and trash your workpiece due to impatience.
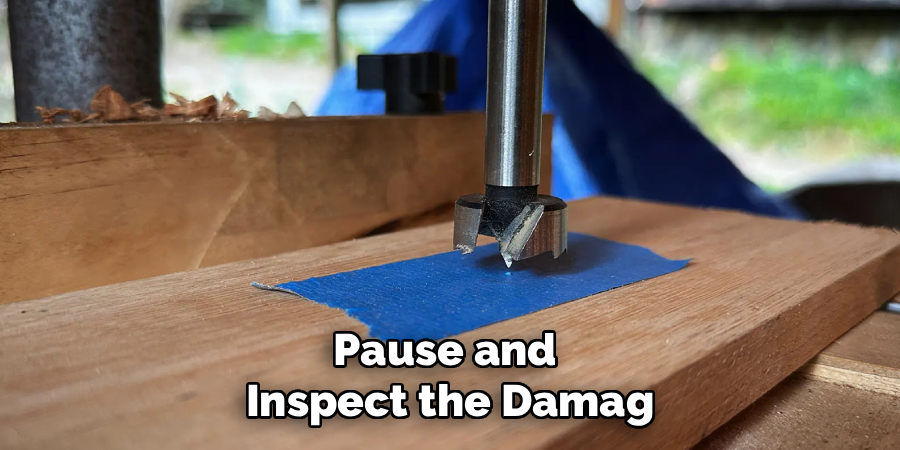
On the other hand, if what you require is a substantial increase, mechanical help is your best bet. A step bit eats through thin material with relative ease, but if you’re facing solid lumber, a hole saw quickly shifts from “helpful tool” to “unavoidable necessity.” Take time to measure again—seriously—because picking the wrong approach will cost far more than a few wasted minutes.
Step 2: Secure The Battlefield
Nothing undermines a careful plan like a workpiece that jigs with every touch. Find a flat, solid bench—wobbly tables do no favors here. If the wood isn’t anchored, expect ragged holes and maybe even a painful surprise should the drill kick back. Clamp the project down with something sturdy, no shortcuts.
Slip a piece of sacrificial wood underneath the area you’ll be widening. Its sole job is to support the wood fibers on the exit side, sparing you from unsightly splinters or a rough blowout. In a sense, this backing piece absorbs all the punishment, so your final product doesn’t have to.
Step 3: Make Yourself a Guide
You’ll quickly discover, if you haven’t already, that it’s almost impossible to corral a hole saw if its pilot bit can’t bite into unbroken wood. Solution? Create a guide block—grab a dense offcut and drill a hole matching your new target diameter right through it. This turns the scrap into a template.
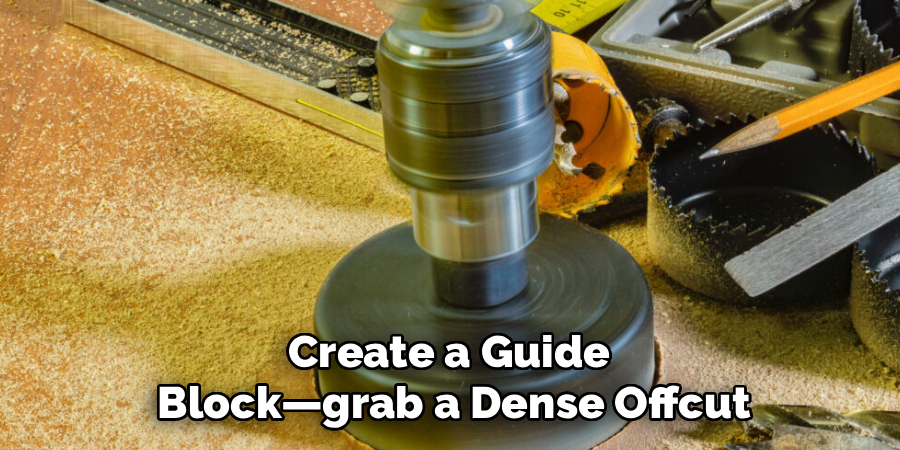
That guide block is no afterthought: its smooth sides enforce discipline, keeping your hole saw locked in place. When done right, it’s the difference between a clean, round cut and a lopsided gouge that smirks at you every time you see it.
Step 4: Align and Clamp Your Guide
Eye-balling the center is tempting and almost always leads to silent regret. Set the guide block directly over your small hole. Lean in and peer down through your template, nudging until everything looks centered. This part sometimes takes longer than you expect, but patience now saves grief later.
Once satisfied, clamp the guide block to your workpiece. Don’t trust friction alone. Tighten the clamps, but recheck alignment—clamping is notorious for causing a last-minute shift. When it feels locked and level, you’re ready.
Step 5: Drill the New Opening
No need for heroics here—safety goggles and a dust mask are your quiet insurance against accidents. Set your bit or hole saw, into the guide block’s pre-made channel. That close fit stops it from skating around, which, after the first time you see a large bit slip, you’ll realize is worth the effort.
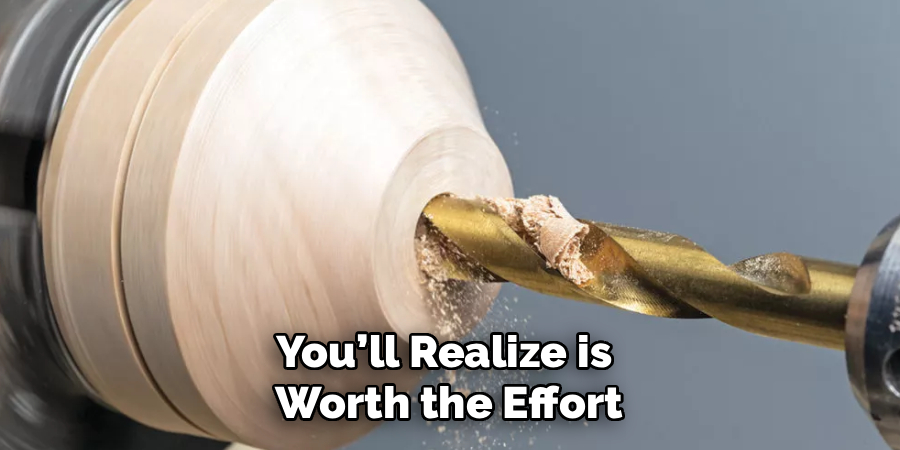
Trigger the drill slowly. Let the teeth draw themselves forward rather than muscling them through. Forcing things, especially with wood, usually just burns the grain and tests your patience. A steady, deliberate pace works best. Eventually, you’ll feel as much as hear the tool pop through the bottom, into your scrap buffer.
Step 6: Clean Up the Edges
Put the drill down and let things stop spinning. Unclamp both the guide and backing block, then take a hard look at your expanded hole. Odds are there will be stubborn fibers or small burrs clinging to the edge.
Switch to your half-round file or sandpaper. It’s slow, quiet work, but carefully smoothing the inner wall pays off each time a dowel or bolt slides into place with just the right snugness—no force, no wiggling.
Step 7: Check the Fit and Fine-Tune
Now for the real test. Try inserting whatever is needed in the larger opening—maybe it’s a dowel, maybe that oddly sized bolt you found at the bottom of the toolbox. It should fit firmly but shouldn’t need a mallet, nor should it jostle around. Still tight? Wrap coarse sandpaper around a slim dowel and kiss away the high spots, little by little. Take your time and don’t get greedy; it’s easy to cross the line from “perfectly snug” to “loose and wobbly.”
Following these steps on how to make a hole bigger in wood can save you time and frustration when working on your woodworking projects. It allows for a more precise fit between pieces, ensuring a stronger and more professional-looking end result.
Common Errors That Trip People Up
Going after the hole freehand, without a guide, remains a classic mistake—likely to end with the bit catching and the result looking more like a crater than a circle. Pushing the drill too fast creates more heat than progress, often scorching the wood so thoroughly that no amount of sanding can erase the evidence.
Neglecting the backing board is another common misstep, almost certain to leave the exit side a splintered mess. Dull bits, for their part, butcher the wood rather than slicing, and the excuses for skipping goggles and a mask are never worth the risk. One moment of carelessness translates to a lot more cleanup—or worse.
Should You Call a Professional?
For modest fixes and basic wood, you can usually get away with DIY—if you’re moderately careful and reasonably equipped. But if your material is exotic, expensive, or irreplaceable for sentimental reasons, hiring a pro starts to make sense. Professionals have access to drill presses and other gear designed to deliver perfect holes, especially when you need structural precision.
If the outcome carries real consequences (for instance, in load-bearing furniture), outsourcing may save more than just your weekend plans. Lastly, if you feel wobbly around spinning blades or you’ve never had luck with power tools, it’s wise to let someone with steadier hands take over.

Frequently Asked Questions
Q1: Can I Use a File to Enlarge a Hole in Wood?
Absolutely. A half-round or rat-tail file lets you gently open up a too-tight hole, bit by bit. This won’t speed up the job, but it will let you shape things with a level of control that power tools can’t match. Tiring for forearms, perhaps, but the payoff in accuracy is hard to beat.
Q2: What Is a Step Drill Bit and How Does It Work?
A step bit is a metal cone, notched in visible steps, that drills progressively larger circles as you push deeper. These work best in thinner stock—think plywood, not oak beams. Try to use one in heavy timber, though, and it’ll struggle; you’ll start to smell burnt wood before you make much progress.
Q3: How Do I Stop Wood from Splintering When Drilling?
A sacrificial backing board is your best friend here. Place it tightly beneath where your bit will exit, giving the fibers nowhere to go except straight down. Sharpen your bits and use a gentle, persistent motion; rough force does nothing but tear and fray the wood.
Mastering Your Next Woodworking Project
A too-small hole is rarely a disaster. With a little method and the right simple tools, you can tidy up the mistake and barely leave a mark. Slow down, think through your setup, and treat safety as your best habit—not an afterthought. Take pride in these small saves.
Over time, you’ll come to see that craft is really a patience game—and when it comes to holes, better a few extra minutes now than regret later. Thanks for reading this guide on how to make a hole bigger in wood.

About
Mike May is a distinguished figure in the world of woodworking and timber design, with a decade of expertise creating innovative and sustainable indoor solutions. His professional focus lies in merging traditional craftsmanship with modern manufacturing techniques, fostering designs that are both practical and environmentally conscious. As the author of Woodimber, Mike delves into the art and science of timber-craft, inspiring artisans and industry professionals alike.
Education
RMIT University (Melbourne, Australia)
-
Associate Degree in Design (Timber): Focus on sustainable design, industry-driven projects, and practical craftsmanship.
-
Gained hands-on experience with traditional and digital manufacturing tools, such as CAD and CNC software.
Nottingham Trent University (United Kingdom)
-
Bachelor’s in Woodworking and Product Design (Honors): Specialized in product design with a focus on blending creativity with production techniques.
-
Participated in industry projects, working with companies like John Lewis and Vitsoe to gain real-world insights.
Publications and Impact
In Woodimber, May shares his insights on timber design processes, materials, and strategies for efficient production. His writing bridges the gap between artisan knowledge and modern industry needs, making it a must-read for both budding designers and seasoned professionals.