


That scratched, faded wooden table sitting in your garage or dining room has a story to tell. Instead of replacing it with a mass-produced piece of furniture, you can restore its original beauty with a little elbow grease and the right approach.
Whether you inherited a family heirloom or scored a great deal at a local thrift store, bringing a wooden table back to life is an incredibly rewarding weekend project. You do not need professional carpentry skills to achieve a beautiful finish. By breaking the process down into manageable phases, anyone can strip away decades of wear and tear to reveal the gorgeous natural grain beneath.
This comprehensive guide on how to renovate a wooden table will walk you through the entire renovation process from start to finish.
What Will You Need?
Before you start stripping and sanding, gather your supplies. Having everything within arm’s reach ensures the project flows smoothly without frustrating trips to the hardware store.
Safety Gear:
- Respirator mask
- Safety goggles
- Heavy-duty chemical-resistant gloves
Preparation and Stripping:
- Chemical wood stripper
- Plastic putty knife or scraper
- Wire brush (for detailed grooves)
- Mineral spirits
- Clean, lint-free shop rags
Sanding and Repair:
- Random orbital sander
- Sandpaper discs (80, 120, and 220 grit)
- Wood filler matching your wood type
- Tack cloth
Finishing:
- Pre-stain wood conditioner
- Wood stain of your choice
- Polyurethane or protective topcoat
- High-quality synthetic bristle brushes
- Stir sticks
10 Easy Steps on How to Renovate a Wooden Table
Step 1: Cleaning the Surface

Before applying any harsh chemicals or abrasive paper, you must remove decades of built-up grime, oils, and furniture polish. Mix a solution of mild dish soap and warm water. Dip a sponge into the mixture, wring it out until it is barely damp, and scrub the entire table. For stubborn, sticky spots, you can use a dedicated wood cleaner. Wipe the table down with a clean, dry cloth immediately after washing to prevent moisture from seeping into the wood grain. Starting with a clean surface ensures your chemical stripper works efficiently and prevents you from pushing dirt deeper into the wood during the sanding phase.
Step 2: Applying the Chemical Stripper
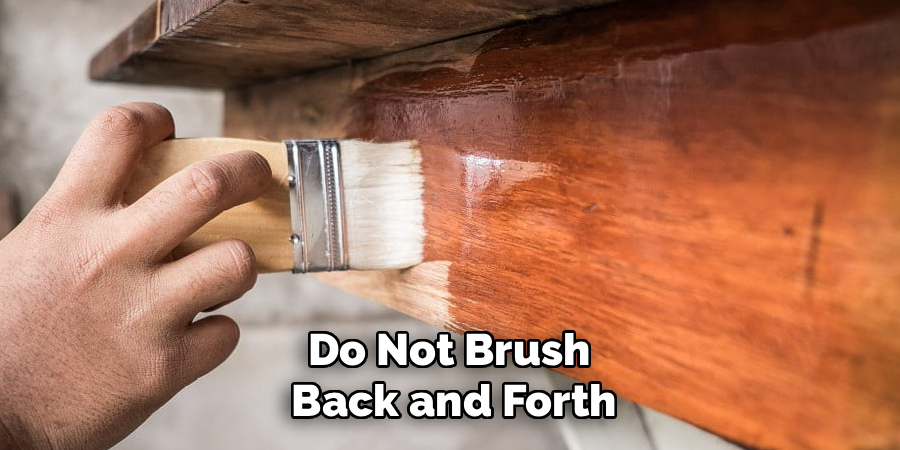
Moving your table to a well-ventilated area, preferably outdoors or in an open garage, is absolutely essential. Put on your chemical-resistant gloves, respirator mask, and safety goggles. Pour the chemical wood stripper into a metal or glass container. Using an inexpensive brush, apply a thick, even layer of the stripper across the tabletop.
Do not brush back and forth like you are painting; instead, lay it on thickly in one direction. Leave the stripper alone for the time specified by the manufacturer, which usually takes between fifteen to thirty minutes. You will know it is working when the old finish begins to bubble and lift away from the wood beneath.
Step 3: Scraping Away the Old Finish
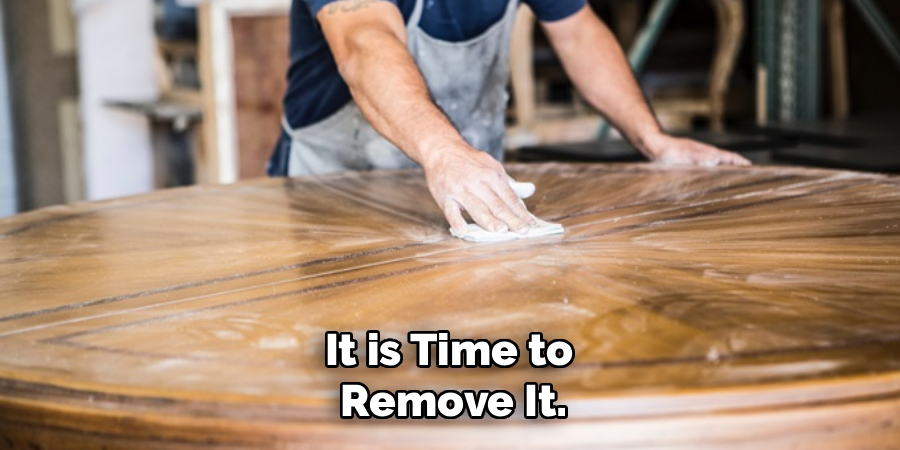
Once the old finish has bubbled up, it is time to remove it. Take your plastic putty knife and gently scrape along the direction of the wood grain. Avoid using metal scrapers, as they can easily gouge the softened wood. The old varnish and stain should slide off smoothly, resembling a thick sludge. Wipe this sludge off your scraper and into a disposable cardboard box or trash bag as you go. For the table legs or carved details, use a stiff bristle brush or a scouring pad to work the stripper out of the tight crevices. Work methodically until you have removed the majority of the old finish.
Step 4: Neutralizing and Cleaning the Wood
Chemical strippers leave a lingering residue that will ruin your new finish if you leave it on the table. You must clean and neutralize the wood before proceeding. Check your specific stripper’s instructions; most require a thorough wipe-down using mineral spirits. Soak an old rag in mineral spirits and scrub the entire table, making sure to remove any remaining patches of old stain and stripper residue. This step also highlights the natural color of the raw wood, giving you a preview of how the table will look once finished. Allow the table to dry completely, which usually takes a few hours.
Step 5: Making Necessary Repairs
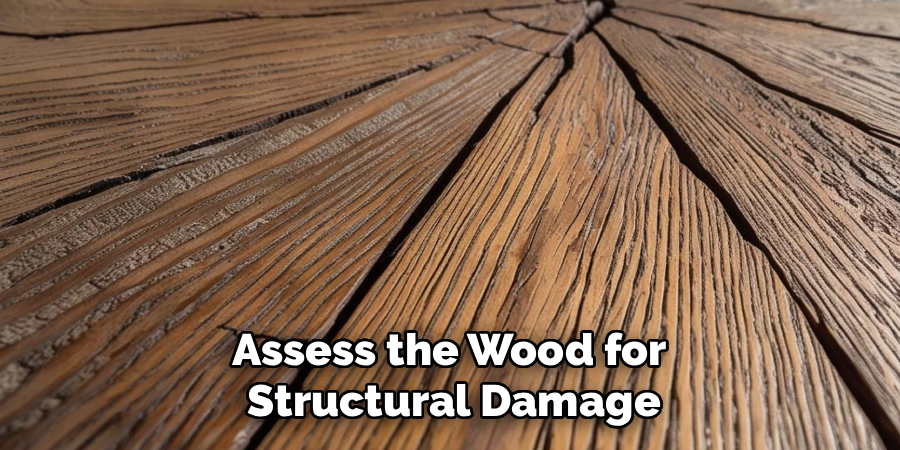
With the table stripped bare, assess the wood for structural damage, deep scratches, or dents. If you find loose joints, apply wood glue and clamp them tightly overnight to secure them. For gouges and deep scratches, grab your wood filler. Press the filler firmly into the holes using a putty knife, leaving the compound slightly raised above the wood surface to account for shrinkage as it dries. Let the wood filler dry completely according to the package directions. Keep in mind that wood filler absorbs stain differently than natural wood, so try to use it sparingly and only where absolutely necessary.
Step 6: Initial Heavy Sanding
Sanding removes the final remnants of the old finish, smooths out the dried wood filler, and eliminates shallow surface scratches. Attach an 80-grit sandpaper disc to your random orbital sander. Turn the sander on and move it slowly across the tabletop, always moving in the direction of the wood grain. Let the weight of the sander do the work; pressing down too hard will create uneven depressions in the wood. Keep the sander moving constantly to avoid burning the wood. For the edges and intricate table legs, fold a piece of 80-grit sandpaper and sand by hand to maintain full control over the pressure.
Step 7: Fine Sanding and Dust Removal
Once the table is uniformly sanded with 80-grit, switch your orbital sander to a medium 120-grit disc. Repeat the sanding process over the entire table to remove the tiny scratches left behind by the 80-grit paper. Finally, switch to a fine 220-grit paper for a final pass. This sequence results in a perfectly smooth surface that feels like glass to the touch. After the final sanding, you must remove every speck of dust. Vacuum the table thoroughly using a brush attachment. Then, gently wipe the entire piece down with a tack cloth to pick up the invisible micro-dust particles left behind.
Step 8: Conditioning the Wood
Many DIYers skip this step, but conditioning is the secret to a professional-looking finish. Softwoods like pine and even some hardwoods absorb stain unevenly, resulting in a blotchy and amateurish appearance. Apply a liberal coat of pre-stain wood conditioner using a clean brush or rag. Let it soak into the wood for about ten to fifteen minutes, then wipe off any excess liquid with a clean cloth. The conditioner penetrates the wood fibers, effectively sealing them just enough to ensure the stain applies smoothly and uniformly. You must usually apply your stain within two hours of conditioning the wood.
Step 9: Applying the Stain
Stir your wood stain thoroughly, lifting the pigments off the bottom of the can. Never shake the can, as this introduces air bubbles that transfer to your table. Using a high-quality brush or a lint-free rag, wipe the stain onto the wood, working with the grain. Apply the stain to one section at a time. Let the stain sit on the wood for five to fifteen minutes, depending on how dark you want the final color to be. Take a clean rag and wipe away the excess stain, again moving with the grain. Allow the first coat to dry completely before deciding if you need a second coat.
Step 10: Applying the Protective Topcoat
The final step protects your hard work from water rings, scratches, and daily use. Choose a high-quality polyurethane topcoat. Apply a thin, even layer using a clean synthetic bristle brush, moving with the grain and maintaining a wet edge to avoid brush marks. Let the first coat dry completely. Lightly hand-sand the dry topcoat with 220-grit paper to remove any dust nibs, wipe it clean with a tack cloth, and apply a second coat. Repeat this process until you have applied three smooth coats. Let the table cure undisturbed for at least 72 hours before placing any items on it.
5 Things You Should Avoid
- Skipping the Stripper: Trying to sand away a thick layer of varnish instead of using a chemical stripper will instantly clog your sandpaper, waste your time, and likely result in uneven sanding marks.
- Sanding Against the Grain: Always sand in the direction of the wood grain. Sanding against or across the grain creates deep, ugly cross-scratches that become painfully obvious the moment you apply the stain.
- Applying Thick Coats of Finish: Rushing the topcoat process by applying thick layers of polyurethane will cause drips, pooling, and a cloudy finish. Multiple thin coats always yield a stronger, clearer, and more professional result.
- Working in Poor Lighting: If you cannot see the surface clearly, you will miss old finish spots, uneven sanding marks, and drips. Always set up bright work lights pointing across the tabletop.
- Ignoring Proper Ventilation: Chemical strippers, stains, and polyurethanes emit strong fumes that can cause dizziness and severe headaches. Always work outdoors or in a garage with open doors and fans running.
Conclusion
How to renovate a wooden table requires patience, attention to detail, and a willingness to get your hands dirty, but the payoff is incredibly rewarding. By following these straightforward steps, you can rescue a forgotten piece of furniture and turn it into a beautiful focal point for your home.
Remember to take your time during the preparation and sanding phases, as a smooth surface dictates the quality of your final finish. Do not be afraid to tackle this project; grab your tools, find a well-ventilated workspace, and start your restoration journey today.
You will be amazed at the stunning craftsmanship hiding just beneath the surface.

About
Mike May is a distinguished figure in the world of woodworking and timber design, with a decade of expertise creating innovative and sustainable indoor solutions. His professional focus lies in merging traditional craftsmanship with modern manufacturing techniques, fostering designs that are both practical and environmentally conscious. As the author of Woodimber, Mike delves into the art and science of timber-craft, inspiring artisans and industry professionals alike.
Education
RMIT University (Melbourne, Australia)
-
Associate Degree in Design (Timber): Focus on sustainable design, industry-driven projects, and practical craftsmanship.
-
Gained hands-on experience with traditional and digital manufacturing tools, such as CAD and CNC software.
Nottingham Trent University (United Kingdom)
-
Bachelor’s in Woodworking and Product Design (Honors): Specialized in product design with a focus on blending creativity with production techniques.
-
Participated in industry projects, working with companies like John Lewis and Vitsoe to gain real-world insights.
Publications and Impact
In Woodimber, May shares his insights on timber design processes, materials, and strategies for efficient production. His writing bridges the gap between artisan knowledge and modern industry needs, making it a must-read for both budding designers and seasoned professionals.