


Breathing new life into an old piece of furniture brings a deep sense of satisfaction. A wooden kitchen table often serves as the heart of a home, gathering family and friends for meals, homework, and late-night conversations.
Over time, heavy use leaves scratches, water rings, and worn finishes that hide the natural beauty of the wood underneath. Instead of throwing away a perfectly good piece of furniture, you can restore it. Refinishing a wooden table might seem like a massive undertaking, but breaking the process down into manageable steps makes it highly achievable for anyone.
This guide on how to refinish a wooden kitchen table will walk you through everything you need to know to transform your worn-out table into a stunning centerpiece that will last for generations.
What Will You Need?
Gathering your supplies before you begin prevents frustrating interruptions. Here is exactly what you need to get the job done right:
- Safety Gear: Chemical-resistant gloves, a respirator mask, and safety goggles.
- Cleaning Supplies: Degreaser or mild dish soap, water, and clean rags.
- Stripping Agents: Chemical wood stripper, a plastic scraper, and steel wool (grade #0000).
- Sanding Tools: An orbital sander, sandpaper discs (80, 120, and 220 grit), and a sanding block for edges.
- Finishing Materials: Pre-stain wood conditioner, wood stain in your chosen color, and a clear protective topcoat (like water-based or oil-based polyurethane).
- Applicators: High-quality bristle brushes, foam brushes, and lint-free cotton rags.
- Workspace Prep: Drop cloths or plastic tarps to protect your floors.
10 Easy Steps on How to Refinish a Wooden Kitchen Table
Step 1: Prepare Your Workspace and Table
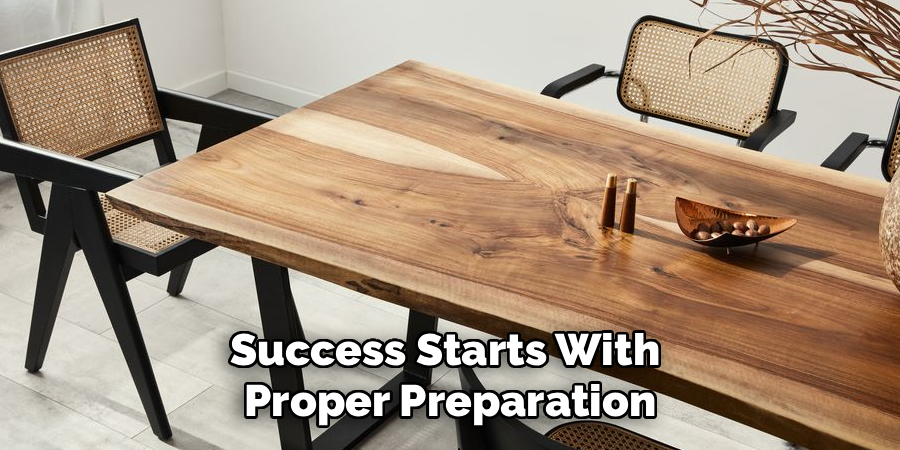
Success starts with proper preparation. You need a well-ventilated area to safely handle chemical strippers and wood stains. A garage with the door open or a covered patio works perfectly. Lay down thick drop cloths to protect the floor from harsh chemicals and sticky finishes. If your table has removable leaves, take them out to work on them separately. Unscrew the tabletop from the base if possible. This allows you to reach all edges comfortably without awkwardly bending around the legs. Ensure you wear your safety gear, including your mask and gloves, from the very beginning to establish safe working habits.
Step 2: Thoroughly Clean the Surface
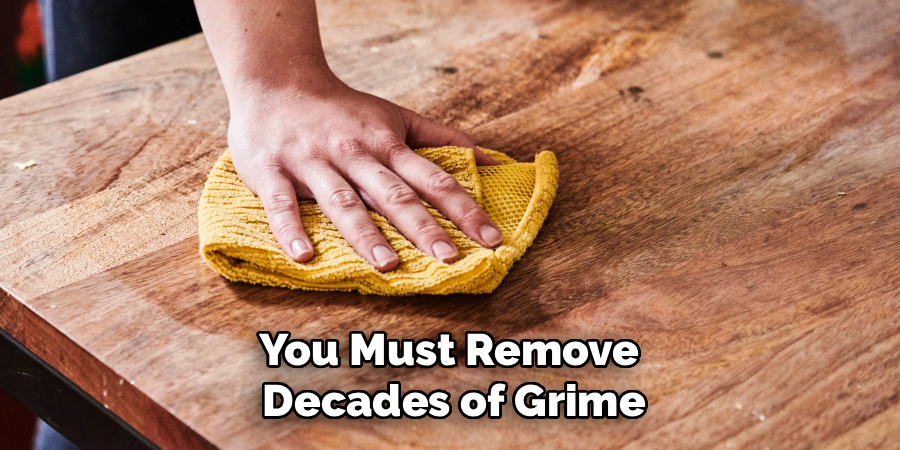
Before you apply any stripping chemicals or sandpaper, you must remove decades of grime, furniture polish, and kitchen grease. If you skip this step, the grease will push deep into the wood grain during sanding, which ruins the stain application later. Mix a strong degreasing solution or warm soapy water. Use a clean cloth to scrub every inch of the table. Pay special attention to the edges and any carved details where oil naturally builds up from hands resting on the surface. Wipe the table down with clean water afterward to remove soap residue, and let the wood dry completely before moving forward.
Step 3: Apply the Chemical Stripper
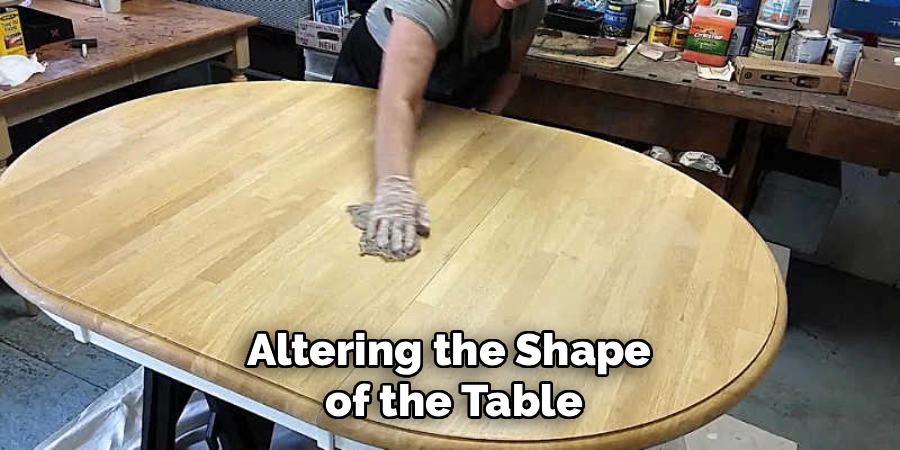
Using a chemical stripper saves you hours of exhausting sanding and prevents you from accidentally altering the shape of the table. Pour the stripper into a metal or glass container. Dip an inexpensive natural bristle brush into the liquid and lay it onto the table in thick, even coats. Brush in one direction and avoid brushing back and forth, as this breaks the chemical seal. The stripper needs time to activate, so leave it alone for 15 to 30 minutes, or according to the manufacturer’s instructions. You will see the old finish begin to bubble, wrinkle, and lift away from the wood.
Step 4: Scrape Away the Old Finish
Once the old finish has bubbled up, it is time to remove it. Take a plastic scraper—never metal, as metal will gouge the softened wood—and gently push it across the surface. Work carefully with the direction of the wood grain. The sludge should slide off easily. Keep a cardboard box or an old bucket nearby to deposit the messy residue. For curved edges or tight corners, use grade #0000 steel wool or a stiff nylon brush dipped in a little extra stripper to work the old finish out of the crevices. Wipe the table down with mineral spirits to neutralize any remaining chemicals.
Step 5: Begin Coarse Sanding
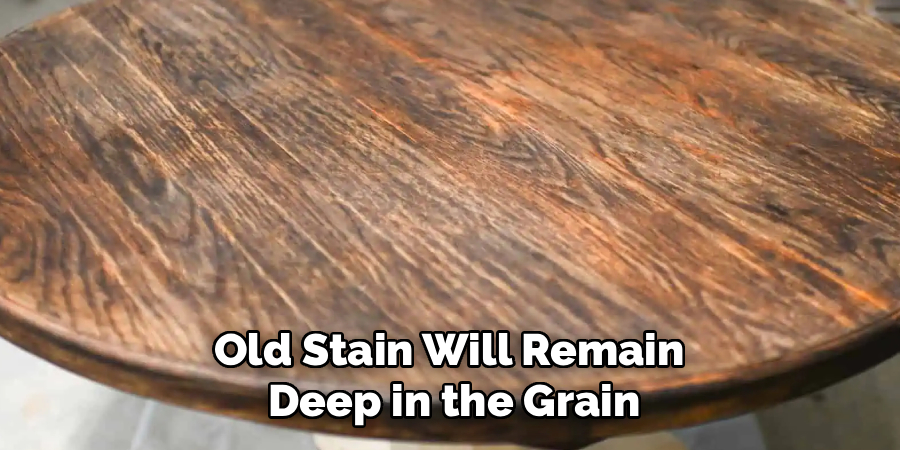
Even after stripping, some stubborn patches of finish and old stain will remain deep in the grain. Attach an 80-grit sandpaper pad to your orbital sander. Turn the sander on and move it slowly across the tabletop, always following the direction of the wood grain. Do not push down hard; let the weight of the machine do the work. Pressing too hard creates uneven dips in your flat surface. Sand until the table looks uniform and the bare, raw wood is fully exposed. Use a sanding block by hand for the edges to maintain their crisp shape.
Step 6: Smooth with Medium and Fine Sanding
After the coarse sanding removes the heavy residue, you need to smooth out the scratches left behind by the 80-grit paper. Switch to a 120-grit sandpaper pad and go over the entire table again. This step begins to close the wood grain and creates a softer feel. Finally, switch to a 220-grit sandpaper pad for your final pass. Run your bare hand lightly over the surface. It should feel as smooth as glass. Wipe the entire table down with a tack cloth or a slightly damp rag to remove absolutely all the sanding dust. Any leftover dust will create ugly bumps under your final finish.
Step 7: Apply Pre-Stain Wood Conditioner
Many DIYers skip this step, but it is the secret to a professional-looking finish. Wood is porous and absorbs liquid unevenly, which leads to blotchy, dark patches when you apply the stain. A pre-stain wood conditioner prevents this by temporarily sealing the pores. Using a clean rag or a brush, apply a generous coat of conditioner over the entire raw wood surface. Let it penetrate for about 15 minutes, then use a dry rag to wipe away any excess that remains on top. You must apply your wood stain within two hours of applying the conditioner for it to work properly.
Step 8: Apply the Wood Stain
Stir your wood stain thoroughly with a wooden stick to mix the color pigments that settle at the bottom of the can. Never shake it, as shaking introduces air bubbles. Dip a clean rag or foam brush into the stain and apply it to the wood, working in small sections. Always rub in the direction of the grain. Let the stain sit for 5 to 15 minutes, depending on how dark you want the final color to be. Take a clean, lint-free cloth and vigorously wipe away all excess stain. If the color is too light, wait for it to dry completely and apply a second coat using the same method.
Step 9: Apply the Protective Topcoat
The stain provides color, but the topcoat provides protection against water spills, heat, and daily wear. Polyurethane is the standard choice for kitchen tables. Using a high-quality, synthetic bristle brush, apply a thin, even coat of polyurethane. Brush gently with the grain and avoid over-brushing, which creates streaks. Let this first coat dry completely, which usually takes a few hours for water-based formulas or up to 24 hours for oil-based ones. Once dry, lightly scuff the surface by hand with 220-grit sandpaper. This tiny bit of abrasion helps the next coat stick. Wipe away the dust with a tack cloth.
Step 10: Apply Final Coats, Cure, and Reassemble
Apply a second thin coat of polyurethane just like the first. For a high-traffic kitchen table, applying a minimum of three coats ensures maximum durability. Sand lightly between every single coat except for the final one. After you apply the final coat, the waiting game begins. The table may feel dry to the touch within a day, but the finish needs time to fully cure and harden. Keep the table in a warm, dry place and do not place heavy items, hot plates, or wet glasses on it for at least 7 to 14 days. Once cured, reattach the legs, bring it inside, and enjoy your stunning work.
5 Things You Should Avoid
- Rushing the Sanding Process: Skipping grits or sanding against the grain leaves deep, visible scratches that the stain will highlight heavily.
- Skipping the Safety Gear: Chemical strippers can cause severe chemical burns, and fine wood dust can damage your lungs. Always wear gloves, goggles, and a respirator.
- Applying Thick Coats of Finish: Puddling on thick layers of polyurethane leads to cloudy finishes, drips, and a surface that takes months to fully cure. Always apply thin layers.
- Working in Extreme Temperatures: High heat causes finishes to dry too quickly, creating streaks. High humidity prevents finishes from drying at all. Work in moderate, dry conditions.
- Leaving Dust on the Table: Failing to thoroughly wipe down the wood with a tack cloth between sanding and finishing guarantees a rough, bumpy final texture.
Conclusion
How to refinish a wooden kitchen table requires patience, elbow grease, and attention to detail, but the reward is entirely worth the effort.
By properly stripping, sanding, and sealing the wood, you strip away years of damage to reveal a brilliant, custom-finished piece of furniture. Remember to prioritize safety, follow the steps in order, and allow plenty of time for your topcoat to cure.
Your newly restored table will once again serve as a beautiful, durable gathering place for your family for many years to come.

About
Mike May is a distinguished figure in the world of woodworking and timber design, with a decade of expertise creating innovative and sustainable indoor solutions. His professional focus lies in merging traditional craftsmanship with modern manufacturing techniques, fostering designs that are both practical and environmentally conscious. As the author of Woodimber, Mike delves into the art and science of timber-craft, inspiring artisans and industry professionals alike.
Education
RMIT University (Melbourne, Australia)
-
Associate Degree in Design (Timber): Focus on sustainable design, industry-driven projects, and practical craftsmanship.
-
Gained hands-on experience with traditional and digital manufacturing tools, such as CAD and CNC software.
Nottingham Trent University (United Kingdom)
-
Bachelor’s in Woodworking and Product Design (Honors): Specialized in product design with a focus on blending creativity with production techniques.
-
Participated in industry projects, working with companies like John Lewis and Vitsoe to gain real-world insights.
Publications and Impact
In Woodimber, May shares his insights on timber design processes, materials, and strategies for efficient production. His writing bridges the gap between artisan knowledge and modern industry needs, making it a must-read for both budding designers and seasoned professionals.