

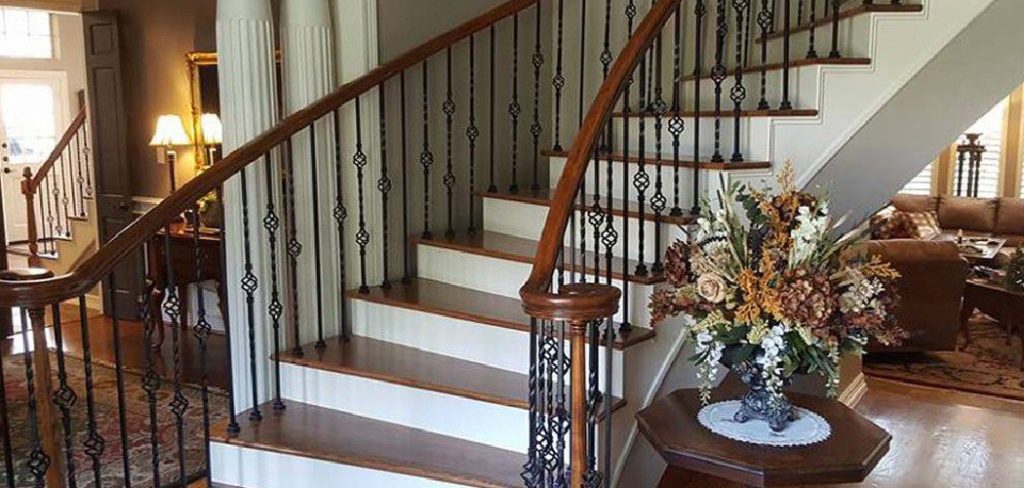
Are you tired of the dull and worn-out look of your wood stairs? Painting them is a great way to give them a fresh new look. It may seem like a daunting task, but with the right tools and techniques, you can easily transform your stairs into a beautiful focal point in your home.
Your staircase is often the first thing people see when they walk into your home. If your wooden stairs look tired, scuffed, or outdated, a fresh coat of paint can completely transform your space. Painting wood stairs is a rewarding weekend project that instantly brightens your entryway and adds character to your home.
This complete guide on how to paint wood stairs walks you through everything you need to know to tackle this project with confidence.
What are the Benefits?
Painting your wooden stairs offers several distinct advantages:
- Cost-Effective Makeover: Refinishing or replacing stairs costs thousands of dollars. Painting offers a budget-friendly alternative with a massive visual impact.
- Complete Customization: You can choose any color scheme. Paint the risers white and the treads a bold color, or add a classic runner pattern down the middle.
- Added Protection: High-quality floor paint seals the wood, protecting it from moisture, daily wear, and pet scratches.
- Easier Maintenance: Painted stairs are simple to sweep and mop, keeping dust and allergens to a minimum compared to carpeted stairs.
What Will You Need?
Gather these materials before you start:
- Heavy-duty degreaser or TSP (Trisodium Phosphate)
- Wood putty and a putty knife
- Sandpaper (80-grit and 120-grit)
- Tack cloths and a shop vacuum
- Painter’s tape
- High-quality bonding primer
- Floor and porch paint (urethane or epoxy fortified)
- Clear polyurethane topcoat (optional but recommended)
- High-quality synthetic bristle brushes (2-inch angled)
- Small foam rollers and paint trays
10 Easy Steps on How to Paint Wood Stairs
Follow these detailed steps to ensure a flawless, durable finish that will withstand heavy daily foot traffic.
Step 1: Inspect and Repair the Wood
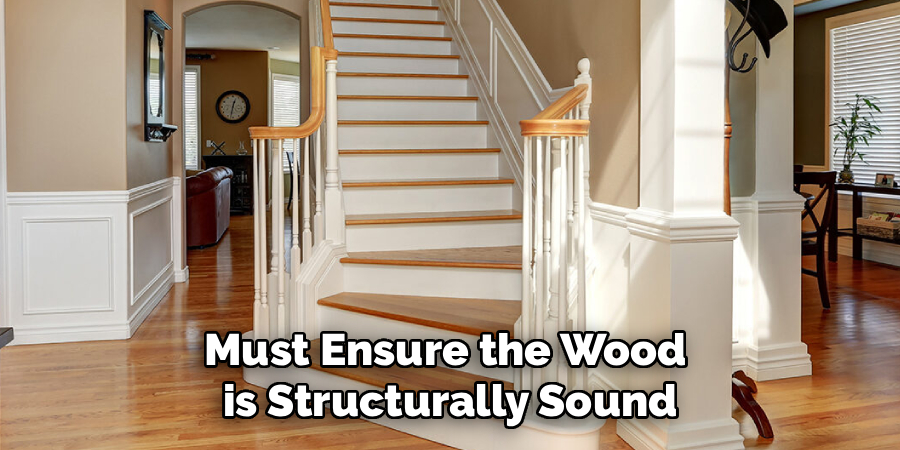
Before a single drop of paint touches your stairs, you must ensure the wood is structurally sound. Look closely at every tread and riser for deep gouges, cracks, or loose boards. If you hear squeaks when you step, secure the loose boards with finishing nails. Fill any nail holes, deep scratches, or gaps with a high-quality wood filler. Press the filler firmly into the gaps using a putty knife, leaving a slight mound over the hole since the filler shrinks as it dries. Allow the putty to cure completely according to the manufacturer’s instructions before moving forward.
Step 2: Clean the Surface Thoroughly
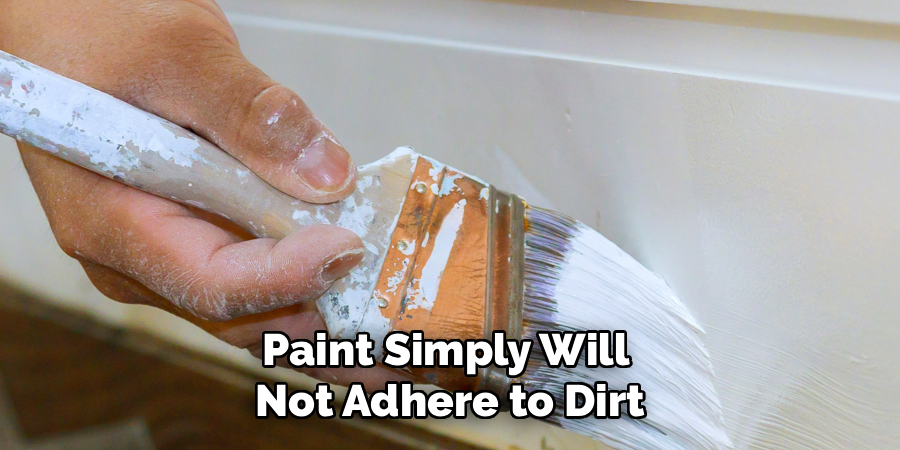
Paint simply will not adhere to dirt, grease, or old floor wax. Put on a pair of gloves and scrub the entire staircase using a heavy-duty cleaner like TSP. Pay special attention to the corners and the edges where the tread meets the riser, as dust loves to collect there. Scrub the wood vigorously to lift years of embedded grime. Once you finish washing the stairs with the cleaner, rinse them completely with clean, warm water to remove any chemical residue. Let the wood dry out entirely before you proceed to the next phase.
Step 3: Tape and Protect Your Surroundings
Protecting your walls and floors saves you from hours of frustrating cleanup. Apply high-quality painter’s tape along the edges where the stairs meet the walls, baseboards, and stringers. Press the edge of the tape down firmly with a putty knife to prevent the paint from bleeding underneath. Lay down canvas drop cloths at the top and bottom of the staircase. If you plan to leave the handrail unpainted, wrap it in painter’s plastic to shield it from accidental splatters. Taking your time with this step guarantees crisp, professional lines.
Step 4: Sand the Wood
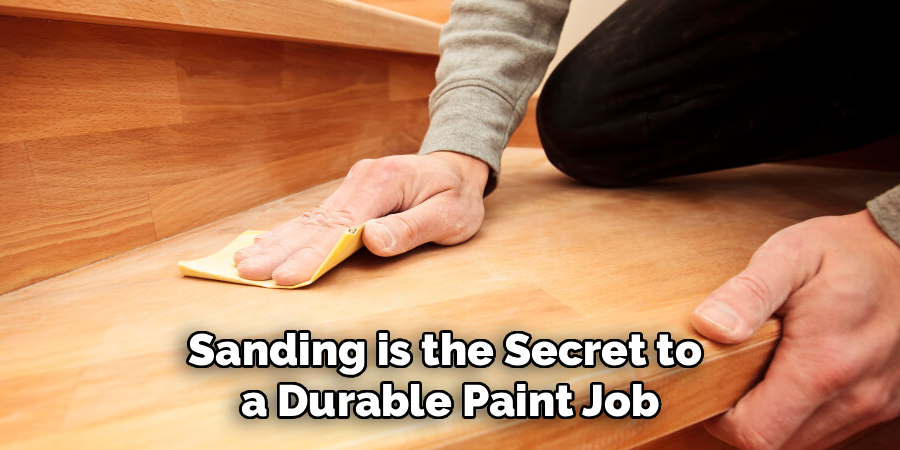
Sanding is the secret to a durable paint job. You do not need to strip the wood bare, but you must remove the glossy finish so the primer can grip the surface. Use an orbital sander with 80-grit sandpaper for the flat treads. For the risers and tight corners, use a sanding sponge or sand by hand. Work your way across every square inch of the staircase. Once the glossy sheen is gone, switch to 120-grit sandpaper to smooth out the surface and blend any areas where you applied wood filler.
Step 5: Vacuum and Wipe Down
Sanding creates a massive amount of fine dust that will ruin your paint job if left behind. Use a shop vacuum with a brush attachment to remove the bulk of the dust from the stairs. Vacuum the surrounding walls and baseboards as well, as dust can fall onto wet paint. After vacuuming, open a tack cloth and wipe down every single surface. The sticky resin on the tack cloth picks up the microscopic dust particles the vacuum missed. Your stairs should feel completely smooth and clean to the touch.
Step 6: Apply the Primer
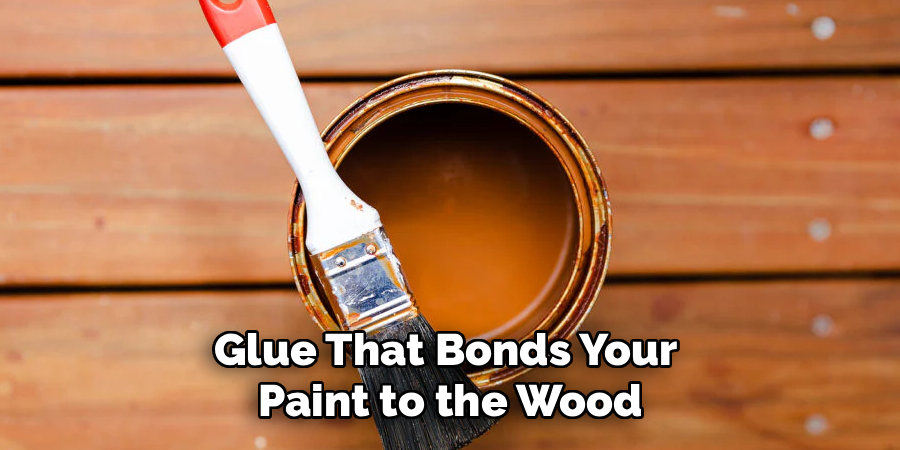
Primer acts as the glue that bonds your paint to the wood. Choose a high-adhesion bonding primer specifically designed for floors. Start at the top of the stairs and work your way down. Use a 2-inch angled brush to cut in the corners and edges, then use a small foam roller to cover the broad, flat sections. A roller provides a smooth finish without brush strokes. Apply a thin, even coat, ensuring you do not leave any heavy drips. Allow the primer to dry completely according to the label directions.
Step 7: Lightly Sand the Primer
Once the primer dries, you will likely notice the wood grain has raised slightly, making the surface feel a bit rough. Take a fine-grit sanding block (220-grit) and lightly pass it over the primed stairs. This knock-down sanding smooths out the raised grain and any minor imperfections in the primer coat. Do not press hard; you just want to create a glass-like surface. Vacuum the stairs again and wipe them down with a fresh tack cloth to remove the new dust.
Step 8: Apply the First Coat of Paint
Now you can finally apply your chosen color. You must use a paint formulated specifically for floors and porches, as standard wall paint will peel off in days. Starting from the top stair, cut in the edges with your angled brush and roll the flat sections. Apply the paint in a thin, even layer. If you need to use the stairs while the project is ongoing, paint every other step. Let these dry, then go back and paint the remaining steps. Allow the first coat to dry overnight.
Step 9: Apply the Second Coat
A single coat of paint is never enough for a high-traffic area like a staircase. Once the first coat is completely dry, apply your second coat using the same method. Brush the edges and roll the centers. The second coat deepens the color and provides the thick, durable shell your stairs need to resist scuffs and scrapes. Pay close attention to your coverage, making sure no primer shows through. Let the second coat dry for at least 24 hours.
Step 10: Seal with a Topcoat
While modern floor paints are highly durable, applying a clear polyurethane topcoat adds a vital layer of armor. Choose a water-based polyurethane, as oil-based versions can turn yellow over time. Apply the clear coat using a clean brush or roller. This layer protects your fresh paint from moisture, dirt, and heavy boots. Let the topcoat cure completely. While it may feel dry to the touch in a few hours, avoid walking on the stairs in heavy shoes for at least a week to allow the finish to fully harden.
By following these steps and using high-quality materials, your freshly painted stairs will not only look beautiful but also withstand the wear and tear of everyday use.
5 Things You Should Avoid
- Skipping the Prep Work: Failing to clean and sand the wood guarantees your paint will chip and peel within weeks.
- Using Standard Wall Paint: Wall paint cannot handle foot traffic. Always use specialized floor and porch enamel.
- Applying Thick Coats: Thick layers of paint take forever to dry and are prone to bubbling and denting. Apply multiple thin coats instead.
- Rushing the Drying Time: Walking on the stairs before the paint fully cures will leave permanent shoe prints in your finish.
- Forgetting the Primer: Primer blocks stains from the wood tannin and gives the paint a chemical grip on the surface. Never skip it.
Conclusion
Painting your wood stairs is a brilliant way to revitalize your home without breaking the bank.
By following these 10 easy steps, investing time in thorough preparation, and choosing the right floor-grade materials, you can create a stunning staircase that withstands the test of time. Take it one step at a time, avoid cutting corners, and soon you will be enjoying a beautiful, durable entrance you can be proud of.
Hopefully, this guide on how to paint wood stairs has given you the necessary knowledge and confidence to tackle this DIY project. Remember, practice makes perfect, so don’t be afraid to try again if your first attempt doesn’t turn out as expected. Happy painting!

About
Mike May is a distinguished figure in the world of woodworking and timber design, with a decade of expertise creating innovative and sustainable indoor solutions. His professional focus lies in merging traditional craftsmanship with modern manufacturing techniques, fostering designs that are both practical and environmentally conscious. As the author of Woodimber, Mike delves into the art and science of timber-craft, inspiring artisans and industry professionals alike.
Education
RMIT University (Melbourne, Australia)
-
Associate Degree in Design (Timber): Focus on sustainable design, industry-driven projects, and practical craftsmanship.
-
Gained hands-on experience with traditional and digital manufacturing tools, such as CAD and CNC software.
Nottingham Trent University (United Kingdom)
-
Bachelor’s in Woodworking and Product Design (Honors): Specialized in product design with a focus on blending creativity with production techniques.
-
Participated in industry projects, working with companies like John Lewis and Vitsoe to gain real-world insights.
Publications and Impact
In Woodimber, May shares his insights on timber design processes, materials, and strategies for efficient production. His writing bridges the gap between artisan knowledge and modern industry needs, making it a must-read for both budding designers and seasoned professionals.