

Crafting a wooden car offers a deeply satisfying experience that combines creativity with hands-on skill. Working with natural materials to build something functional and beautiful brings a unique sense of accomplishment.
This guide on how to make a car out of wood provides a complete roadmap to help you transform a simple block of wood into a custom toy car. Whether you want to make a gift for a child or a display piece for your desk, you will find the process straightforward and highly rewarding.
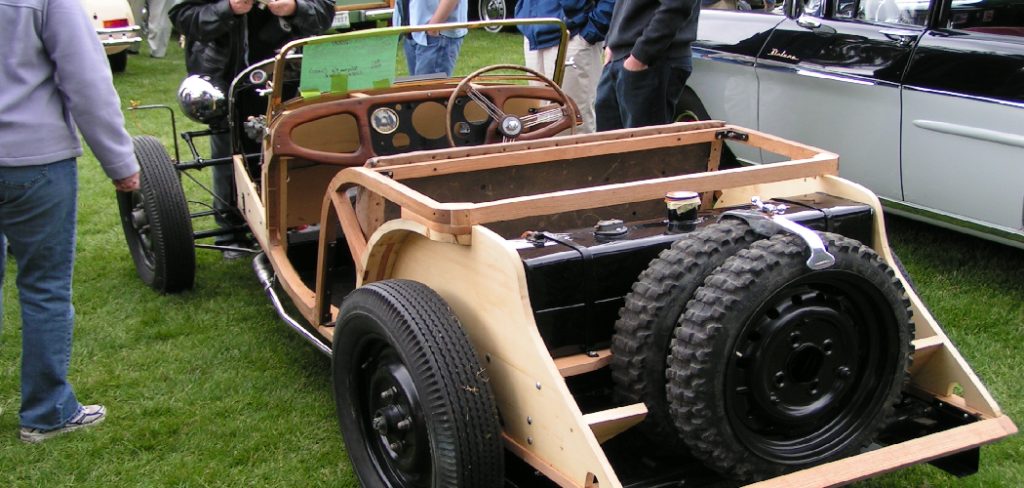
We will walk through every phase of the project, from selecting your materials to applying the final coat of finish.
What are the Benefits?
Woodworking provides incredible mental and physical benefits. Engaging in a tactile project helps reduce stress and pulls your attention away from digital screens. Building a wooden car requires focus, which naturally clears your mind and grounds you in the present moment. You also develop fine motor skills and spatial awareness as you measure, cut, and shape the wood.
Beyond personal well-being, creating wooden toys allows you to produce sustainable, durable items. Unlike mass-produced plastic toys that break easily and end up in landfills, a handcrafted wooden car can last for generations. It becomes an heirloom piece holding sentimental value. You also have complete creative control. You can customize the shape, size, color, and style to match your exact vision, making every single creation unique.
What Will You Need?
Before you begin, gather the following materials and tools. Having everything organized in your workspace prevents frustrating interruptions.
Materials:
- A block of wood for the car body (pine, basswood, or cedar work best)
- Four pre-made wooden toy wheels (available at craft stores)
- Wooden dowels (sized to fit the wheel holes) for the axles
- Wood glue
- Sandpaper (assorted grits: 80, 120, and 220)
- Non-toxic paint, wood stain, or mineral oil
Tools:
- Pencil and paper for your template
- Coping saw, scroll saw, or bandsaw
- Power drill or hand drill
- Drill bits matching your axle diameter
- Small clamps
- Safety glasses and a dust mask
10 Easy Steps on How to Make a Car Out of Wood
Step 1: Design and Planning
Your project begins with a solid plan. Sketch the side profile of your car on a piece of thick paper or cardstock. Keep the design relatively simple for your first attempt. Avoid overly sharp angles or extremely delicate details that might snap off during the cutting process. Classic shapes like vintage pickup trucks, sleek sports cars, or chunky block cars work exceptionally well. Once you feel satisfied with your drawing, cut it out with scissors to create a reusable template. This template ensures your proportions remain accurate and gives you a clear visual guide before you make any permanent cuts into your valuable wood material.

Step 2: Selecting and Preparing the Wood
Choosing the right wood significantly impacts your building experience. Hardwoods like oak and maple create incredibly durable toys, but they require sharp power tools and considerable effort to shape. For a beginner, softwoods like pine or basswood present the best option. They cut smoothly and respond beautifully to hand tools. Make sure your chosen block is thick enough to support the wheels but narrow enough to hold comfortably. Inspect the block for knots, cracks, or heavy sap pockets. You want a clean, straight-grained section. Wipe the wood down with a dry cloth to remove any dust before moving on to the marking phase.
Step 3: Tracing the Template
Place your paper template flat against the side of your wooden block. Position it carefully so the grain of the wood runs horizontally along the length of the car. This orientation provides maximum strength and prevents the wood from splitting when you drill the axle holes later. Use a dark pencil to trace the outline of your template directly onto the wood. Press firmly so the lines remain highly visible over the sawdust that will accumulate while cutting. Mark the exact locations where you want the wheels to go. Ensure the wheel markings sit high enough so the bottom of the car clears the ground, but low enough so you drill through solid wood.
Step 4: Cutting the Main Body
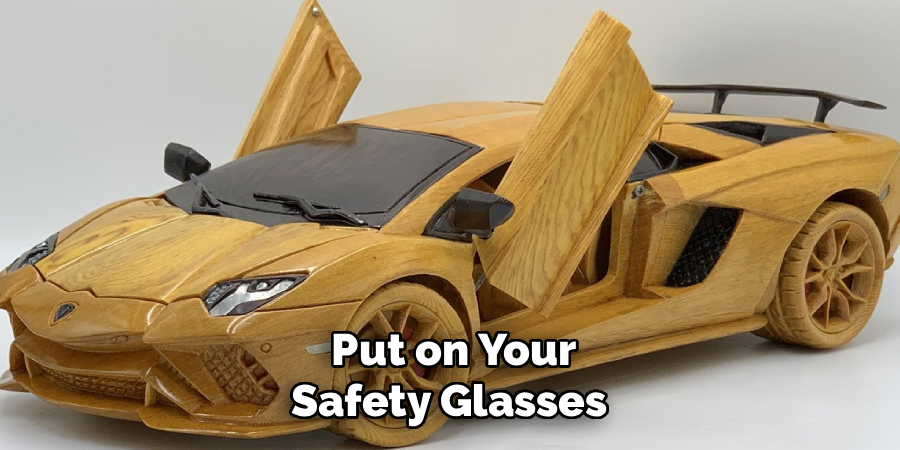
Put on your safety glasses and your dust mask. Secure the wood block firmly to your workbench using a sturdy clamp. If you are using a hand-powered coping saw, start your cut at the easiest edge and follow your pencil line with steady, even strokes. Let the saw blade do the work rather than forcing it through the wood. If you are using a bandsaw or scroll saw, feed the wood smoothly into the blade, keeping your fingers well away from the cutting area. Cut slightly outside the pencil line. Leaving a small margin of extra wood gives you room to sand the edges perfectly smooth without shrinking the final design too much.
Step 5: Shaping and Sanding
Sanding transforms your rough, blocky cutout into a refined, comfortable object. Wrap an 80-grit piece of sandpaper around a small wooden block. Sand all the flat surfaces and slowly round over the harsh edges. Children will handle this toy, so you must eliminate any sharp corners or splinter risks. Once the basic shape feels right, switch to your 120-grit sandpaper to remove the scratches left by the coarse grit. Take your time during this stage, as thorough sanding dictates the quality of your final finish. Finally, use the 220-grit sandpaper to polish the wood until it feels incredibly smooth to the touch, almost like glass.
Step 6: Drilling the Axle Holes
Precision is vital when drilling the axle holes. If your holes are crooked, your car will wobble or fail to roll entirely. Keep the car body clamped securely to your table. Choose a drill bit that is just a fraction of a millimeter larger than your wooden dowels so the axles can spin freely. Hold your drill perfectly perpendicular to the wood. Slowly drill straight through the body at the marked locations. To prevent the wood from splintering as the drill bit exits the other side, clamp a scrap piece of wood tightly against the back of your car body. The drill bit will pass through your car and directly into the scrap wood, leaving a perfectly clean hole.
Step 7: Preparing the Wheels and Axles
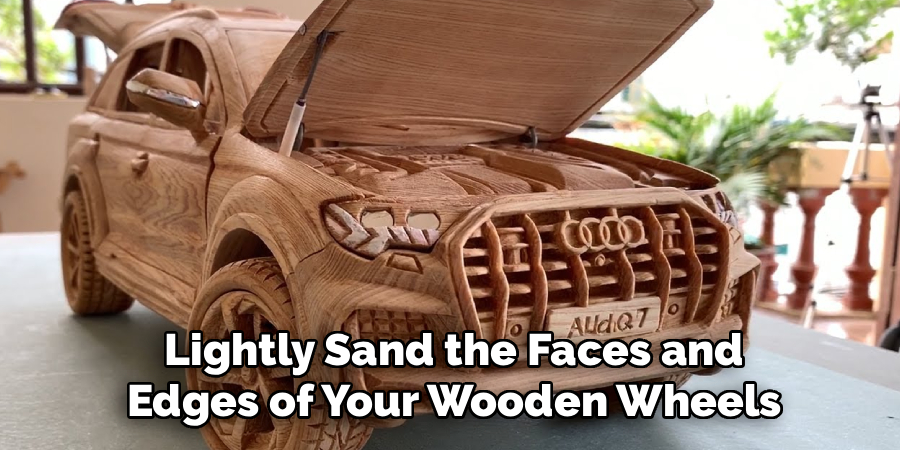
While pre-made wheels save time, they still require attention. Lightly sand the faces and edges of your wooden wheels with 220-grit sandpaper to remove any manufacturing flaws. Next, cut your wooden dowel into two equal axle pieces. To determine the correct length, slide the dowel through the car body and hold a wheel on each side. Leave a tiny gap between the body and the wheels, plus enough extra length to glue the wheels securely to the ends of the axle. Cut the dowels using a small hand saw and sand the cut ends slightly so they slide easily into the wheel hubs.
Step 8: Painting and Staining
You now have the opportunity to bring your car to life with color. If you prefer a natural aesthetic, rub food-safe mineral oil or a natural beeswax polish all over the wood to highlight the grain. If you want a vibrant toy, apply non-toxic acrylic paints. You can paint racing stripes, windows, or bold solid colors. Use a high-quality brush and apply thin, even coats to prevent drips. Allow the paint to dry completely between layers. Keep the inside of the axle holes free of paint or finish, as buildup in those channels will create friction and stop the wheels from turning.
Step 9: Assembling the Car
Assembly requires patience and a gentle touch. Place a tiny drop of wood glue inside the hole of one wheel. Insert one end of an axle dowel into that wheel, wiping away any excess glue immediately. Slide the other end of the axle through the drilled hole in the car body. Place a tiny drop of glue in a second wheel, and attach it to the open end of the axle. Repeat this exact process for the second set of wheels. Check the spacing before the glue sets. You need a small gap between the wheels and the car body so they rotate smoothly. Lay the car on its side and let the glue cure overnight.
Step 10: Final Inspection and Finishing Touches
After the glue dries completely, test the rolling action of your car on a flat surface. It should glide effortlessly. If the wheels feel a bit stiff, you can puff a tiny amount of powdered graphite into the axle gaps to lubricate the moving parts. Inspect the entire car one last time for any missed rough spots or chipped paint. If you used paint or stain, adding a clear, non-toxic polyurethane topcoat will protect the finish from dirty hands and everyday wear and tear. Let the final clear coat cure in a well-ventilated area. Your handcrafted wooden car is now ready for years of enjoyment.

5 Things You Should Avoid
1. Rushing the Sanding Process
Sanding requires patience. Skipping straight to a fine grit or neglecting to round the edges will result in a rough toy that could cause splinters. Always progress through the grits systematically.
2. Using the Wrong Glue
Standard school glue lacks the strength required for woodworking. Always use dedicated wood glue for securing your axles and wheels. It bonds the wood fibers together, ensuring the wheels do not snap off during vigorous play.
3. Drilling Freehand Without Clamps
Attempting to drill axle holes while holding the wood with your free hand usually leads to crooked holes. Always clamp the wood securely. Crooked holes mean your axles will sit at an angle, causing the car to drag instead of roll.
4. Painting the Axles
Keep paint, stain, and thick clear coats away from the dowels and the inside of the axle holes. Paint creates a sticky surface and adds thickness, which will cause the wheels to seize up completely.
5. Choosing Complex Designs for a First Project
Avoid intricate window cutouts or fragile spoilers on your first attempt. Complicated cuts are difficult to sand and break easily. Master the basic, chunky shapes first before moving on to advanced automotive detailing.
Conclusion
How to make a car out of wood provides a wonderful gateway into the world of woodworking.
By following these steps, you transform raw materials into a functional, beautiful object crafted by your own hands. The process teaches patience, precision, and problem-solving. Whether you leave the wood natural or paint it brightly, the final result carries a personal touch that store-bought items simply cannot match.
Grab your tools, select your wood, and enjoy the rewarding process of bringing your unique wooden car design to life.

About
Mike May is a distinguished figure in the world of woodworking and timber design, with a decade of expertise creating innovative and sustainable indoor solutions. His professional focus lies in merging traditional craftsmanship with modern manufacturing techniques, fostering designs that are both practical and environmentally conscious. As the author of Woodimber, Mike delves into the art and science of timber-craft, inspiring artisans and industry professionals alike.
Education
RMIT University (Melbourne, Australia)
-
Associate Degree in Design (Timber): Focus on sustainable design, industry-driven projects, and practical craftsmanship.
-
Gained hands-on experience with traditional and digital manufacturing tools, such as CAD and CNC software.
Nottingham Trent University (United Kingdom)
-
Bachelor’s in Woodworking and Product Design (Honors): Specialized in product design with a focus on blending creativity with production techniques.
-
Participated in industry projects, working with companies like John Lewis and Vitsoe to gain real-world insights.
Publications and Impact
In Woodimber, May shares his insights on timber design processes, materials, and strategies for efficient production. His writing bridges the gap between artisan knowledge and modern industry needs, making it a must-read for both budding designers and seasoned professionals.