

Creating your own wooden chess board is an incredibly rewarding project that combines precision, patience, and a touch of creativity. Few items command as much respect and admiration as a beautifully handcrafted game board resting on a coffee table or study desk.
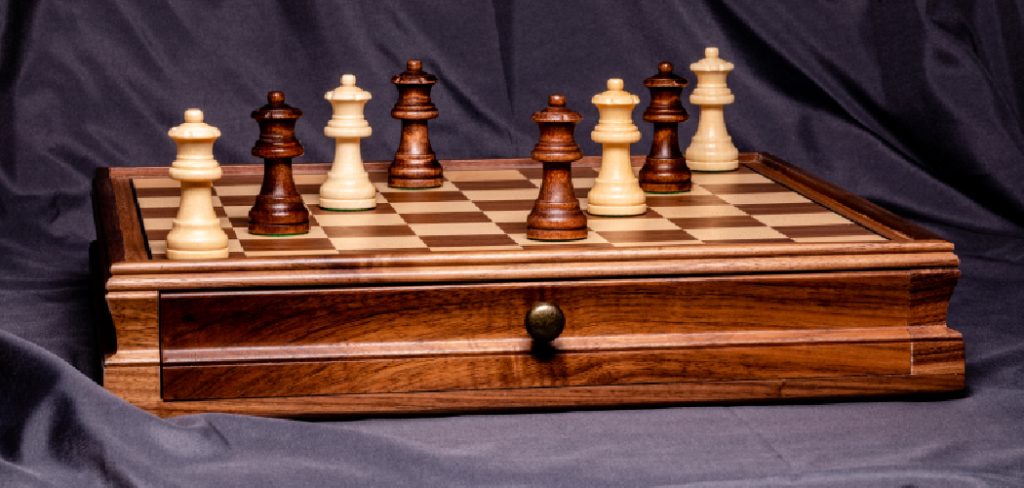
We will walk through the entire process of building a high-quality chessboard from scratch, equipping you with the knowledge needed to turn raw lumber into a functional work of art. Whether you are an experienced woodworker or a dedicated beginner eager to expand your skills, this guide provides a straightforward path to success.
Let’s dive into how to make a chess board out of wood.
What are the Benefits?
Taking on a DIY woodworking project like a chessboard offers numerous personal and practical advantages. First, you gain absolute control over the aesthetic. You can choose specific wood species that perfectly match your home decor or reflect your personal taste. Commercial boards often use veneers or cheaper materials hidden beneath stains, but building your own guarantees solid, high-quality wood throughout the entire piece.
Second, the act of woodworking provides a massive sense of accomplishment. We often buy mass-produced items, missing out on the deep satisfaction that comes from creating something valuable with our own hands. Building a chessboard teaches fundamental woodworking skills like precise measuring, jointing, and finishing. These skills will serve you well in any future DIY endeavors.
Additionally, a handmade chessboard serves as a beautiful family heirloom. Items crafted with care carry emotional weight and history. You are not just building a game board; you are creating a centerpiece that can be passed down through generations. Finally, sourcing your own materials and investing your time is frequently more cost-effective than purchasing a high-end luxury board from a boutique store.
What Will You Need?
Before making any cuts, gather the correct materials and tools. Preparation prevents frustration and ensures a smooth workflow.
Materials:
- Light wood (e.g., Maple or Ash)
- Dark wood (e.g., Walnut or Mahogany)
- High-quality wood glue
- Sandpaper (ranging from 80 to 320 grit)
- Wood finish (polyurethane, Danish oil, or hard wax)
Tools:
- Table saw with a sharp, fine-toothed blade
- Planer or drum sander (optional, but highly recommended)
- A reliable set of bar clamps or parallel clamps
- Tape measure and combination square
- Woodworking jointer (or a jointing jig for your table saw)
- Glue roller or brush
- Clean rags and a tack cloth
10 Easy Steps on How to Make a Chess Board Out of Wood
Creating the board requires precision, but breaking it down into manageable actions makes the process straightforward. Here is exactly how we approach it.
Step 1: Wood Selection
Choosing the right wood dictates the final look and durability of your board. You need two distinct, contrasting colors to represent the light and dark squares. Walnut and hard maple make a classic, reliable pairing. Ensure the wood you select is kiln-dried to prevent warping or splitting as the seasons change. Look for boards with a straight, consistent grain pattern. Avoid wood with knots, cracks, or deep imperfections, as these will complicate the cutting process and disrupt the clean geometric look of the final checkerboard pattern.
Step 2: Milling and Prepping the Wood
Before you cut the wood into strips, it must be perfectly flat and square. If you have a jointer and a planer, run your boards through to create flat faces and 90-degree edges. If you do not own these machines, you can use a table saw jointing jig or buy pre-milled, perfectly squared lumber from your local supplier. The final thickness of your boards should be roughly three-quarters of an inch. Ensuring your stock is perfectly flat and uniform in thickness is the most critical foundation for a seamless, gap-free final product.
Step 3: Cutting the Strips
A standard chessboard features eight squares across and eight squares down. To begin building this pattern, you must cut your light and dark wood into long strips. Set your table saw fence to exactly two inches. Carefully run your light wood and dark wood through the saw, keeping the edge tight against the fence. You need four light strips and four dark strips. Make sure your blade is sharp and perfectly set to 90 degrees to avoid angled edges, which would ruin the glue joints in the next step.
Step 4: The First Glue-Up
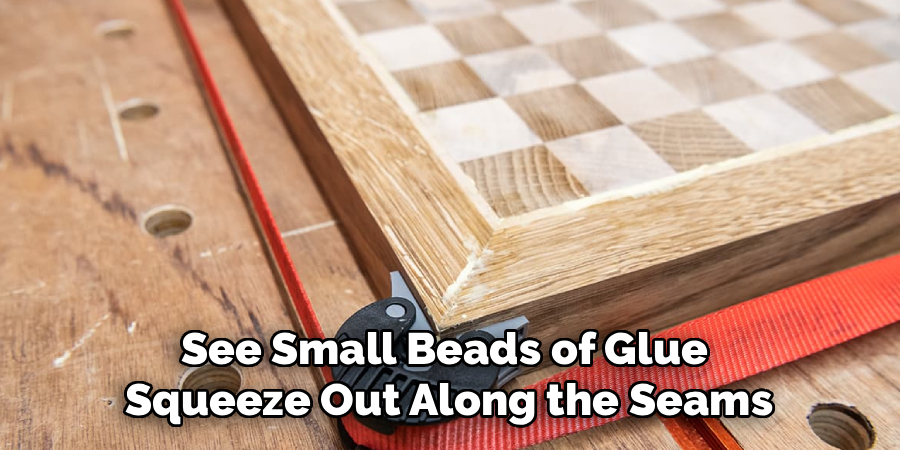
Now, arrange your eight strips on a flat work surface, alternating between light and dark wood. Apply a consistent, even layer of wood glue to the mating edges. A glue roller works perfectly for this. Push the strips together and apply your bar clamps across the panel. Alternate the clamps between the top and bottom of the panel to ensure even pressure and prevent the wood from bowing. Tighten the clamps until you see small beads of glue squeeze out along the seams, but do not overtighten, as this can starve the joint of glue. Let this sit overnight.
Step 5: Planning the Glued Panel
Once the glue has fully cured, remove the clamps. You will likely notice minor unevenness where the strips meet, along with dried glue squeeze-out. Carefully scrape away the heavy glue beads with a chisel or cabinet scraper. Next, run the entire panel through a surface planer, taking very shallow passes. If you lack a planer, use a random orbital sander starting with 80-grit paper to flatten the board. The goal here is to create a perfectly smooth, uniform panel before making the cross-cuts.
Step 6: Cross-Cutting the Segments
With your striped panel perfectly flat, it is time to cut it perpendicular to the original strips. Use a cross-cut sled on your table saw to ensure perfect 90-degree cuts. First, trim one end of the panel to establish a clean, square starting edge. Then, set a stop block at exactly two inches. Slide the panel against the stop block and make a cut. Repeat this process until you have eight new segments. Each segment will look like a striped ruler, featuring alternating light and dark squares.
Step 7: The Second Glue-Up (The Checkerboard)
Take your eight new segments and lay them flat on your workbench. Take every second segment and flip it end-over-end. Instantly, the alternating strips will align to form the classic checkerboard pattern. Apply glue to the edges of the segments, just as you did in step four. Carefully align the corners of the squares as you push the segments together. Apply your clamps, alternating top and bottom. Take your time adjusting the pieces so the intersections match perfectly before fully tightening the clamps. Wipe away excess glue and let it dry overnight.
Step 8: Adding the Border
A border frames the playing area and adds structural stability to the board. Measure the exact length of the sides of your checkerboard panel. Cut two border pieces from your dark wood and glue them to opposite sides of the board. Once those are dry, measure the new width, including the borders you just added, and cut the final two border pieces for the remaining edges. Glue and clamp these in place. Adding a small bevel or chamfer to the outer edge of the border will give the board a refined, professional appearance.
Step 9: Sanding to Perfection
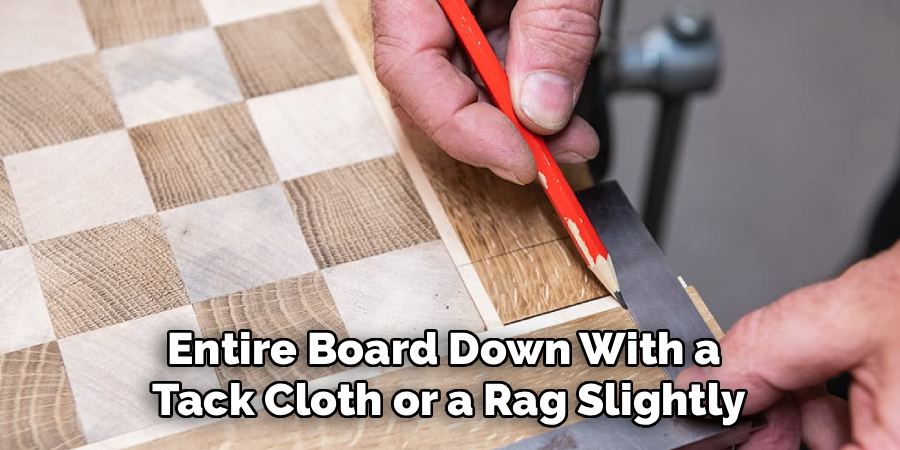
Sanding transforms a rough assembly into a polished masterpiece. Start with an 80-grit or 100-grit sandpaper on your random orbital sander to level the border with the playing surface and remove any remaining glue marks. Gradually work your way through the grits, moving to 120, 150, and finally 220-grit. Always keep the sander moving to avoid digging gouges into the wood. After the final sanding pass, wipe the entire board down with a tack cloth or a rag slightly dampened with mineral spirits to remove all hidden dust trapped in the grain.
Step 10: Applying the Finish
The finish protects the wood and makes the contrasting colors pop. We recommend a wipe-on polyurethane or a hard wax oil for durability and ease of application. Apply the finish with a clean, lint-free cloth, following the grain of the wood as much as possible. Allow the first coat to dry completely, then lightly buff the surface with 320-grit sandpaper or fine steel wool. Apply two to three more coats, buffing between each one. Let the board cure completely in a dust-free environment before setting up your pieces for a game.
5 Things You Should Avoid
- Rushing the Glue-Up: Never rush the clamping process. Take the time to dry-fit your pieces without glue first to ensure all joints close tightly and square corners align perfectly.
- Ignoring Grain Direction: Pay attention to how the grain runs on your border pieces. You want the grain to flow nicely around the board to prevent future wood movement from splitting the delicate checkerboard joints.
- Using a Dull Saw Blade: A dull blade causes tear-out and burns the wood edges. This ruins the clean lines necessary for a crisp checkerboard pattern and prevents the glue from forming a strong, invisible bond.
- Skipping Sanding Grits: Jumping directly from 80-grit to 220-grit leaves deep, ugly scratches in the wood. Progress through every grit sequentially to achieve a glassy, flawless surface.
- Applying Too Much Finish at Once: Flooding the board with a thick layer of finish creates drips, bubbles, and sticky spots. It is always better to apply multiple thin, even coats rather than one thick, messy coat.

Conclusion
How to make a chess board out of wood tests your precision and rewards your patience with an incredible final product.
By selecting quality materials, taking the time to square your stock, and paying close attention during the glue-ups, you guarantee a beautiful result. Mistakes might happen along the way, but every error is just an opportunity to refine your woodworking techniques. We encourage you to embrace the process, enjoy the smell of fresh-cut lumber, and take pride in the meticulous work required.
Now that you understand the steps involved, head into the shop, gather your materials, and start building a board that you will proudly display and use for years to come.

About
Mike May is a distinguished figure in the world of woodworking and timber design, with a decade of expertise creating innovative and sustainable indoor solutions. His professional focus lies in merging traditional craftsmanship with modern manufacturing techniques, fostering designs that are both practical and environmentally conscious. As the author of Woodimber, Mike delves into the art and science of timber-craft, inspiring artisans and industry professionals alike.
Education
RMIT University (Melbourne, Australia)
-
Associate Degree in Design (Timber): Focus on sustainable design, industry-driven projects, and practical craftsmanship.
-
Gained hands-on experience with traditional and digital manufacturing tools, such as CAD and CNC software.
Nottingham Trent University (United Kingdom)
-
Bachelor’s in Woodworking and Product Design (Honors): Specialized in product design with a focus on blending creativity with production techniques.
-
Participated in industry projects, working with companies like John Lewis and Vitsoe to gain real-world insights.
Publications and Impact
In Woodimber, May shares his insights on timber design processes, materials, and strategies for efficient production. His writing bridges the gap between artisan knowledge and modern industry needs, making it a must-read for both budding designers and seasoned professionals.