

Welcome to your next favorite weekend crafting project. As home gardeners, we constantly reference heavy seed catalogs, complex planting schedules, and seasonal harvesting guides. Propping these thick volumes open with random rocks or dirty trowels often damages the delicate pages and ruins the binding over time. Crafting a dedicated, sturdy reading rest protects your valuable reference materials while adding beautiful rustic charm to your potting bench or kitchen counter.

If you have ever wondered exactly how to make a book stand out of wood, you are in the perfect place. You do not need an advanced carpentry shop or years of professional experience to complete this highly rewarding build. We designed this approachable tutorial specifically for absolute beginners who want to create something deeply practical using just a few basic tools and scrap lumber. Let us clear off the workbench, gather our essential supplies, and prepare to build a beautiful piece that will proudly display your favorite botanical encyclopedias for many growing seasons to come.
8 Step-By-Step Guide: How to Make a Book Stand Out of Wood
Step 1: Gather Your Lumber and Essential Hand Tools
Before you make a single cut, you must organize all your materials and tools in your designated workspace. Having everything within arm’s reach prevents frustrating interruptions once the assembly process begins. You will need a wide piece of solid pine or cedar for the main backing board, a narrower strip for the resting ledge, and a small hinged block for the rear support. Grab your reliable tape measure, a sharp pencil, wood glue, and several medium-grit sandpaper blocks. Safety always comes first, so ensure you have clear safety glasses and a dust mask ready to wear throughout the build. Organizing your bench right now sets a calm, focused tone for the rest of your enjoyable woodworking afternoon.
Step 2: Measure and Mark the Primary Backing Board
Selecting the proper dimensions determines how well your finished display will hold heavy, oversized gardening encyclopedias. Take your tape measure and carefully mark a rectangle measuring roughly twelve inches wide by ten inches tall on your primary piece of lumber. This generous size comfortably supports most standard hardcovers without letting the pages flop awkwardly over the edges. Use a straight edge or a framing square to ensure your pencil lines remain perfectly straight and parallel. Darken your final markings so they remain highly visible over the sawdust generated during the cutting phase. Taking extra time to verify these initial measurements guarantees your final piece looks professionally crafted rather than hastily assembled.
Step 3: Cut the Main Sections with a Jigsaw
Securing your marked lumber tightly to the edge of the workbench requires heavy clamps to prevent dangerous slipping. Put on your safety glasses and carefully align your jigsaw blade with the dark pencil lines you just drew. Turn the saw on and let the tool do the heavy lifting, pushing it slowly forward without unnecessarily forcing the blade through the thick grain. If you cut too quickly, the board might splinter extensively along the fragile edges. Pause and reposition your heavy clamps as needed to keep the board completely stable while you navigate down the long straightaways. Once finished, you will have the solid foundation needed for holding your heavy botanical reference materials.

Step 4: Sanding Book Stand Out of Wood
Mastering the sanding process is absolutely crucial for protecting your delicate pages from damage. Any rough patches or sharp splinters will easily tear the paper of your favorite seed catalogs. Grab a sanding block equipped with medium-grit paper and gently smooth out the freshly cut outer perimeter. You want to round over the sharp corners to make the piece completely safe to handle and visually appealing. Switch to a fine-grit sandpaper and thoroughly buff the broad front face until it feels remarkably smooth to the touch. Wipe the board meticulously with a slightly damp cloth to remove every microscopic particle of sawdust before moving forward.
Step 5: Cut and Prepare the Bottom Resting Ledge
Your reading materials require a sturdy bottom lip to prevent them from sliding downward during your intensive study sessions. Measure and cut a long strip of wood that perfectly matches the twelve-inch width of your main backing board. This ledge should sit about two inches deep, providing plenty of room for thick, comprehensive planting guides to rest open naturally. Sand this smaller piece just as carefully as the main board, paying special attention to the front-facing corners. A perfectly smoothed ledge ensures you can turn pages quickly and seamlessly without snagging the delicate paper on hidden wooden burrs. Wipe away the resulting dust completely before preparing your adhesives.
Step 6: Assemble the Ledge and Backing Board Together
Connecting the resting ledge to the main backboard requires patience and a generous amount of high-quality wood glue. Apply a continuous, thick bead of adhesive along the bottom edge of your tall backing board. Carefully press the back edge of the resting ledge tightly against this glued surface, ensuring the outer corners align perfectly flush. Use several heavy-duty clamps spaced evenly across the joint to hold the two pieces securely together while the glue cures overnight. Wipe away any excess adhesive that squeezes out immediately using a damp rag, as dried glue blocks protective stains from absorbing properly into the raw grain. This creates a remarkably strong, permanent ninety-degree angle.
Step 7: Attach the Adjustable Rear Support Arm
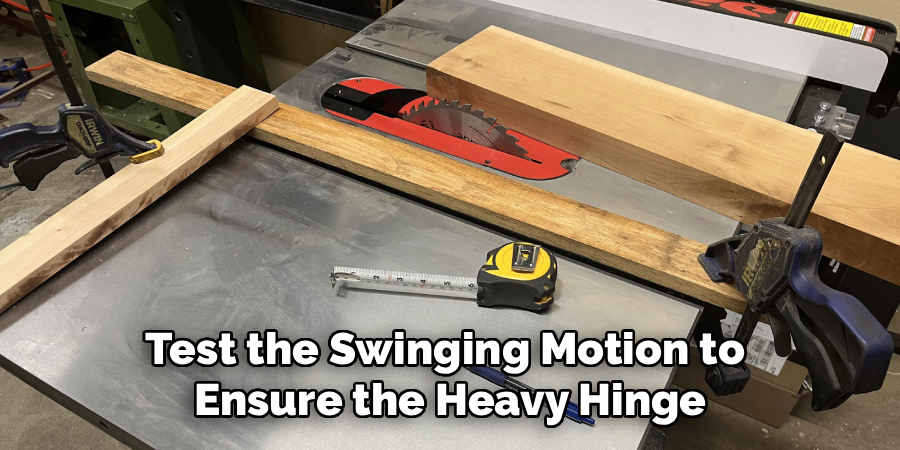
A proper reading rest must sit at a comfortable angle to prevent severe neck strain while you review your seasonal planting charts. Cut a narrow piece of scrap lumber roughly six inches long to serve as your folding rear kickstand. Attach a small brass hinge to the top of this kickstand using short wood screws. Fasten the other side of the brass hinge directly to the top center of the main backing board’s rear face. This simple mechanical addition allows you to fold the entire assembly perfectly flat for convenient storage during the busy winter months. Test the swinging motion to ensure the heavy hinge operates smoothly without binding against the backboard.
Step 8: Apply a Protective Sealant for Greenhouse Use
Adding a high-quality finish protects the raw lumber from high humidity, spilled potting soil, and accidental water splashes. Brush a generous coat of natural linseed oil or protective beeswax over all the exposed solid wooden surfaces. These beautiful, natural finishes repel moisture while deeply enriching the visual character of the raw wood grain. Avoid using heavy, glossy chemical varnishes, as they can occasionally stick to the glossy pages of your expensive reference materials on extremely hot summer afternoons. Let the protective coating cure entirely in a dry, well-ventilated area before setting your first heavy hardcover onto the freshly finished ledge. Your beautiful, handmade reading accessory now stands ready for daily action.
Frequently Asked Question
What Type Of Wood Works Best For This Project?
Selecting the right lumber directly impacts both the durability and the final visual appeal of your homemade reading accessory.
- Pine offers a budget-friendly, incredibly easy-to-cut option for absolute beginners.
- Cedar naturally resists moisture, making it truly ideal for humid greenhouse environments.
- Hardwoods like oak provide maximum strength but require sharper tools and more physical effort to shape.
Always select relatively straight, untreated boards to ensure your finished project remains perfectly flat and structurally stable.
How Do I Stop The Pages From Flipping Over?
Thick, newly bound hardcovers naturally want to close themselves, which quickly becomes frustrating when your hands are covered in potting soil.
- Install two small metal clips near the outer edges of the resting ledge to pin the paper down.
- Use heavy, decorative metal weights placed gently across the open margins.
- Ensure your rear kickstand leans back far enough to let gravity hold the heavy covers open naturally.
Adjusting the viewing angle usually solves most page-flipping issues instantly.
Can I Make The Stand Adjustable For Different Angles?
You can easily modify the rear kickstand mechanism to offer multiple comfortable viewing angles for different reading environments.
- Attach a flexible chain between the kickstand and the main board to limit the spreading distance.
- Cut several shallow horizontal notches into a flat baseboard for the kickstand to drop into.
- Use a friction-based swivel hinge that holds its position firmly wherever you leave it.
These simple upgrades make your rustic accessory much more versatile across different tabletops.
Do I Need Advanced Power Tools To Build This?
You absolutely do not need an expensive, fully equipped professional carpentry shop to achieve stunning, highly functional results.
- A standard handheld coping saw easily replaces a powered jigsaw for making straight cuts.
- Traditional sandpaper blocks work just as well as loud power sanders, though they require more physical energy.
- Simple wood glue creates joints that are often stronger than the surrounding natural wood fibers.
Beginners frequently find quiet hand tools much less intimidating and far easier to control precisely.
How Should I Clean Dirt Off The Finished Surface?
Proper routine maintenance extends the lifespan of your handmade accessory, especially if you use it heavily near messy potting stations.
- Wipe the smooth surfaces down with a slightly damp microfiber cloth after handling dusty seed packets.
- Never soak the lumber directly in the sink or leave it exposed to heavy outdoor rain.
- Reapply a very light coat of natural beeswax conditioner once a year to restore the protective barrier.
Consistent, gentle cleaning prevents abrasive grit from permanently scratching your beautiful handiwork.
Conclusion
Crafting your own practical accessories brings a profound sense of accomplishment to your daily reading and planting routines. From meticulously measuring the sturdy backing board to carefully attaching the adjustable brass hinge, this straightforward project builds valuable hands-on skills while producing something incredibly useful. You no longer need to rely on dirty rocks or heavy tools to keep your important reference materials completely open and safe from damage.
Take immense pride in knowing you transformed simple raw lumber into a functioning, beautiful display piece. We highly encourage you to gather your essential materials, clear off your workbench, and tackle this highly enjoyable afternoon build. Now that you fully understand how to make a book stand out of wood, you can confidently construct a rustic, durable reading companion that will serve your greenhouse for many amazing growing seasons. Grab your favorite botanical encyclopedia, prop it open, and enjoy your beautifully organized workspace.

About
Mike May is a distinguished figure in the world of woodworking and timber design, with a decade of expertise creating innovative and sustainable indoor solutions. His professional focus lies in merging traditional craftsmanship with modern manufacturing techniques, fostering designs that are both practical and environmentally conscious. As the author of Woodimber, Mike delves into the art and science of timber-craft, inspiring artisans and industry professionals alike.
Education
RMIT University (Melbourne, Australia)
-
Associate Degree in Design (Timber): Focus on sustainable design, industry-driven projects, and practical craftsmanship.
-
Gained hands-on experience with traditional and digital manufacturing tools, such as CAD and CNC software.
Nottingham Trent University (United Kingdom)
-
Bachelor’s in Woodworking and Product Design (Honors): Specialized in product design with a focus on blending creativity with production techniques.
-
Participated in industry projects, working with companies like John Lewis and Vitsoe to gain real-world insights.
Publications and Impact
In Woodimber, May shares his insights on timber design processes, materials, and strategies for efficient production. His writing bridges the gap between artisan knowledge and modern industry needs, making it a must-read for both budding designers and seasoned professionals.