

Do you constantly bump your knees on bulky table legs? Maybe your room feels too cramped for standard furniture. Building a floating desk offers a sleek, modern solution that reclaims your floor space.

This project transforms empty wall space into a highly functional work area. You do not need to be a master carpenter to get this right. With the right tools and a free afternoon, you can construct a sturdy, beautiful workspace tailored exactly to your needs.
This guide on how to build a floating desk will walk you through the benefits, the materials you need, and the exact steps to build your own floating desk from scratch.
What Are the Benefits?
A floating desk provides several distinct advantages over traditional furniture:
- Maximizes Floor Space: Without legs, the area underneath remains completely clear for storage or legroom.
- Customizable Ergonomics: You decide the exact height, ensuring perfect posture and comfort.
- Minimalist Aesthetic: The clean, floating design makes small rooms feel open and airy.
- Cost-Effective: Building your own desk costs a fraction of what you would pay for custom retail furniture.
- Perfect Fit: You can customize the dimensions to fit awkward corners or narrow alcoves perfectly.
What Will You Need?
Gather these materials and tools before you begin:
- Materials:
- A solid wood panel or butcher block for the desktop
- Heavy-duty L-brackets or a wooden cleat system (1×2 or 2×4 lumber)
- Wood screws (various lengths)
- Heavy-duty wall anchors (if necessary)
- Wood stain or paint
- Polyurethane finish
- Tools:
- Measuring tape
- Stud finder
- Level
- Power drill and bits
- Circular saw (if cutting your own wood)
- Random orbital sander with sandpaper (80, 120, and 220 grit)
- Paintbrushes or rags
10 Easy Steps on How to Build a Floating Desk
Step 1: Plan Your Space and Dimensions
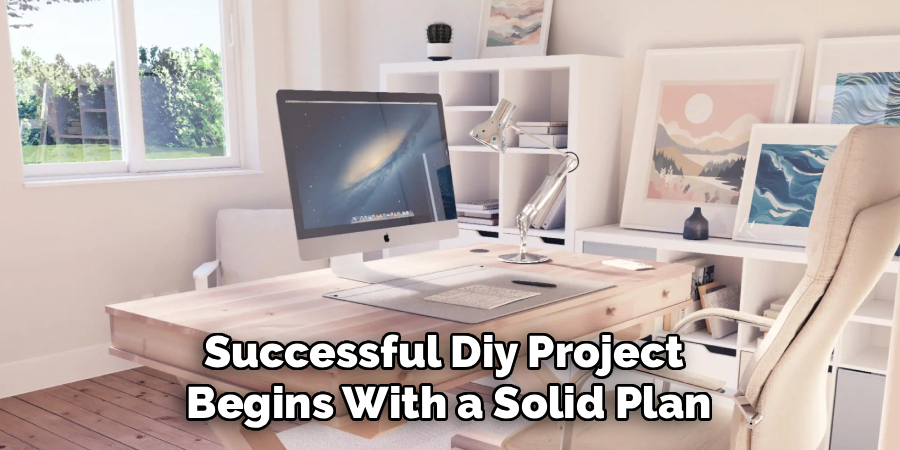
Every successful DIY project begins with a solid plan. Start by measuring the wall area where you want your new desk to hang. Consider how much depth you need for your laptop, monitors, and notebooks. A standard desk depth ranges between 20 to 24 inches, but you can adjust this based on your room size. Next, figure out the best height for your setup. The standard desk height is about 29 to 30 inches from the floor, but you should measure your favorite chair to find your ideal ergonomic height. Write down all your final measurements on a piece of paper so you have a quick reference guide.
Step 2: Locate and Mark Your Wall Studs
Securing your desk to the wall studs is the most important part of this project. Drywall cannot support the weight of a heavy desk, your computer equipment, and the pressure of you leaning on it. Grab a high-quality stud finder and slowly slide it across your wall at your designated desk height. When the stud finder beeps or lights up, mark the center of the stud with a pencil. Studs usually sit 16 inches apart. Mark every single stud that falls within the width of your planned desk. Use your level to draw vertical lines down from these marks so you can easily see them when you hold your brackets or cleats against the wall.
Step 3: Cut the Wood to Size
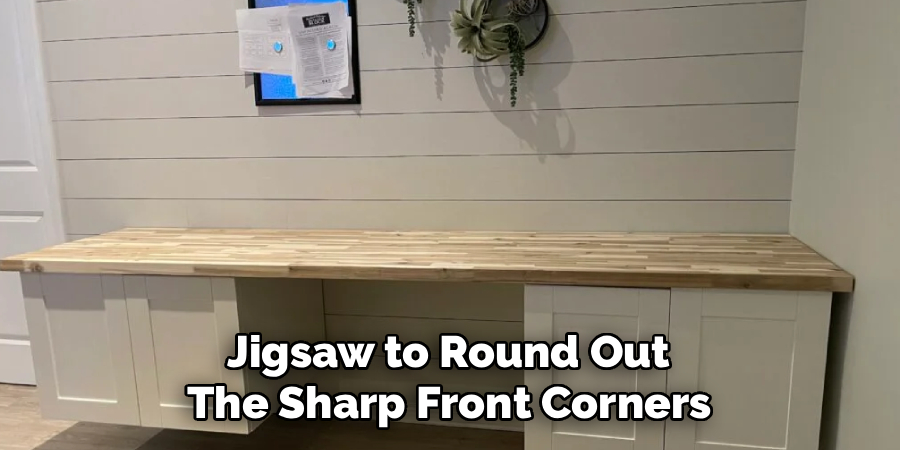
Now that you know your exact dimensions, it is time to cut your desktop. If you bought a pre-cut piece of butcher block that already fits, you can skip this step. Otherwise, set your wood securely on a pair of sawhorses. Measure twice to ensure your cut lines are perfectly straight and match your notes. Use a circular saw to carefully cut the wood down to size. If you want a more polished look, you can also use a jigsaw to round out the sharp front corners. Take your time during this step to ensure your edges remain smooth and straight.
Step 4: Sand the Desktop Surface
Raw wood requires thorough sanding before it can become a comfortable work surface. Start with a coarse 80-grit sandpaper on your orbital sander to remove any rough patches, splinters, or factory marks. Move the sander evenly across the grain of the wood. Once the surface feels uniform, switch to a medium 120-grit sandpaper to smooth out the scratches left by the coarse grit. Finally, finish the job with a fine 220-grit sandpaper until the wood feels as smooth as glass. Do not forget to sand the edges and corners, slightly rounding them so they do not dig into your wrists while you type.
Step 5: Apply Stain or Paint
Clear away all the sanding dust using a slightly damp cloth or a vacuum with a brush attachment. If you decide to showcase the natural wood grain, apply a wood stain. Stir the stain thoroughly, then brush it onto the wood following the direction of the grain. Let the stain sit for a few minutes before wiping away the excess with a clean rag. The longer you leave it, the darker the color becomes. If you prefer a solid color to match your room, apply a high-quality primer followed by two coats of your chosen paint. Let the wood dry completely according to the product instructions.
Step 6: Seal and Protect the Wood
Desks endure a lot of daily wear and tear, from hot coffee mugs to sliding keyboards. To protect your newly stained or painted wood, you must apply a clear topcoat. Water-based polyurethane is an excellent choice because it dries quickly and cleans up easily. Use a high-quality synthetic brush to apply a thin, even coat over the entire surface. Allow it to dry completely, which usually takes a few hours. Lightly hand-sand the surface with 220-grit sandpaper to remove any small bubbles, wipe away the dust, and apply a second coat. Three coats will give you maximum durability.
Step 7: Install the Wall Cleat
A wall cleat adds massive structural support to the back edge of your desk. Cut a piece of 1×2 or 2×4 lumber to match the exact length of your desktop. Hold the wood against the wall at your desired height. Place your level on top of the wood to make sure it sits perfectly straight. Once level, drive long wood screws through the cleat and directly into the wall studs you marked earlier. You should use at least two screws per stud. This horizontal piece of wood will carry the back weight of the desk, keeping it flush and secure against the wall.
Step 8: Attach the Support Brackets
While the cleat holds the back, you need heavy-duty L-brackets to support the front weight of the desk. Position your brackets under the desk area, aligning them perfectly with the wall studs. You should install one bracket on every available stud beneath the desk for maximum strength. Mark the screw holes with a pencil, remove the bracket, and drill small pilot holes to prevent the wall wood from splitting. Place the brackets back over the holes and drive thick, heavy-duty screws through the bracket into the studs. Make sure every bracket sits perfectly level with your back cleat.
Step 9: Mount the Desktop
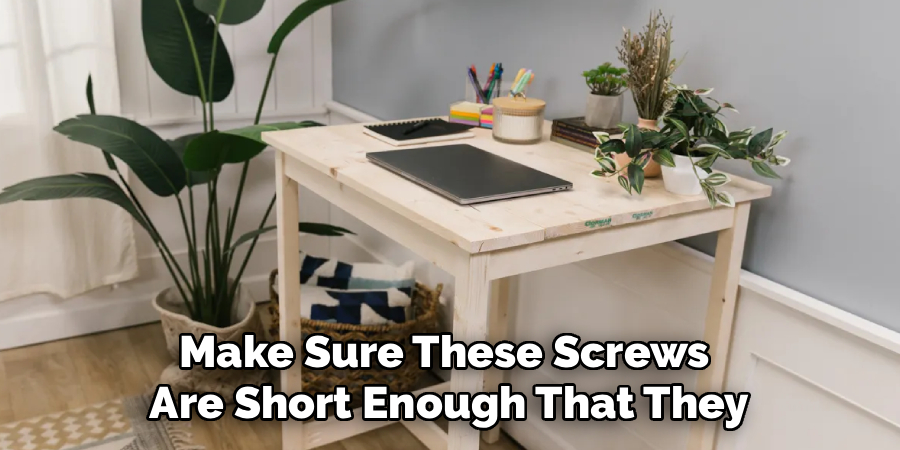
With your support system firmly attached to the wall, you can finally install the actual desk. You might need a friend to help you lift the heavy wood panel. Carefully rest the finished desktop onto the wall cleat and the heavy-duty brackets. Push the wood tightly against the wall so no gaps remain. Crawl underneath the desk and drive short wood screws up through the holes in the L-brackets and into the bottom of the desktop. Make sure these screws are short enough that they do not poke through the top surface of your beautiful new desk.
Step 10: Manage Cables and Add Finishing Touches
A floating desk looks best when it remains clean and uncluttered. To handle your computer and lamp cords, drill a small hole in the back corner of the desktop using a hole saw bit. You can insert a plastic desk grommet into the hole for a professional finish. Run all your cables down through this hole. To hide the wires completely, attach a cable management tray or simple wire clips to the underside of the desk. Plug everything in, set up your computer, and push your chair in. Your custom workspace is now complete and ready for action.
5 Things You Should Avoid
- Missing the Studs: Never rely solely on drywall anchors for a desk meant to hold computers and human weight. Always anchor into the wooden wall studs.
- Using weak Brackets: Standard shelf brackets will buckle under the weight of a desk. Always purchase heavy-duty brackets rated for over 100 pounds each.
- Choosing Screws That Are Too Long: Pay close attention to your desktop thickness when screwing up through the brackets to avoid ruining your smooth surface.
- Skipping the Sanding Process: Rushing the prep work will result in a rough desk that snags clothing and feels uncomfortable against your wrists.
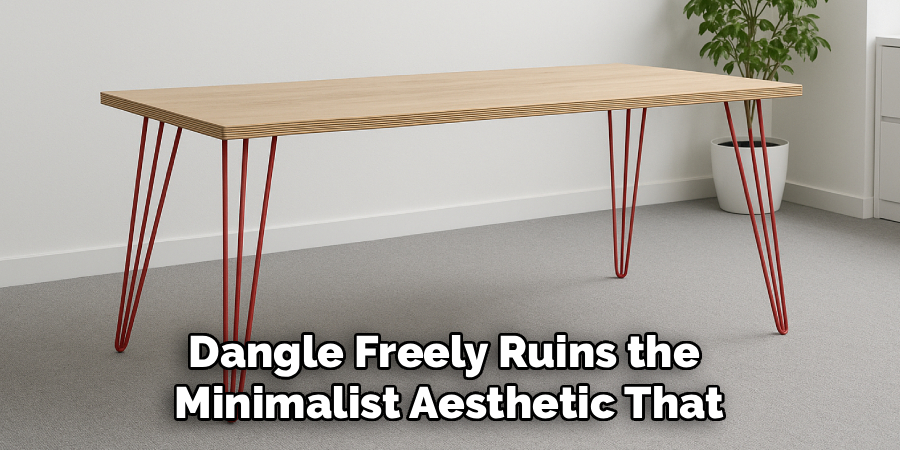
- Ignoring Cable Management: Letting cords dangle freely ruins the minimalist aesthetic that makes floating desks so appealing in the first place.
Conclusion
How to build a floating desk is an incredibly rewarding project that transforms how you use your space.
By carefully planning your layout, securing your hardware to the wall studs, and taking your time with the wood finish, you create a piece of custom furniture that will last for years. You now have the knowledge and the steps needed to tackle this project with complete confidence.
Gather your tools, pick out a beautiful piece of wood, and start building the minimalist workspace you deserve today.

About
Mike May is a distinguished figure in the world of woodworking and timber design, with a decade of expertise creating innovative and sustainable indoor solutions. His professional focus lies in merging traditional craftsmanship with modern manufacturing techniques, fostering designs that are both practical and environmentally conscious. As the author of Woodimber, Mike delves into the art and science of timber-craft, inspiring artisans and industry professionals alike.
Education
RMIT University (Melbourne, Australia)
-
Associate Degree in Design (Timber): Focus on sustainable design, industry-driven projects, and practical craftsmanship.
-
Gained hands-on experience with traditional and digital manufacturing tools, such as CAD and CNC software.
Nottingham Trent University (United Kingdom)
-
Bachelor’s in Woodworking and Product Design (Honors): Specialized in product design with a focus on blending creativity with production techniques.
-
Participated in industry projects, working with companies like John Lewis and Vitsoe to gain real-world insights.
Publications and Impact
In Woodimber, May shares his insights on timber design processes, materials, and strategies for efficient production. His writing bridges the gap between artisan knowledge and modern industry needs, making it a must-read for both budding designers and seasoned professionals.