

Are you looking to add a splash of color to your wooden tray? Got a tired-looking wooden tray gathering dust in your kitchen or living room?
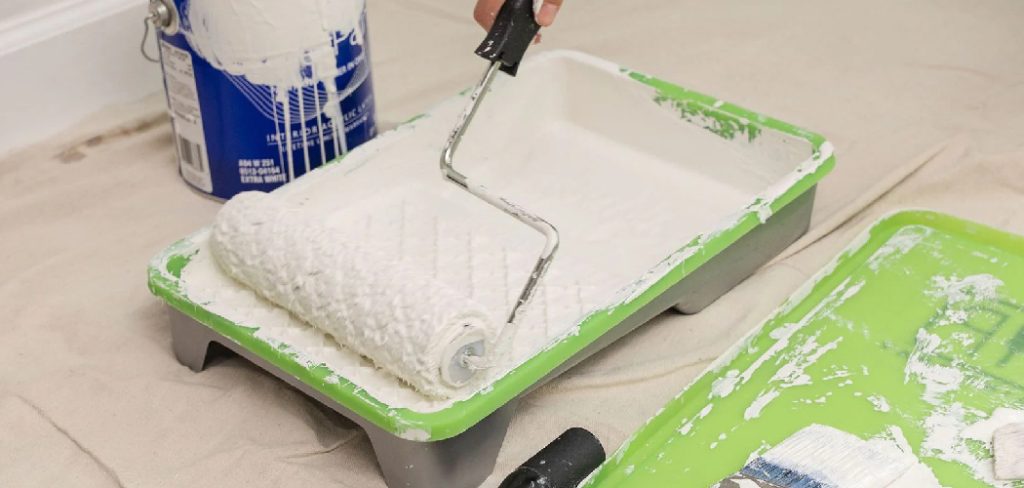
Transforming it with a fresh coat of paint is an incredibly rewarding weekend project. Whether you want a vibrant centerpiece for your coffee table or a sleek breakfast-in-bed tray, a little preparation and the right technique go a long way.
This complete guide on how to paint a wood tray will walk you through everything you need to know, from gathering your supplies to applying the final protective sealant.
What Are the Benefits of Painting a Wood Tray?
Breathing new life into an old wood tray offers several distinct advantages. First, it allows for complete customization. You can match your exact home decor palette, adding specific patterns or finishes that you cannot find in a store. Upcycling an existing tray also saves you money and reduces waste, making it an eco-friendly choice. Furthermore, hands-on DIY projects provide a great creative outlet, offering a relaxing and therapeutic way to spend an afternoon.
What Will You Need?
Before you begin, gather the following materials:
- An unfinished or old wooden tray
- Sandpaper (120-grit and 220-grit)
- Wood filler and a putty knife (optional)
- Tack cloth or a slightly damp microfiber rag
- High-quality wood primer
- Acrylic or water-based latex paint
- Synthetic bristle paintbrushes
- Small high-density foam roller
- Painter’s tape
- Clear sealant (Polycrylic or water-based polyurethane)
10 Easy Steps on How to Paint a Wood Tray
Creating a smooth, durable finish requires patience and a methodical approach. Follow these 10 detailed steps to achieve a professional result.
Step 1: Inspect and Repair the Wood
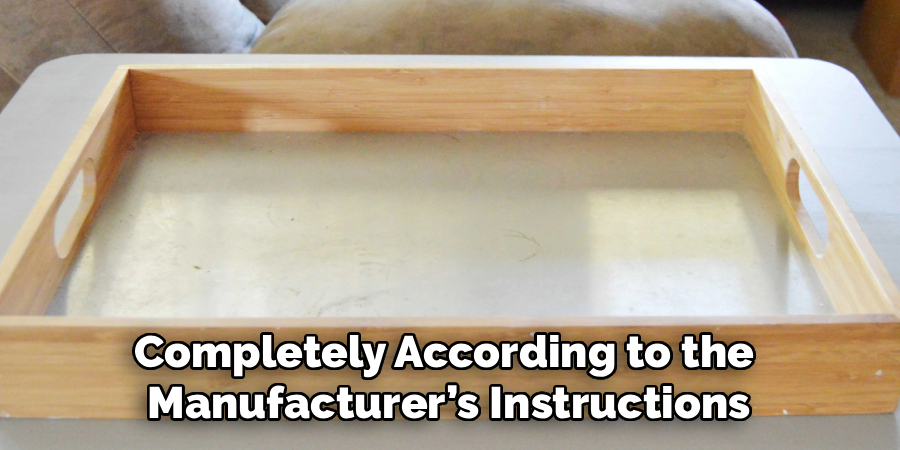
Begin by closely examining your tray for any structural issues. Look for deep scratches, gouges, or splintered edges that could ruin your final finish. If you find any imperfections, grab your wood filler and a small putty knife. Press the filler firmly into the gaps, smoothing it out so it sits slightly higher than the wood surface. This allows for shrinkage as the filler dries. Let the wood filler dry completely according to the manufacturer’s instructions. Taking the time to patch these areas ensures a flawless foundation for your paint, preventing ugly dips and cracks from showing through later.
Step 2: Sand the Surface Thoroughly
Sanding is arguably the most critical step in this entire process. Grab your 120-grit sandpaper and begin sanding the entire tray. Always move your sandpaper in the same direction as the wood grain to avoid leaving visible cross-scratches. Pay special attention to the areas where you applied wood filler, sanding them down until they are perfectly flush with the surrounding wood. If your tray already has a glossy varnish or an old layer of paint, you must sand aggressively enough to break that shiny seal. The goal here is to create a slightly rough, “toothy” texture that your primer can easily grip onto.
Step 3: Clean the Tray Entirely
Once you finish sanding, your tray will be covered in a fine layer of dust. If you paint over this dust, your paint will clump up and eventually peel off. Start by using a soft-bristled brush or a vacuum with a brush attachment to remove the bulk of the loose particles. Next, take a tack cloth and wipe down every inch of the tray. If you do not have a tack cloth, a slightly damp microfiber rag works well. Make sure you get into the corners and tight crevices. Allow the wood to dry completely before moving on to the next phase.
Step 4: Tape Off Areas You Want to Keep Natural
Sometimes you want to leave certain parts of the tray bare, like the handles or the interior base, for a two-toned look. Take a high-quality painter’s tape and carefully mask off these sections. Press the edges of the tape down firmly with your fingernail or a flat tool to prevent the paint from bleeding underneath. If your tray has metal hardware or handles that you cannot easily unscrew and remove, tape them up thoroughly. Proper masking saves you a massive amount of cleanup time later and guarantees sharp, crisp lines.
Step 5: Apply a High-Quality Primer
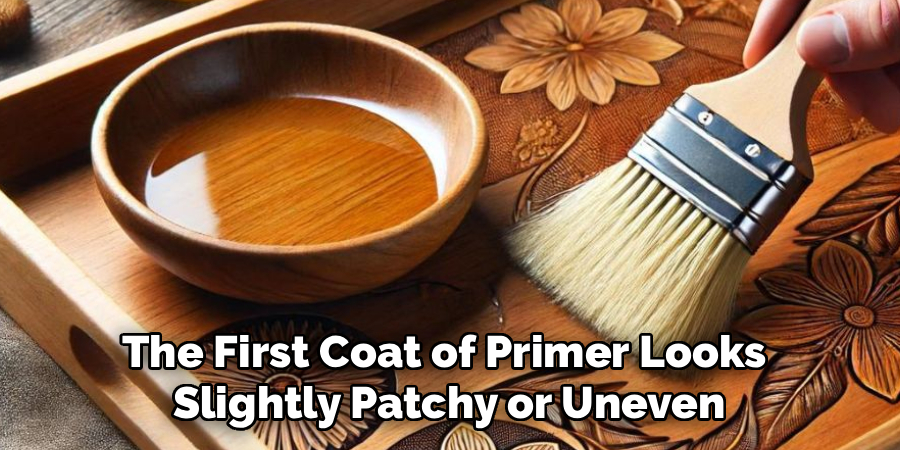
Never skip the primer. Primer seals the porous wood surface, prevents natural wood tannins from bleeding through and discoloring your paint, and creates a strong bond for the topcoat. Dip your brush into the primer and apply a thin, even layer across the tray. For the flat base of the tray, a small foam roller works perfectly to eliminate brush strokes. For the raised edges and corners, use your synthetic brush. Do not worry if the first coat of primer looks slightly patchy or uneven; its primary job is adhesion, not coverage. Let the primer dry entirely.
Step 6: Sand the Primer Coat
After the primer dries, the wood grain often swells and raises slightly, creating a rough texture. Take your fine 220-grit sandpaper and lightly run it over the primed surface. Apply very little pressure—you only want to knock down the raised grain, not sand through the primer back to the bare wood. This quick step is the secret to getting a buttery-smooth, factory-like finish. Once you finish this light scuff-sanding, use a fresh tack cloth to wipe away the newly created primer dust.
Step 7: Paint the First Coat
Now it is time for the fun part: adding your color. Dip your brush or foam roller into your well-stirred paint. Apply the paint in long, even strokes, always working in the direction of the wood grain. Keep your coats incredibly thin. Applying thick layers of paint inevitably leads to drips, pooling in the corners, and a sticky finish that never quite cures properly. Work methodically, starting with the inner walls, moving to the base, and finishing with the outer edges. Smooth out any heavy areas or drips immediately before the paint begins to set.
Step 8: Let It Dry Completely
Patience is your best friend during this step. Check the back of your paint can for the recommended recoat time, which is usually between two and four hours, depending on the brand and your local humidity. Do not rush this process. If you apply a second coat while the first coat is still slightly damp or tacky, you will reactivate the wet paint and drag it around, creating a massive, textured mess. Place the tray in a dust-free, well-ventilated area while it dries to speed up the evaporation process safely.
Step 9: Apply Second and Third Coats
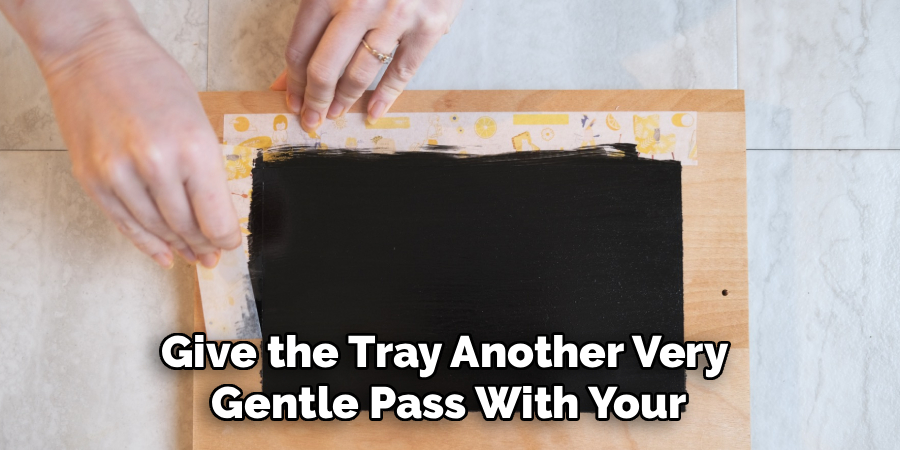
Once the first coat feels dry to the touch, apply your second coat using the same thin, even technique. The first coat usually looks a little streaky, but the second coat is where the true color and opacity begin to shine. Depending on the color you chose—especially if you are painting a light color over dark wood—you may need a third coat. If you notice any dust bumps or minor imperfections between coats, give the tray another very gentle pass with your 220-grit sandpaper and wipe it clean before adding the final layer of paint.
Step 10: Seal and Protect the Finish
Because a wood tray faces heavy use, spills, and scratches, you must protect your paint job with a clear topcoat. Water-based polycrylic or polyurethane is ideal because it dries crystal clear and will not yellow over time like oil-based finishes. Using a clean brush, apply a very thin layer of the sealant over the entire painted surface. Be careful not to let it pool in the corners. Allow the first coat of sealant to dry, lightly sand it with 220-grit paper, wipe away the dust, and apply a second coat. Let the tray cure fully before putting anything on it.
5 Things You Should Avoid
- Skipping the Prep Work: Failing to clean and sand the wood guarantees poor paint adhesion and premature chipping.
- Using Thick Layers of Paint: Slapping on heavy coats leads to long drying times, ugly drips, and a soft, easily dented finish.
- Painting Over Hardware: Always remove metal handles or tape them off properly rather than trying to paint around them.
- Ignoring Drying Times: Rushing between coats ruins the underlying layers and creates a gummy texture.
- Forgetting the Topcoat: Trays endure a lot of wear and tear; skipping the protective sealant leaves your hard work vulnerable to water rings and scratches.
Frequently Asked Questions
Can I Paint Over a Tray That is Already Varnished?
Yes, you can paint over a varnished wood tray if you prepare the surface correctly. First, you must sand the glossy finish to create a rough texture. This helps the new primer grip the surface tightly. Next, apply a high-adhesion bonding primer before adding your color. Finally, proceed with your standard painting and sealing steps.
What Kind of Paint is Best for Wooden Food Trays?
When painting a tray used for food, your priority should be safety and durability. Non-toxic acrylic or water-based latex paints are excellent choices for the base color. However, the most critical element is the clear sealant you apply over the paint. You must use a food-safe topcoat, such as specific food-grade polyurethane or beeswax. Always allow the sealant to cure fully before placing any food directly on it.
How Long Should I Wait Before Using My Newly Painted Tray?
You should always wait for the paint and topcoat to completely cure before use. While paint may feel dry to the touch in a few hours, curing takes much longer. Most water-based polyurethanes require at least a full week to cure properly. During this waiting period, keep the tray in a dry, well-ventilated area. Rushing this process can lead to unwanted chips, dents, or sticky rings from cups.
Conclusion
Painting a wood tray is a simple, budget-friendly way to create a beautiful and functional piece of home decor.
By taking the time to properly sand, prime, paint, and seal your tray, you guarantee a flawless finish that will easily withstand daily use. Now that you understand the proper steps and what pitfalls to avoid, grab your supplies, pick your favorite color, and start transforming that old wood tray today.
Hopefully, this guide on how to paint a wood tray has inspired you to get creative and explore different painting techniques to customize your tray and make it truly unique.

About
Mike May is a distinguished figure in the world of woodworking and timber design, with a decade of expertise creating innovative and sustainable indoor solutions. His professional focus lies in merging traditional craftsmanship with modern manufacturing techniques, fostering designs that are both practical and environmentally conscious. As the author of Woodimber, Mike delves into the art and science of timber-craft, inspiring artisans and industry professionals alike.
Education
RMIT University (Melbourne, Australia)
-
Associate Degree in Design (Timber): Focus on sustainable design, industry-driven projects, and practical craftsmanship.
-
Gained hands-on experience with traditional and digital manufacturing tools, such as CAD and CNC software.
Nottingham Trent University (United Kingdom)
-
Bachelor’s in Woodworking and Product Design (Honors): Specialized in product design with a focus on blending creativity with production techniques.
-
Participated in industry projects, working with companies like John Lewis and Vitsoe to gain real-world insights.
Publications and Impact
In Woodimber, May shares his insights on timber design processes, materials, and strategies for efficient production. His writing bridges the gap between artisan knowledge and modern industry needs, making it a must-read for both budding designers and seasoned professionals.