

Creating your own yarn from scratch is an incredibly rewarding experience. There is something truly magical about turning raw fiber into beautiful, usable thread. But that magic multiplies when you spin that yarn on a tool you built with your own two hands. If you love woodworking and fiber arts, this project merges those two passions perfectly.
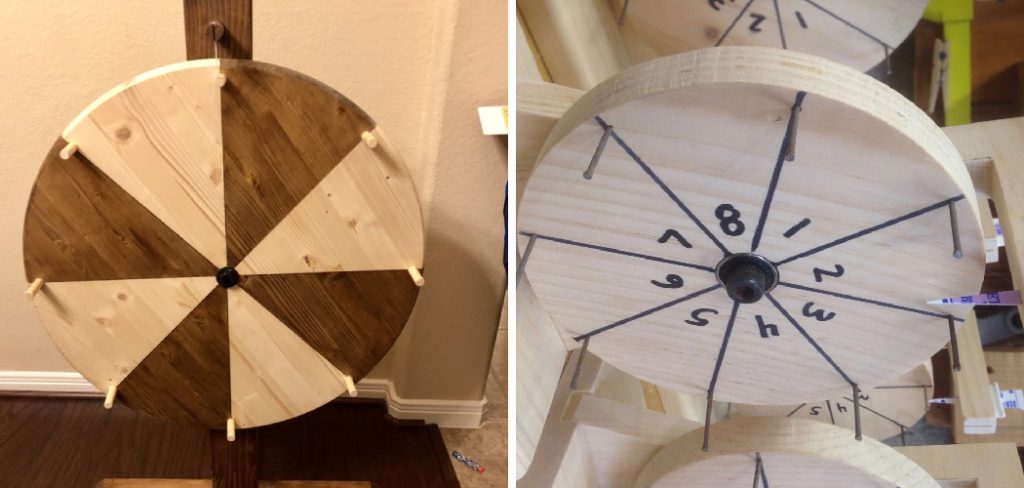
Understanding how to make a spinning wheel out of wood opens up a whole new world of craftsmanship. It gives you the power to customize the tension, height, and aesthetic of your fiber equipment. Instead of spending hundreds or even thousands of dollars on a factory-made model, you can source your own timber and create a family heirloom.
In this guide, we will walk you through the essential stages of building a functional, Saxony-style wheel. You will learn what materials you need, how to shape the critical components, and the best way to assemble the moving parts. Grab your tools, clear off your workbench, and let us dive into this exciting woodworking journey.
Why Build a Wooden Spinning Wheel
Taking on a spinning wheel project might seem intimidating at first, but it is a highly satisfying endeavor for any beginner to intermediate woodworker. Historically, spinning wheels were crafted by local artisans using regional timber, resulting in unique designs tailored to the spinner’s exact needs. By building your own, you tap into that rich tradition of self-sufficiency and functional artistry.
Beyond the historical connection, building your own equipment offers unparalleled customization. Commercially available wheels often come in standard sizes that might not fit your posture perfectly. When you craft your own, you can adjust the treadle angle, the orifice height, and the wheel diameter to suit your specific body mechanics. This level of ergonomic personalization ensures that you can spin for hours without experiencing back pain or shoulder strain.
Step-by-Step Guide on How to Make a Spinning Wheel Out of Wood
Step 1: Gather Materials and Tools
Before making a single cut, you need to gather all the necessary materials and organize your workspace. For a sturdy, long-lasting project, choose a hardwood like maple, cherry, or oak, as these woods resist wear and tear better than soft pine. You will need thick stock for the main wheel and thinner boards for the base, uprights, and treadle mechanism.
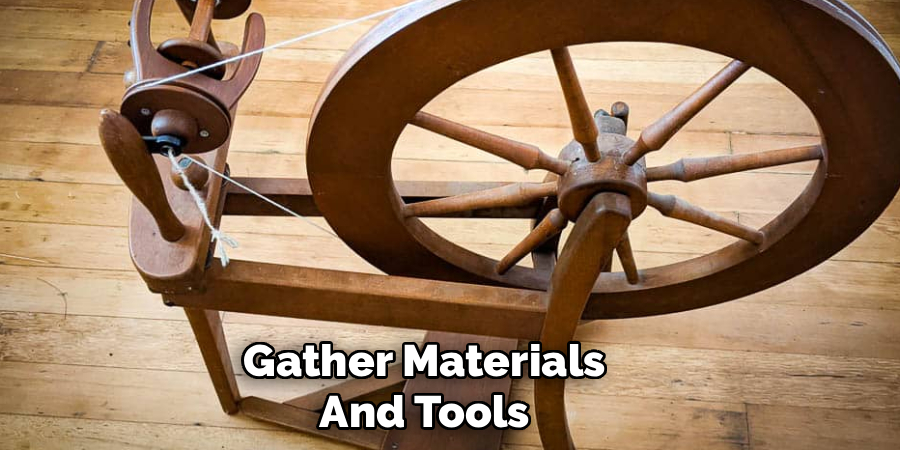
On the tool side, ensure you have a band saw or jigsaw for cutting curves, a router for smoothing edges, and a drill press for precise holes. Having a set of sharp chisels, measuring tape, wood glue, and various grits of sandpaper ready will make the entire fabrication process smooth and enjoyable from start to finish.
Step 2: Cut the Base and Uprights
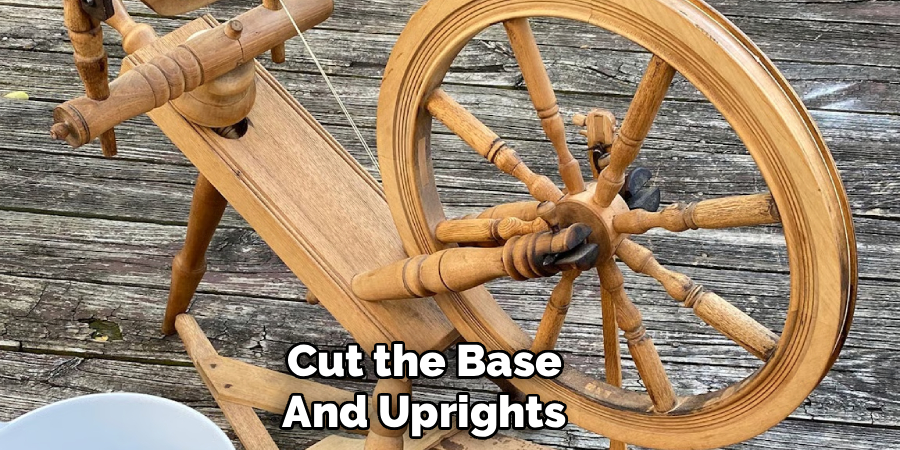
The foundation of your project is the table base and the upright posts that support the moving components. Start by cutting a solid, rectangular piece of hardwood for the main table. You want this base to be heavy enough to anchor the entire machine during vigorous use. Next, measure and cut the upright posts, ensuring they are perfectly identical in length so your wheel sits completely level.
Drill mortises into the table base to accept the tenons you will cut into the bottom of the uprights. A snug fit here is absolutely crucial, as any wobbling in the foundation will directly translate into a shaky, inefficient spinning experience later on.
Step 3: Shape the Drive Wheel
Creating a perfectly round and balanced drive wheel is arguably the most critical part of this entire woodworking project. If you are researching how to make a spinning wheel out of wood, you will quickly learn that a wobbly drive wheel ruins the momentum needed to draw the fiber. Use a compass to trace a large circle on your thickest hardwood stock, then carefully cut it out using your band saw. Once the rough circle is cut, mount it on a temporary axle and spin it against a sanding block to ensure it is perfectly round. You will also need to carve a groove around the outer edge to hold the drive band securely in place.
Step 4: Craft the Flyer and Bobbin Mechanism
The flyer and bobbin assembly is the mechanical heart that actually twists and winds the yarn. This section requires precision carving to ensure the bobbin can spin freely on the spindle shaft while the flyer rotates around it. Cut a U-shaped piece of wood for the flyer arms, and install small metal hooks along the sides to guide your yarn. The bobbin should be turned on a lathe or carefully shaped by hand to ensure it is symmetrical and balanced. Both the flyer and the bobbin need grooved whorls attached to their ends, which will connect to the drive band and allow them to spin at slightly different speeds.
Step 5: Assemble the Treadle System
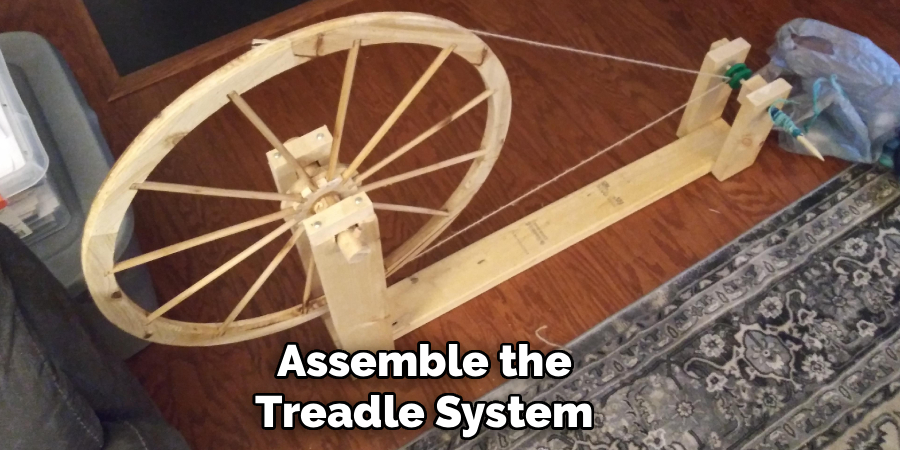
The treadle is the foot pedal that provides the physical power to keep your machine in constant motion. Cut a sturdy, flat piece of wood for the footrest, ensuring it is wide enough to accommodate your foot comfortably. You will need to attach this treadle to the front legs of your base using strong metal hinges or traditional wooden pivot pins. Next, craft the footman—a vertical connecting rod that links the back of the treadle to the crank on your drive wheel axle. The joints connecting the treadle, footman, and axle must be loose enough to pivot smoothly but tight enough to prevent annoying clacking noises while you work.
Step 6: Construct the Drive Band and Tension System
A functional tension system is what dictates how quickly the twisted yarn is pulled out of your hands and onto the bobbin. Most traditional models use a tension knob connected to the maiden uprights, allowing you to subtly tilt the flyer assembly to tighten or loosen the drive band. Carve a threaded wooden peg or use a metal bolt mechanism for this adjustment knob. For the drive band itself, you can use strong cotton twine or a modern polyurethane drive band. Route the band around the large drive wheel, cross it over itself in a figure-eight pattern, and loop it over both the flyer whorl and the bobbin whorl.
Step 7: Sand and Finish the Wood
With all the components cut and dry-fitted, you must take the time to properly protect the timber. People learning how to make a spinning wheel out of wood often rush this step, but a smooth finish is vital to prevent raw wool and delicate yarn from snagging on rough edges. Disassemble all the parts and sand everything down, progressing from eighty-grit up to two-hundred-and-twenty-grit paper. Wipe away all the dust with a tack cloth before applying a protective finish. A traditional oil finish, like boiled linseed oil or tung oil, penetrates deeply and gives the timber a beautiful, warm glow without creating a plastic-like film on the surface.
Step 8: Final Assembly and Testing
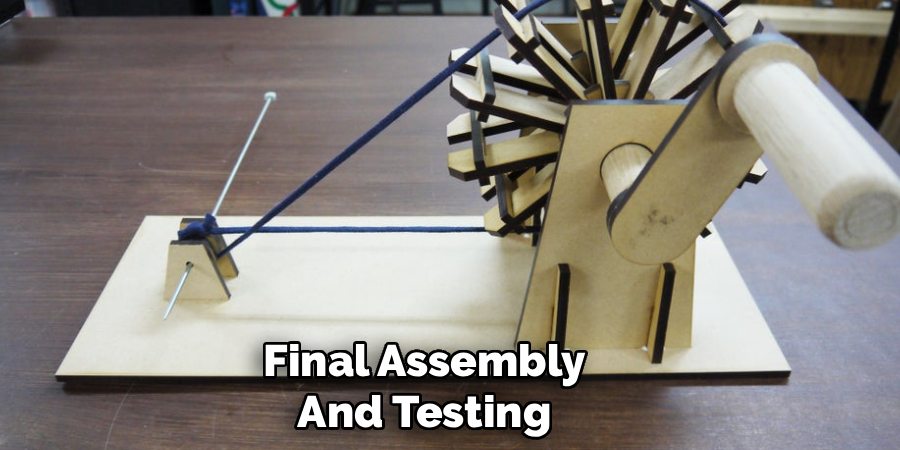
Once your finish has completely cured, it is time to put all the individual pieces together for the final time. Carefully glue the fixed joints, such as the uprights into the base, but remember to leave moving parts free of adhesive. Apply a small amount of spinning wheel oil or lithium grease to the metal axles, flyer bearings, and treadle hinges to reduce friction. Sit down at your new creation and give the treadle a gentle push to test the momentum and balance. The wheel should turn smoothly and quietly, pulling the drive band without slipping, indicating that your new fiber tool is officially ready for use.
Frequently Asked Question
What Is The Best Wood For A Spinning Wheel?
The best woods for this project are dense, heavy hardwoods that can withstand constant motion and tension without warping. Excellent choices include:
- Hard Maple
- Cherry
- White Oak
- Black Walnut
- Ash
These species offer exceptional durability and possess a tight grain structure. This tight grain allows for a glass-smooth finish, which is absolutely vital to ensure that your delicate fibers and spun yarn do not catch, snag, or tear on the equipment as you work.
Do I Need A Lathe To Build This Project?
While a lathe makes turning perfectly symmetrical bobbins and decorative wheel spokes much easier, it is not strictly required. You can successfully build a functional wheel using standard woodworking tools like a band saw, router, and drill press. If you do not have a lathe, you can carefully shape bobbins using a drill press and sandpaper. Alternatively, you can purchase pre-made wooden bobbins and build the rest of your machine to match their specific dimensions.
How Long Does It Take To Build A Wheel?
The time required depends heavily on your woodworking experience and the amount of free time you dedicate to the project. An intermediate woodworker can generally complete a basic, functional model in about thirty to forty hours of active workshop time. This estimate includes measuring, cutting, shaping, sanding, and assembling the components. However, you should also factor in additional days for wood glue to cure and for oil finishes to dry completely between coats.
Can I Use Plywood For The Drive Wheel?
Yes, high-quality cabinet-grade plywood is actually an excellent choice for crafting the large drive wheel. Because plywood is manufactured with alternating layers of wood grain, it is incredibly stable and highly resistant to warping caused by humidity changes. If you cut a solid circle out of plywood, it will remain flat and true. You can easily cover the exposed, layered edges with wood veneer or simply sand them smooth for a more modern, industrial aesthetic.
How Do I Fix A Wobbling Wheel?
A wobbling drive wheel usually stems from an uneven axle hole or an unbalanced wheel perimeter. First, check that the axle hole is perfectly centered and drilled straight through the wood. If the hole is off-center, you may need to plug it and redrill. If the wheel itself is heavier on one side, you can balance it by drilling small, shallow holes on the heavier side to remove material, or by adding small metal weights to the lighter side until the momentum smooths out.
Conclusion
Building your own fiber equipment is an ambitious but deeply rewarding woodworking project. By following these steps, focusing on precise measurements, and taking your time during the sanding process, you can create a beautiful, functional tool that will last a lifetime. Knowing how to make a spinning wheel out of wood connects you directly to the history of textiles and gives you a profound appreciation for the mechanics behind every skein of yarn.
Now that you understand the anatomy of the wheel and the steps required to build one, it is time to head to the workshop. Gather your favorite hardwoods, sketch out your dimensions, and start cutting. Within a few weeks, you will be proudly spinning your very own yarn on a custom-built masterpiece.

About
Mike May is a distinguished figure in the world of woodworking and timber design, with a decade of expertise creating innovative and sustainable indoor solutions. His professional focus lies in merging traditional craftsmanship with modern manufacturing techniques, fostering designs that are both practical and environmentally conscious. As the author of Woodimber, Mike delves into the art and science of timber-craft, inspiring artisans and industry professionals alike.
Education
RMIT University (Melbourne, Australia)
-
Associate Degree in Design (Timber): Focus on sustainable design, industry-driven projects, and practical craftsmanship.
-
Gained hands-on experience with traditional and digital manufacturing tools, such as CAD and CNC software.
Nottingham Trent University (United Kingdom)
-
Bachelor’s in Woodworking and Product Design (Honors): Specialized in product design with a focus on blending creativity with production techniques.
-
Participated in industry projects, working with companies like John Lewis and Vitsoe to gain real-world insights.
Publications and Impact
In Woodimber, May shares his insights on timber design processes, materials, and strategies for efficient production. His writing bridges the gap between artisan knowledge and modern industry needs, making it a must-read for both budding designers and seasoned professionals.