

Crafting your own outdoor gear brings a special kind of satisfaction that you cannot buy in a store. If you want a fun, rewarding weekend project, learning how to make a slingshot out of wood offers the perfect blend of simple woodworking and nostalgic charm. Many hobbyists remember grabbing a Y-shaped branch from the backyard and attaching a basic rubber band to shoot pebbles. Today, we will elevate that classic childhood memory into a sturdy, reliable piece of equipment.
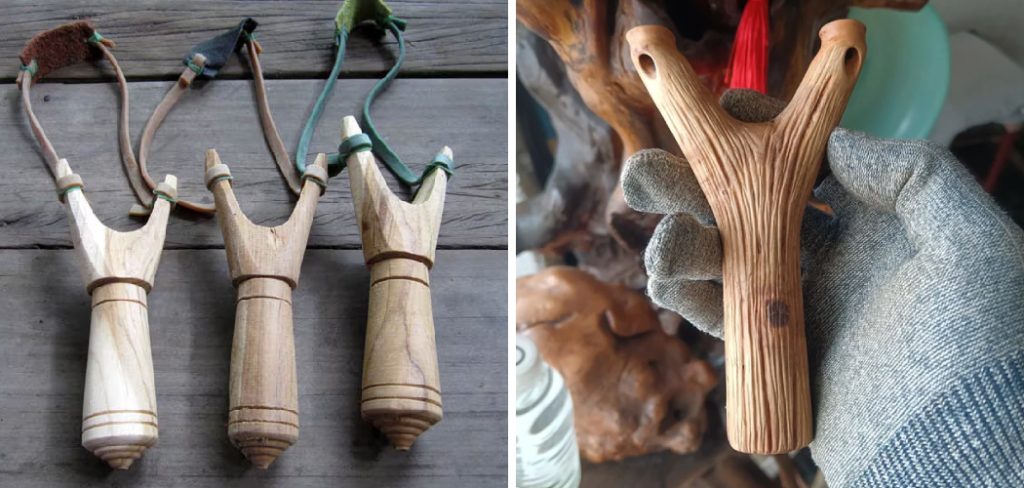
You do not need a massive workshop or years of carpentry experience to succeed with this craft. Armed with just a few basic hand tools, some sturdy natural timber, and high-quality elastic tubing, you can construct a beautiful and highly functional piece. This comprehensive guide walks you through the entire creative process, from selecting the perfect hardwood tree branch to securely tying off your leather pouch. Grab your carving knife, step outside, and let us dive into this exciting project together.
Step-By-Step Guide: How to Make a Slingshot Out of Wood
Step 1: Finding the Perfect Hardwood Branch
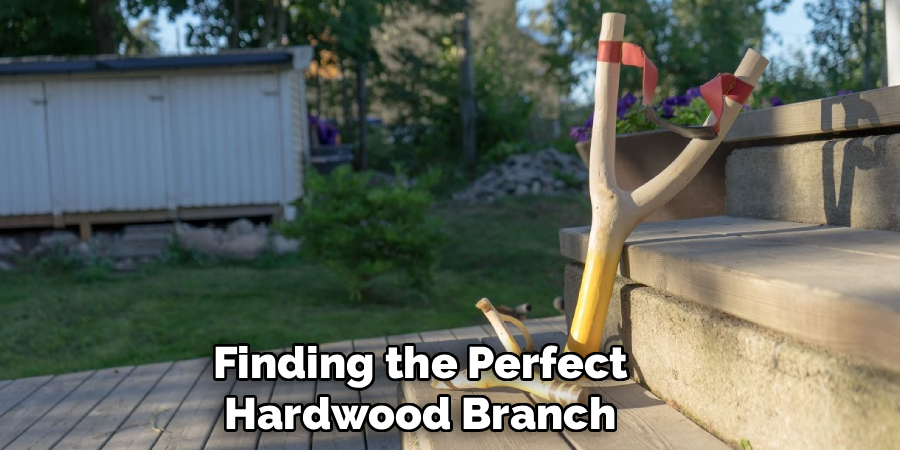
Finding the right branch serves as the most critical part of your entire journey. You want a natural Y-shaped fork harvested from a dense hardwood tree like oak, hickory, maple, or dogwood. Hardwoods provide the essential structural integrity needed to withstand the massive tension of drawn rubber bands without snapping.
Look for a healthy branch where the arms of the Y are relatively symmetrical and roughly the thickness of your thumb. The main handle should fit very comfortably within your grip. Always harvest from live trees with proper permission, as dead wood found resting on the forest floor is often brittle, rotten, and completely unsafe for this specific craft.
Step 2: Preparing the Branch for Carving
Once you select your perfect hardwood fork, use a small hand saw to cut it free from the tree carefully. Leave plenty of extra length on both the handle and the upper forks during this initial removal cut. Having surplus material gives you ample room for mistakes and fine-tuning later in the process. Take your saw and carefully trim the forks so they are perfectly even in length, ensuring your elastic bands will stretch symmetrically during use. A well-balanced frame guarantees significantly better accuracy when you finally take your project outside for target practice. Take your time to measure twice before making these crucial secondary cuts.
Step 3: Stripping the Bark From the Frame
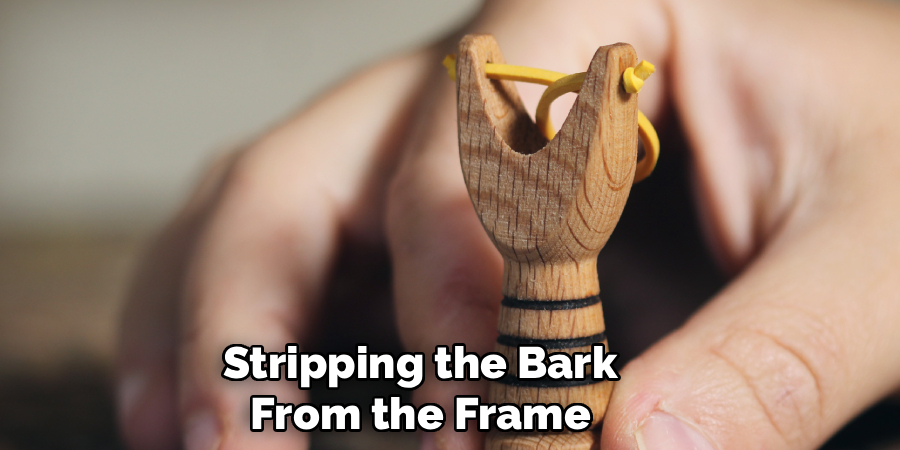
With the basic shape successfully established, you must remove the rough bark to reveal the solid wood underneath. Use a sharp carving knife or a trusty pocket knife to gently shave away the outer layers. Always carve away from your body to prevent painful accidental cuts. Removing the bark not only makes the frame look much cleaner, but it also prevents unwanted moisture from becoming trapped, which frequently leads to rot over time. Continue carving slowly until you reach the smooth, pale hardwood beneath. You should also round off any sharp edges on the handle to ensure a comfortable, ergonomic grip.
Step 4: Drying and Curing the Wooden Fork
Green wood contains a massive amount of internal moisture, making it flexible but highly prone to warping or snapping under heavy tension. You must allow your freshly carved frame to dry thoroughly before attaching any elastic bands. Place the stripped frame in a cool, dry area completely away from direct sunlight or intense heat sources. Microwaving or baking the wood will cause severe structural cracking, instantly ruining your hard work. Patience pays off immensely here. Let the fork sit untouched for at least a few weeks until it feels significantly lighter and completely rigid. This slow curing process creates an incredibly durable frame.
Step 5: Sanding the Frame to a Smooth Finish
After the wood completely cures, grab some quality sandpaper to smooth out the entire surface of your frame. Start with a coarse grit, like eighty or one hundred, to quickly remove any prominent knife marks or rough patches left over from the carving stage. Once the major blemishes disappear, switch to a finer grit, like two hundred and twenty, to polish the wood beautifully. A heavily sanded frame feels wonderful in your bare hand and prevents painful splinters during use. Pay very special attention to the tips of the forks, ensuring they are perfectly smooth so they do not wear down your rubber bands.
Step 6: Choosing Elastic for a slingshot out of wood
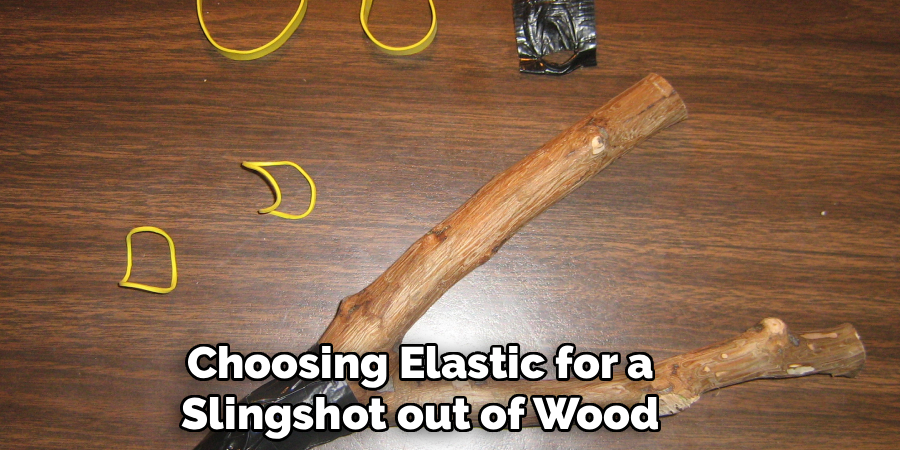
Selecting the right propulsion material heavily dictates the power and accuracy of your final build. While standard office rubber bands might work for a quick toy, true hobbyists use flat latex bands or heavy-duty surgical tubing. Flat bands offer superior velocity and a remarkably smooth draw, making them ideal for precise target shooting. Tubular bands boast incredible overall durability and last much longer before needing replacement. Cut your chosen elastic material to exactly equal lengths, usually around eight to ten inches, depending entirely on your natural arm span. Symmetrical bands ensure your projectiles fly incredibly straight every single time you release the pouch.
Step 7: Carving Attachment Notches in the Forks
To secure the elastic bands safely to the wood, you need to create anchor points on the top of each fork. Use a small round file or your sharp carving knife to cut a shallow groove around the entire circumference of each arm, about half an inch down from the top. These grooves act as holding channels for the tying material, preventing the high-tension bands from slipping off and snapping back into your face. Ensure the notches are deep enough to hold a tight knot securely, but not so deep that they compromise the structural strength of the wooden forks.
Step 8: Crafting a Durable Leather Pouch
The pouch holds your chosen ammunition and takes a considerable amount of daily abuse, so you need a tough, highly flexible material. An old leather belt or a scrap piece from a local craft store works perfectly for this component. Cut a simple rectangle measuring roughly three inches long and one inch wide. Taper the ends slightly with scissors to reduce air resistance during flight. Use a leather punch or a power drill to create a small, clean hole at each end of the pouch. These holes must be large enough to thread your elastic bands through easily, but small enough to maintain the structural strength of the leather.
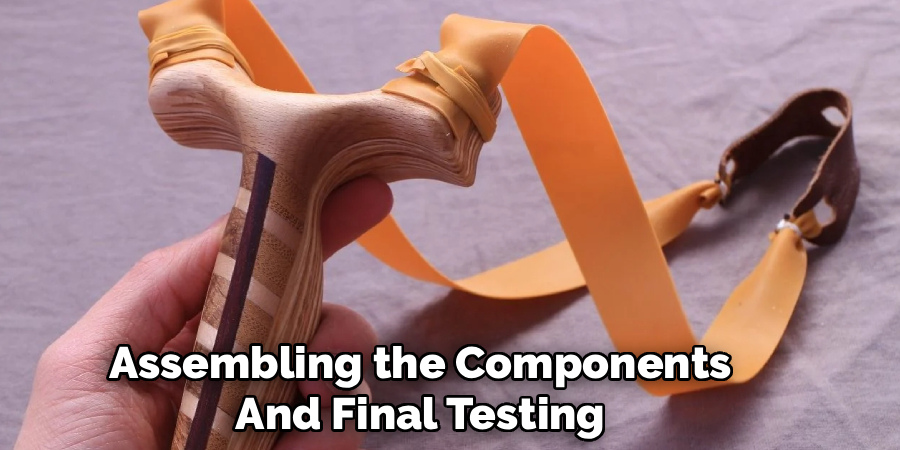
Step 9: Assembling the Components and Final Testing
The final construction phase involves tying everything securely together. Thread your flat bands or tubing through the holes in the leather pouch, folding them over and tying them tightly with thin, strong string using a reliable constrictor knot. Repeat this exact tying process to attach the other ends of the elastic bands to the precise notches you carved in the wooden forks. Pull very firmly on all connections to test their overall strength before loading any ammunition. Once everything feels completely secure, step outside, find a safe backdrop, and enjoy the profound satisfaction of using a beautifully crafted tool made entirely by your own hands.
Frequently Asked Questions
What Type Of Wood Works Best For A Slingshot?
Hardwoods are absolutely essential for completing this project safely. They offer the necessary internal strength to handle the intense tension of stretched elastic without failing.
- Excellent choices include oak, hickory, maple, ash, and dogwood.
- Avoid softwoods like pine or cedar, as they will easily snap and cause injury.
- Always look for healthy, living branches rather than picking up dead, brittle wood from the forest floor.
How Long Should I Let The Wood Dry?
The curing process requires plenty of patience from the builder. For a standard-sized fork, you should wait at least three to four weeks before assembly.
- Store the carved piece indoors in a climate-controlled room.
- Keep it far away from radiators, ovens, or direct sunlight.
- If you rush this critical step, the green wood might bend, warp, or crack when you finally attach the high-tension latex bands.
Where Can I Buy The Best Rubber Bands?
Standard office supplies simply will not provide the raw power or durability you want. For high-quality performance, you must purchase specialized elastic materials.
- Check online retailers specializing in outdoor gear for flat latex bands.
- Visit local medical supply stores for thick surgical tubing.
- Hardware stores often sell heavy-duty elastic tubing that works perfectly for beginner projects and lasts for months.
Is It Necessary To Use A Leather Pouch?
While you can technically use heavy canvas or reinforced nylon, genuine leather remains the ultimate gold standard for pouch construction among hobbyists.
- Leather grips the projectile securely without slipping.
- It flexes naturally without tearing under immense pressure.
- The soft material conforms perfectly to your fingers for a smooth release.
- An old, discarded leather belt provides a fantastic, budget-friendly alternative if you lack fresh scrap leather.
How Can I Maintain And Protect The Wood?
Protecting your finished piece ensures it lasts for many years of fun outdoor use. Unfinished wood absorbs moisture and dirt, eventually leading to deterioration.
- Rub the entire wooden frame generously with boiled linseed oil or pure tung oil.
- Apply a top layer of natural beeswax for a beautiful waterproof finish.
- Reapply the oil treatment every few months to keep the hardwood completely hydrated and looking vibrant.
Conclusion
Building your own gear from scratch provides a deeply rewarding experience that connects you to nature and traditional craftsmanship. You took a simple tree branch from the forest and transformed it into a fully functional, highly entertaining tool. Taking the time to master how to make a slingshot out of wood guarantees you end up with a durable piece that heavily outlasts cheap, store-bought plastic alternatives.
Remember to always practice proper safety, wear protective eyewear, and only shoot in clear, designated areas away from people and windows. Now that you possess these fundamental woodworking skills, you can confidently continue refining your designs. Grab some scrap leather, test different elastic bands, and share this wonderful, classic hobby with your friends and family.

About
Mike May is a distinguished figure in the world of woodworking and timber design, with a decade of expertise creating innovative and sustainable indoor solutions. His professional focus lies in merging traditional craftsmanship with modern manufacturing techniques, fostering designs that are both practical and environmentally conscious. As the author of Woodimber, Mike delves into the art and science of timber-craft, inspiring artisans and industry professionals alike.
Education
RMIT University (Melbourne, Australia)
-
Associate Degree in Design (Timber): Focus on sustainable design, industry-driven projects, and practical craftsmanship.
-
Gained hands-on experience with traditional and digital manufacturing tools, such as CAD and CNC software.
Nottingham Trent University (United Kingdom)
-
Bachelor’s in Woodworking and Product Design (Honors): Specialized in product design with a focus on blending creativity with production techniques.
-
Participated in industry projects, working with companies like John Lewis and Vitsoe to gain real-world insights.
Publications and Impact
In Woodimber, May shares his insights on timber design processes, materials, and strategies for efficient production. His writing bridges the gap between artisan knowledge and modern industry needs, making it a must-read for both budding designers and seasoned professionals.