

Are you looking to upgrade your bathroom with a warm, natural aesthetic? Building a custom shower base adds incredible rustic charm and saves you money on expensive prefabricated units. While combining wood and water sounds risky to many beginners, proper sealing and construction techniques make it completely safe and highly durable.
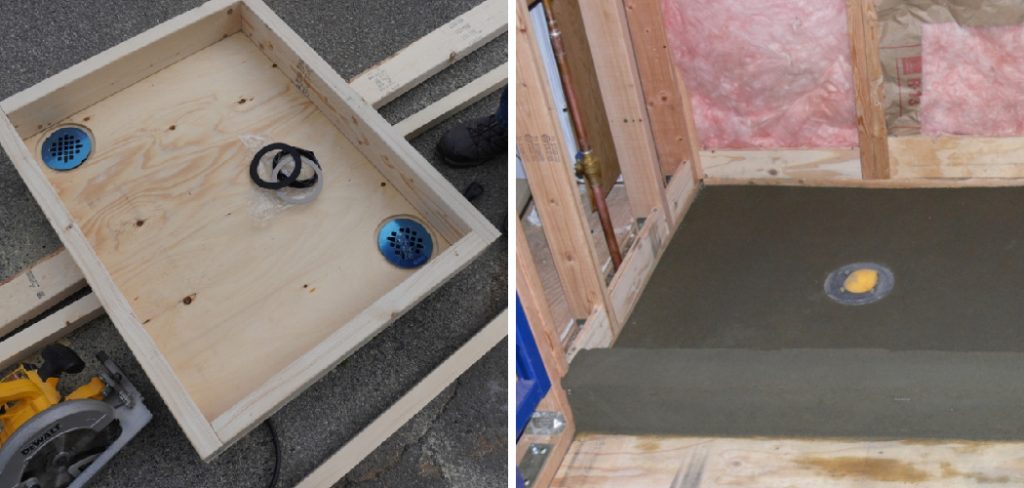
In this comprehensive guide, we will teach you exactly how to make a shower pan out of wood from scratch. You will learn the absolute best materials to use, the exact waterproofing methods required, and the essential drainage techniques needed for long-term success. We will walk through everything from measuring the initial subfloor to applying the final protective oil on your slatted floor insert. Let us grab our safety gear, prepare our tools, and start building a beautiful, waterproof masterpiece that will completely transform your daily morning routine.
Step-by-Step Guide: How to Make a Shower Pan Out of Wood
Step 1: Select Durable Wood Species
When building a moisture-rich environment, selecting the appropriate timber determines the lifespan of your project. You must source highly water-resistant species like teak, cedar, or white oak for the visible floor elements. These specific woods contain natural oils that naturally repel water and resist dangerous mold growth.
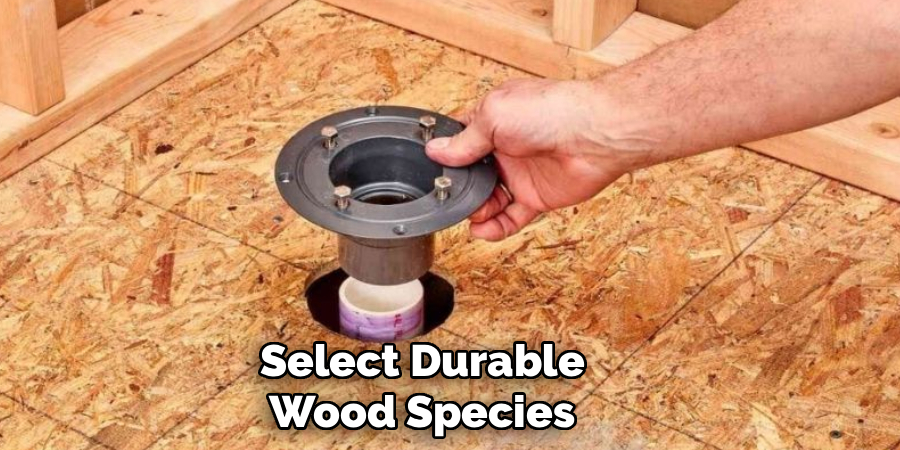
For the structural sub-base beneath the surface, you can utilize standard pressure-treated exterior plywood. Purchasing high-quality lumber upfront prevents costly rot issues down the line. Take your time inspecting each board at the hardware store to ensure they sit perfectly straight without any significant bowing, severe warping, or deep structural cracks.
Step 2: Measure and Cut the Subfloor Base
Accurate measurements form the vital foundation for your entire bathroom renovation project. Grab your heavy-duty measuring tape and carefully determine the precise dimensions of your shower alcove. Transfer these exact measurements onto your sheet of pressure-treated plywood using a visible carpenter pencil. Cut the wood slowly with a circular saw to ensure a clean, perfectly straight edge. You must leave a tiny gap around the perimeter to accommodate future wood expansion from temperature changes. Double-check your cut piece by dry-fitting it into the space before applying any permanent adhesives or heavy screws to secure it to the floor joists.
Step 3: Install the Drain Flange Assembly
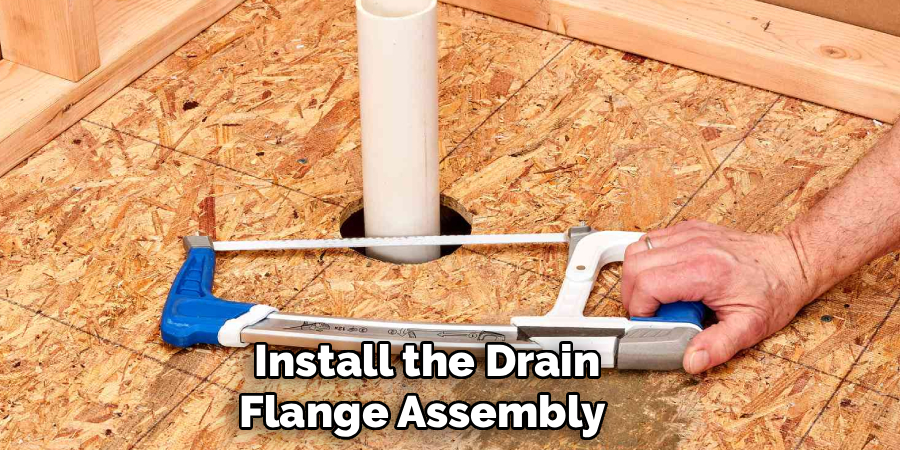
Proper plumbing prevents catastrophic water damage to your home structure. Locate the exact center point or your desired drain location on the plywood base. Use a sturdy hole saw attachment on your power drill to cut a perfectly round opening for the plumbing connection. Insert the bottom half of the drain flange assembly through this hole. Secure it tightly using PVC cement and the provided hardware to create a completely watertight seal. You want the flange to sit perfectly flush against the wooden subfloor. A poorly installed drain guarantees leaks, so take extra care during this crucial plumbing stage.
Step 4: Frame the Perimeter Curb
Water must remain completely contained inside the washing area to protect your bathroom floors. Construct a sturdy boundary curb using stacked two-by-four framing lumber secured tightly together with galvanized wood screws. Anchor this wooden barrier directly into the subfloor and surrounding wall studs for maximum structural integrity.
The curb needs to stand tall enough to hold the waterproof liner and accommodate the finished slatted flooring. Make sure you check the entire perimeter with a long spirit level. An uneven curb will look highly unprofessional and might allow pooling water to escape the designated enclosure during heavy daily use.
Step 5: Create the Essential Drainage Slope
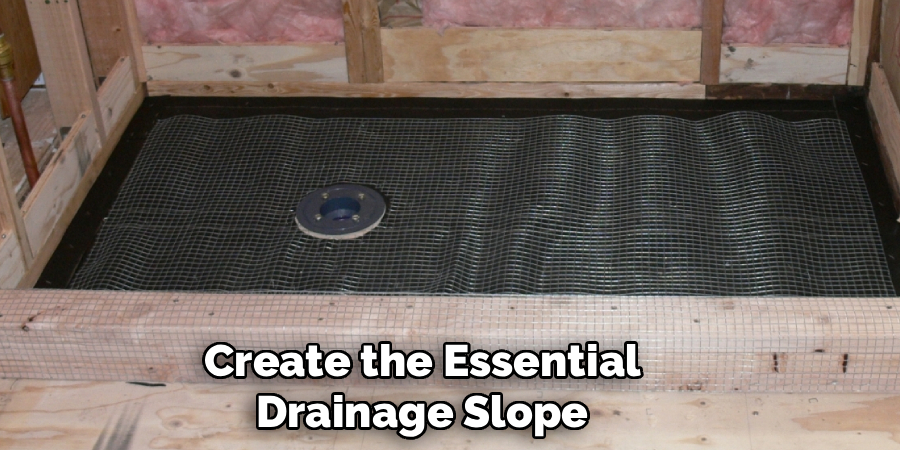
Gravity must force the running water directly toward your central drain opening. You will create this necessary slope by applying a layer of dry-pack mortar over the flat plywood base. Trowel the mixture carefully, tapering it down evenly from the outer perimeter walls toward the central drain flange. The industry standard requires a quarter-inch drop for every linear foot of distance. Smooth the surface thoroughly with a flat float tool to remove any dips or uneven bumps. Let this sloped layer cure completely for at least twenty-four hours before you attempt to apply any waterproof membranes over it.
Step 6: Apply the Waterproof Membrane
Waterproofing is the most critical phase when figuring out how to make a shower pan out of wood safely. Roll out a thick, high-quality PVC or rubber pan liner over the cured sloped base. Run the flexible material up the side walls and over the wooden entry curb. You must avoid making any cuts in the corners; instead, fold the excess material neatly like wrapping a present. Secure the liner to the wall studs using galvanized roofing nails near the top edge. Cut a small opening directly over the drain and clamp the top drain flange tightly over the liner.
Step 7: Build the Removable Wood Slat Insert
Now you create the beautiful wooden floor that your feet will actually touch. Measure the interior dimensions of your waterproofed basin, subtracting about a half-inch on all sides for easy removal. Cut your premium teak or cedar boards into identical, evenly spaced slats. Attach these top slats to perpendicular wooden runners underneath using stainless steel screws driven from the bottom. This hidden fastener method keeps the top surface smooth and safe for bare feet. Leave a consistent quarter-inch gap between every single slat to allow soapy water to flow freely down into the waterproofed basin below.
Step 8: Seal the Finished Wood Surface
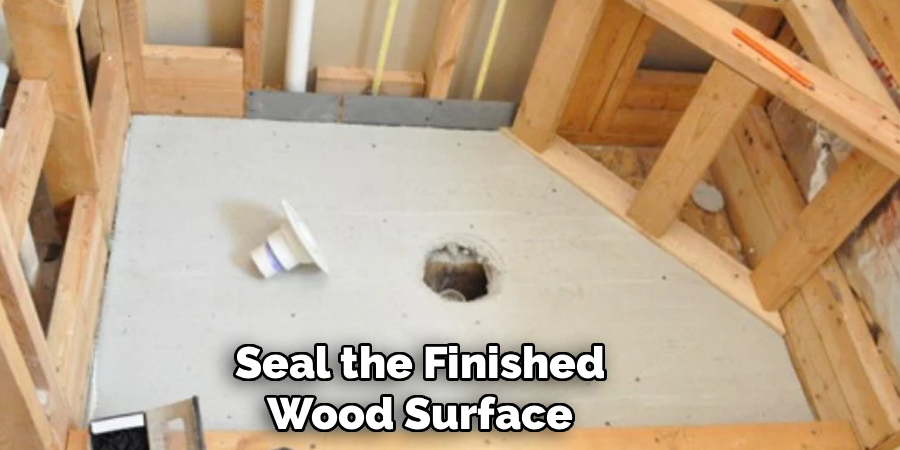
Even naturally water-resistant woods require a protective topcoat to maintain their vibrant color and durability. Lightly sand the entire slatted insert with fine-grit sandpaper until the surface feels incredibly smooth. Wipe away all lingering sawdust with a damp cloth. Apply a generous coat of specialized marine-grade penetrating oil or clear epoxy sealer using a high-quality brush. Allow the first coat to soak completely into the wood fibers before applying a second protective layer. This final sealing step ensures your beautiful hand-crafted floor insert repels moisture effectively, resists soapy residue buildup, and lasts for many years without rotting.
Frequently Asked Question
What Is The Best Wood For A Shower Floor?
Teak remains the absolute best choice for wet environments due to its tight grain and high concentration of natural silica and oils. These unique properties make it highly resistant to rot, mildew, and warping.
- Cedar is a fantastic, more affordable alternative with great water resistance.
- White oak works well if properly sealed.
- Avoid softwoods like pine, as they will quickly absorb moisture and rot.
Do Wood Shower Pans Require Special Maintenance?
Yes, regular maintenance is required to keep your wooden base looking fresh and functioning correctly. You must establish a consistent cleaning routine.
- Remove the wooden slatted insert weekly to clean the waterproof basin underneath.
- Scrub the wood gently with a soft bristle brush and mild soapy water.
- Reapply marine-grade teak oil or waterproof sealer every six to twelve months, depending on your daily usage.
Is A Wooden Shower Floor Slippery When Wet?
Surprisingly, unvarnished wooden slats offer excellent traction, often providing more grip than standard glossy ceramic tiles. The natural texture of the wood grain helps your feet stay planted securely.
- Leaving slight gaps between the slats prevents water from pooling on the surface.
- Avoid applying thick, high-gloss polyurethane finishes, as these can become incredibly slick.
- Penetrating oils protect the wood while maintaining its natural, slip-resistant texture.
Can I Install This Over A Concrete Subfloor?
You can certainly build this custom base over a concrete slab, but the preparation process differs slightly from a wooden joist floor.
- You must ensure the concrete is completely level and free of major cracks.
- Use concrete anchors instead of standard wood screws to secure your perimeter curb.
- You may need to chisel out a channel in the concrete to accommodate the necessary drain plumbing.
How Long Does A Custom Wooden Shower Base Last?
When constructed properly with the correct materials and waterproofing membranes, a custom wooden base can easily last over fifteen years. The lifespan depends entirely on your build quality and ongoing maintenance.
- Using premium teak extends the lifespan significantly.
- Failing to clean the sub-pan can lead to mold and premature failure.
- Always ensure your bathroom has proper ventilation to dry out the wood between showers.
Conclusion
Building your own custom bathing area brings incredible satisfaction and a luxurious spa-like feel to your home. We covered the essential importance of choosing durable lumber, creating the perfect drainage slope, and installing a secure waterproof liner.
By taking your time and following these exact steps, you guarantee a safe, leak-free installation that protects your subfloor. Do not let the fear of plumbing or moisture keep you from tackling this rewarding DIY project. Armed with the right tools and knowledge, you now understand how to make a shower pan out of wood perfectly. Gather your materials, measure twice, and transform your bathroom into a stunning natural oasis today.

About
Mike May is a distinguished figure in the world of woodworking and timber design, with a decade of expertise creating innovative and sustainable indoor solutions. His professional focus lies in merging traditional craftsmanship with modern manufacturing techniques, fostering designs that are both practical and environmentally conscious. As the author of Woodimber, Mike delves into the art and science of timber-craft, inspiring artisans and industry professionals alike.
Education
RMIT University (Melbourne, Australia)
-
Associate Degree in Design (Timber): Focus on sustainable design, industry-driven projects, and practical craftsmanship.
-
Gained hands-on experience with traditional and digital manufacturing tools, such as CAD and CNC software.
Nottingham Trent University (United Kingdom)
-
Bachelor’s in Woodworking and Product Design (Honors): Specialized in product design with a focus on blending creativity with production techniques.
-
Participated in industry projects, working with companies like John Lewis and Vitsoe to gain real-world insights.
Publications and Impact
In Woodimber, May shares his insights on timber design processes, materials, and strategies for efficient production. His writing bridges the gap between artisan knowledge and modern industry needs, making it a must-read for both budding designers and seasoned professionals.