

Windows are the eyes of your home, offering beautiful views and letting in glorious natural sunlight. However, the horizontal ledges sitting right below those glass panes take a heavy beating from dust, condensation, and direct sunlight. Neglecting this crucial architectural feature often leads to permanent damage, peeling paint, and unsightly stains.
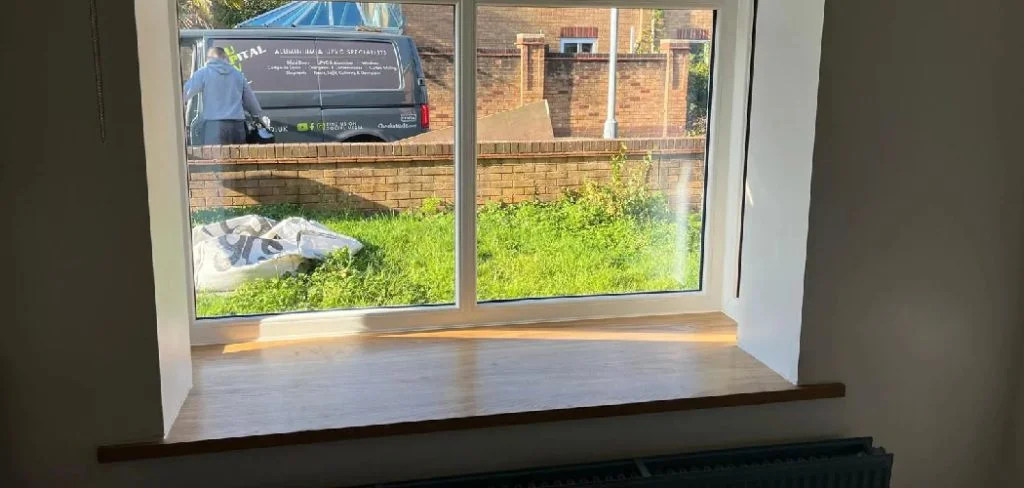
Learning how to clean wood window sills properly will save you money on expensive home repairs while keeping your living space looking immaculate. This comprehensive guide walks you through the entire process from start to finish. We will cover the specific tools you need, the exact techniques to use, and the preventative measures that keep your wood surfaces gleaming year-round. You will walk away with the confidence of a professional cleaner, ready to tackle any grime or water rings marring your beautiful window frames.
Why Cleaning Wood Window Sills Matters
Maintaining the wooden trim around your windows goes far beyond simple aesthetics. These horizontal surfaces act as a collection zone for everything floating around your home. Dust mites, pet dander, dead insects, and pollen all settle right onto the wood. Whenever you open the window to catch a breeze, that accumulated debris blows directly into your living room and compromises your indoor air quality. Frequent cleaning eliminates these allergens and helps you breathe much easier.
Moisture presents an even bigger threat to your interior trim. Temperature differences between the inside and outside of your home create condensation on the glass. Those water droplets eventually roll down and pool onto the wooden ledge below. Left unattended, sitting water breaks down the protective finish and seeps directly into the timber. This excess moisture invites mold growth and eventually causes structural wood rot. Fixing rotten trim requires professional carpentry work, which quickly becomes an expensive nightmare.
Step-by-Step Guide to How to Clean Wood Window Sills
Step 1: Gathering the Essential Cleaning Supplies
Preparation makes any maintenance task significantly easier and more effective. You want to gather all your materials before you apply any liquids to the wood. Grab a soft microfiber cloth, a vacuum cleaner with a soft brush attachment, and a small bucket for your cleaning mixture.

You also need a gentle dish soap or a dedicated wood cleaner. Avoid harsh chemical sprays, bleach, or abrasive scouring pads. These aggressive products will strip the protective finish right off your woodwork and leave the raw timber exposed to moisture. Having your soft towels and mild soap ready ensures you work quickly without leaving sitting water on the ledge.
Step 2: Removing Dry Dust and Loose Debris
Applying a wet cloth directly to a dusty surface only creates a muddy mess that pushes dirt deeper into the wood grain. You must remove all loose particles while the surface remains completely dry. Take your vacuum cleaner and attach the soft bristle brush tool to the hose.
Run the brush gently along the entire length of the ledge, paying special attention to the deep corners where the glass meets the frame. Dead bugs, cobwebs, and heavy dust bunnies tend to hide in these tight crevices. If your vacuum cannot reach the sharpest corners, use a dry, soft-bristled paintbrush to sweep the remaining dust out into the open.
Step 3: Mixing a Gentle and Safe Cleaning Solution
The key to preserving your trim is using the mildest cleaning agent possible. Fill your small bucket with warm water, making sure it is not scalding hot. Add just two or three drops of a mild, pH-neutral dish soap into the water. Swirl the mixture around with your fingers until you see a few suds form on the surface.
You do not need a heavy lather to cut through standard household grime. If you prefer commercial products, select a specialized wood soap formulated for finished cabinets and floors. Dilute the commercial product exactly according to the instructions on the back of the bottle. A gentle touch preserves the varnish and keeps the natural wood grain looking fresh.

Step 4: Natural Direction of the Wood Safely
Take your clean microfiber cloth and submerge it entirely into your soapy water mixture. The most crucial part of this step is wringing the cloth out completely. You want the towel to feel barely damp to the touch, not dripping wet.
Start at one corner of the ledge and wipe firmly but gently across the surface toward the opposite end. Keep your strokes even and follow the natural direction of the wood grain whenever possible. If you encounter a sticky spot, hold the damp cloth over the area for a few seconds to soften the grime. Never scrub aggressively, as this friction can easily dull the protective topcoat.
Step 5: Tackling Stubborn Stains and Grime
Sometimes standard soap and water will not lift heavy stains left by potted plants or pet paws. For these stubborn spots, you need a slightly stronger, yet safe, approach. Steep a standard black tea bag in a cup of boiling water and let it cool completely.
The tannic acid naturally found in black tea works wonders for breaking down grease and restoring the shine to hardwood. Dip a clean corner of your microfiber cloth into the cooled tea and wring it out thoroughly. Gently buff the stained area using tight, circular motions until the discoloration lifts away. The tea cuts through the heavy residue without eating through your polyurethane finish.

Step 6: Rinsing Away Residual Soap
Even mild dish soap leaves behind a slight, cloudy film if allowed to dry on the surface. This sticky residue acts like a magnet for fresh dust, defeating the purpose of your hard work. Empty your bucket of soapy water and refill it with fresh, cool water from the tap.
Grab a brand new microfiber cloth and dampen it in the clean water, wringing it out until it is nearly dry. Wipe down the entire length of the ledge one more time. This quick rinse step lifts away any remaining soap bubbles and completely neutralizes the surface. Check the corners to ensure no moisture is pooling in the tight seams.
Step 7: Drying the Surface Thoroughly
Wood and standing water are natural enemies, so you must remove all residual moisture immediately. Do not rely on air drying, as evaporation takes too long and gives the water time to penetrate the wood grain. Take a dry, highly absorbent microfiber towel and press it firmly against the damp timber.
Wipe down the entire sill, absorbing every last drop of water. Run your bare hand over the surface to check for any cold, damp spots you might have missed. If the wood still feels slightly clammy, grab another dry towel and repeat the process. The ledge should feel completely smooth, dry, and room temperature before you move on.
Frequently Asked Questions
Can I Use Vinegar To Clean Natural Wood Window Frames?
You should generally avoid using vinegar on finished wooden surfaces. While white vinegar serves as an excellent natural cleaner for glass and tile, its high acidity slowly eats away at protective varnishes, polyurethanes, and paints. Repeated use of acidic solutions will leave your trim looking dull, cloudy, and completely unprotected against moisture. Stick to pH-neutral dish soap or dedicated wood cleaners to safely maintain the integrity of your finish.
What Is The Best Product For Dusting Painted Wood Sills?
Microfiber cloths represent the absolute best tool for capturing dry dust on painted surfaces. Unlike traditional feather dusters that simply push particles into the air, the synthetic fibers in a microfiber towel create a static charge that traps dust mites and pollen tightly within the fabric. You can use them completely dry for weekly maintenance. They are also incredibly soft, guaranteeing you will never scratch or scuff your delicate interior paint.
How Often Should I Wash My Wooden Window Ledges?
You should aim to dry dust your ledges with a microfiber cloth at least once a week to prevent heavy buildup. A deeper, damp wash using a mild soap solution is usually necessary once every month. However, during periods of heavy pollen, or the cold winter months when window condensation peaks, you might need to wipe down these areas every two weeks to prevent moisture damage and staining.
Will Water Damage Untreated Wood Window Surfaces?
Yes, standing water will cause immediate and severe damage to raw, untreated timber. Unfinished wood absorbs moisture like a sponge, leading to rapid swelling, warping, and eventual wood rot. If your ledges lack a protective layer of paint, varnish, or polyurethane, you must keep them completely dry. You should finish any raw interior trim as soon as possible to protect it from condensation and accidental spills.
How Do I Fix Sun Damage On My Window Trim?
Prolonged exposure to ultraviolet light often causes wood stain to fade and protective clear coats to turn yellow and crack. If the sun damage is purely cosmetic, you can sometimes restore the color by applying a tinted wood restorer or heavy wax. For severe peeling or deep bleaching, you will need to sand the ledge down to the bare timber, reapply a high-quality wood stain, and seal it with a UV-resistant polyurethane.

Conclusion
Keeping your interior trim in pristine condition requires just a little bit of consistency and the right gentle approach. By removing loose dirt first, using a lightly damp cloth, and drying the surface immediately, you prevent the vast majority of water rings and permanent discoloration. Taking the time to understand how to clean wood window sills protects your home investment and brightens up your entire living space.
Do not wait until you notice peeling paint or dark mold spots forming in the corners of your frames. Grab a soft microfiber cloth today and give your ledges the quick attention they deserve. A few minutes of proactive care right now will keep your gorgeous wooden accents shining brilliantly for decades to come.

About
Mike May is a distinguished figure in the world of woodworking and timber design, with a decade of expertise creating innovative and sustainable indoor solutions. His professional focus lies in merging traditional craftsmanship with modern manufacturing techniques, fostering designs that are both practical and environmentally conscious. As the author of Woodimber, Mike delves into the art and science of timber-craft, inspiring artisans and industry professionals alike.
Education
RMIT University (Melbourne, Australia)
-
Associate Degree in Design (Timber): Focus on sustainable design, industry-driven projects, and practical craftsmanship.
-
Gained hands-on experience with traditional and digital manufacturing tools, such as CAD and CNC software.
Nottingham Trent University (United Kingdom)
-
Bachelor’s in Woodworking and Product Design (Honors): Specialized in product design with a focus on blending creativity with production techniques.
-
Participated in industry projects, working with companies like John Lewis and Vitsoe to gain real-world insights.
Publications and Impact
In Woodimber, May shares his insights on timber design processes, materials, and strategies for efficient production. His writing bridges the gap between artisan knowledge and modern industry needs, making it a must-read for both budding designers and seasoned professionals.