

You might be thinking about installing hardwood floors, wondering perhaps if it’s something only a professional can pull off. The truth is, with some time and a sharp eye for detail, you can achieve a floor that looks hand-crafted—without hiring it out. Hardwood isn’t just another surface to walk on.
It carries a sense of the organic underfoot, warms up a room in ways carpet never can, and, odd as it may sound, even changes the acoustics of a space. Of course, the idea of nailing all those planks in place can seem fairly daunting at first. Yet, once you break the process down and let yourself move methodically from one step to the next, the intimidation factor tends to melt away.
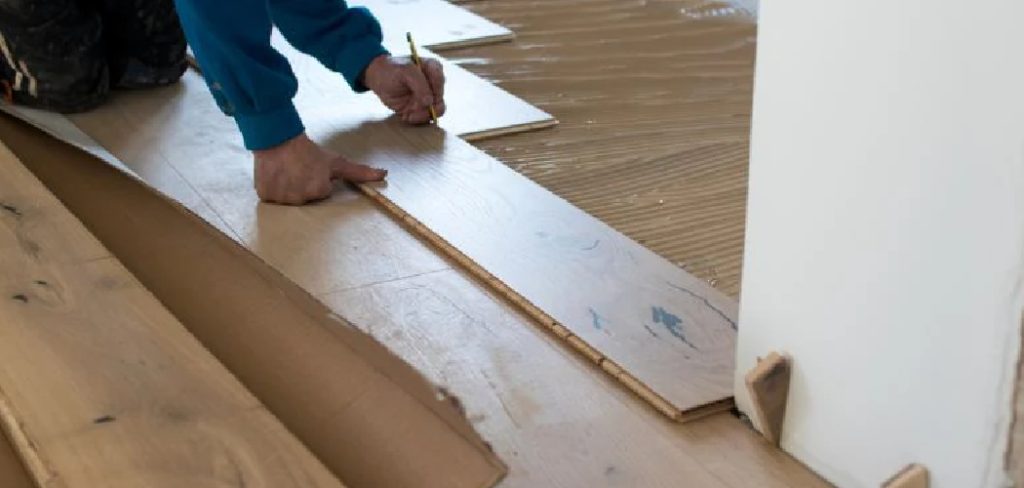
Is there some secret that lets an amateur achieve that “solid and silent” finish—the kind that doesn’t creak with every step? Not exactly. Most of it, it turns out, comes down to doing things in the proper order, wielding the right tools, and letting patience override the impulse to cut corners.
Expect your knees to ache and, for a day or two, your hands to develop new calluses. But if you’re game, the transformation you can effect with a box of flooring and a handful of tools is nothing short of striking. In this guide on how to nail hardwood floor installation, we’ll walk you through the steps.
Tools and Materials You’ll Need
It is no great mystery what you’ll need to get started, but a missing tool can bring the job to a standstill. Before opening a single box of wood, make a checklist:
- Solid hardwood flooring, already acclimated. Yes, you really must let it sit in the destination room.
- Pneumatic floor nailer (sometimes called a flooring stapler), along with the right cleats or staples.
- Brad nailer or finish nailer—these help with stubborn rows near the walls.
- An air compressor and a hose to match.
- Rubber mallet, not to be confused with your typical hammer (you’ll feel the difference).
- Moisture barrier—usually 15 lb. felt paper, though some opt for synthetic underlayment.
- Tape measure, a chalk line, and a workmanlike pencil.
- Miter saw plus a table saw (rent them if you must).
- Pry bar and tapping block—life savers, both.
- Wood putty matches your chosen stain or color.
If some of these sound excessive, just wait and see what happens if you try to do without.
7 Simple Step-By-Step Guidelines on How to Nail Hardwood Floor
Step 1: Prepare the Subfloor Thoroughly
Let’s not skate past this. The subfloor—usually plywood or OSB—really deserves your attention. It ought to be bone-dry and feather-flat. Even a few stray crumbs of debris or an unseated screw can sabotage the rest of your efforts, resulting in planks that never quite lie down or make subtle noises at the worst moments.
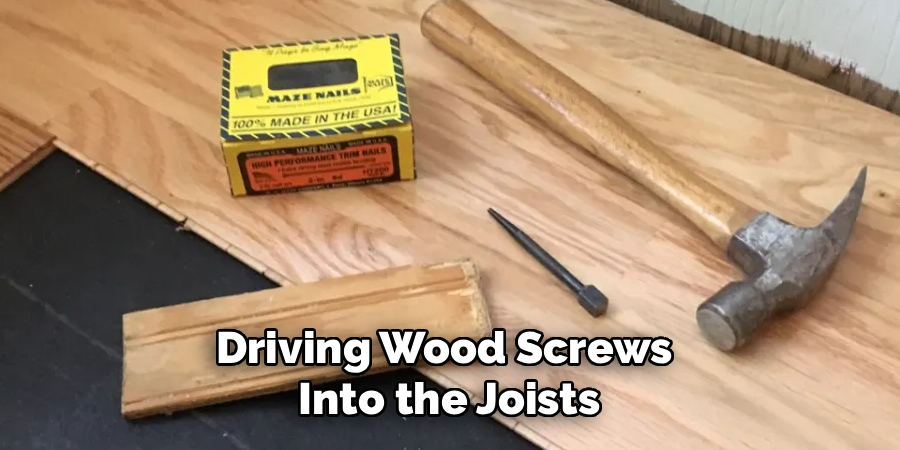
Here’s a tip: pace across the room as if you were tracking muddy prints. If boards shift or you hear squeaks, that movement is only going to get worse once the visible floor is down. Driving wood screws into the joists can stiffen up bouncy spots. Scan with a level, and if you find a spot that seems proud (or sunken), it’s worth the effort now to sand or fill it as needed. This is the foundation of your finished floor—however tempting, don’t let a wobbly start slide.
Step 2: Roll Out the Vapor Barrier
Some may be tempted to skip this, especially on upper floors (who expects basement damp up here?), but it’s a risk, frankly. Moisture migrates in mysterious ways, and hardwood tends not to forgive. Lay out your felt paper (the standard is fifteen-pound, but some prefer synthetic), overlapping seams by about four inches. Take care to smooth it as you go. It can look like a windswept flag otherwise, and that’s no good.
A staple gun does the job, and it doesn’t hurt to work out a system so the edges aren’t left curling. This layer is not only there for moisture. It also helps muffle footsteps—a small but welcome benefit for those with company below.
Step 3: Rack the Hardwood Planks
It’s tempting to start nailing right away, but arranging your boards—what pros still call “racking”—prevents a patchwork effect. Open multiple boxes at once, even if it feels like overkill, and intermingle the planks. Wood grain and color can swing wildly from one pack to the next; a random approach usually yields the most convincing spread.
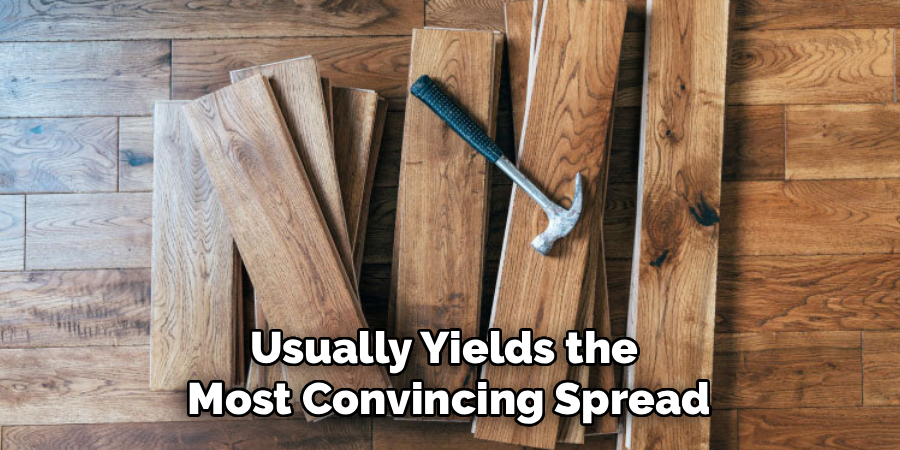
Pay mind to the placement of your end joints. They should leapfrog by at least six inches from one row to the next—not aligned, not creeping up the room in a set pattern. Patterns like the “H” or telltale stair-step tend to stand out, though not in a flattering way. You’ll spend a little more time arranging now, but it’s far less painful than tearing up nailed boards later because something looks conspicuously off.
Step 4: Face-Nail the First Row
Getting the first row just right feels a tad nerve-racking. This row sets the tone for the rest. Place the grooved edge against the wall, minding the expansion gap—typically around three-quarters of an inch, but double-check your product’s guidance. Ignore that warning and you risk the floor buckling when the humidity swings.
With the pneumatic nailer out of the running (it doesn’t get close enough to the wall), break out the finish nailer, or if you must, drill and hand-nail. Every 10 to 12 inches, drive the nails about half an inch from the groove. Careful: set the heads below the surface (not so deep you split the wood) and make note of the holes for later fill. This row is the anchor—cutting any slack here will haunt you for the rest of the install.
Step 5: Blind-Nail the Following Rows
Now you’ll get into the rhythm: blind-nailing at a 45-degree angle through the tongue of each plank. The groove of the next board will snag and cover these nails, which makes for a clean, unbroken look up top.
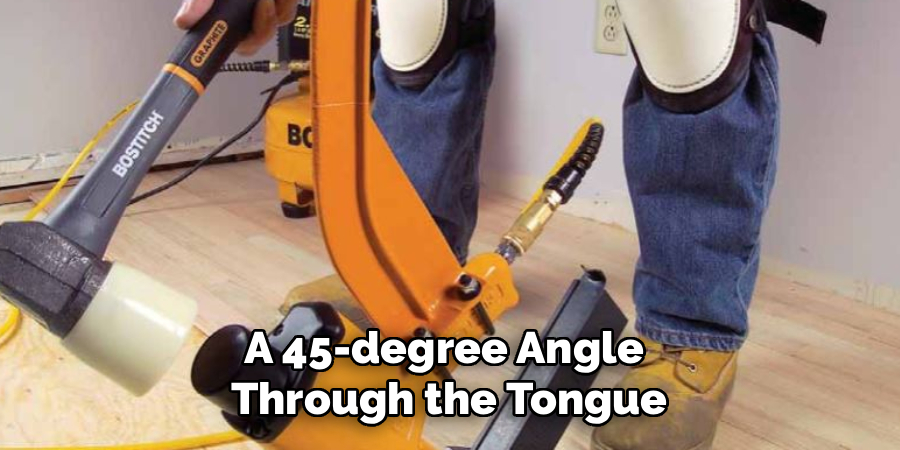
For those early rows where the bigger nailer still won’t fit, the finish nailer at an angle is your friend. Once you’re clear of the wall, haul out the pneumatic nailer and drive fasteners every 8 to 10 inches. Make a point to put a nail within two inches of every board end. There really isn’t much glamour here—just repetitive motion and the challenge of keeping lines straight as you go.
Step 6: Navigate Around Obstacles
Expect setbacks as you go—vents, radiators, thresholds, all get in the way. Door casings in particular can be confounding. If the trim is high enough, you can tuck the boards underneath for a neat fit, possibly after shaving a bit off using a jamb saw.
As for oddly shaped cutouts (vents or not-so-square corners), measure and mark with care. The jigsaw will see frequent use, and frankly, practice and patience pay off here. Always check that you’re not boxing yourself into a corner. Maintain the all-important expansion gap around pipes and built-ins—a tight fit looks nice at first, but the planks need room to move or you’ll see swelling and pressure spots soon after.
Step 7: Install the Final Rows and Trim
As you approach the far side, space gets tight. Eventually, even your compact nailer won’t fit—revert to hand or finish-nailing at the tongue as far as you can reach. The last row often needs trimming in width. Use the table saw, making sure to allow the expansion gap.
For this last bit, face-nail as before and use a pry bar with a scrap of wood to snug things up without denting your finish. Mask whatever imperfections remain at the edges with baseboard and quarter-round or shoe molding. A final word: only ever nail molding into the wall, not the floor. The floor has to move; locking it in will come back to haunt you.
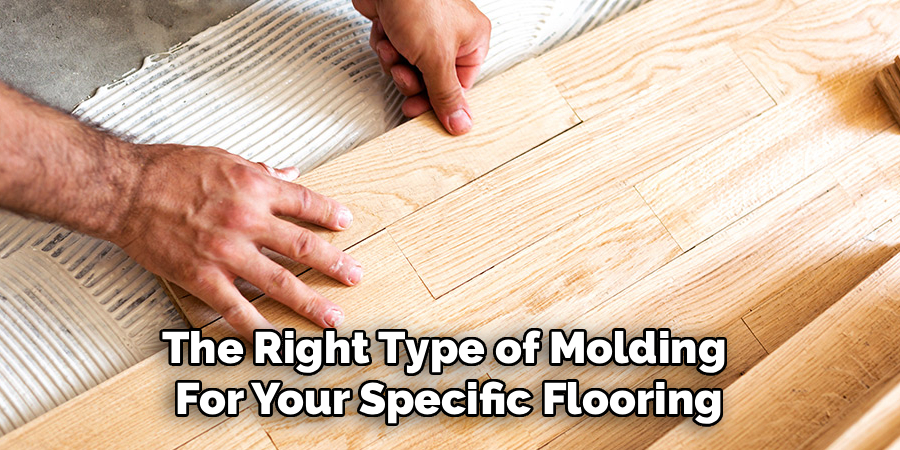
Following these steps on how to nail hardwood floor molding will ensure that your installation looks professional and lasts for years to come. Additionally, it is important to choose the right type of molding for your specific flooring needs. There are various options available, such as baseboard, quarter-round, and shoe molding.
Safety Tips
- Don’t risk your eyesight—safety glasses are about as glamorous as they sound, but you’ll miss them if something kicks up.
- Your knees will take the punishment. Pads are a wise investment.
- The hum of compressors and saws isn’t music. Protect your hearing, especially if you like concerts.
- Nailers can bite. Keep your non-trigger hand well away from where the fastener exits.
- Always disconnect tools before performing maintenance. Accidental discharges aren’t as rare as one would hope.
Common Mistakes to Avoid
There are a few pitfalls that continue to trap even careful installers. Failing to let the wood adjust—“acclimate”—to your space for three days or more is a common shortcut and just as commonly regretted. Crowding the edges is another classic misstep; without enough room to expand, floors buckle come summer.
Skimping on subfloor prep leads to creaks and flexing you’ll hear at 2 a.m. Using the wrong nails can split tongues, a fixable but frustrating setback. And, of course, lining up end seams in regular patterns shatters the illusion of a naturally random floor.
Frequently Asked Questions
Q1: What Size Nails Should I Use For Hardwood Floors?
The correct fastener size depends on the thickness. For the standard 3/4-inch plank, look to 1.5- to 2-inch cleats or staples. Going thinner—say, engineered products? You may get away with 1.25-inch fasteners. Always check your manufacturer’s advice to avoid splitting the tongue or voiding any warranties.
Q2: Do I Need To Acclimate My Hardwood Floors Before Nailing?
Yes. No exceptions worth noting. Let the boxes rest in their future home for at least three—ideally five—days. This allows for even, predictable swelling or shrinking before you set the first nail. Skip this, and you risk gaps in January or bulges in July.
Q3: Can I Nail Hardwood Over An Existing Floor?
Possibly. If your current floor is wood, sits flat, and nothing squeaks, and provided you lay the new boards at a right angle, it’s an option. But if you’re looking at carpeting, laminates, or suspect old vinyl, tear it out and start fresh with the subfloor. That extra effort may save you from years of regret.
Conclusion
It’s no easy task—your body may well ache for days after, and at some point you’ll wonder if you should have called a contractor. But take heart. With each methodical row, you inch closer to a surface both handsome and resilient, one that will outlast fashions and perhaps even owners.
Once you sweep away the last bits of sawdust and the molding sits snug all around, step back. Chances are, you’ll see something honest and lasting underfoot—an improvement as gratifying as any you’ll make at home. Thanks for reading this guide on how to nail hardwood floor.

About
Mike May is a distinguished figure in the world of woodworking and timber design, with a decade of expertise creating innovative and sustainable indoor solutions. His professional focus lies in merging traditional craftsmanship with modern manufacturing techniques, fostering designs that are both practical and environmentally conscious. As the author of Woodimber, Mike delves into the art and science of timber-craft, inspiring artisans and industry professionals alike.
Education
RMIT University (Melbourne, Australia)
-
Associate Degree in Design (Timber): Focus on sustainable design, industry-driven projects, and practical craftsmanship.
-
Gained hands-on experience with traditional and digital manufacturing tools, such as CAD and CNC software.
Nottingham Trent University (United Kingdom)
-
Bachelor’s in Woodworking and Product Design (Honors): Specialized in product design with a focus on blending creativity with production techniques.
-
Participated in industry projects, working with companies like John Lewis and Vitsoe to gain real-world insights.
Publications and Impact
In Woodimber, May shares his insights on timber design processes, materials, and strategies for efficient production. His writing bridges the gap between artisan knowledge and modern industry needs, making it a must-read for both budding designers and seasoned professionals.