

There’s something oddly satisfying about coaxing green things from plain dirt, isn’t there? The idea of growing your own food and flowers—right outside your back door—may sound romantic or, depending on your last gardening mishap, a tad intimidating. Still, it’s difficult to ignore the basic truth: the process can be hard on knees and backs. The endless bending, crouching, and stooping takes its toll, especially after a few hours in the sun.
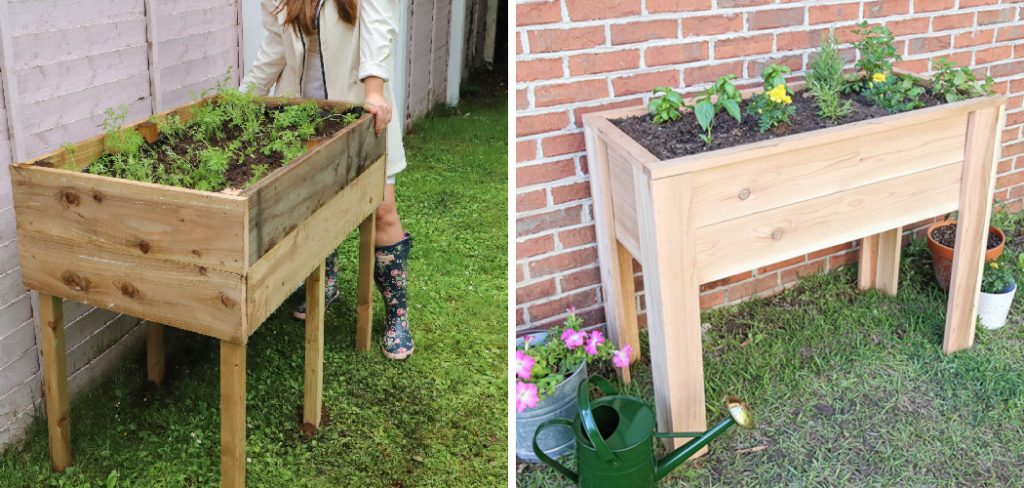
That’s partly why so many gardeners end up building raised beds on legs. No, it’s not just about following a trend or copying your neighbor. Elevating your garden to counter height changes the whole dynamic. Suddenly, you’re tending to herbs or tomatoes without the dreaded crouch, and it’s much harder for rabbits and slugs to stage their nightly raids. In this guide on how to build raised garden beds on legs, we’ll discuss the benefits and considerations for elevated gardens.
Benefits of Raised Garden Beds on Legs
Look—anyone who’s tried to weed the far corner of a traditional garden knows why ergonomic design matters. The relief of standing, unconcerned about your lower back, makes gardening feel less like a physical challenge and more like an everyday pleasure. Garden beds on legs open up gardening to folks who may have written it off due to mobility concerns; people of varying ability levels can finally participate without discomfort.
Yet, it’s not only about comfort. Elevation alters the growing environment, too. Beds above ground warm up faster in spring, so you might get a head start on your planting—at least, if the weather cooperates. Drainage improves, which, for certain crops, can really tip the scales. Forget trying to amend poor soil: you fill your raised bed with a custom mix and bypass whatever questionable dirt lies beneath. A less obvious plus? Many notorious pests simply can’t be bothered to climb that high.
Planning the Design
Haste here is best avoided. Before hauling wood or wielding a saw, spend time planning exactly where your bed will go. South-facing exposure really does make a difference—leafy greens wilt without sun, and even the hardier blooms will sulk in too much shade. Is the water faucet close by, or does dragging a hose across the lawn fill you with dread? Ask yourself now, save yourself trouble later.
In terms of dimensions, well, there’s no universal rule, but it’s worth considering what feels comfortable for you. A bed that’s about ten to twelve inches deep is sufficient for most greens and herbs. Any deeper, and you’re mostly just spending more on soil. Width isn’t just a design preference; if your arms can’t reach the middle without awkward leaning, it’s probably too wide—three to four feet seems to be the upper limit for most folks. Heights around kitchen-counter level (think thirty to thirty-six inches) put everything within easy reach.
Tools and Materials You’ll Need
To get started on building your own raised garden bed, you’ll need some basic tools and materials. Here’s a list of what you’ll need to gather before getting started:
- Hammer
- Measuring tape
- Saw or power saw (optional)
- Drill (optional)
- Screws or nails
- Level
- Shovel or spade
- Rake or hoe
- Gardening gloves
7 Simple Step-By-Step Guidelines on How to Build Raised Garden Beds on Legs
Step 1: Measuring and Cutting the Wood
Precision, in carpentry, can’t be overstated. Plans in hand, mark out each piece—four for the frame, four for your corner legs, and several slats if you’re making a wooden base. Resist the urge to rush; errors at this stage lead to frustration and extra trips to the lumber store. Use the saw you trust most. If it’s been a while, maybe practice a cut or two on scrap wood first, just to avoid split ends or jagged edges.
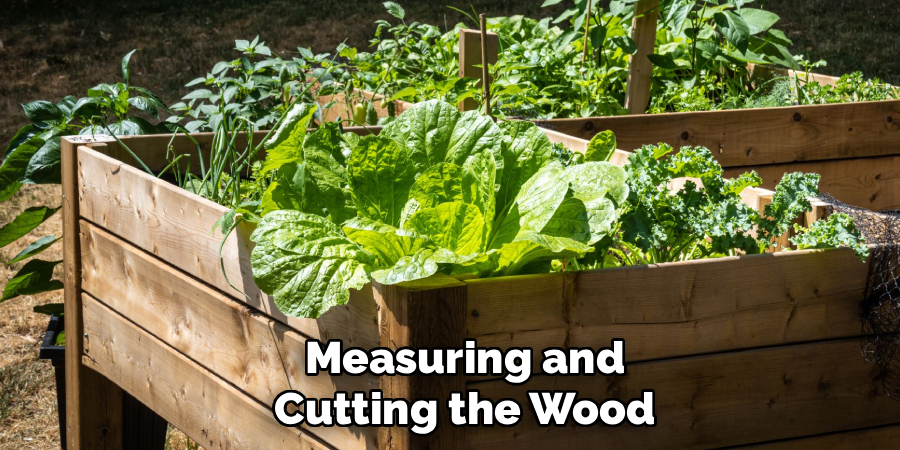
Cut everything according to plan. Sand down rough bits—you’ll thank yourself when you’re not picking splinters out of your palm later. Piling pieces by type helps keep things straight as you move on.
Step 2: Assembling the Frame
This part is much easier with a helper, though solo crafters can manage with patience. Lay out your four panels on a flat surface and check that the corners line up. Before you even think about driving in screws, grab that drill and make pilot holes. This prevents the boards from splitting, which is the sort of preventable mishap that grinds construction to a halt.
Secure corners with a couple of screws. After it’s all together, check for square by measuring both diagonals; uneven numbers hint at a lopsided box, and it’s best to fix this now, not when it’s filled with soil.
Step 3: Attaching the Legs
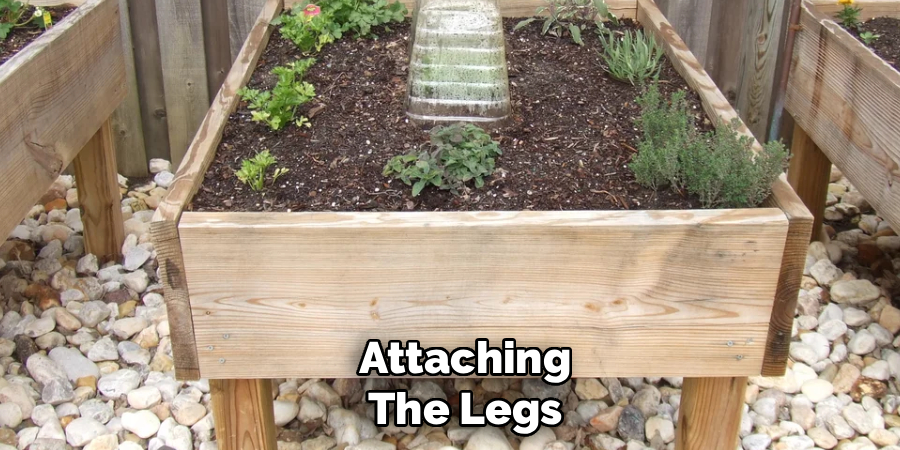
Attaching legs is, admittedly, a turning point: your structure transforms from a plain box into something genuinely practical. Place each leg flush with the top edge for a tidy finish, then fasten them securely—in fact, err on the side of more screws, not fewer. These legs bear all the weight, so double-check each attachment.
If you’re prone to worry over wobbly furniture, consider adding braces; a few extra pieces of wood between the lower legs can make the whole bed sturdier. Once everything feels secure, flip it upright and gently rock it. Any wobble now is far easier to fix than later.
Step 4: Installing the Base Floor
Now, you need a base strong enough to hold wet soil but permeable enough for water to escape. Lay the slats across the bottom, making sure each one rests on something solid—add horizontal supports if needed.
Half-inch gaps between slats aren’t just a nice detail; they allow drainage, and without them, you’re in for soggy, unhappy roots. Attach the slats with screws. At this point, the garden bed should look, unmistakably, like a box ready for growing.
Step 5: Adding Drainage Holes
Even though spaced slats help, they’re rarely enough on their own. To hedge against excess water, take a hefty drill bit and bore a handful of additional holes through the floor. Space them evenly—too many isn’t really a problem here.
Rough holes can snag fabric or roots, so run some sandpaper around the edges if needed. Good drainage can make the difference between a thriving bed and a waterlogged disappointment.
Step 6: Lining the Garden Bed
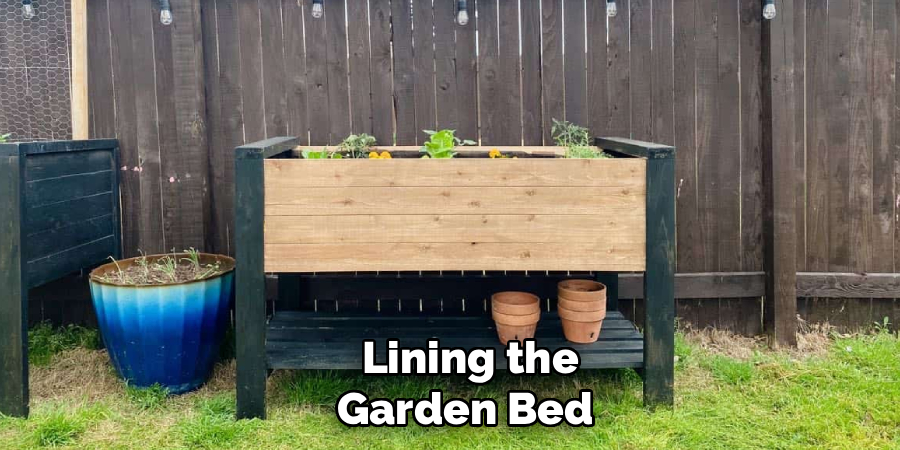
Skip this step, and you’ll quickly learn why it matters. Line the interior, bottom and sides with landscape fabric—cut with enough overlap so it climbs up the inside walls. The goal is to keep soil in and let water out, a balance the fabric manages surprisingly well.
Fit the fabric neatly, stapling around the upper rim every few inches. Don’t pull it so tightly that it’s at risk of tearing the second you add soil. Trim any wild edges poking above the rim for a streamlined look.
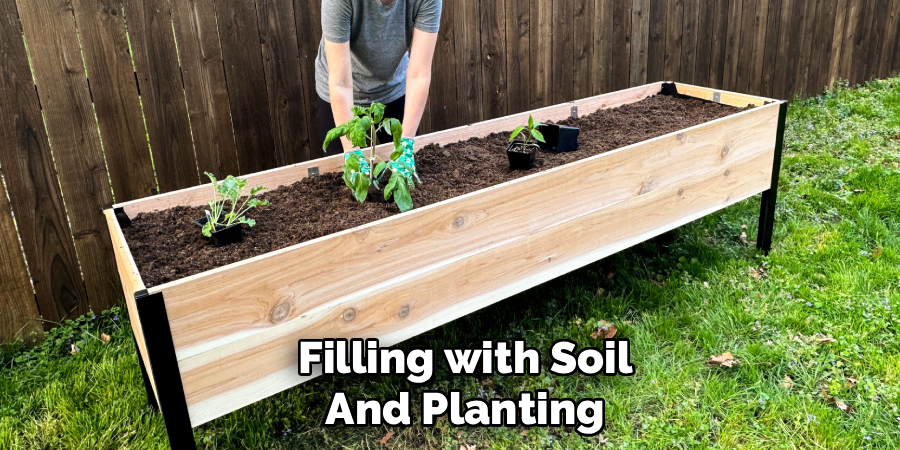
Step 7: Filling with Soil and Planting
Here’s where anticipation gives way to reality. Shift the empty planter to its final resting place before you fill it—once loaded with soil, it’s not going anywhere without a struggle.
Mix up a blend of potting soil, compost, and something to encourage drainage—perlite or vermiculite does nicely. Fill to about two inches below the top; this space helps with watering and keeps mess to a minimum.
Deciding what to plant can take as much time as assembly, but that’s half the fun. Once seeds or seedlings are in, water them deeply. The first soak helps everything settle and closes up hidden air pockets. That’s it; you’ve built a garden bed on legs. Not bad for a weekend’s work.
Following these steps on how to build raised garden beds on legs, you can create a beautiful and functional garden space in no time. However, the journey doesn’t end here. There are many other factors to consider when maintaining a raised garden bed on legs.
Best Plants for Raised Garden Beds
Depth matters. Because elevated beds typically aren’t as deep as traditional dug-in beds, root systems can become crowded if you try to grow deep-rooted plants. Lettuce, spinach, arugula, and Swiss chard all excel in shallow soil. You’ll also have luck with bush beans, radishes, and some dwarf pea varieties, which tend not to mind limited space.
Herbs are incredibly convenient in these beds. Picture stepping out and snipping basil or parsley minutes before dinner. For larger crops like tomatoes or peppers, aim for twelve to fifteen inches in depth if you can manage. Compact, ‘patio’ varieties are usually happiest here.
Maintenance Tips
If you hope for your hard work to last beyond a single season, a little ongoing attention is necessary. Natural wood and the elements don’t get along for long. An annual coat of food-grade linseed or tung oil slows rot and weathering—it’s quick work and repays itself season after season.
Soil in raised beds dries out faster than in the ground, especially during the hottest weeks. Check the top inch of soil frequently—water deeply when it feels dry. Mulching with straw or leaf mold locks in moisture and helps with temperature swings. Don’t be surprised if you find yourself tweaking your routine as the months go by.
Common Mistakes to Avoid
Placing your bed on an uneven patch of ground is, quite literally, a shaky foundation. Uneven watering and even structural cracks can result. Shoveling in regular topsoil rather than light, aerated potting mix may be tempting, but heavy soil compresses into a clump—and the roots will suffer.
Beds wider than four feet please none but the most long-armed gardeners; it’s hard to reach, especially as plants fill in. Overlooking drainage—by skipping holes or fabric—could mean root rot or eroded wood in short order. Losing track of these details can turn a promising build into a regret rather quickly.
Frequently Asked Questions
Q1: How Deep Should an Elevated Garden Bed Be?
There’s no “one-size-fits-all” rule. For short-rooted crops—think lettuce or herbs—eight to ten inches does just fine. Get into larger vegetables (peppers, carrots, bush tomatoes), and you’ll want twelve to fifteen inches if you can spare the extra soil.
Q2: Can I Use Pine Wood to Build My Garden Bed?
Pine is cheap and easy to work with, and it’s everywhere. But it pays to remember that untreated pine will rot far faster in outdoor conditions—often just two or three years before decay sets in. Cedar and redwood, by contrast, can see your bed through a decade or more, with far less fuss.
Q3: How Do I Keep the Soil From Falling Through the Bottom?
Landscape fabric is your friend here. Lining the inside of your box with a strong, permeable material keeps all that carefully mixed soil where it should be while allowing excess water to exit without taking nutrients or dirt along for the ride.
Conclusion
Few projects deliver as much personal payoff as building an accessible, elevated garden bed. The process isn’t so complicated—though it does reward the patient, organized builder. Take a bit of time to gather your supplies and map out your build. Solid prep saves you from so many headaches.
Once it’s done, you’re left with a raised bed that spares your back, keeps pests guessing, and turns any patch of patio or lawn into a productive, beautiful little farm. Who knows? You might even inspire the neighbors. Thanks for reading this guide on how to build raised garden beds on legs.
