

Creating a dedicated space for your plants is a dream for almost every home gardener. Expanding your growing season and protecting delicate seedlings from harsh weather are just a few reasons to invest in a dedicated growing structure. If you are tired of losing your tomato plants to early frosts, you might be considering a permanent solution for your backyard. Many gardeners find themselves wondering how to build wooden greenhouse structures that look beautiful while functioning perfectly. A timber structure offers a natural, rustic charm that blends seamlessly into any garden landscape.
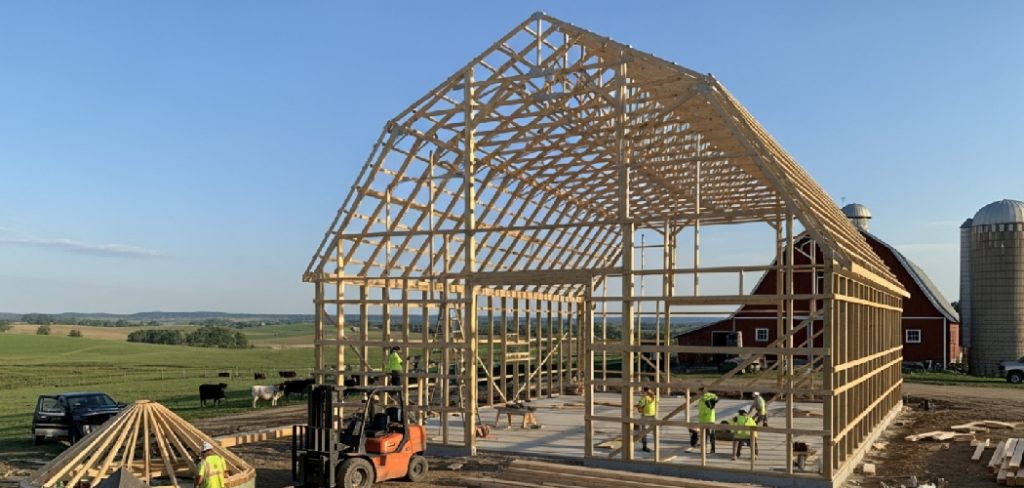
Building it yourself saves money and gives you complete control over the dimensions and features. You do not need to be a master carpenter to achieve excellent results. With basic tools, careful measuring, and a solid weekend or two of dedicated work, you can construct a sturdy sanctuary for your plants. Let us gather our materials and turn that empty patch of grass into your new favorite outdoor workspace.
Why You Should Choose Timber for Your Backyard Plant Sanctuary
When deciding on materials for a backyard growing structure, gardeners often weigh the pros and cons of aluminum, PVC, and wood. Timber stands out as an exceptional choice for several practical and aesthetic reasons. First, wood provides natural insulation, which is vastly superior to thin metal frames. This thermal mass helps regulate temperature fluctuations during chilly nights, keeping your vulnerable seedlings safe and warm.
Furthermore, timber structures offer unmatched structural stability. A properly framed timber building can withstand heavy snow loads and fierce winter winds much better than flimsy plastic alternatives. From a visual standpoint, natural lumber ages beautifully and complements the organic environment of a garden. You can stain or paint the exterior to match your home, ensuring the new structure feels like a cohesive part of your property. Customization is also incredibly simple with lumber. Adding extra shelving, hanging hooks for tools, or cutting out a new ventilation window requires nothing more than a basic saw and a few screws.
Step-by-Step Guide on How to Build Wooden Greenhouse
Step 1: Select the Perfect Location
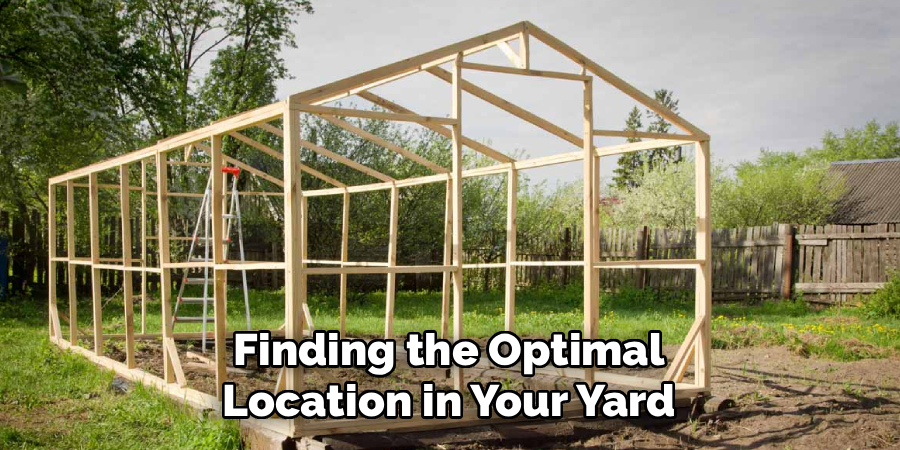
Finding the optimal location in your yard is the most critical first move you will make. Your new structure requires maximum sunlight exposure to keep your plants thriving, especially during the shorter winter days. Choose a spot that receives at least six to eight hours of direct southern or southeastern sunlight. You must also ensure the ground is relatively flat and well-draining so water does not pool around your foundation and rot the lumber. Avoid placing the footprint directly under large, overhanging trees, as heavy falling branches can easily shatter your roof panels. Careful site preparation guarantees a highly productive environment.
Step 2: Gather Your Timber and Structural Materials
Selecting the right type of lumber is essential for the longevity of your backyard project. Because the interior environment will be naturally humid, you must purchase rot-resistant wood. Cedar and redwood are premium choices that naturally repel moisture and insects, though pressure-treated pine is a highly durable and budget-friendly alternative. You will need thick dimensional lumber for the base frame, standard studs for the wall construction, and long rafters for the roof. Additionally, purchase exterior-grade galvanized or deck screws that will not rust when exposed to constant moisture. Having all materials delivered to your yard beforehand keeps the building process smooth.
Step 3: Lay a Solid and Level Foundation
A sturdy structure always begins with a completely level and secure foundation. You can pour a solid concrete slab, but creating a perimeter foundation using heavy cinder blocks or thick timber sleepers is much easier for beginners. Dig a shallow trench around the exact perimeter of your footprint, fill it with crushed gravel for drainage, and lay your heavy base timbers down. Use a long carpenter’s level to ensure the base is perfectly horizontal across all sides. Secure the base to the ground using heavy-duty steel earth anchors. This prevents high winds from shifting or lifting your newly built sanctuary.
Step 4: Frame the Base Plates and Vertical Walls
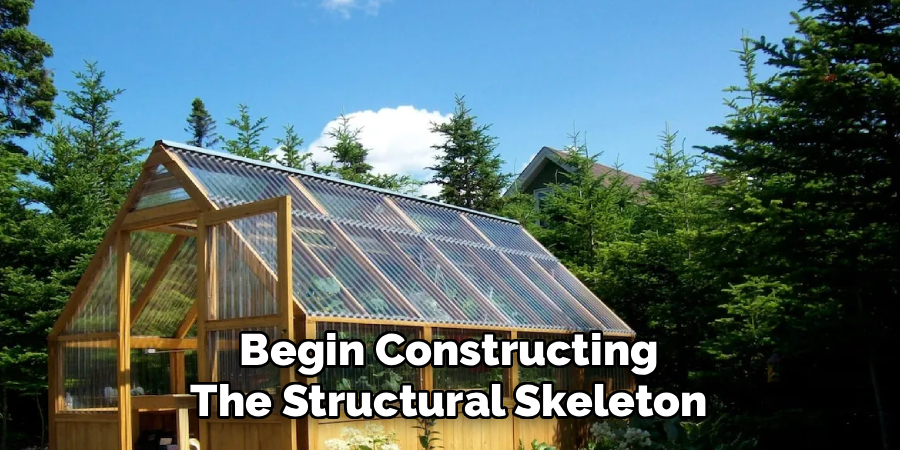
With your foundation secure, you can begin constructing the structural skeleton. Build the walls flat on the ground one at a time. Lay out your bottom plate and top plate, spacing your vertical wall studs every twenty-four inches. This specific spacing provides excellent structural integrity while perfectly accommodating standard-width glazing panels later on. Drive galvanized screws through the plates and directly into the ends of each vertical stud. Once a wall frame is fully assembled on the ground, lift it into an upright position, set it squarely onto your foundation base, and brace it temporarily before screwing it down securely.
Step 5: Construct and Install the Roof Trusses
Building the roof requires careful angle measurements to ensure rain and snow slide off easily. A classic gable roof with a moderate pitch is generally the most effective and simplest design for home gardeners to construct. Cut your wooden rafters at matching angles so they meet perfectly at the central ridge board. Assemble these triangular trusses on the ground first to ensure they are identical. Once built, lift the trusses onto the top plates of your standing walls, spacing them evenly to align with your vertical wall studs. Secure them tightly using specialized metal hurricane ties for maximum wind resistance.
Step 6: Attach the Exterior Glazing Panels
The transparent covering is what traps the sun’s thermal energy and creates the greenhouse effect. Twin-wall polycarbonate panels are highly recommended over traditional glass because they are shatterproof, lightweight, and offer excellent light diffusion. Cut the polycarbonate sheets carefully using a fine-tooth circular saw to match the exact dimensions of your wall and roof frames. Fasten the panels directly to the exterior of your wooden studs using special roofing screws equipped with rubber washers. These rubber washers compress against the plastic, creating a watertight seal that prevents rain from leaking into your workspace and damaging your delicate seedlings.
Step 7: Hang a Secure Door and Add Ventilation
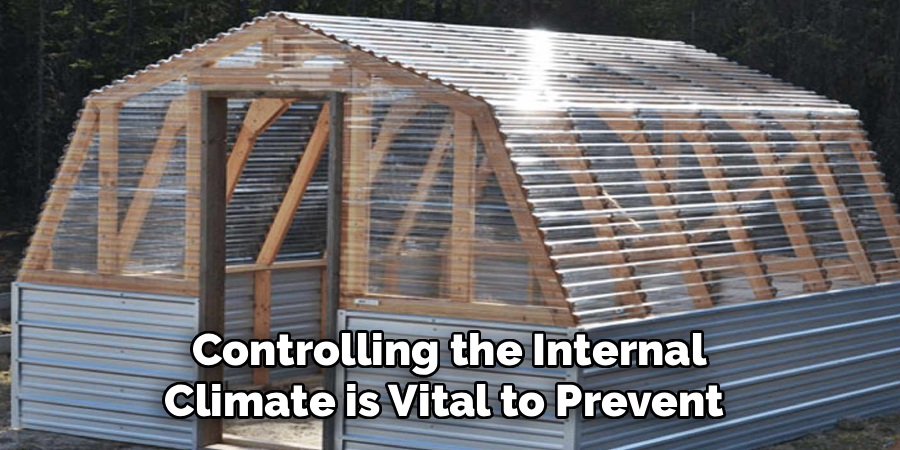
Controlling the internal climate is vital to prevent your plants from overheating during bright summer afternoons. Frame out a standard rectangular opening on the front wall and install a sturdy exterior door using heavy-duty metal hinges. For proper airflow, you must install adjustable roof vents or louvered side windows. Heat naturally rises, so placing vents near the roof ridge allows trapped hot air to escape quickly while drawing cooler, fresh air in through the main door. You can even install automatic vent openers containing wax cylinders that expand and open the windows automatically when the interior temperature gets too high.
Step 8: Seal and Protect the Exterior Lumber
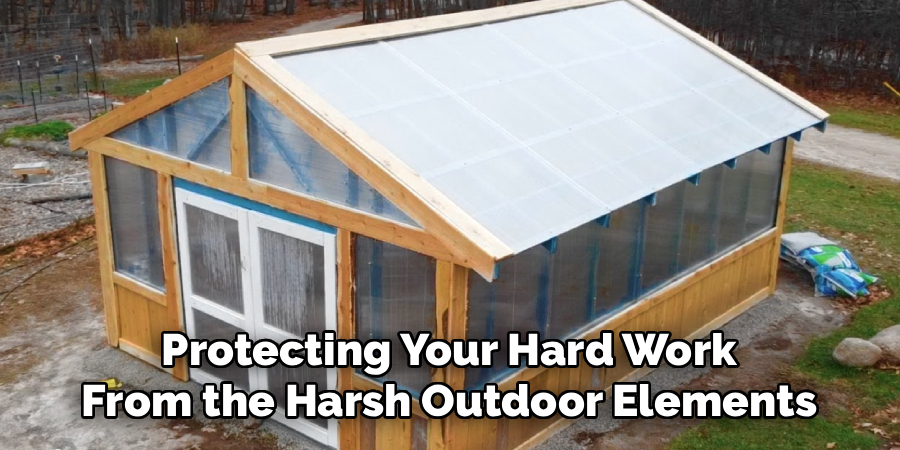
The final phase involves protecting your hard work from the harsh outdoor elements. Even if you utilized pressure-treated pine or naturally resilient cedar, applying a high-quality exterior wood sealant extends the life of your timber significantly. Brush or roll a generous coat of water-repellent stain or clear wood preservative over every exposed wooden surface, paying special attention to the cut ends where moisture easily seeps in. Allow the protective coating to dry completely according to the manufacturer’s instructions. This vital maintenance step defends your structure against fungal rot and UV degradation, keeping your backyard oasis looking beautiful for decades.
Frequently Asked Questions
What Is The Best Wood For A Greenhouse?
Choosing the correct timber is crucial for longevity in a high-humidity environment.
- Cedar is widely considered the best option because it contains natural oils that resist rot, decay, and boring insects.
- Redwood offers similar natural protections and a beautiful, rich color.
- Pressure-treated pine is a highly popular, budget-friendly alternative, though you must ensure it is rated for ground contact if it touches the soil directly.
Do I Need A Building Permit For A Backyard Greenhouse?
Permit requirements vary wildly depending on your local municipal codes and the size of your project.
- Small structures under a certain square footage (often 100 or 120 square feet) generally do not require a formal building permit in many residential areas.
- Always call your local zoning office or homeowners association before pouring a foundation.
- Failing to secure necessary permits can result in heavy fines or forced demolition.
How Do I Keep My Wooden Greenhouse Warm In Winter?
Maintaining adequate temperatures during freezing weather is essential for year-round gardening.
- Seal all gaps between the timber framing and polycarbonate panels with weather stripping or outdoor caulk.
- Line the interior northern wall with black-painted water barrels to absorb solar heat during the day and release it at night.
- Use an electric space heater equipped with a built-in thermostat for reliable, safe overnight heating.
Can I Use Glass Instead Of Polycarbonate Panels?
You can absolutely use traditional glass, but it comes with several distinct challenges.
- Glass provides unmatched visual clarity and traditional aesthetics.
- However, standard glass is incredibly heavy, requiring a much thicker and more complex timber frame to support the weight.
- Glass shatters easily from hail or falling branches, whereas twin-wall polycarbonate is virtually unbreakable and offers superior thermal insulation.
How Much Does It Cost To Build A Wooden Greenhouse?
The total expense depends entirely on the footprint size and your chosen materials.
- A basic, small structure utilizing pressure-treated pine and standard plastic sheeting might cost under five hundred dollars.
- A large, heavy-duty build featuring premium cedar lumber, twin-wall polycarbonate glazing, and an automatic ventilation system can easily cost over two thousand dollars.
- Building it yourself saves massive amounts of money on professional labor costs.
Conclusion
Constructing a dedicated garden sanctuary is one of the most rewarding backyard projects you can undertake. By carefully selecting your location, utilizing durable materials, and executing precise framing techniques, you create a beautiful environment that drastically extends your growing season. The natural charm of timber adds immense visual value to your property while offering a practical, weather-resistant home for your most delicate plants.
Do not let the idea of framing walls intimidate you. Take your time, measure carefully, and tackle the project one piece of lumber at a time. Now that you understand the fundamental steps of how to build wooden greenhouse, you possess the knowledge required to bring your vision to life. Grab your tool belt, head out to your backyard, and start laying the foundation for your new favorite gardening retreat. Your plants will thank you for generations to come.

About
Mike May is a distinguished figure in the world of woodworking and timber design, with a decade of expertise creating innovative and sustainable indoor solutions. His professional focus lies in merging traditional craftsmanship with modern manufacturing techniques, fostering designs that are both practical and environmentally conscious. As the author of Woodimber, Mike delves into the art and science of timber-craft, inspiring artisans and industry professionals alike.
Education
RMIT University (Melbourne, Australia)
-
Associate Degree in Design (Timber): Focus on sustainable design, industry-driven projects, and practical craftsmanship.
-
Gained hands-on experience with traditional and digital manufacturing tools, such as CAD and CNC software.
Nottingham Trent University (United Kingdom)
-
Bachelor’s in Woodworking and Product Design (Honors): Specialized in product design with a focus on blending creativity with production techniques.
-
Participated in industry projects, working with companies like John Lewis and Vitsoe to gain real-world insights.
Publications and Impact
In Woodimber, May shares his insights on timber design processes, materials, and strategies for efficient production. His writing bridges the gap between artisan knowledge and modern industry needs, making it a must-read for both budding designers and seasoned professionals.