

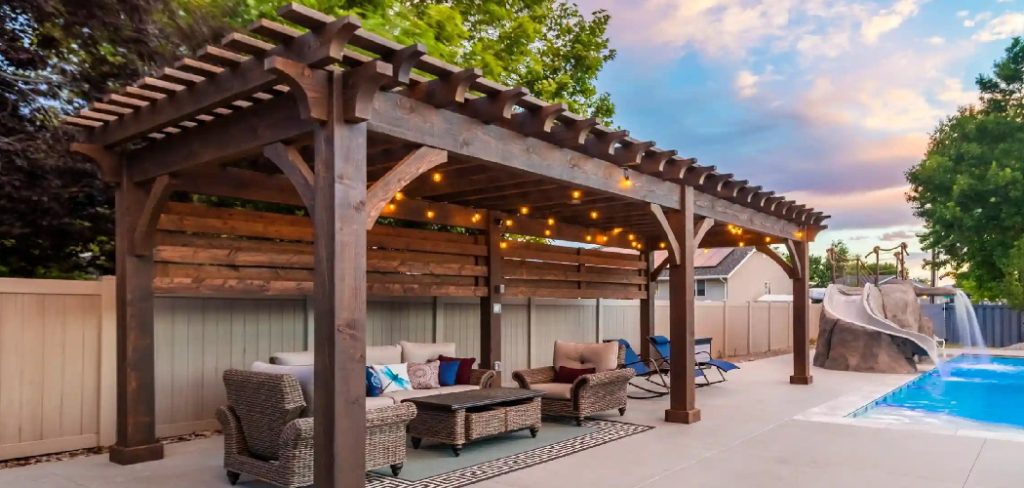
Transforming your plain backyard into an elegant outdoor living space is a dream for many homeowners. Adding a beautiful shelter gives you a dedicated spot to relax, host summer dinners, or enjoy your morning coffee while listening to the birds. You might think this type of complex project requires hiring an expensive contractor or a specialized carpentry team. However, with the right plans and a bit of patience, you can absolutely master how to build wooden gazebo yourself.
Taking on this rewarding construction project gives you total control over the design, materials, and overall budget. You will learn fundamental woodworking skills while creating a permanent structure that adds immense value to your property. This comprehensive guide provides everything you need to know to confidently tackle this backyard upgrade. By following these clear steps, you will soon enjoy a stunning outdoor sanctuary crafted entirely with your own two hands.
Why Adding A Custom Outdoor Structure Matters
Building a dedicated outdoor shelter provides incredible benefits that significantly enhance your daily lifestyle. Store-bought metal or fabric canopies often tear during heavy storms and rarely last more than a few seasons in harsh weather. Constructing your own permanent wooden shelter ensures you have a robust, weather-resistant space that survives heavy rain and strong winds. You create a reliable shaded oasis that protects your family from blistering summer heat and unexpected afternoon showers.
Taking the DIY approach also allows for ultimate customization to fit your specific landscape architecture. You can tailor the exact dimensions, choose your preferred roof style, and select premium lumber that matches your existing deck or fencing. Furthermore, completing a large-scale backyard structure provides a massive boost of confidence and personal satisfaction. Every time you host a barbecue or read a book under the shade, you will feel immense pride in your hard work.
Step-By-Step Guide To How to Build Wooden Gazebo
Step 1: Planning To Build Wooden Gazebo
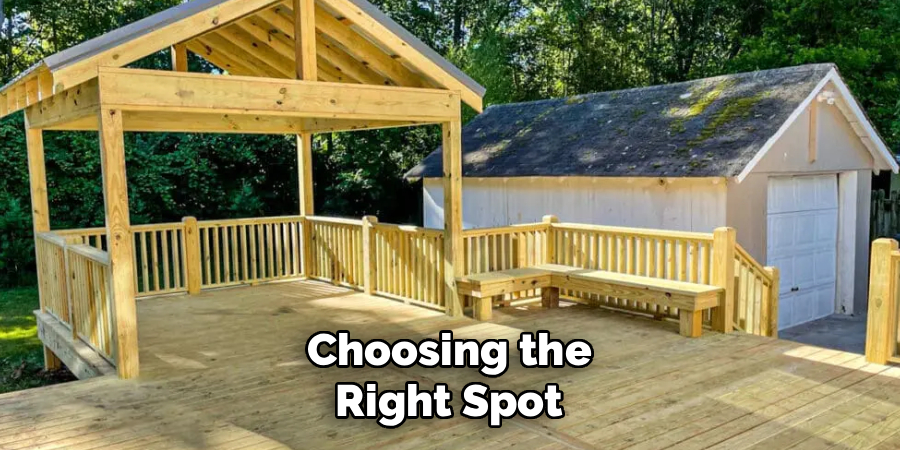
Thorough preparation serves as the absolute most critical phase of your entire backyard construction project. You must start by checking your local zoning laws and homeowner association guidelines to determine setback requirements. Map out the exact location in your yard using wooden stakes and bright mason line to visualize the final footprint.
Consider how the sun moves across your yard during the day to maximize shade during the hottest afternoon hours. Make sure the chosen spot sits on relatively flat ground to minimize the amount of intense digging required. Taking your time during this initial layout phase prevents costly mistakes and frustrating delays later on.
Step 2: Gathering Your Materials And Tools
Before digging any holes, you must assemble all the necessary power tools and premium lumber in your workspace. You will need a reliable circular saw, a heavy-duty power drill, a long spirit level, and a sturdy step ladder. Purchase exterior-grade hardware, including thick galvanized lag screws, metal post bases, and heavy structural brackets.
For the wood, select pressure-treated pine for the hidden structural components and beautiful cedar or redwood for the visible posts. Having every single piece of lumber and hardware organized on site keeps the construction momentum flowing smoothly. A well-prepared workspace ensures you never have to stop midway through a crucial step to visit the hardware store.
Step 3: Laying A Solid Foundation
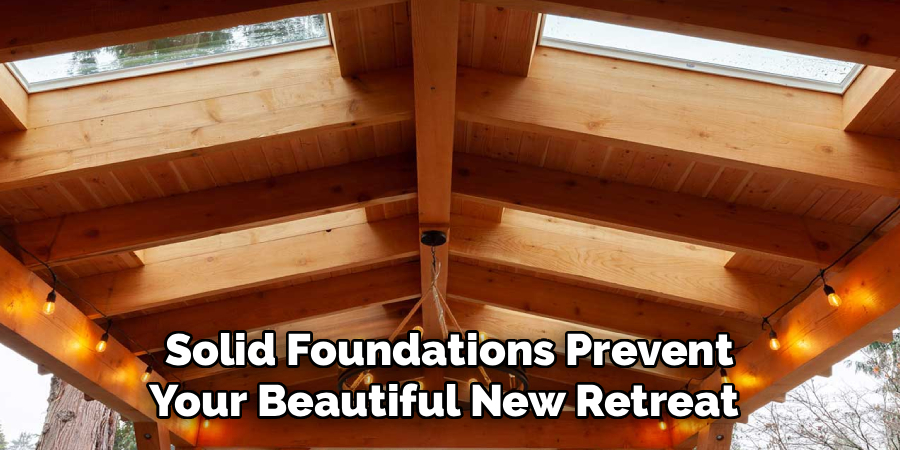
A strong, perfectly level foundation guarantees your heavy structure remains stable and safe for decades to come. Use a post-hole digger to carve out deep footing holes that extend just below your local frost line. Pour a few inches of gravel into the bottom of each hole to promote proper water drainage away from the concrete.
Mix fast-setting concrete in a wheelbarrow and pour it directly into heavy-duty cardboard construction tubes placed in the holes. Embed heavy galvanized steel post anchors right into the wet concrete, ensuring they align perfectly with your string lines. Let the concrete cure completely for at least forty-eight hours before you attempt to mount any heavy wooden columns.
Step 4: Installing The Main Support Posts
Raising the vertical columns requires precision and usually benefits greatly from having a second person assist you. Slide your thick wooden posts directly into the secured metal anchors you embedded in the concrete footings. Use a long spirit level on two adjacent sides of each post to ensure they sit perfectly plumb in every direction.
Drive thick galvanized lag screws through the metal anchor holes deeply into the solid wood using an impact driver. Attach temporary diagonal wooden braces from the posts to the ground to keep them from leaning while you work. These perfectly vertical columns carry the entire weight of the roof, making accuracy during this step incredibly important.
Step 5: Framing The Floor Structure
If your design includes a raised wooden deck, you must construct a sturdy floor frame connecting your main posts. Measure and cut thick perimeter beams to span the distance between the outside faces of your upright columns. Secure these heavy beams firmly to the posts using carriage bolts and waterproof wood glue for maximum strength.
Install interior floor joists evenly spaced every sixteen inches to provide rigid support for your top decking boards. Fasten the floor joists to the perimeter beams using specialized metal joist hangers and heavy structural screws. Lay your chosen decking boards across the joists, securing them tightly to create a beautiful, solid walking surface.
Step 6: Assembling The Roof Frame
Constructing the roof skeleton requires careful measurements to ensure proper water runoff and a perfectly symmetrical appearance. Cut your horizontal top beams and secure them securely around the upper perimeter of your vertical support posts. Build a temporary center support column to hold the central roof hub at the exact desired peak height.
Measure and cut your angled roof rafters, securing them from the center hub down to the horizontal perimeter beams. Use specialized metal hurricane ties at every connection point to protect the roof structure against severe wind uplift. Take your time measuring the rafter angles carefully, as they define the entire structural integrity of the canopy.
Step 7: Adding The Roofing Materials
With the structural skeleton complete, you can now enclose the roof to provide complete shade and rain protection. Fasten exterior-grade plywood directly over the angled rafters, covering the entire surface completely without leaving any gaps. Staple a high-quality waterproof roofing underlayment over the raw plywood to block any potential moisture penetration.
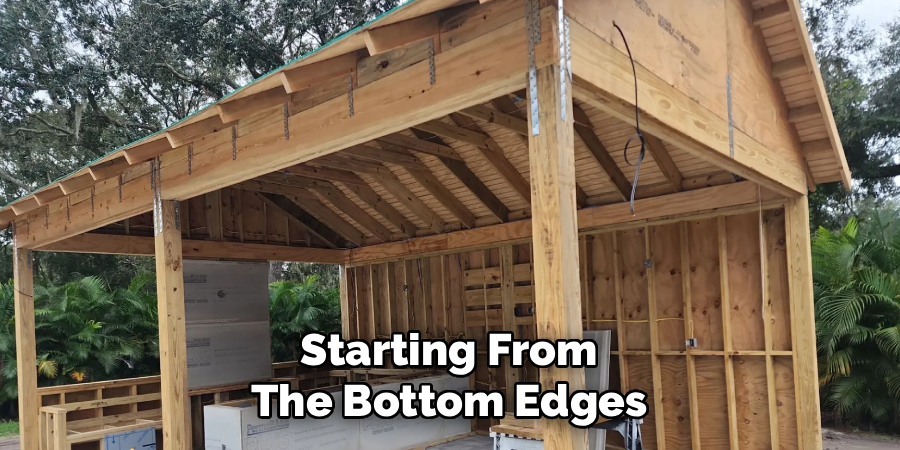
Install your chosen roofing material, starting from the bottom edge and overlapping consecutive layers as you move toward the peak. Cedar shingles offer a beautiful rustic look, while classic asphalt shingles provide excellent durability and easy installation. Cap the very top peak with a specialized metal or wooden ridge cap to seal the entire roof system.
Frequently Asked Questions
Do I Need A Building Permit For My Project?
Most local municipalities absolutely require a formal building permit for permanent structures over a certain square footage. You should always contact your local zoning office before purchasing any materials to verify their exact rules and setback requirements. Failing to secure the proper permits can result in heavy municipal fines or an order to tear down your finished project. Getting approval early ensures your design meets all vital safety codes and neighborhood property regulations.
What Is The Best Wood For Outdoor Structures?
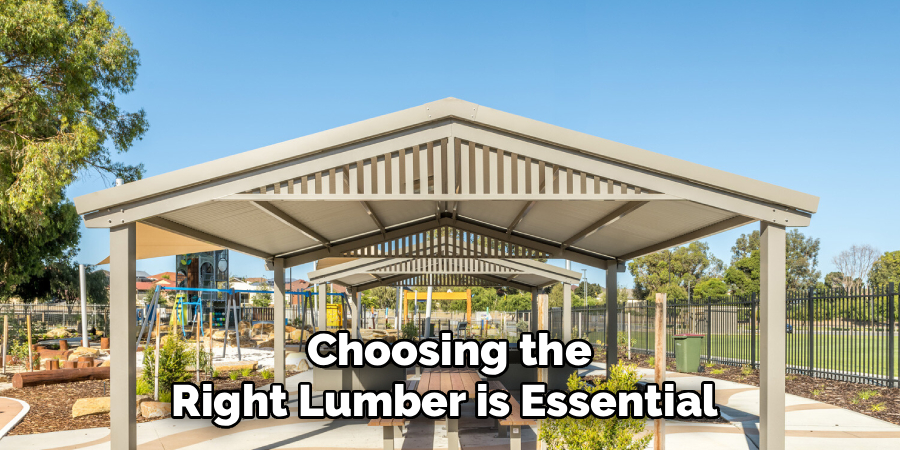
Cedar and redwood stand out as the absolute best materials for visible exterior projects due to their natural durability. These premium woods contain natural organic oils that actively repel destructive insects and resist moisture decay beautifully. Pressure-treated pine offers excellent structural strength for the hidden frame elements at a much lower overall cost. You should always avoid using standard untreated indoor whitewood, as it will rapidly rot and warp outdoors. Use a post-hole digger to carve out holes at the exact corners of your planned layout.
How Long Does The Construction Process Take?
The required time varies wildly depending on your personal carpentry experience and the overall complexity of your chosen design. A beginner working only on weekends might need three to four full weeks to finish the entire project properly. Finally, apply a high-quality exterior wood stain or a protective clear sealant to enrich the natural grain and protect the lumber from ultraviolet sun damage.
The concrete foundation alone requires several days of digging, pouring, and mandatory curing time before framing can begin. You should treat this as a slow, enjoyable marathon rather than rushing the structural process to finish quickly.
Can I Build This Completely By Myself?
While you can cut the lumber and dig the foundation holes alone, you will certainly need help during several critical steps. Lifting heavy vertical posts and securing bulky overhead roof beams requires at least two people to maintain proper safety. Trying to balance a heavy rafter on a ladder by yourself easily leads to severe injuries or damaged materials. Enlist a willing friend or family member for the heavy lifting phases to ensure everything stays perfectly level.
How Do I Maintain The Wood Over Time?
Proper routine maintenance keeps your outdoor shelter looking brand new and dramatically extends its overall structural lifespan. You should sweep away resting leaves and gently wash off heavy dirt buildup using a simple garden hose every month. Inspect the wood annually for any signs of peeling finish, small insect holes, or loosening hardware connections. Plan to sand the surface lightly and reapply a fresh coat of waterproof sealant every two to three years.
Conclusion
Creating a permanent outdoor shelter completely transforms the way you and your family interact with your backyard environment. You now know that crafting a professional-quality structure simply requires deliberate planning, accurate measuring, and the right protective materials. Understanding how to build wooden gazebo gives you the freedom to design a customized sanctuary that fits your exact lifestyle perfectly. Always prioritize a perfectly level foundation, double-check your angles, and seal the final product to protect against the elements. Grab your power drill, select some beautiful lumber, and begin constructing your ultimate backyard getaway this weekend.

About
Mike May is a distinguished figure in the world of woodworking and timber design, with a decade of expertise creating innovative and sustainable indoor solutions. His professional focus lies in merging traditional craftsmanship with modern manufacturing techniques, fostering designs that are both practical and environmentally conscious. As the author of Woodimber, Mike delves into the art and science of timber-craft, inspiring artisans and industry professionals alike.
Education
RMIT University (Melbourne, Australia)
-
Associate Degree in Design (Timber): Focus on sustainable design, industry-driven projects, and practical craftsmanship.
-
Gained hands-on experience with traditional and digital manufacturing tools, such as CAD and CNC software.
Nottingham Trent University (United Kingdom)
-
Bachelor’s in Woodworking and Product Design (Honors): Specialized in product design with a focus on blending creativity with production techniques.
-
Participated in industry projects, working with companies like John Lewis and Vitsoe to gain real-world insights.
Publications and Impact
In Woodimber, May shares his insights on timber design processes, materials, and strategies for efficient production. His writing bridges the gap between artisan knowledge and modern industry needs, making it a must-read for both budding designers and seasoned professionals.