

There’s a moment, maybe familiar to you, when you pause in front of an old cabinet or a sprawling farm table and squint, half-wondering, “What is this thing actually made of?” Wood, yes—obviously. But what kind? And, lurking behind that question, another: has the wood’s story shaped the worth and care this object now deserves?
At any rate, learning to distinguish what you’re handling is less about memorizing trivia and more about noticing. Let’s look—closely—together. There are ways, both subtle and obvious, to read the grain, feel the heft, and even (if you dare) take a sniff. In this guide on how to identify furniture wood
Understanding Common Wood Types
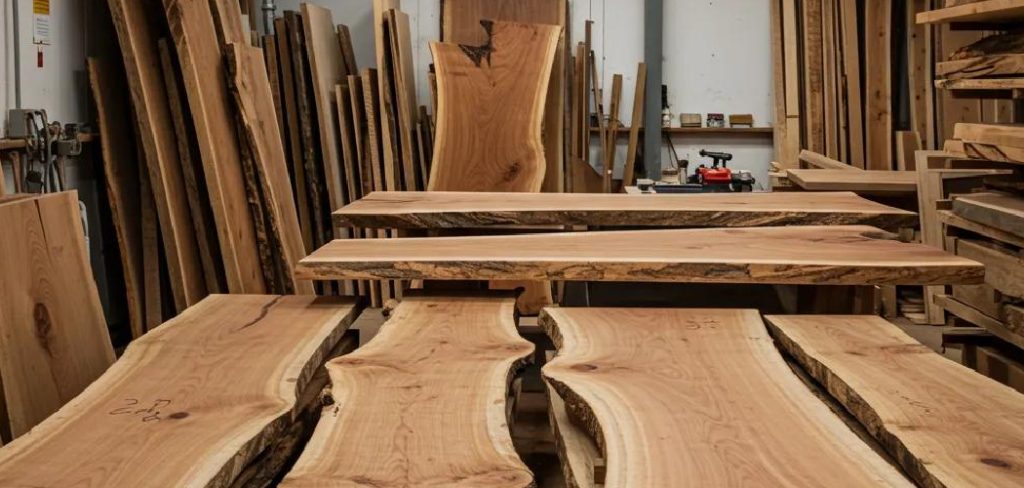
Begin with the basics: get comfortable with the characters most likely to appear on the stage. What are you likely to see when you start inspecting furniture? Hardwoods—sourced from broad-leaved trees—tend to turn up in pieces built to survive time (or perhaps just uncaring owners). Take oak, for instance. If you’ve hefted it, you remember: it’s heavy, persistent, and the open, ring-like grain practically shouts at you from across the room.
Maple, though used often, whispers by comparison—a resistant, fine grained wood, sometimes so subtle in appearance that it seems reluctant to be noticed. Cherry is an odd bird: look for a shy, blushing pink early on, which deepens, slowly but inexorably, to a reddish-brown—especially if someone put it near a window and forgot about it.
Walnut, when you come across it, offers a lovely, near-edible richness of color—think dark chocolate, not milk. It’s no accident that cabinetmakers set it aside for the best work (or for clients with more money than patience). Mahogany’s presence in antiques sometimes borders on cliché, but its color—a deep, nearly wine-colored brown—and the way it rewards polish ensure it’s still quietly in demand.
Contrast that with softwoods derived from evergreens and conifers. Pine wins the “most likely to appear in your shed” award. It’s light in both weight and color, riddled with knots—sometimes almost comically so—and may be alarmingly easy to gouge if you set a mug down too hard. Cedar deserves a mention. It’s rarely front and center, but open a chest or wardrobe and you’ll catch that unmistakable spicy aroma, followed by the sigh of moths packing their bags.
Tools and Materials You’ll Need
No need to Google for molecular spectrometers. In most cases, the necessary kit fits in an apron pocket. A decent magnifying glass or jeweler’s loupe is invaluable. With one, the “up-close” world of pores, medullary rays, and subtle figuring stops being theoretical and becomes, well, uncomfortably specific. While it seems mundane, a bright flashlight—ideally one that can concentrate its beam—will drag out hidden details, especially when centuries of grime have dulled the original color beyond recognition.
You might also want some fine-grit sandpaper—nothing aggressive, just enough to remove a finish in a less obvious place, should you have permission (and courage) to do so. A damp microfiber cloth sometimes uncovers more with a few gentle wipes than five minutes of cross-eyed staring could achieve. And, if you’re the note-taking type (or just a forgetful one), jotting pore size, surface color, and impressions about weight in a notebook will pay off when you compare findings with reference books later.
7 Simple Step-by-step Guidelines on How to Identify Furniture Wood
Step 1: Examine the General Grain Patterns Closely
Start here. The grain tells tales. Growth rings snake across the surface, revealing history that no artificial finish can truly obscure. Sometimes, running a finger along raw wood—where you can—works better than squinting: oaks and ashes are brash, their open pores almost a dare, while maples and cherries require a more patient eye, their closed, polished surface resisting easy categorization.
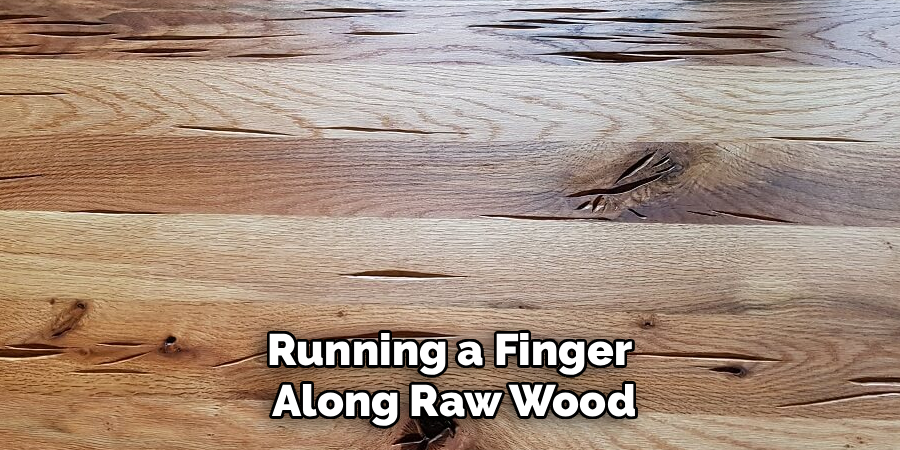
Watch for stray oddities. Quartersawn oak, if you can find it, sometimes flashes so-called ray flecks—lighter streaks glancing sideways across the grain, almost as though someone brushed the surface with a metallic powder. Birdseye maple? The clue’s in the name: tiny swirls that mimic miniature eyes, a quirk that fetches both admirers and higher prices. Uniform, almost digitized patterns may tip you off: you’re probably looking at a veneer or a clever laminate, not honest-to-goodness wood.
Step 2: Check the Natural Color and Patina
Color can mislead—stains, finishes, and time all conspire to disguise—but if you’re willing to get creative (checking under drawers or beneath the tabletop lip), you can tease out the truth. Timber changes: cherry famously, shifting from a pallid pink to a glowing reddish amber, sometimes over the span of years; walnut, slightly perversely, can lighten with age, drifting from cool darkness to a gentler, warmer brown the longer it’s left out of direct sun.
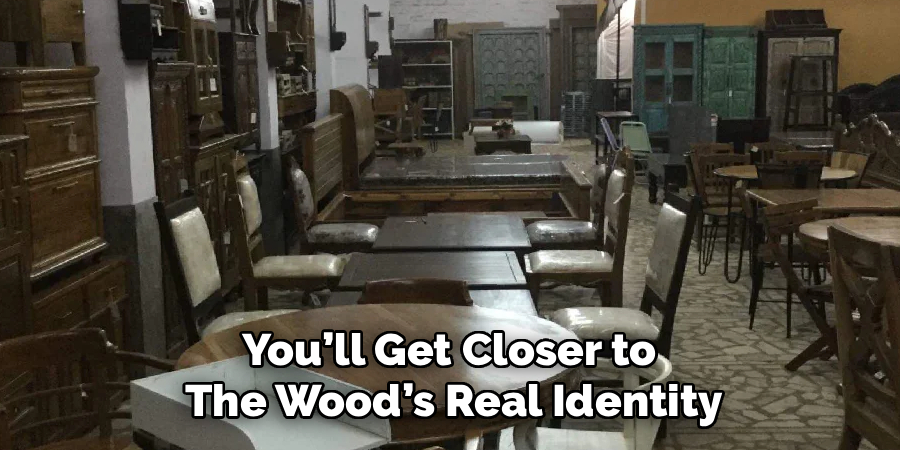
Don’t be fooled by orange-tinted pine, which has often been subjected to a hearty dose of old varnish. Mahogany, the show-off, is generally more consistent: seek a smoldering, deep red-brown even in unlit corners or inside legs. If you’re comparing what’s hidden to what’s on show, you’ll get closer to the wood’s real identity.
Step 3: Feel the Overall Weight and Density
Here’s where empiricism pays off. If you can lift one end of the piece (without earning glares from shopkeepers), take notice. Hardwoods tend to announce themselves with their stubborn mass; an oak or mahogany chair is politely reluctant to shift, and walnut and maple similarly resist your efforts.
There is a flip side. Softwoods—pine, spruce, cedar—sometimes trick with their scale, but rarely with their weight. That giant wardrobe that moves like a prop is almost assuredly a softwood. It isn’t foolproof, though: particleboard, a staple of modern furniture, often surprises with a kind of dead weight, a gift from all that resin. Unlike real wood, though, MDF fails to offer the quiet satisfaction of visible grain or true longevity.
Step 4: Inspect the End Grain for Pores
End grain is where wood gives up its secrets, but most furniture makers are too clever, hiding these spots with trim or clever joinery. If you do find a cut edge—maybe on the foot of a table, or the coarse bits at the back of a drawer—look closely. Use your lens to count and compare the pores. Oak and ash, if they’re honest, offer big, ringed pores packed together around the earlywood; maples and cherries spread tinier vessels much more consistently.

Don’t panic if the end grain proves elusive; sometimes veneer hides what you need, showing nothing but a perfectly running pattern over corners, which, in turn, is its own clue. In short, natural wood resists perfection.
Step 5: Test the Hardness with Your Fingernail
No laboratory tools necessary for this one. On an inconspicuous bit of raw wood, press your thumbnail—firmly, but not destructively. A softwood, such as pine or cedar, will accept a dent without protest. Oak, maple, and similar hardwoods reject your efforts entirely; maybe, with all your leverage, you eke out the faintest scratch on walnut or cherry, but not much more. Just be sure you won’t ruin the resale value by experimenting in the wrong spot.
Step 6: Look for Construction Details and Veneers
The construction of a piece can be revealing. It’s common, especially historically, for the ‘good’ wood to appear only where it matters—visible drawers, case fronts—while interiors, backs, or sides are cobbled from cheaper alternatives. Don’t assume the wood on show tells the whole story. Peel open a drawer, check its sides and back, and pay attention to joinery; hand-cut dovetails, for example, often point to age and quality.
Veneer—despite its sometimes maligned reputation—has a long tradition. Even so, it’s not hard to spot with patience: look at edges for a slim, paper-like layer floating atop a thicker core, or seek out mirrored symmetry in the grain, impossible in true solid wood. Veneer isn’t necessarily a mark of poor work, but it does change the question you’re asking.
Step 7: Smell the Wood for Distinct Odors
If you’ve never pressed your nose to the raw inside of a cedar chest, you’re missing out: one good sniff and you’ll know it forever, that pungent, spicy note. Pine gives itself away too—sweet and resinous, echoing childhood holidays or cleaning supplies. Even hardwoods, though, can be coaxed to reveal a subtle scent: oak’s near-acidic bitterness, or rosewood’s unlikely sweetness.
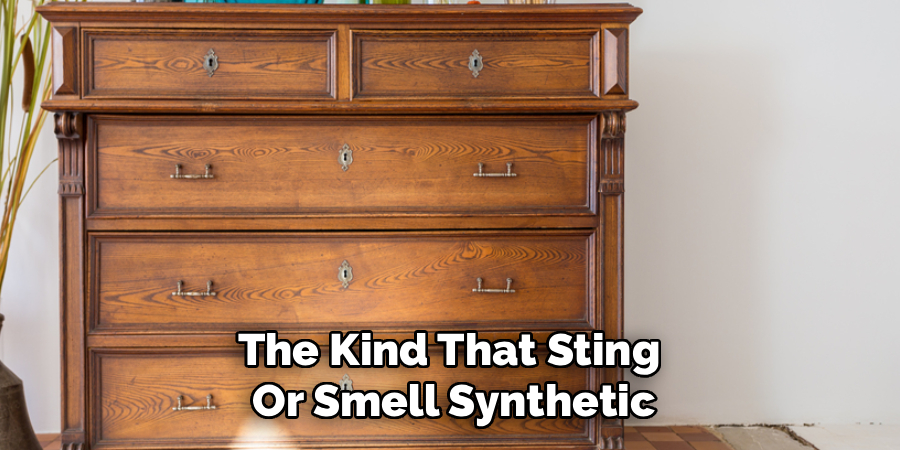
But beware: overpowering chemical notes, the kind that sting or smell synthetic, typically betray newer plywood, particleboard, or other engineered products. Natural timber, even when neglected, rarely offends the senses.
Following these steps on how to identify furniture wood, you can now better appreciate the beauty and quality of the wooden furniture in your home.
Common Mistakes to Avoid
The trap most often stumbled into? Trusting surface color too easily. Stains can mask cheap pine as princely walnut, fooling anyone who forgets to peek inside. Likewise, lifting for heft alone isn’t enough—a factory-fresh particleboard desk might bring both your back and your assumptions to their knees.
Skip the hidden corners and you risk misreading an entire piece, especially if the interiors reveal mend-and-make-do carpentry. Rushing, as usual, results in missing those telltale seams or repeating curly-cue patterns that say “veneer” louder than any expert ever could.
Frequently Asked Questions
Q1: Can I Identify Wood Just By Looking At A Photograph?
Not reliably. If you’re honest with yourself, you’ll admit photos lie—lighting shifts color, depth flattens, and some clues (that hint of weight in your hands, the slight drag of an open pore under your fingertip) go missing entirely. Without end grain or tactile tests, it’s difficult—borderline impossible—to be more than cautiously speculative.
Q2: What Is The Difference Between Hardwood And Softwood?
It’s a botanical distinction, not a comment on strength. Hardwoods arise from angiosperms (think: leafy trees, often with fruit or nuts), while softwoods emerge from gymnosperms—needle-bearing conifers like pine or fir. There are, of course, exceptions: balsa is a hardwood that feels like a loaf of bread. Confusing? A little. But that’s nature’s prerogative.
Q3: How Can I Tell If A Piece Of Furniture Is Veneered?
Peer at the edges, especially where a flat surface meets a perpendicular one. A telling horizontal line, paper-thin, marks the transition between the visible veneer and underlying substrate. Look, too, for a mirror-image grain pattern—a dead giveaway for book-matched veneers, as solid timber doesn’t naturally oblige with perfect symmetry. Persistence and a microscope help, but patience does most of the work.
Conclusion
Knowing your timber isn’t just a party trick; it’s the anchor for any repair or restoration. Cherry requires different stains than pine, and the way you polish a walnut tabletop is nothing like handling an old, battered cedar drawer. The process of identification—slow, reliant on all your senses and not just what’s obvious—sets up everything that follows.
Go slow. Bring curiosity. Examine, touch, smell, and question. Over time, your hunches get sharper and your eye, more forgiving of surface deceptions. Eventually, you might even grow fond of the process, spotting potential beneath dust and disguise. And in time, perhaps, you’ll spot craftsmanship where others see only old lumber. Thanks for reading this guide on how to identify furniture wood.

About
Mike May is a distinguished figure in the world of woodworking and timber design, with a decade of expertise creating innovative and sustainable indoor solutions. His professional focus lies in merging traditional craftsmanship with modern manufacturing techniques, fostering designs that are both practical and environmentally conscious. As the author of Woodimber, Mike delves into the art and science of timber-craft, inspiring artisans and industry professionals alike.
Education
RMIT University (Melbourne, Australia)
-
Associate Degree in Design (Timber): Focus on sustainable design, industry-driven projects, and practical craftsmanship.
-
Gained hands-on experience with traditional and digital manufacturing tools, such as CAD and CNC software.
Nottingham Trent University (United Kingdom)
-
Bachelor’s in Woodworking and Product Design (Honors): Specialized in product design with a focus on blending creativity with production techniques.
-
Participated in industry projects, working with companies like John Lewis and Vitsoe to gain real-world insights.
Publications and Impact
In Woodimber, May shares his insights on timber design processes, materials, and strategies for efficient production. His writing bridges the gap between artisan knowledge and modern industry needs, making it a must-read for both budding designers and seasoned professionals.