

There’s a certain comfort in the classic look of faux wood blinds: a bit of privacy, a dash of old-fashioned style, all without needing to shell out for actual timber. Yet if you’ve bought blinds right off the shelf, odds are you’ve encountered the awkward pile of extra slats huddled at the bottom—a little unsightly, not really what you had in mind. That’s an easy fix, or at least, it can become one with some measured patience and a willingness to tinker.

Taking the shears to your faux wood blinds isn’t just about saving a bit of cash (which you will, since there’s no need to order custom lengths or hire a pro). It’s also about that small but satisfying feeling when something in your home finally fits just right—not almost right, not “it’ll do,” but clean, tailored, intentional. You might find you quite enjoy the process, provided you don’t rush it. In this guide on how to shorten wood faux blinds, we’ll take you step by step through the process so that you can achieve that perfect fit and sense of accomplishment.
Understanding Your Blinds
Pause before you pull out any tools. Most people are eager to get started, but a moment’s inspection goes a long way. See how the blind works: horizontal slats are suspended along “ladder” strings, and a robust, central cord—the lift cord—runs down, letting you raise or lower the entire stack.
The bottom rail, heavier and often capped with tiny plugs, more or less keeps this whole arrangement in check. Fumble with these elements at random and you risk an afternoon of frustration and a half-broken shade. Understanding the parts—each does matter.
Tools and Materials You’ll Need
No need to clear space in the garage or hunt for specialized gadgets. A handful of basics is all it takes:
- Measuring tape—anything that won’t droop at the edges
- Flathead screwdriver (or, if you lack one, a butter knife is a decent stand-in)
- Scissors, sharp enough to cut cleanly
- Safety glasses (you might doubt you’ll need them, but I wouldn’t skip this)
7 Step Guide on How to Shorten Wood Faux Blinds
Step 1: Measure the Desired Window Length
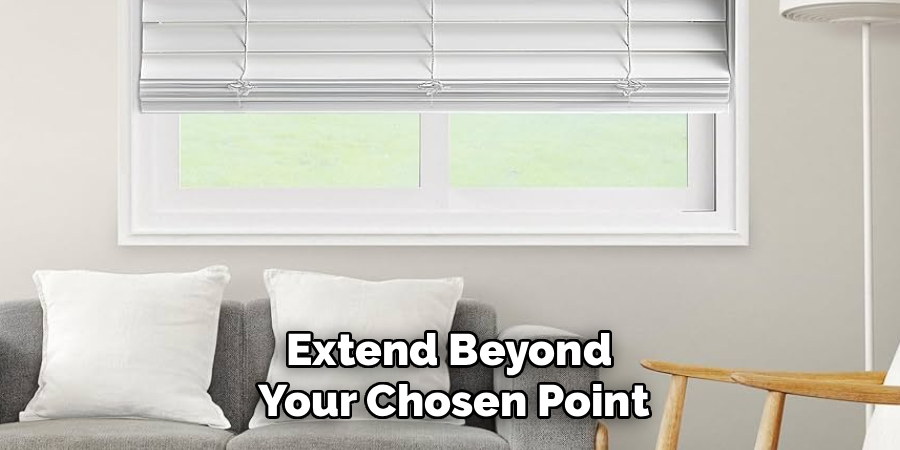
Lower the blinds until they cover the window completely. Now, decide where you want that bottom rail to sit. Usually, that’s right at the sill or just above it—some folks prefer an overhang, but not too much. Mark this spot if you’d like, even painter’s tape works.
Count carefully how many slats extend beyond your chosen point. Too often, people rush, guess, and later discover a gap at the bottom letting in sun or streetlight, worse at night. Know your number before you even think about making a cut.
Step 2: Remove the Bottom Rail Plugs
Lift the bottom rail (don’t yank; these things can scratch easily). Flip it and look underneath. There, tucked beneath the vertical cords, are small plugs—usually plastic, sometimes wood—nestled securely. Use the flathead screwdriver or butter knife to pop them out gently; you’re not trying to gouge the rail.
Set the plugs aside somewhere, and don’t underestimate how fast these little bits can disappear.
Step 3: Untie or Cut the Lift Cords
Now it’s just you and the inner workings. Reach into those plug holes. You’ll find a knot of the lift cord, often a beefy one. If it’s loose, try to untie it with your fingers—far better than cutting since it leaves the cord intact. Some knots are glued or simply too tight, though. In that case, a clean snip just above the knot will work, but take care.
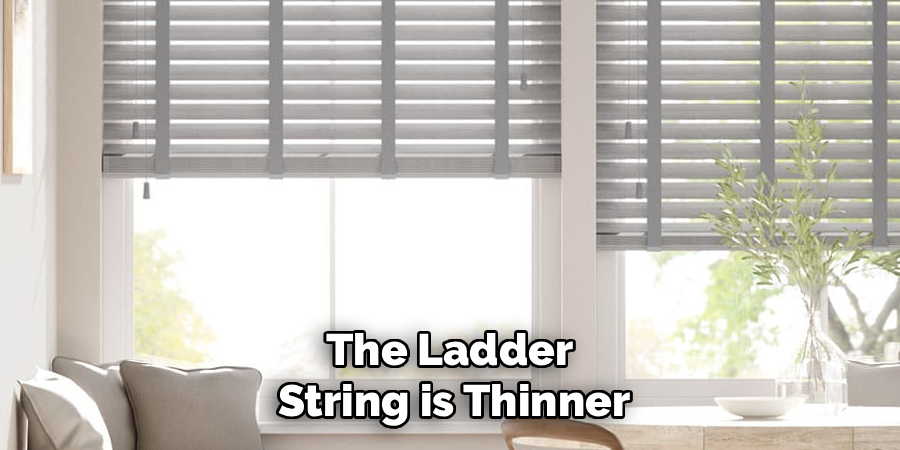
Here’s where people can go wrong: cutting the wrong string. The ladder string is thinner and sits off to the side; the central lift cord is what actually holds the blinds up. Don’t mix them up. Free the bottom rail, then slide it out and put it aside. You’ll need it later, so don’t let it roll under the couch.
Step 4: Pull Out the Lift Cord
Now, gently pull the lift cord upward through the excess slats—those you plan to banish. Only pull enough to clear out those that need removing. Doing more makes things…messy.
It’s vital you don’t yank the lift cord out entirely from the top mechanism unless you’re after a jigsaw-level challenge putting it all back together. Just keep the cord loose, lifted above the section you’re paring down.
Step 5: Remove the Extra Slats
With the lift cord out of the way, start sliding the unwanted slats horizontally out of the ladder strings. They should give with only a gentle tug. Be deliberate—no need to snap anything. Don’t toss the extras; set them aside. If the day ever comes when a slat cracks, chips, or somehow gets itself scribbled on, you’ll be glad for a perfect spare.
Once you’re done, count the remaining slats. Seems nitpicky, but nothing ruins a neat job like realizing you measured wrong and having to backtrack.
Step 6: Replace the Bottom Rail
Bring back the bottom rail. Thread it into the now-lowest rung of the ladder strings so it sits right beneath your last slat. Make sure the holes align—top and bottom rail both—in a straight line.
Now, run the lift cord down through these aligned holes. When it pokes through, tie a knot hefty enough that there’s no chance it’ll slide back through later. Neatness counts—stuff the knotted cord into the rail recess so things look tidy underneath.
Step 7: Trim the Ladder Strings and Secure
Odds are, you’re staring at a few dangling ladder strings at this point. Cut them, but don’t go for a flush trim right at the rail—leave a rung or two as a buffer against fraying. Tuck what’s left into the bottom rail holes, next to your lift cord knots.
This is when those elusive plugs from earlier make their return. Press them back into their spots on the rail’s underside. To finish, tug the lift cord gently and check that everything moves smoothly.
Following these steps on how to shorten wood faux blinds, you should now have a perfectly fitting set of blinds that will add a touch of elegance and functionality to your windows. These steps can also be applied if you want to shorten metal or vinyl blinds.
Safety Tips
Those glasses you hesitated to put on? Wear them while prying out plugs—you wouldn’t be the first person to have a screwdriver slip unexpectedly.
Keep sharp scissors and those tiny plugs well away from kids and pets. It may seem over-cautious, but a swallowed plug is nobody’s idea of a good afternoon.
Common Mistakes to Avoid
It’s astonishing how often people snip the main lift cord, confused about which string is which. Cut once, regret forever—or at least until you buy another blind. Another regular frustration: pulling out the lift cord completely from the headrail. Unless you find threading tiny strings through narrow holes relaxing, avoid this.
Measure twice (three times is overkill, but twice is wisdom) before pulling slats; losing one too many leaves you with a permanent gap at the bottom, which is much harder to forgive than a few minutes of extra double-checking. Lastly, never trim cords flush with the rail. A few extra millimeters now forestalls headaches later.
Frequently Asked Questions
Q1: Can I Use Regular Scissors To Cut Faux Wood Blind Strings?
Absolutely—as long as they’re sharp. Dull scissors cause strings to fray, making them a nightmare to rethread and knot. Crisp cuts ensure easier assembly and a cleaner look.
Q2: Do I Have To Take The Blinds Down To Shorten Them?
Not always, no. Many find it simpler to leave the blinds mounted, tackling the slats while the headrail stays secure. If your window angle is awkward, or the light just never seems right, feel free to take them down and work flat on the floor.
Q3: What Should I Do With The Leftover Slats?
Resist the urge to toss them in the trash. Store them in a dry, safe spot—in a closet, tucked behind holiday decorations—so if disaster strikes, you already have a matched backup on hand.
Conclusion
Adjusting your own window coverings can be oddly gratifying. With the surplus slats gone, the lines look cleaner, the light falls where you want it, and the result could almost pass for custom work. Do remember where you stashed those extra slats.
For now, take a step back and appreciate the way your space feels a little more finished—unique to your home, not the store. Thanks for reading this guide on how to shorten wood faux blinds.

About
Mike May is a distinguished figure in the world of woodworking and timber design, with a decade of expertise creating innovative and sustainable indoor solutions. His professional focus lies in merging traditional craftsmanship with modern manufacturing techniques, fostering designs that are both practical and environmentally conscious. As the author of Woodimber, Mike delves into the art and science of timber-craft, inspiring artisans and industry professionals alike.
Education
RMIT University (Melbourne, Australia)
-
Associate Degree in Design (Timber): Focus on sustainable design, industry-driven projects, and practical craftsmanship.
-
Gained hands-on experience with traditional and digital manufacturing tools, such as CAD and CNC software.
Nottingham Trent University (United Kingdom)
-
Bachelor’s in Woodworking and Product Design (Honors): Specialized in product design with a focus on blending creativity with production techniques.
-
Participated in industry projects, working with companies like John Lewis and Vitsoe to gain real-world insights.
Publications and Impact
In Woodimber, May shares his insights on timber design processes, materials, and strategies for efficient production. His writing bridges the gap between artisan knowledge and modern industry needs, making it a must-read for both budding designers and seasoned professionals.