

As a home gardener, you understand the rhythm of the changing seasons. When the frosty winter months arrive, your reliable indoor heater becomes the beating heart of your home. It keeps your delicate overwintering plants safe and provides a cozy spot for you to plan next spring’s seed orders. However, just like your favorite garden tools require sharpening and oiling, your indoor heating system demands seasonal care to function safely. Over time, a dangerous substance called creosote builds up inside the flue, creating a significant fire hazard that threatens your peaceful sanctuary.
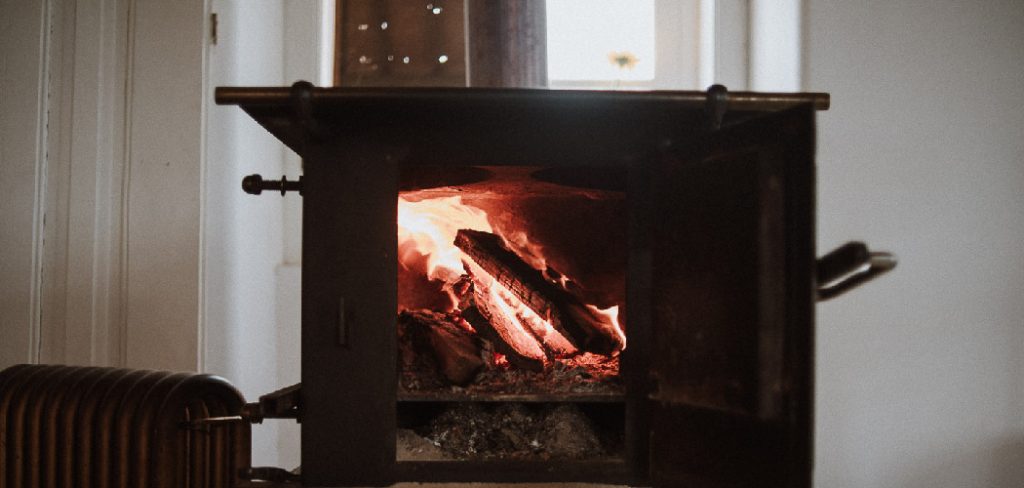
Ignoring this sticky residue reduces heating efficiency and puts your entire home at risk. Fortunately, you do not always need to hire an expensive professional to handle this seasonal chore. With the right tools and a bit of patience, taking control of your home maintenance is an incredibly empowering experience. This beginner-friendly guide will teach you exactly how to clean wood stove pipe safely and effectively. By learning this essential skill, you ensure your winter refuge remains a warm, secure environment for you and your beloved indoor greenery.
Why Regular Maintenance of Your Wood Stove Pipe Matters
Keeping your heating system in top condition is a natural extension of tending to your homestead. When you burn timber, especially logs gathered from your own property, the combustion process releases unburned wood particles and gases. As these hot gases rise and hit the cooler metal of the flue, they condense into creosote. This highly combustible, dark, and tar-like substance is the leading cause of dangerous chimney fires.
For a gardener who meticulously curates their environment, a sudden, destructive fire is a devastating thought. Beyond the obvious safety hazards, heavy soot accumulation acts as an insulator, drastically reducing the draft. A poor draft prevents the smoke from escaping efficiently, pushing harmful carbon monoxide back into your living space. It also causes the fire to burn cooler, meaning you use significantly more logs to achieve the exact same amount of heat. Regular sweeping ensures optimal airflow, maximizes your heat output, and provides absolute peace of mind. Taking a proactive approach to this seasonal chore guarantees your indoor sanctuary remains safe, clean, and perfectly heated throughout the darkest, coldest months of the year.
8 Step-by-Step Guide on how to clean wood stove pipe
Step 1: Gather the Necessary Sweeping Tools
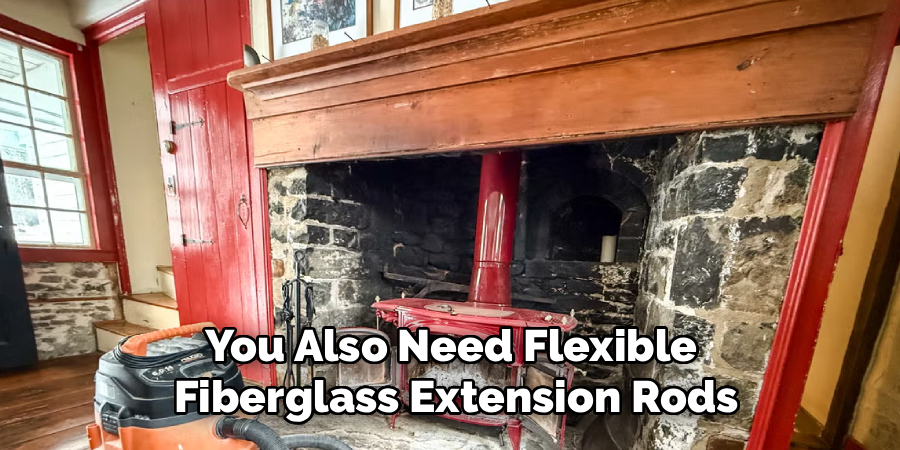
Before you begin this crucial maintenance task, you must gather all the appropriate tools to ensure the job goes smoothly. You will need a specially sized chimney brush that perfectly matches the interior diameter of your metal flue. If you use a brush that is too small, it will leave dangerous residue behind. You also need flexible fiberglass extension rods to push the brush all the way up the chimney. Grab a heavy-duty drop cloth, a sturdy metal ash bucket, an industrial shop vacuum, a pair of thick work gloves, and a reliable dust mask to protect your lungs.
Step 2: Prepare Your Living Space for the Mess
Sweeping out soot is an inherently dirty job, so you must prepare your indoor environment carefully to prevent a massive cleanup later. Start by removing any nearby houseplants, decorative rugs, and small furniture from the immediate vicinity of your heater. Lay down a large, heavy-duty canvas drop cloth directly underneath the appliance to catch the inevitable shower of black dust. Use thick painter’s tape to secure newspaper or plastic sheeting over the primary opening of the heater. This vital barrier keeps the microscopic ash particles contained within the metal box rather than floating freely around your tidy living room.
Step 3: Disconnect the Interior Connector Sections
With your living room properly shielded from the impending dust, you can safely focus on taking apart the interior metal sections. Depending on your specific model, you might need a screwdriver or a socket wrench to remove the small metal screws securing the segments together. Carefully loosen these fasteners, holding the heavy metal sections firmly to prevent them from suddenly crashing down onto your floor. Gently wiggle the segments apart, keeping them perfectly upright to stop the loose soot from spilling out the sides. Take these loose interior sections directly outside to the garden for a thorough individual brushing.
Step 4: Sweep the Disconnected Interior Segments
Now that you have safely transported the loose interior segments out to your backyard, you can brush them without worrying about making a mess inside. Lay the metal tubes down on a grassy patch or a gravel driveway. Insert your specialized wire brush into one end of the tube and push it back and forth with vigorous, scrubbing motions. Rotate the metal segment slowly as you work to ensure the rigid bristles scrape away the stubborn, flaky creosote from every internal angle. Once the inside feels completely smooth and looks relatively bare, tap the outside gently to dislodge remaining dust.
Step 5: Climb Safely to the Roof Access Point
Moving on to the main vertical chimney requires careful preparation and a strong focus on personal safety. Wait for a dry, calm day without any wind or rain, as a slippery roof is incredibly dangerous. Set up a sturdy extension ladder on flat, level ground, ensuring it extends well above the roofline for a secure handhold. Put on your protective dust mask, heavy work gloves, and shoes with excellent traction. As you climb, carry your flexible extension rods and the main sweeping brush in a secure backpack. Learning how to clean wood stove pipe safely always requires respecting the heights.
Step 6: Remove the Protective Chimney Cap
Once you are safely positioned on the roof next to the main flue, your next objective is removing the protective chimney cap. This metal cap prevents rain, snow, and nesting birds or squirrels from entering your heating system during the off-season. Depending on the design, the cap might be held in place by a few small screws, tight metal clamps, or a simple friction fit. Carefully loosen the fasteners and lift the metal cap straight up and off the flue. Set the cap aside in a safe spot where it will not accidentally slide down the sloped roof shingles.

Step 7: Scrub the Main Vertical Flue Vigorously
With the chimney completely open, attach your specialized wire brush to the very first flexible fiberglass rod. Plunge the stiff brush directly down into the dark opening, scrubbing the interior walls with firm, forceful strokes. Move the brush up and down several times before attaching the next flexible extension rod to the handle. Continue pushing the assembly deeper into the dark shaft, adding more rods until you feel the brush hit the bottom of the system. Pull the entire assembly back up slowly, scrubbing the sides once more to dislodge any sticky, stubborn tar clinging to the metal walls.
Step 8: Reassemble and Vacuum the Remaining Debris
After completing the vigorous sweeping from the roof, climb down safely and return to your indoor living space. Remove the plastic sheeting covering the appliance opening and use your industrial shop vacuum to suck up the massive pile of black debris resting inside the firebox. Carefully wipe down the interior walls with a damp rag to collect any lingering dust. Finally, bring your freshly swept interior segments back inside and reattach them securely using the original metal screws. Double-check every single joint to ensure the system is completely airtight before you spark your first cozy fire of the season.
Frequently Asked Question
How Often Should I Sweep My Chimney System?
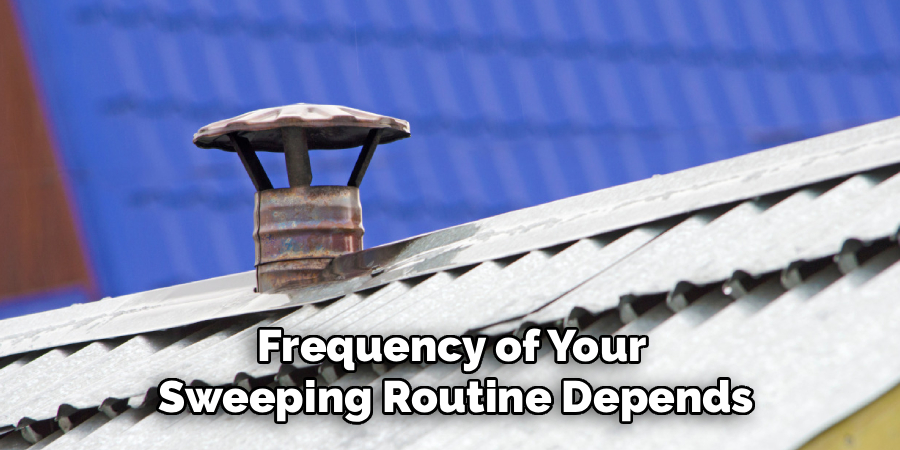
The frequency of your sweeping routine depends entirely on how often you burn logs and the type of timber you use.
- Heavy winter usage generally requires a thorough sweeping at least once a month.
- Occasional weekend fires might only necessitate a single annual sweeping.
- Always inspect the flue visually every few weeks to check for dangerous creosote buildup.
If you notice a tar layer thicker than a quarter of an inch, it is absolutely time to break out the brushes and start scrubbing immediately.
What Is The Best Wood To Burn To Prevent Creosote?
Choosing the right timber drastically reduces the amount of sticky tar that builds up inside your flue over the season.
- Always burn well-seasoned hardwoods like oak, maple, or ash.
- Ensure the moisture content of the logs is well below twenty percent.
- Avoid burning green, unseasoned timber, which produces excessive smoke and rapidly accelerates dangerous tar accumulation.
By properly stacking and drying your gathered logs for at least a full year, you ensure a hotter, cleaner burn that keeps your heating system running efficiently and safely.
Can I Use Chemical Cleaning Logs Instead Of Sweeping?
Chemical creosote sweeping logs are incredibly popular, but they should never completely replace a manual, physical scrubbing of the metal.
- These specialty logs contain chemicals that safely dry out sticky tar.
- They turn the tough glaze into a flaky powder that is easier to brush away.
- They do not magically remove the debris from the system entirely.
You can certainly use these chemical treatments in the middle of the winter season to loosen the buildup, but you still must perform a vigorous physical brushing to remove the resulting ash safely.
Do I Need A Professional Or Can I Do It Myself?
Most capable homeowners can easily handle this routine maintenance task themselves, provided they have the correct tools and feel comfortable working on a ladder.
- DIY sweeping saves significant money and empowers you to maintain your property independently.
- Professionals possess specialized camera equipment to spot hidden cracks or structural damage you might miss.
If your system has complex bends, a severely steep roof, or you suspect internal damage, hiring a certified sweep for an annual inspection is the safest choice for your family.
What Should I Do With The Leftover Wood Ash?
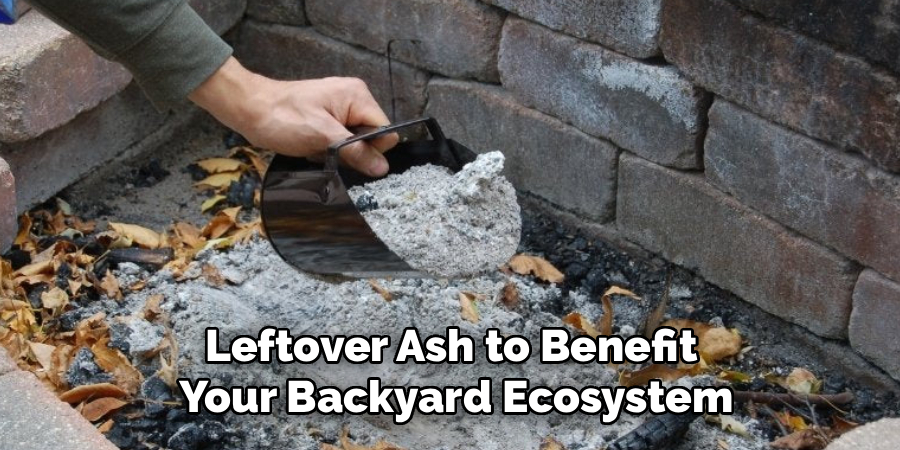
As a dedicated home gardener, you can actually recycle the cold, leftover ash to benefit your backyard ecosystem and reduce waste.
- Hardwood ash contains valuable nutrients like potassium and calcium.
- Lightly sprinkle the cold ash around your tomato plants or root vegetables to boost soil health.
- Add small amounts directly to your compost bin to help balance high acidity levels.
Never apply ash to acid-loving plants like blueberries or rhododendrons, and always ensure the debris has cooled completely in a metal bucket for several days before spreading it.
Conclusion
Maintaining your winter heating system is an incredibly rewarding process that perfectly complements the self-reliant lifestyle of a home gardener. By taking the time to inspect and brush your flue, you actively protect your home from sudden fires, maximize your daily heat output, and ensure your delicate indoor plants stay warm through the frosty months. Remember to gather the right protective gear, work patiently through the interior and exterior segments, and dispose of the residual ash safely in your backyard compost pile.
We hope this comprehensive guide empowers you to tackle your seasonal chores with absolute confidence. Now that you understand the exact steps for how to clean wood stove pipe, you can embrace the incoming winter weather knowing your cozy sanctuary is entirely secure. Grab your flexible fiberglass rods, put on your heavy work gloves, and get your system perfectly ready for a beautiful season of safe, crackling fires.

About
Mike May is a distinguished figure in the world of woodworking and timber design, with a decade of expertise creating innovative and sustainable indoor solutions. His professional focus lies in merging traditional craftsmanship with modern manufacturing techniques, fostering designs that are both practical and environmentally conscious. As the author of Woodimber, Mike delves into the art and science of timber-craft, inspiring artisans and industry professionals alike.
Education
RMIT University (Melbourne, Australia)
-
Associate Degree in Design (Timber): Focus on sustainable design, industry-driven projects, and practical craftsmanship.
-
Gained hands-on experience with traditional and digital manufacturing tools, such as CAD and CNC software.
Nottingham Trent University (United Kingdom)
-
Bachelor’s in Woodworking and Product Design (Honors): Specialized in product design with a focus on blending creativity with production techniques.
-
Participated in industry projects, working with companies like John Lewis and Vitsoe to gain real-world insights.
Publications and Impact
In Woodimber, May shares his insights on timber design processes, materials, and strategies for efficient production. His writing bridges the gap between artisan knowledge and modern industry needs, making it a must-read for both budding designers and seasoned professionals.