

A wooden box frame is one of the most versatile and rewarding projects for any aspiring woodworker. Unlike a standard picture frame, a box frame—also known as a shadow box—has depth, allowing you to display not just photos, but cherished 3D objects like medals, travel souvenirs, or your child’s first pair of shoes. It turns memories into a beautiful piece of art for your wall.
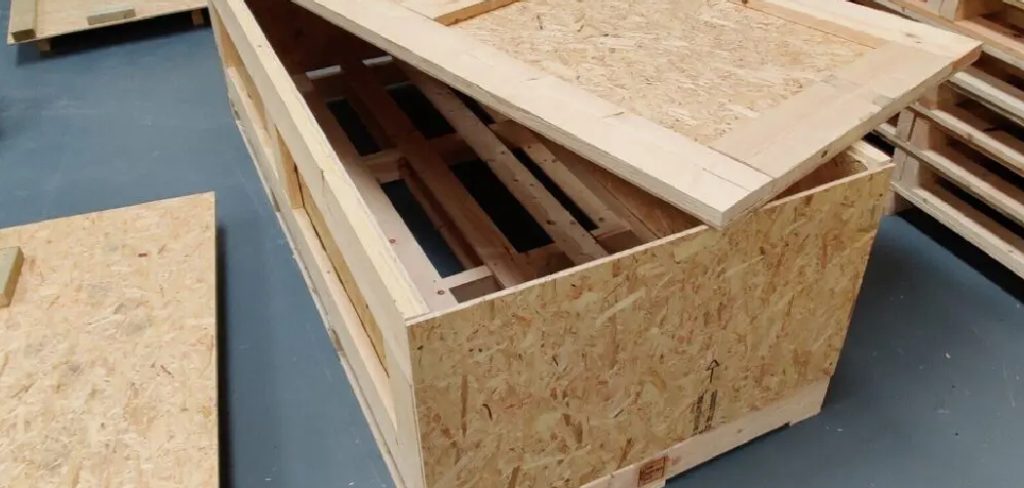
While custom framing can be expensive, learning how to make a wooden box frame is a surprisingly simple and budget-friendly DIY project. This guide is designed for complete beginners, providing a clear, step-by-step path to creating a stunning and personal display piece using basic tools and materials. Get ready to turn your keepsakes into a handcrafted masterpiece.
Creating your own wooden box frame is not only a great way to preserve cherished items but also an opportunity to explore your creativity and craftsmanship. With just a few tools and a bit of patience, you can craft something deeply personal and unique.
Whether you’re showcasing photographs, artwork, or memorable trinkets, a handmade wooden box frame adds a special touch that store-bought options simply can’t replicate. Plus, the satisfaction of building something with your own hands makes it all the more rewarding.
Why a Box Frame is the Perfect Beginner Project
Starting with woodworking can be intimidating, but a box frame is the ideal first project. It teaches fundamental skills—measuring, cutting, joining, and finishing—on a small, manageable scale. The straight cuts and simple assembly build confidence without requiring a workshop full of expensive tools.
Furthermore, the project is incredibly practical. You are not just practicing; you are creating something functional and beautiful for your home. It’s a low-risk, high-reward activity that provides instant gratification and a tangible result you can be proud of. The skills you learn making a simple box frame are the building blocks for more complex furniture and joinery projects down the line.
Step-by-Step Guide on How to Make a Wooden Box Frame
Step 1: Design the Frame and Gather Materials
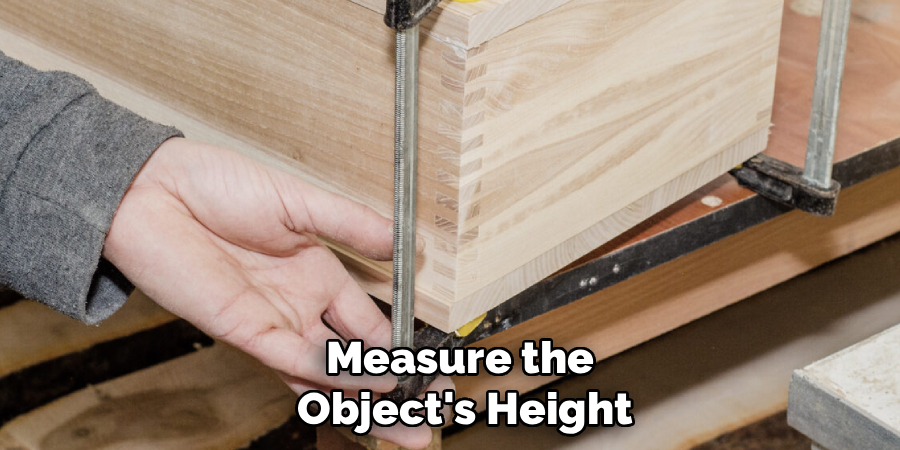
Before you make a single cut, you need a plan. Decide on the size of your frame based on the object you want to display. Measure the object’s height, width, and depth, adding at least an inch of “breathing room” on all sides for a balanced look.
For the frame itself, you will need 1×4 or 1×3 lumber; pine is an excellent, inexpensive choice for beginners. You will also need a thin piece of plywood or hardboard for the backing. Your material list should include wood glue, a miter saw or miter box, sandpaper, clamps, and your choice of finish, like paint or stain. Having all your supplies organized before you start makes the entire process run smoothly.
Step 2: Measure and Cut Your Frame Pieces
Precision is key in frame making. Using your design dimensions, measure and mark your four frame pieces on the 1×4 lumber. For a professional look, your corners need to be mitered at a 45-degree angle. If you have a miter saw, set the blade to 45 degrees and make your cuts. Remember that for a mitered corner, the long side of the board corresponds to the outer dimension of your frame.
If you do not have a power saw, a simple miter box with a handsaw works perfectly well. Double-check your measurements before each cut. It is a good practice to cut one piece, then use it as a template to ensure the opposing side is identical.
Step 3: Sand the Cut Pieces Before Assembly
It is much easier to sand the individual pieces of your frame before they are glued together. Use a medium-grit sandpaper, around 120-grit, to smooth out any rough edges left by the saw. Pay special attention to the cut faces of the miters to ensure they are perfectly flat, as any unevenness will result in gaps in your corners.
You should also lightly sand the front and back faces of the boards to prepare them for finishing later. This preliminary sanding saves you from the awkward task of trying to sand inside corners after the box is assembled. Once sanded, wipe all the pieces down with a clean cloth to remove any dust.
Step 4: The Glue-Up
This is the moment your frame starts to take shape. Lay your four mitered pieces on a flat work surface. Apply a thin, even layer of high-quality wood glue to the cut face of each mitered corner. Do not use too much glue, or it will squeeze out and create a mess. Join the corners together to form your box.
A band clamp or a corner clamp is the ideal tool for this job, as it applies even pressure to all four corners simultaneously, pulling the joints tight. If you do not have these, you can use painter’s tape stretched tightly across the corners to hold them together while the glue dries.
Step 5: Reinforce the Corners for Strength
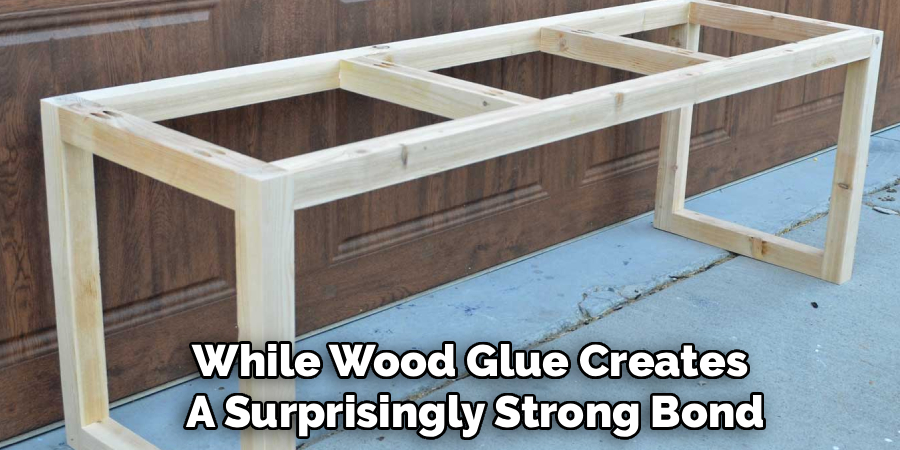
While wood glue creates a surprisingly strong bond, reinforcing the corners adds durability and a professional touch, especially for larger frames. After the glue has set but before it is fully cured, you can add small nails or brads for extra strength. Using a brad nailer or a small hammer and finishing nails, drive a nail through the side of one piece into the end of the adjoining piece at each corner.
This simple step ensures the frame will not pull apart over time. Be sure to use nails that are short enough that they do not poke through the other side of your frame. This is a crucial technique for anyone learning how to make a wooden box frame that lasts.
Step 6: Cut and Prepare the Backing Board
Now that your frame is assembled, you need to create the backing that your display object will be mounted on. Measure the inside dimensions of your assembled frame precisely. Transfer these measurements to your thin plywood or hardboard sheet and cut it to size using a circular saw, jigsaw, or even a sturdy utility knife for thin hardboard.
Test fit the backing inside the frame to make sure it sits flush without being too tight. You can now paint, stain, or cover this backing board with fabric to create a beautiful backdrop for the item you plan to display. Let the backing finish dry completely.
Frequently Asked Questions
What Is the Best Wood for a Beginner to Use?
For beginners, common pine or poplar boards from a local hardware store are excellent choices.
- Pine: It is inexpensive, lightweight, and easy to cut and sand. It takes stain well, though it can sometimes be blotchy, so using a pre-stain conditioner is a good idea.
- Poplar: It is slightly harder than pine, has a fine, uniform grain, and is one of the best woods for a smooth, painted finish.
Do I Need a Miter Saw to Make Angled Cuts?
No, you do not need an expensive power saw to get started.
- Miter Box and Handsaw: A simple and inexpensive plastic or wooden miter box is a guide that holds your handsaw at a perfect 45-degree angle. It is a classic tool that works perfectly for frame making.
- Alternative Joint: If you want to avoid angled cuts altogether, you can use simple butt joints, where the end of one board meets the face of another, though this does not look as professional.
How Do I Clamp the Frame Without Special Clamps?
If you don’t have band or corner clamps, you can use painter’s tape.
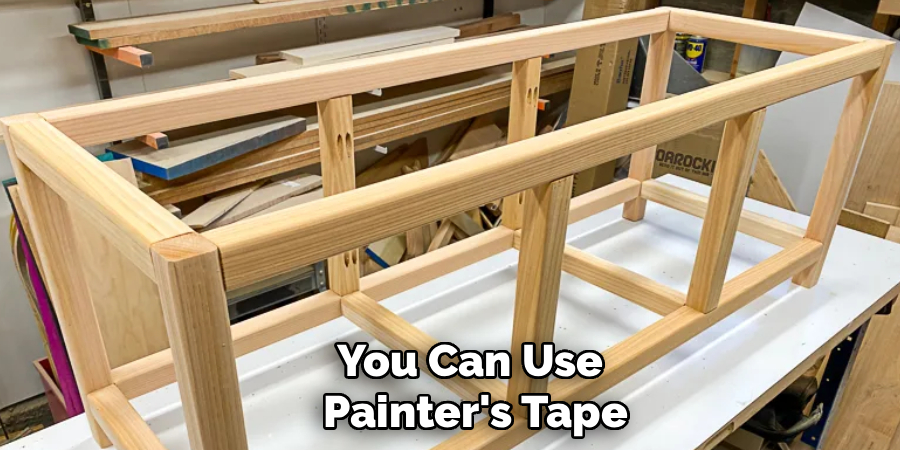
- The Tape Method: After applying glue, join the corners and use long strips of painter’s tape stretched tightly across the joints. The tension of the tape is surprisingly effective at holding the corners together while the glue dries. For a large frame, a ratchet strap can also work in a pinch.
How Do I Attach an Object Inside the Box Frame?
The method depends on the object’s weight and shape.
- Lightweight Items: Paper items or fabric can be attached with archival-safe glue or double-sided tape.
- Heavier Items: Medals, small toys, or shells can be secured with a clear-drying epoxy, hot glue (hidden on the back), or by carefully drilling small holes in the backer board and using clear fishing line or fine wire to tie the object in place.
What’s the Difference Between a Box Frame and a Shadow Box?
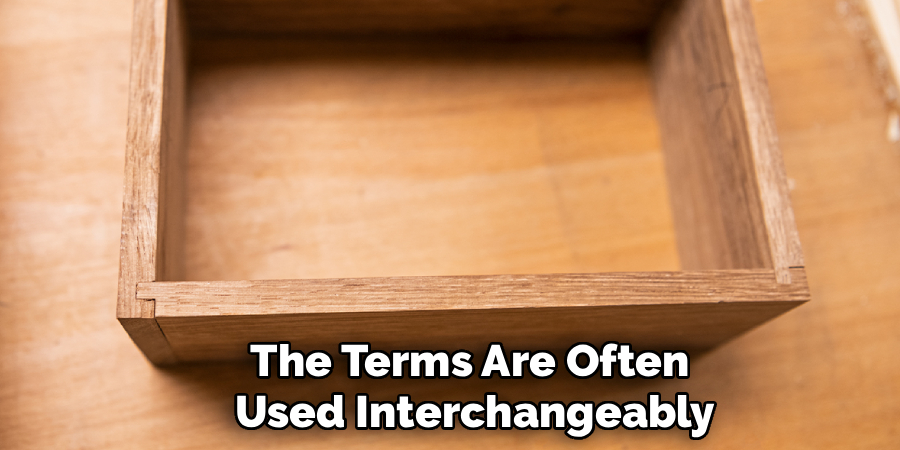
The terms are often used interchangeably, and for most purposes, they mean the same thing. Both are frames with significant depth between the glazing (glass or acrylic) and the backing board, designed to display three-dimensional objects. Technically, a “shadow box” might imply a deeper construction, but in common DIY language, there is no real difference.
Conclusion
Creating a custom piece of decor with your own hands is an incredibly fulfilling experience. A wooden box frame is more than just a project; it is a vessel for your memories, handcrafted to perfectly suit your style. By following these steps—from careful measuring and cutting to patient sanding and finishing—you can build a beautiful and durable frame that looks professionally made. The process demystifies woodworking and equips you with foundational skills that will open the door to countless future projects.
Now that you have the complete guide on how to make a wooden box frame, you are ready to start. Do not be afraid to make mistakes; every project is a learning opportunity. Pick a meaningful object, gather your tools, and enjoy the satisfaction of turning simple lumber into a personal work of art.

About
Mike May is a distinguished figure in the world of woodworking and timber design, with a decade of expertise creating innovative and sustainable indoor solutions. His professional focus lies in merging traditional craftsmanship with modern manufacturing techniques, fostering designs that are both practical and environmentally conscious. As the author of Woodimber, Mike delves into the art and science of timber-craft, inspiring artisans and industry professionals alike.
Education
RMIT University (Melbourne, Australia)
-
Associate Degree in Design (Timber): Focus on sustainable design, industry-driven projects, and practical craftsmanship.
-
Gained hands-on experience with traditional and digital manufacturing tools, such as CAD and CNC software.
Nottingham Trent University (United Kingdom)
-
Bachelor’s in Woodworking and Product Design (Honors): Specialized in product design with a focus on blending creativity with production techniques.
-
Participated in industry projects, working with companies like John Lewis and Vitsoe to gain real-world insights.
Publications and Impact
In Woodimber, May shares his insights on timber design processes, materials, and strategies for efficient production. His writing bridges the gap between artisan knowledge and modern industry needs, making it a must-read for both budding designers and seasoned professionals.