 (1)")

Nothing transforms a kitchen quite like a fresh coat of white paint. It acts as a reset button for the entire room, turning dark, dated, or dingy cabinets into a bright, modern focal point. While ripping out old cabinetry and installing new units can cost thousands of dollars, painting them yourself is a budget-friendly alternative that delivers high-impact results.

However, painting cabinets isn’t just about slapping on a layer of latex and calling it a day. It requires patience, the right materials, and a commitment to process. Many homeowners start with enthusiasm, only to end up with peeling paint or visible brush strokes because they skipped the prep work.
This guide on how to paint wooden cabinets white is designed to walk you through the process meticulously, ensuring your finish looks factory-made rather than homemade.
What Will You Need?
To achieve a professional finish, you cannot skimp on tools. Having the right equipment on hand before you start will save you time and frustration.
Cleaning and Prep:
- TSP (Trisodium Phosphate) or a heavy-duty degreaser
- Sponges and scrubbing pads
- Clean rags and a tack cloth
- Wood filler (for filling grain or holes)
- Putty knife
- Painter’s tape (high quality)
- Drop cloths or rosin paper
- Sanding blocks and sandpaper (120-grit and 220-grit)
- Liquid sander/deglosser (optional but helpful)
Painting Tools:
- High-quality angled sash brush (2-inch or 2.5-inch) for cutting in
- Mini foam roller or mohair roller (4-inch or 6-inch) for flat surfaces
- Paint tray and liners
- Paint stir sticks
- A drill or screwdriver (for removing hardware)
- Labeling system (ziplock bags and masking tape)
The Coatings:
- Primer: An oil-based or shellac-based primer is essential for wood to prevent bleed-through (tannins). Water-based primers often fail to seal wood knots effectively.
- Paint: A high-quality acrylic alkyd or a dedicated cabinet enamel paint. Avoid standard wall paint; you need a durable finish that withstands grease and scrubbing. Semigloss or satin finishes are best for durability and ease of cleaning.
10 Easy Steps on How to Paint Wooden Cabinets White
Transforming your cabinets is a marathon, not a sprint. The success of this project relies almost entirely on preparation. If you rush the prep, the finish will fail. Follow these ten detailed steps to ensure a rock-hard, beautiful white finish.
Step 1: Create a Detailed Labeling System
Before you touch a screwdriver, you must have a plan for organization. Once the doors are off their hinges, they all look surprisingly similar. If you put a door back on the wrong cabinet box, it may not hang straight because hinges settle into specific patterns over time.
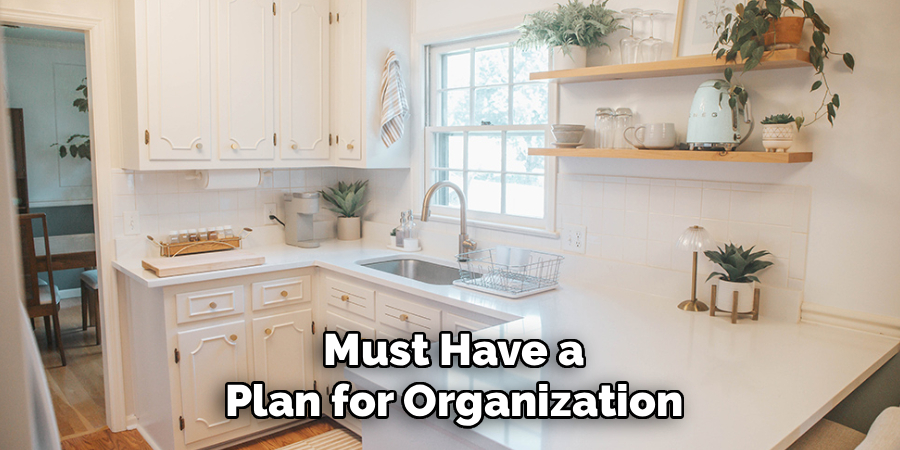
Start by creating a rough sketch of your kitchen layout on a piece of paper. Number each cabinet in your drawing. Next, take a piece of painter’s tape and write the corresponding number on the back of the cabinet door (behind the hinge is a good spot), and another piece of tape with the same number inside the cabinet box. Do the same for drawers. As you remove the hardware (hinges and knobs), place them in individual Ziploc bags labeled with the specific cabinet number. This might seem tedious now, but it will save you hours of frustration during reassembly.
Step 2: Disassemble the Cabinetry
Now that you are organized, begin removing the doors and drawers. Use your drill or screwdriver to unscrew the hinges from the cabinet frame. Ideally, you should remove the hinges from the doors as well to ensure you can paint the entire surface without obstruction. If you try to paint around hinges, you will inevitably get paint on them, which ruins the professional look.
Move all doors and drawer fronts to a designated workspace. This should be a well-ventilated area like a garage, basement, or a room with windows open. Lay them flat on sawhorses or tables. Painting vertically (while doors are hanging) often leads to drips and runs. Gravity is your enemy when painting; laying them flat makes gravity your friend, helping the paint level out smoothly.
Step 3: Deep Clean and Degrease
This is the most critical step for adhesion. Kitchen cabinets are covered in layers of invisible grease, cooking oils, fingerprints, and food residue. If you paint over grease, the paint will eventually separate from the wood, leading to peeling.
Mix a solution of TSP (Trisodium Phosphate) and warm water according to the package directions. Wear rubber gloves and safety goggles, as TSP is potent. Scrub every inch of the doors, drawer fronts, and cabinet boxes. Pay special attention to areas near the stove and around handles where oils accumulate. Rinse the surfaces thoroughly with a sponge and clean water to remove any chemical residue. Let the wood dry completely before moving on. If you skip this, your sandpaper will just gum up with grease in the next step.
Step 4: Repair and Fill Imperfections
Inspect your wood carefully. Are there deep scratches, gouges, or holes from old hardware? Now is the time to fix them. If you plan to change the size of your handles or knobs, you must fill the old screw holes now.

Using a putty knife, press wood filler into holes and dents. Overfill them slightly, as the filler creates a mound that shrinks as it dries. If your cabinets are oak or have a deep, open grain that you want to hide, you may want to apply a grain filler at this stage. Spread it over the surface and squeegee it off to fill the pores of the wood. Let the filler dry according to the manufacturer’s instructions. This step ensures your final white surface looks like smooth enamel rather than painted wood texture.
Step 5: Sand Surfaces Thoroughly
Sanding serves two purposes: it smooths out the wood filler you just applied, and it scuffs up the existing finish so the primer can stick. You do not need to sand the wood down to the bare grain (unless the old finish is peeling badly), but you must remove the glossy sheen.
Use 120-grit sandpaper for this initial pass. Sand all flat surfaces, and use a sanding sponge to get into detailed grooves or routed edges. Sanding blocks are excellent for maintaining even pressure. Once you have sanded everything, the surface should look dull and matte. If it still looks shiny, keep sanding. Vacuum up all the dust, then wipe everything down with a tack cloth. A tack cloth is sticky and will pick up microscopic dust particles that a wet rag might miss.
Step 6: Apply the Primer
Do not use a “paint and primer in one” product for cabinets. You need a dedicated, heavy-duty primer. For wood cabinets, specifically those that are stained dark, use a stain-blocking oil-based or shellac-based primer. Water-based primers often allow wood tannins to bleed through, resulting in yellow or pink stains appearing in your white paint weeks later.
Apply the primer using a brush for the corners and details, and a foam roller for the flat areas. Don’t worry if the primer looks streaky or doesn’t cover the wood color completely; its job is bonding and sealing, not coverage. Ensure you have good ventilation, as oil-based primers have strong fumes. Allow the primer to dry fully. This usually takes longer than water-based products, so give it overnight if possible.
Step 7: Sand the Primer (The Secret Step)
Most DIYers skip this, but it makes the difference between a good finish and a great one. Once the primer is dry, it will feel slightly rough to the touch. You need to knock down this texture before applying paint.

Switch to fine 220-grit sandpaper. Lightly hand-sand all primed surfaces. You aren’t trying to remove the primer; you are just smoothing it out, “polishing” it. Run your hand over the surface—it should feel as smooth as glass. If you feel bumps now, you will see bumps later. Wipe away the dust meticulously with a tack cloth again. This smooth base is what allows the topcoat to lie flat and reflect light beautifully.
Step 8: Apply the First Coat of Paint
Now for the transformation. Open your high-quality cabinet enamel or acrylic alkyd paint. Start with the backs of the doors first. If the paint gets messed up while flipping them later, it’s better for it to happen on the back than the front.
Use an angled brush to paint the recessed areas, corners, and detailed molding first. Then, immediately use your roller to paint the flat panels and frames. This technique keeps a “wet edge” and prevents brush marks. Apply a thin coat. Thick coats lead to drips and prolonged drying times. Don’t panic if the white isn’t perfectly opaque yet; it is better to have multiple thin coats than one thick, gummy one. Check for drips around the edges and smooth them out instantly.
Step 9: Apply the Second (and Third) Coat
Allow the first coat to dry according to the can’s instructions. Cabinet paints often have longer “re-coat” times than wall paints (often 4 to 16 hours). Do not rush this. If you paint over tacky paint, you will pull up the previous layer and create a texture nightmare.
Between coats, do a very light sanding with very fine sandpaper (320-grit or a fine sanding sponge) to remove any dust nibs that settled in the wet paint. Wipe with a tack cloth. Apply your second coat using the same method: details first, then flat surfaces. For pure white paint covering dark wood, you may need a third coat to get true, rich saturation. Inspect the finish in different lighting to ensure coverage is even.
Step 10: Cure and Reassemble
This is the hardest step: doing nothing. Your paint might feel dry to the touch in a few hours, but it hasn’t “cured” (hardened) yet. If you hang the doors too soon, the paint will dent, chip, or stick to the cabinet frames.
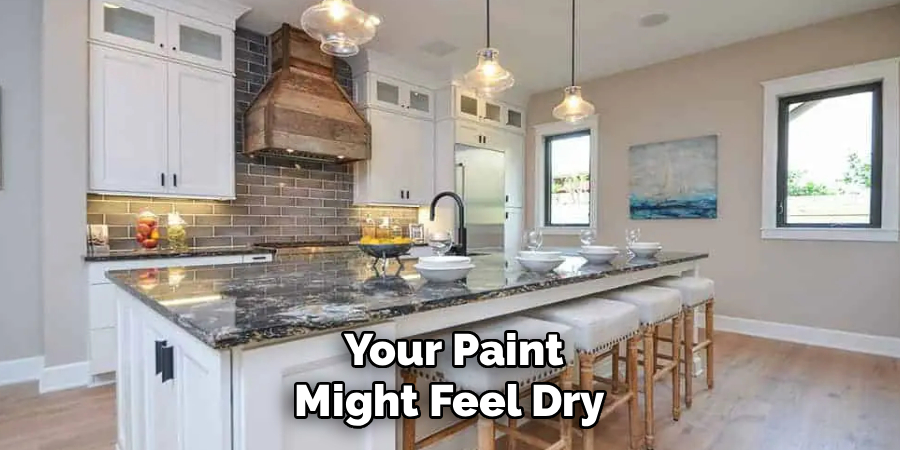
Ideally, let the cabinets sit for at least 2 to 3 days before handling them. A full cure can take weeks, so be gentle. Once the paint is hard enough, peel off your tape, retrieve your labeled bags of hardware, and reattach the hinges. Hang the doors back on their corresponding boxes using your numbered system. Install your knobs and pulls. Step back and admire your brand-new kitchen.
Conclusion
Painting your wooden cabinets white is a labor of love, but the payoff is immense. By following these steps and respecting the process, you can achieve a kitchen transformation that looks professionally done for a fraction of the cost.
The key is patience—don’t rush the prep, don’t rush the drying, and don’t skimp on materials. With a little elbow grease and attention to detail, you will create a bright, welcoming space that adds value to your home and joy to your daily life.
Hopefully, this guide on how to paint wooden cabinets white has given you the confidence and knowledge to tackle painting your wooden cabinets white.
About
Mike May is a distinguished figure in the world of woodworking and timber design, with a decade of expertise creating innovative and sustainable indoor solutions. His professional focus lies in merging traditional craftsmanship with modern manufacturing techniques, fostering designs that are both practical and environmentally conscious. As the author of Woodimber, Mike delves into the art and science of timber-craft, inspiring artisans and industry professionals alike.
Education
RMIT University (Melbourne, Australia)
-
Associate Degree in Design (Timber): Focus on sustainable design, industry-driven projects, and practical craftsmanship.
-
Gained hands-on experience with traditional and digital manufacturing tools, such as CAD and CNC software.
Nottingham Trent University (United Kingdom)
-
Bachelor’s in Woodworking and Product Design (Honors): Specialized in product design with a focus on blending creativity with production techniques.
-
Participated in industry projects, working with companies like John Lewis and Vitsoe to gain real-world insights.
Publications and Impact
In Woodimber, May shares his insights on timber design processes, materials, and strategies for efficient production. His writing bridges the gap between artisan knowledge and modern industry needs, making it a must-read for both budding designers and seasoned professionals.